
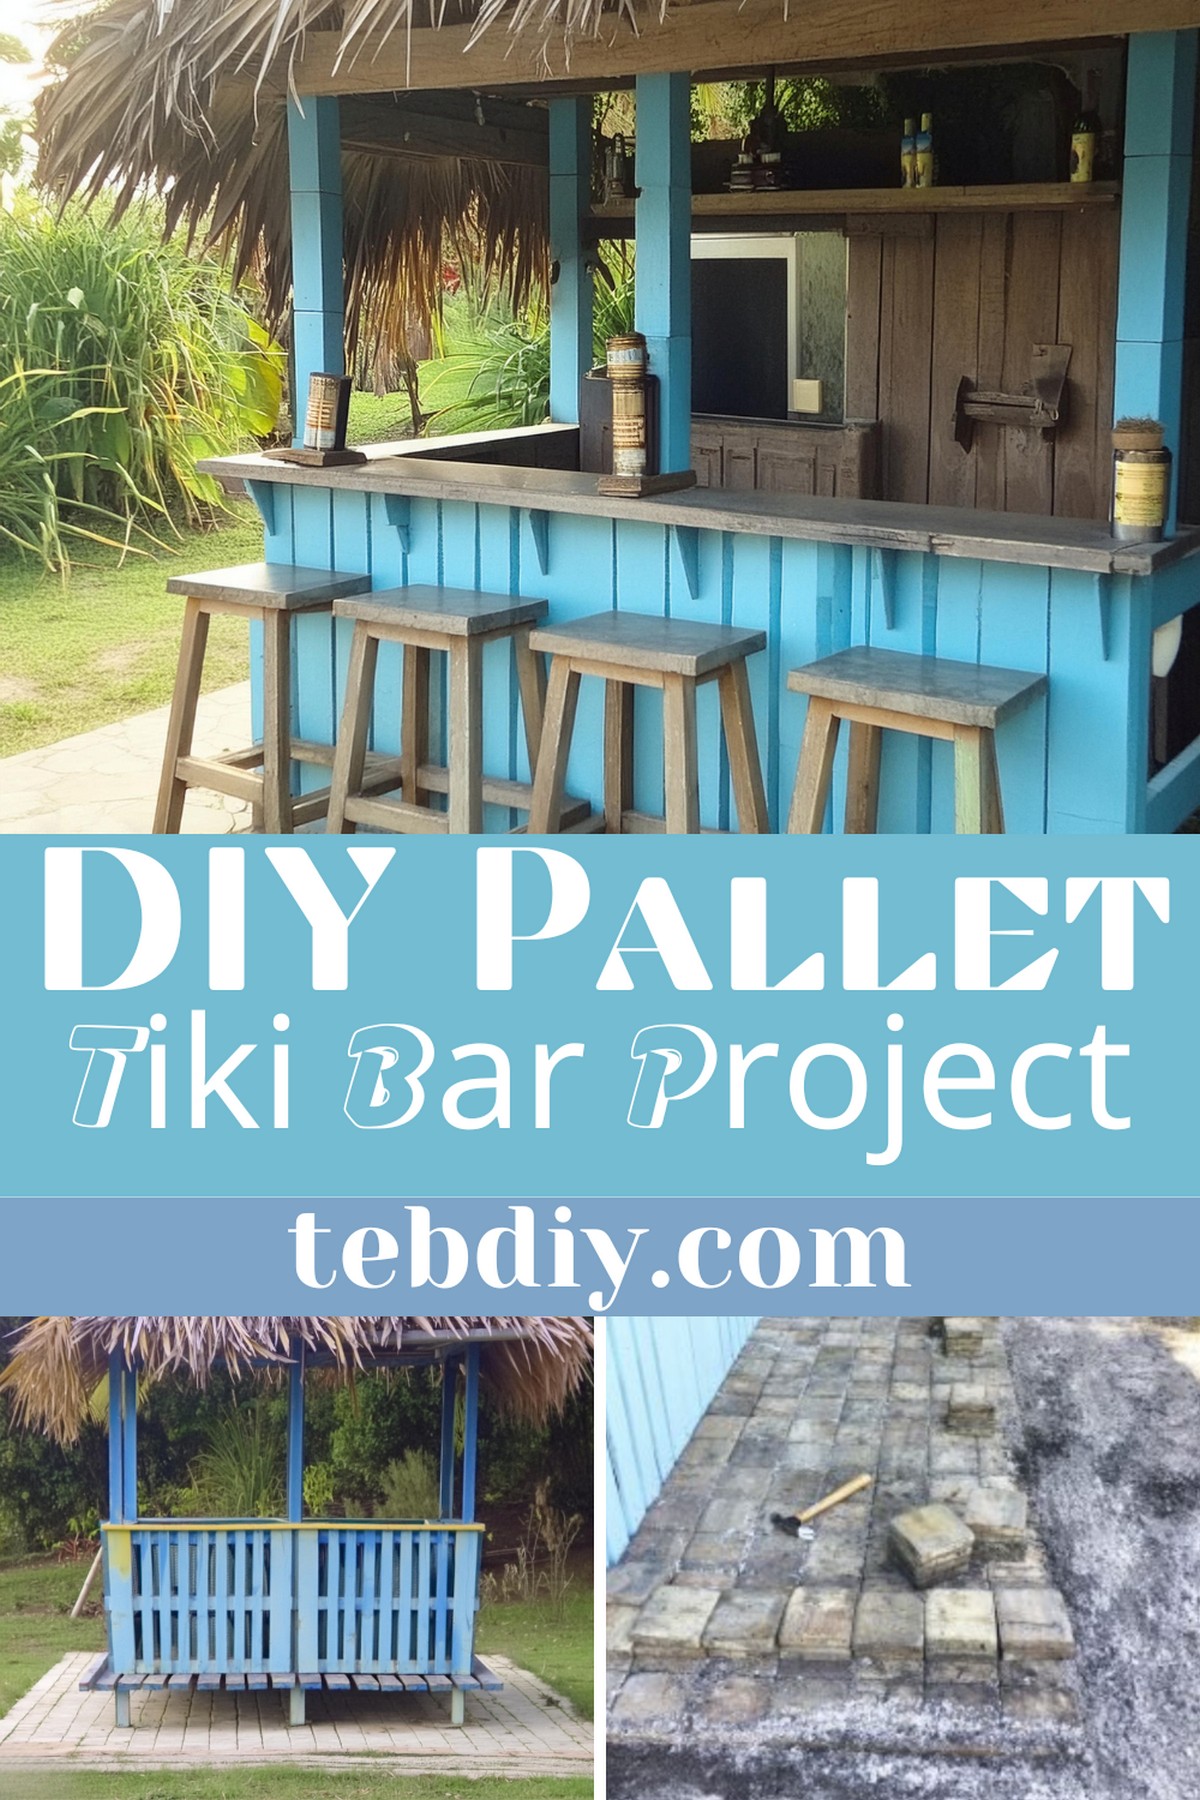
Have you ever looked at a quiet corner of your backyard and felt it was missing something? Perhaps that ‘something’ is a space where the atmosphere of distant shores and tropical vibes could envelop you without leaving your home. That’s precisely what we envisioned before embarking on our little adventure to create our very own DIY Pallet Tiki Bar—a unique twist on the traditional Tiki Bar, using materials primarily sourced from pallets and crafted under the shade of a welcoming palm tree.

DIY Pallet Tiki Bar Project

Materials:
- Pallets
- Beams
- Ground Post System
- Corner Brackets and Tie Plates
- Pressure Treated Wood
- Fence Pickets (for the roofing)
- Project Board
- Perma Sand
Tools:
While the exact tools aren’t specified in the raw data, based on the materials and construction steps, one might need:
- Screwdriver or Drill
- Saw (for cutting wood to size)
- Paintbrushes or Rollers
- Sandpaper or Sander
- Stain and Polyurethane (for finishing touches)
Step-by-Step Guide
Hatching the Plan
Initially, sketch out the bar’s layout. We settled on two front-facing pallets as the bar’s facade, spanning 8 feet wide—ideal for accommodating four stools. Although a U-shape was considered, simplicity won, and a straight-line structure was chosen. Six posts would support this structure, alongside a partially open roof that integrates the tree’s natural canopy for an authentic tiki aura.
Erecting the Foundation
For the base, secure six 4″x8′ posts using ground master post holders. These ingenious devices eliminate the need for digging, substantially easing the process. Simply insert them into the ground, and fasten your posts securely.
Framework and Pallets
Attach the pallets to the beams with the help of corner brackets and tie plates, ensuring a robust and stable structure that will serve as the main body of the bar.

Adding the Sides
Instead of using additional pallets as initially thought, we opted for pressure-treated wood cut to size for the sides. This decision was made to maintain openness and deter any potential habitats for unwanted critters.
The Roof
Employ 1″x6″x8′ pressure-treated fence pickets for the roofing material. Begin by fastening a crossbeam to the top of the structure for a secure base to attach the pickets. Arrange the pickets with a 4-inch gap, layering them for a more nuanced appearance while letting some natural light through.
A Splash of Color
While there was a moment of appreciation for the rustic charm of untreated pallets, painting them in Tropical Lagoon brought vibrant life to the structure. The addition of a shelf at the bar’s back end amplified its functionality, offering a handy spot for bottles and mixers.
Crafting the Bar Top
In the quest for an affordable yet aesthetically pleasing bar surface, a project board surfaced as the prime candidate. Treated with outdoor-stain and sealed with multiple coats of outdoor polyurethane, it promises durability against the elements. Strategic cuts were made to accommodate the support beams.
Groundwork for Comfort
A surplus of pavers from a previous project found their purpose in creating a solid landing for the bar stools. Laid over a bed of Perma Sand for a level and permanent fixture, this addition ensured a sturdy and welcoming seating area.
Final Touches
The adornment phase involved wrapping the posts in rope for a nautical flair, complemented by a bespoke Tiki Bar sign, adding a personal touch to the ambiance. The integration of café and thematic nautical lights, alongside high-quality bar stools, set the stage for endless evenings of camaraderie.
The Culmination
The completed Tiki Bar stands as a testament to creative ingenuity and the joy of DIY. It’s not just a bar; it’s a backyard destination that beckons friends and family to gather and make memories.
Tip For Positioning Your Tiki Bar
When undertaking the Tiki Bar project, consider the orientation of your bar with respect to the sun’s path. Positioning the bar in a way that it receives optimal shade during peak hours can greatly enhance the comfort and usability of the space, making it a cool retreat on hot days. This thoughtful planning can significantly influence the enjoyment of your tropical haven.
Leave a Reply