
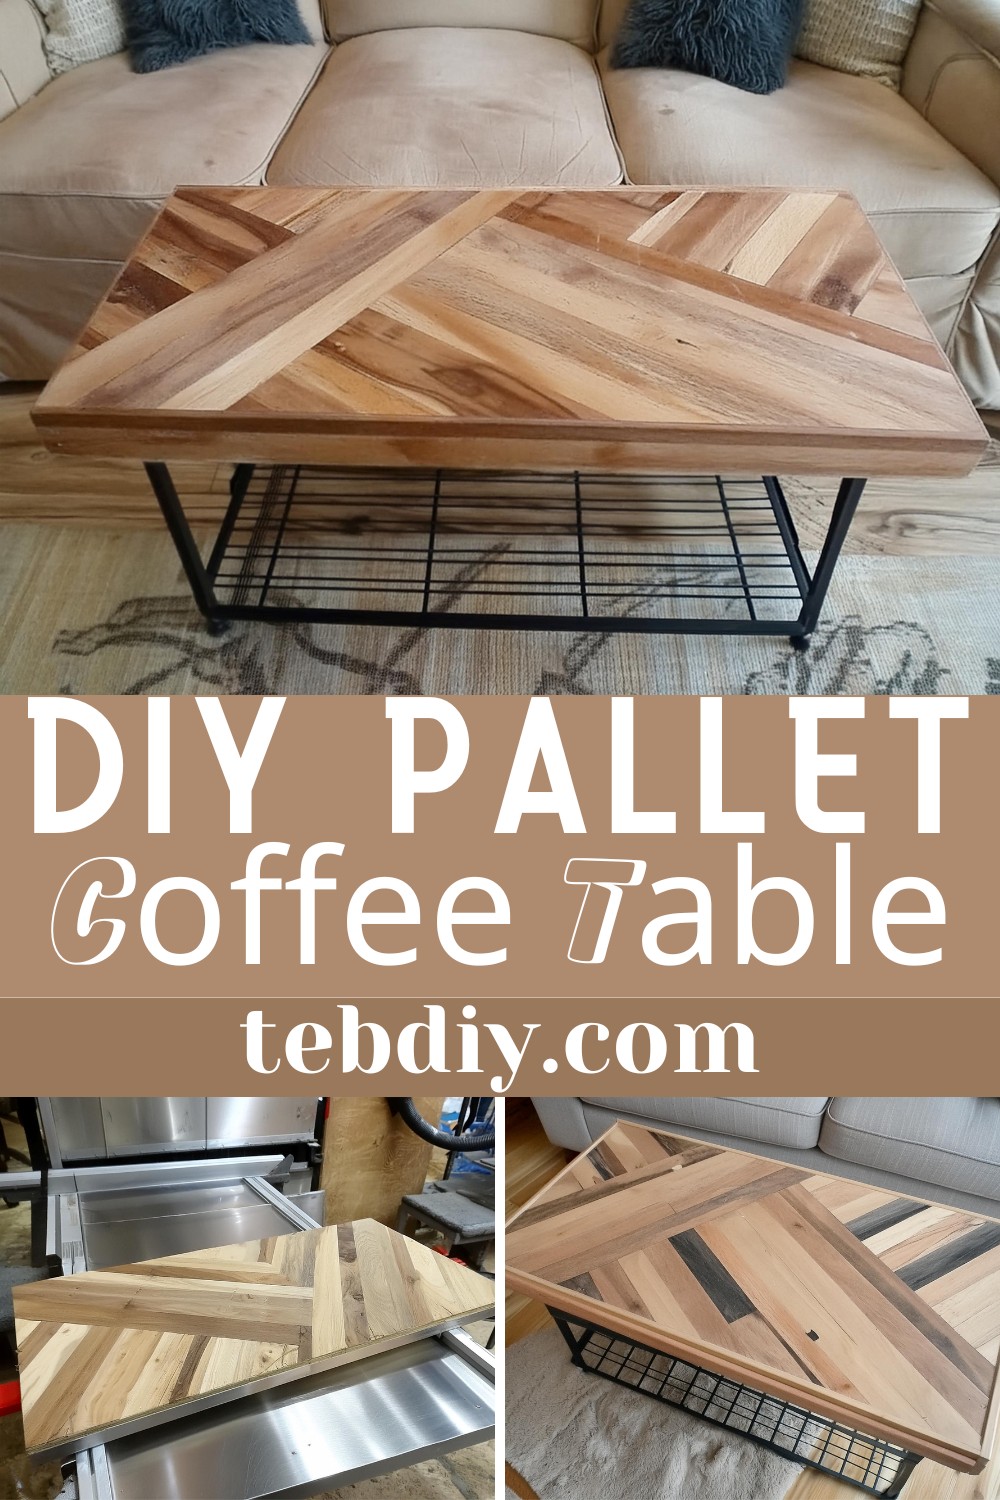
Transform the humble and often overlooked pallet into a piece of furniture that not only serves a practical purpose but also adds a rustic charm to your living space. It’s a simple, structural foundation for hauling goods to the centerpiece of your lounge, this is the essence of the pallet coffee table project. This DIY Pallet Coffee Table Project is a venture that combines creativity with craftsmanship, and the outcome is a unique, bespoke table that tells its own story. Whether you’re a seasoned DIY enthusiast or a curious novice ready to dip your toes into the world of homemade furniture, this project promises to engage your skills and ignite your imagination.

DIY Pallet Coffee Table Project
Materials List
- Pallet slats (reclaimed)
- 3/4″ plywood (for the base)
- Poplar boards (for the sides)
- Wood glue
- Pin nails
- Paint (satin black, for the underside)
- Shellac (clear)
- Water-based spar urethane
- Padauk scrap (for the miter splines)
Tools Used
- Hammer
- Putty knife
- Belt sander
- Jointer
- Table saw
- Planer
- Drum sander
- Circular saw or jigsaw
- Router with pattern bit
- Oscillating multi-tool
- Orbital sander
- Small parts cross-cut sled (for the table saw)
- Shop-built sled (for miter splines)
The Making Process
Step 1: The Decimation of the Old Finish
The project starts by removing the old finish from the plywood which previously served as a table. With a few strategic hammer taps to crack the epoxy, followed by a putty knife’s edge to lift the flakes, the surface begins to reveal its bare self. Any stubborn leftovers meet their fate against the relentless belt sander, clearing the stage for a fresh beginning.
Step 2: Processing Pallet Slats
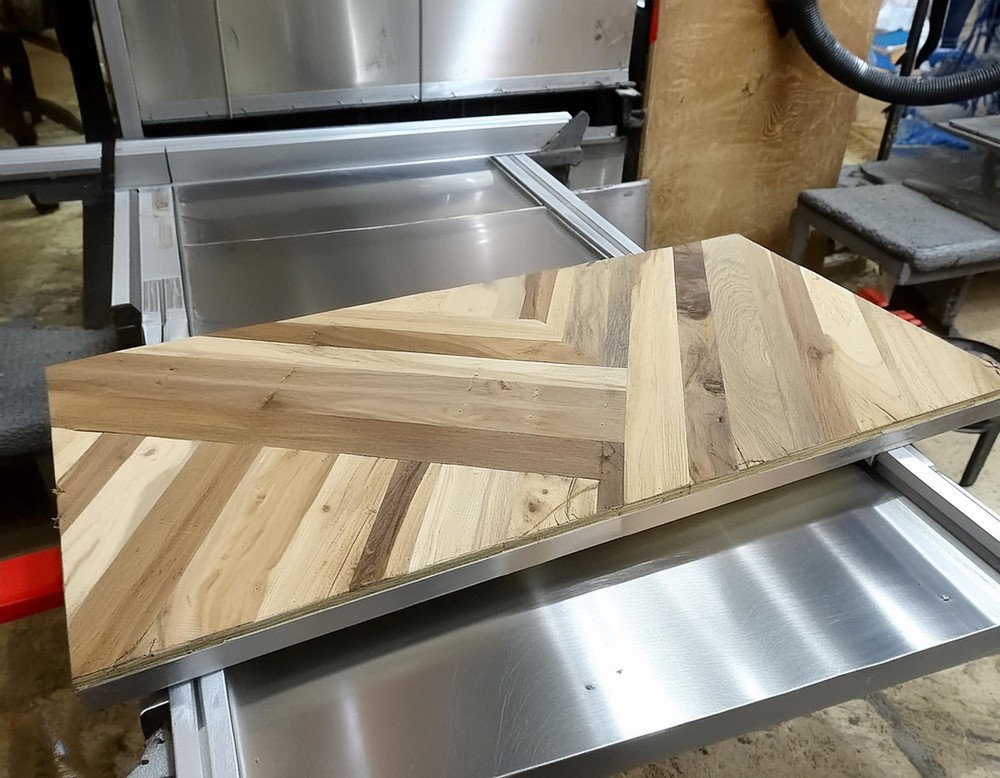
Fashioning the raw-looking pallet slats into polished, uniform boards is next. With each board jointed, sawed for parallel edges, planed to thickness, and smoothed by the drum sander, the slats evolve from rough remnants into fine pieces ready for their new role. This process ensures a cohesive look and feel for the tabletop.
Step 3: Design and Attaching Slats
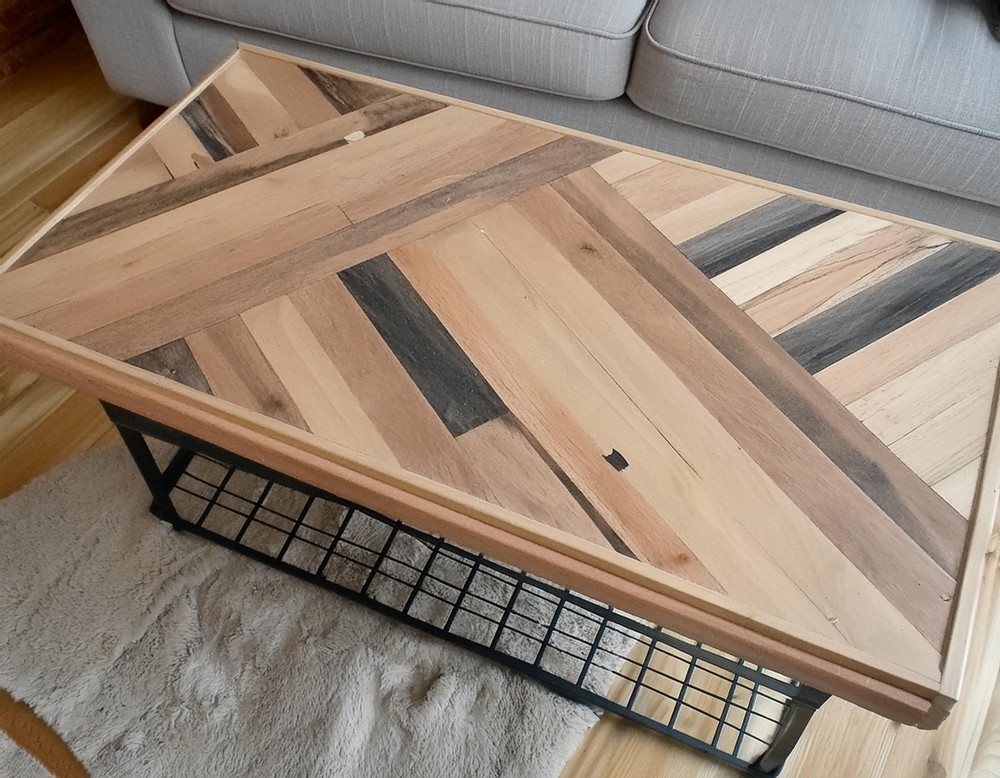
Laying out the slats in a pleasing, yet random pattern allows for a unique design to take shape. Once satisfied with the arrangement, each slat is adhered to the plywood base with wood glue. And secured further with pin nails, ensuring a solid foundation for the tabletop.
Step 4: Cutting the Top to Size
Instead of opting for the straightforward method of trimming the slats flush, a decision is made to let the pallet boards slightly overhang the plywood base. This requires precise cuts and aligning the saw track to ensure the perfect overhang. Ultimately giving the top edges a refined look and additional structural integrity.
Step 5: Fabricating the Sides
Choose poplar boards for the sides due to their affordability and availability. Rip them to width and cut to length, then route rabbets to snugly fit the tabletop, thus preparing the sides. Mitered corners provide a seamless look, hinting at the project’s nearing completion.
Step 6: Attaching the Sides
With the help of dominos for alignment and wood glue for bond, the frame is assembled and the tabletop inserted. This step requires patience and precision to maintain alignment and ensure a close fit among all components.
Step 7: Concealing Mistakes
No project goes without its set of challenges, and any gaps or inconsistencies are adeptly handled with a mixture of wood glue and sawdust. This makeshift filler serves to conceal any minor imperfections, blending them seamlessly into the surrounding wood.
Step 8: Miter Splines for Added Flair and Strength
Insert Padauk splines into slots cut at each corner, not just for the structural reinforcement they offer, but also for a splash of contrasting color and texture. After gluing and drying, trim and sand them to flush, adding both strength and visual interest to the table.
Step 9: Sanding for a Smooth Finish
Sanding tiers down any irregularities and prepares the surface for finishing touches. Progressing through grits from coarse to fine, the table takes on a smooth, ready-for-finish appearance.
Step 10: Finishing with Shellac and Urethane
To bring out the wood’s natural beauty while ensuring durability, clear shellac is applied followed by a topcoat of water-based spar urethane. This finishing regime highlights the wood’s grain and color variance without the usual yellowing effect, sealing the project with a protective layer that stands up to daily use.

Conclusion
This project is more than just assembling pieces to form a functional item; it’s about bringing to life a vision of sustainable craftsmanship and personal expression. The pallet coffee table is a testament to what can be achieved with imagination, effort, and respect for materials that have served their initial purpose but still hold potential for beauty and utility.
Leave a Reply