
Here we have a wonderful DIY project that’s perfect for those who cherish crafting something meaningful with their own hands, particularly if it’s for the little ones. This isn’t just any picnic table, it’s made from the humble pallet, a symbol of resourceful repurposing. Perfect for those sunny afternoons when the kids can gather around their very own table, it’s a project that promises not just utility but memories in the making. Whether it’s for coloring, painting, or just enjoying a snack under the sun, this DIY Kid’s Pallet Picnic Table is a perfect weekend adventure
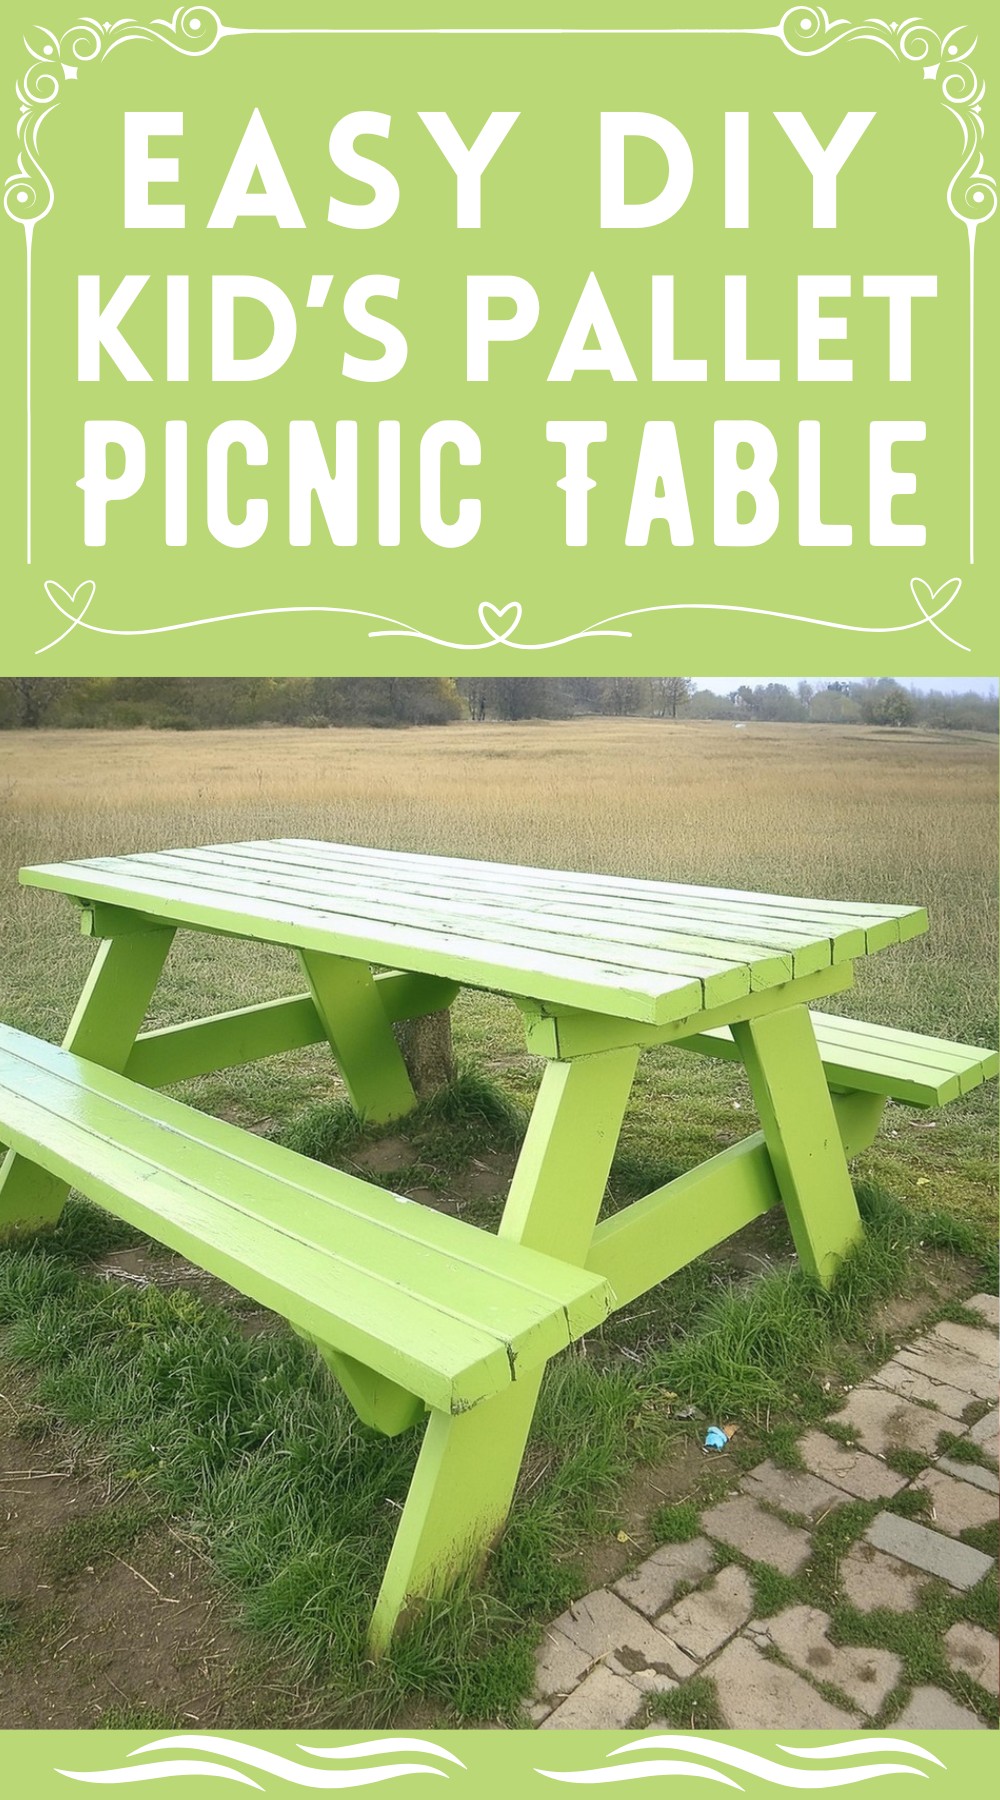
DIY Kid’s Pallet Picnic Table

Materials Needed:
- One shipping pallet (45” x 70” in the example)
- Five 4-foot length 2x4s (purchased as three 8-foot lengths cut down for transport)
- 2-inch screws
- 2 ½-inch screws (approximately 20 needed)
- 1 ½-inch nails
- Sandpaper or an orbital/belt sander for smoothing
- One pint of exterior paint or your chosen finish treatment
Tools Required:
- Drill
- Mitre saw
- Hacksaw
- Hammer
- Prybar
- Measuring Tape
- Clamps
- Level
Crafting Steps:
Dismantling the Pallet
First, completely disassemble the pallet. Remove all the planks from the back and front sides, keeping two end planks attached to maintain the rectangular shape. After removal, extract all the old nails from each plank. You’ll end up with:
- Nine 1×3.5 planks
- Four 1×5.5 planks
- Six 2×4 planks
- Three 70-inch cross beams
Tip: Sanding at this early stage will make the process easier, despite it being overlooked initially in the project described.

Creating the Tabletop
Determine the smoother side of each plank to use as the top. Select the seven best planks and lay them side-by-side, centering the middle plank on the pallet’s existing frame, ensuring squareness. Secure each plank with nails at both ends and the middle. Trim the excess from the frame’s ends at your choice of angle (45 degrees recommended) to prevent sharp corners.
Attaching the Legs
Cut two 48-inch 2x4s at 30-degree angles to create four legs, each 25 inches long (or adjusted based on table/child height). Position two legs slightly apart on the table underside, securing them firmly with clamps before attaching with screws.
Constructing the Bench
Use remaining 2x4s cut to 45-inch lengths for bench supports. For the seat, select a 1×3 and a 1×5.5 plank from the dismantled pallet, attaching them to the supports. Add middle-support pieces underneath for extra durability.
Final Assembly
Mark the table legs for bench alignment, attaching the bench with screws for stability. Cut another 2×4 to span between the bench supports for additional support or a footrest.

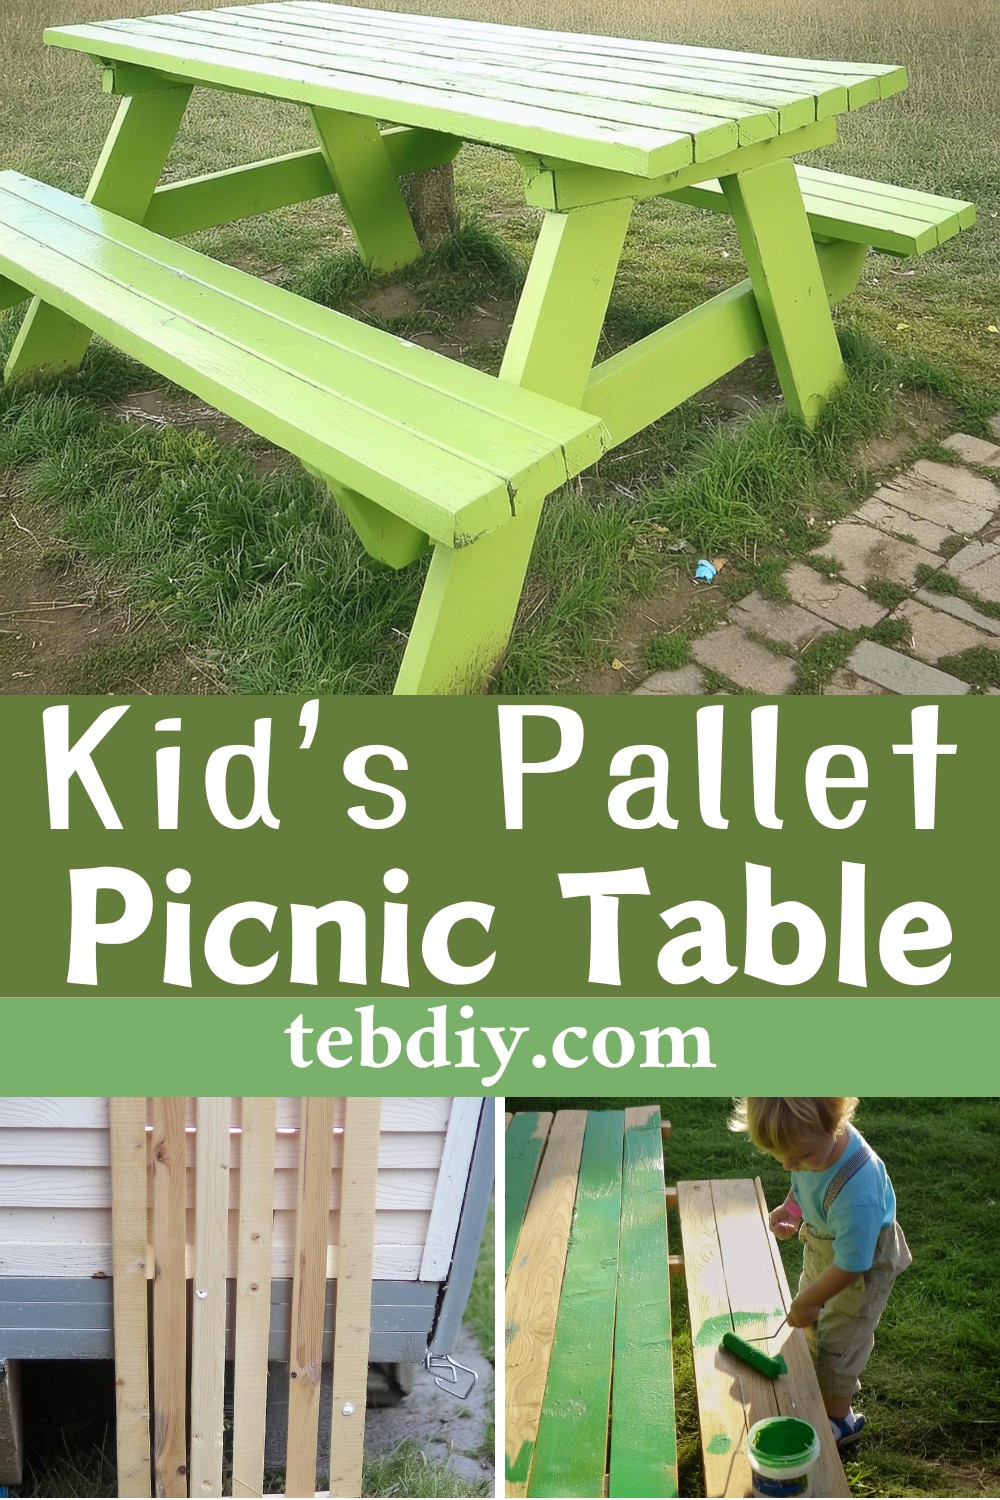
Finishing Touches
If not sanded previously, now’s the time to smooth down rough edges and surfaces. Apply your chosen finish, such as paint, ensuring full coverage for weather resistance and durability.
Conclusion
There you have it—your very own kid’s picnic table, ready for enjoyment. This project doesn’t just result in a piece of furniture; it’s a labor of love that your children can enjoy and appreciate, knowing it was made just for them.
This project will give you a fantastic way to repurpose a simple pallet into something both practical and cherished. Your efforts will surely be rewarded with smiles and years of use, making it a worthy weekend endeavor.
Leave a Reply