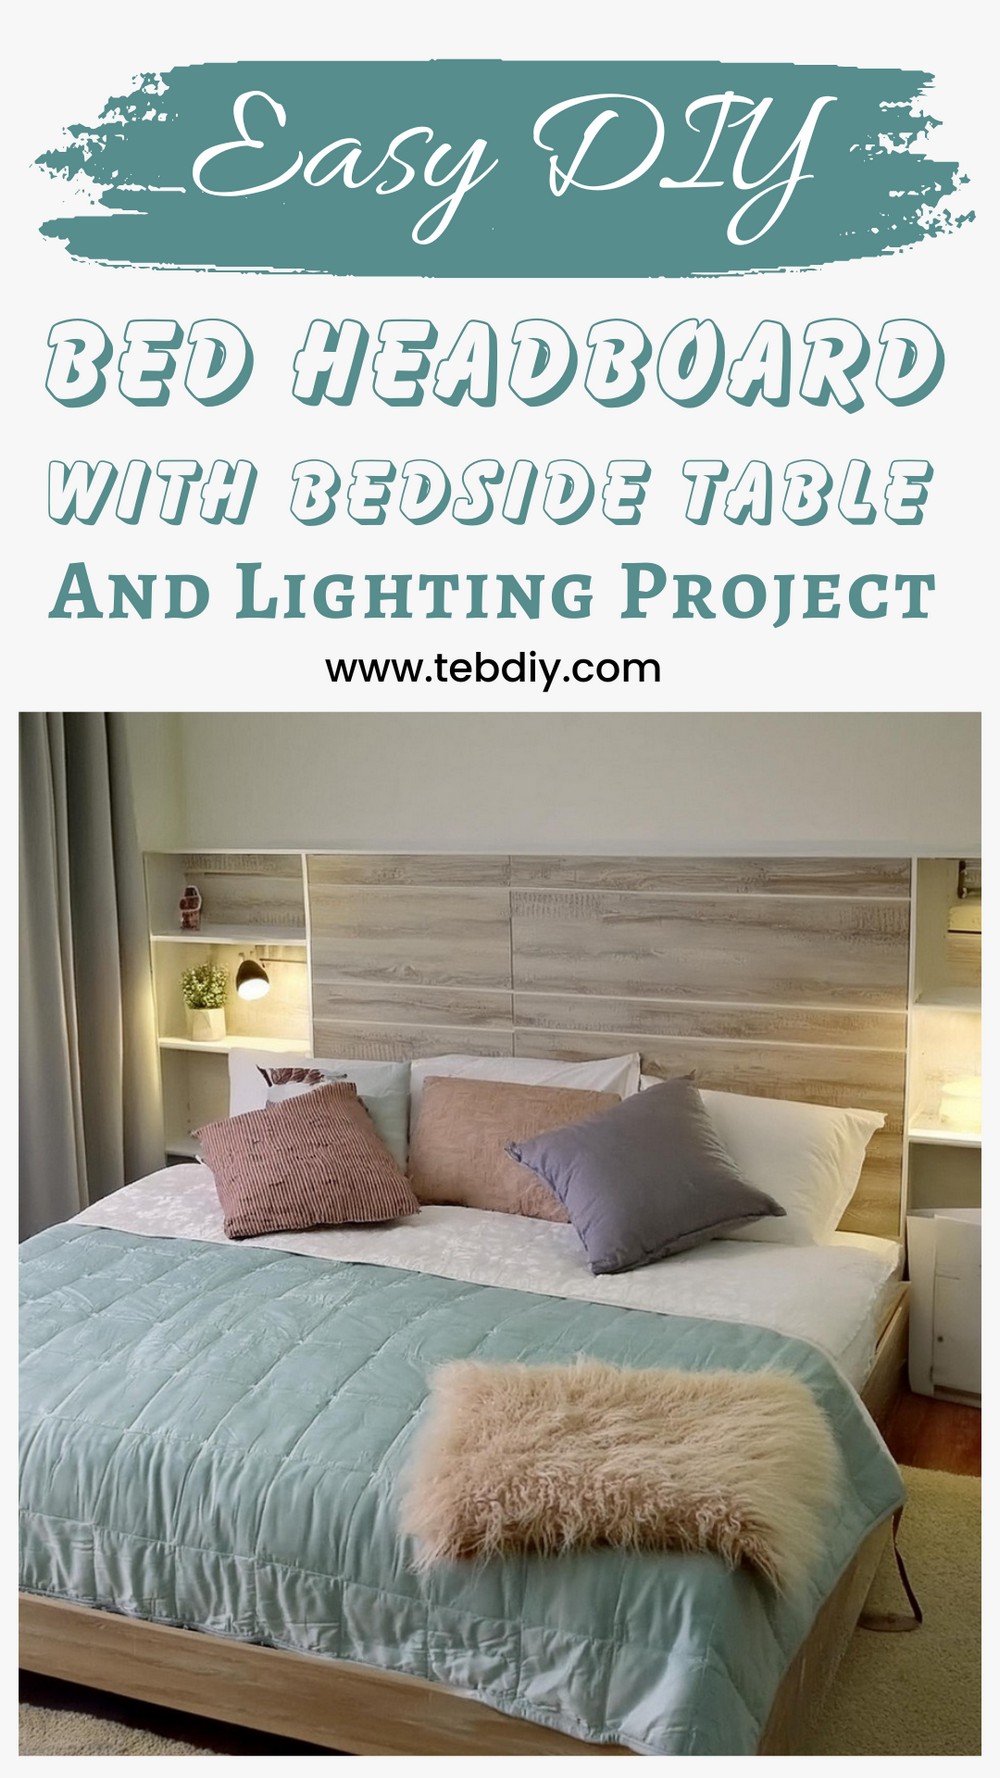
Are you looking for a way to bring a touch of elegance and functionality to your bedroom without compromising on space? Ideal for those who value both aesthetics and practicality, this custom DIY headboard project might just be the transformative piece your bedroom has been waiting for. Designed with integrated bedside tables, sockets for convenience, and subtle LED lighting for ambience, this creation promises to elevate your bedroom’s design and utility.

DIY Headboard Project

Follow along as we guide you through the steps to create this masterpiece yourself, making your bedroom a testament to your craftsmanship and style.
Tools:
- Circular saw
- Plate Joiner
- Router tool
- Miter saw
- Screwdriver
- Drill press
- Hand tools
Materials:
- Melamine boards (2.5 x 0.6 m, 18mm thick)
- Edge Banding
- Brushed aluminum plate
- Hinges
- LED strips
- Touch panel switches
- Aluminum holder for LED
- Outlets
- Glue, screws, slats, etc.
Estimated Cost: €200
Step-by-Step Guide
Design and Planning
The journey begins with designing a 3D model to envisage the final look of the headboard. Using four melamine boards, a precise cutting plan is formulated to optimize the material and minimize waste.
Cutting the Boards
With a circular saw attached to a homemade rail, you cut the large boards precisely. To prevent splintering, you first make a shallow 1mm deep pass before sawing through the full depth. For smaller cuts, you use a miter saw.

Assembling the Parts
You achieve invisible assembly by using a plate joiner and wood glue. You simultaneously create slots in both joining surfaces and insert biscuits for a strong, aligned bond. Clamps keep everything secure while the glue sets.
Applying the Edge Banding
You apply edge banding to all the visible edges, then trim them meticulously for a clean, professional look.
Installing the Brushed Aluminum Plate
A unique touch is added with the integration of a brushed aluminum plate, set into the headboard with precision routing and glued in place for a flush fit.
Attaching the Door Hinges
Invisible hinges are installed for a sleek look, with holes drilled for the hinges in the doors and the corresponding supports screwed into the fixed parts. Pushers are chosen over traditional handles for their subtlety.
Preparing for Lighting
Router work creates recesses to house the LED strips within lamp supports, using aluminum profiles with opaque covers for a diffused light effect.
Incorporating the Touch Dimmer
A square opening is cut for the touch switch/dimmer, which is then wired and secured, allowing for adjustable lighting with a simple touch.
Adding Electrical Outlets
Strategically placed holes welcome the installation of two sockets, enhancing the functionality of the headboard with easily accessible power sources.

Modular Assembly
To ease the transport and installation process, the headboard is best to disassemble into four manageable pieces, connecting via biscuits that will glue on one side.
Securing to the Wall
A robust wall fastening system involving hooks and aluminium-reinforced supports ensures the headboard can be securely mounted.
Pre-assembly Check
Before final installation, a pre-assembly ensures all components fit flawlessly, with vertical wall supports connecting the upper and lower parts.
Installation
You transport the headboard components and assemble them on site. Then, you anchor them to the wall with specially designed supports to ensure stability and security.
Completion
With the bed back in place, the headboard stands as a testament to thoughtful design and meticulous craftsmanship, bringing refined functionality and a personalized touch to the room.
Final Words
Embodying elegance and practicality, this custom headboard with integrated bedside tables and lighting not only serves as a focal point of your bedroom but also simplifies your life with its built-in conveniences. Whether you’re an experienced DIY enthusiast or a curious beginner, this project offers an engaging challenge with a rewarding outcome that’s sure to impress.


Leave a Reply