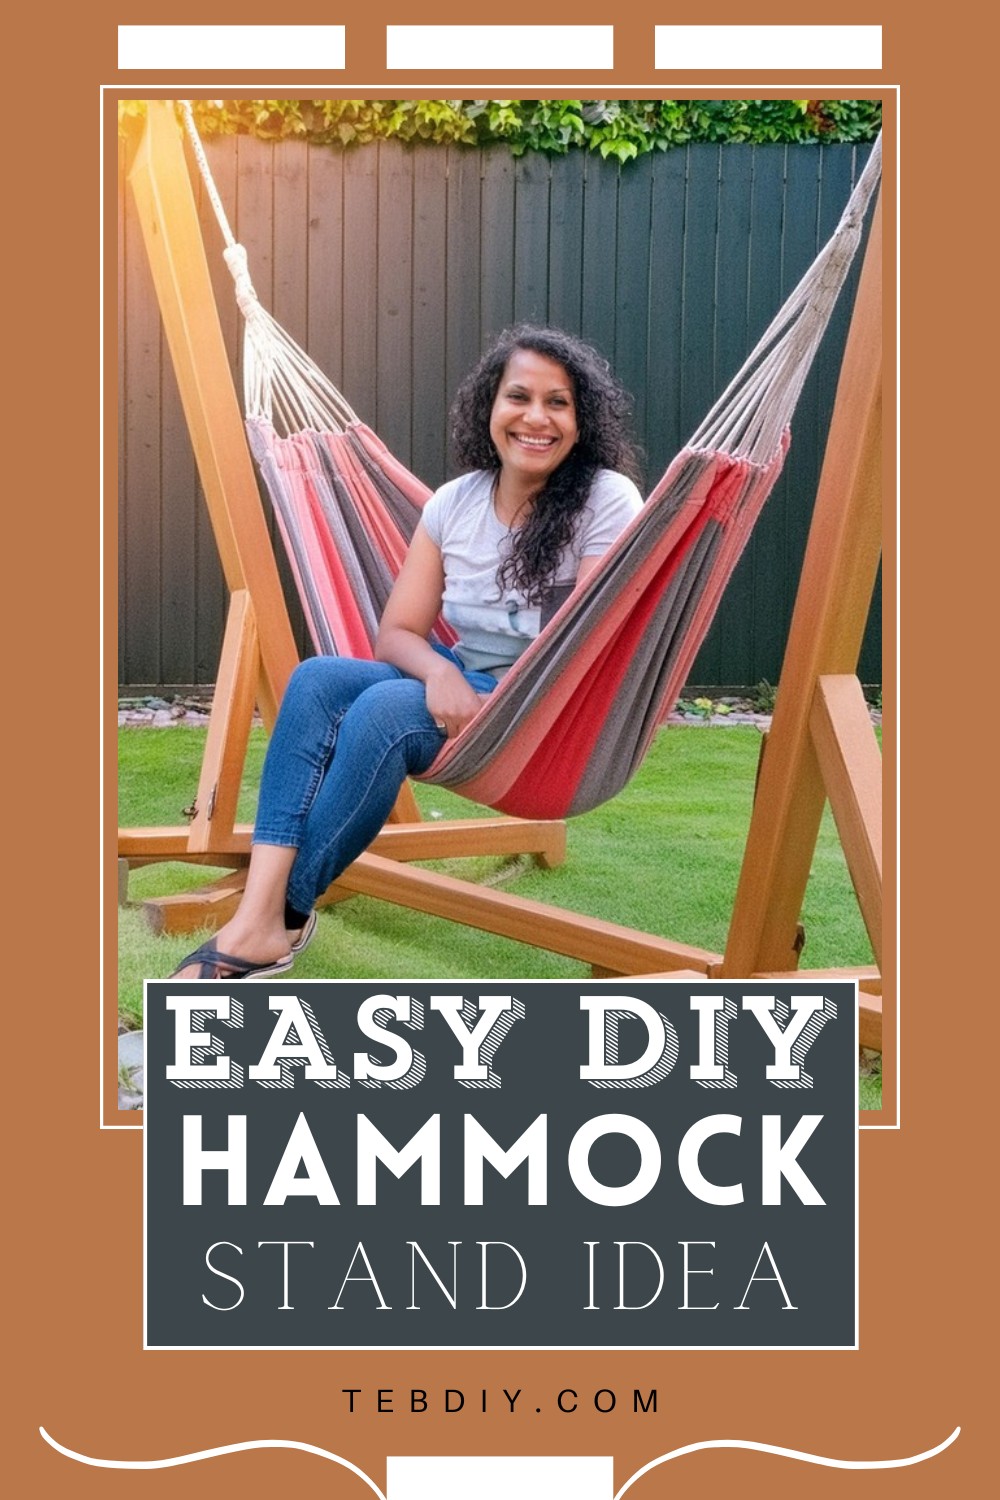
Try sipping your favorite drink and reading into a good book while gently swaying in a hammock, right in your own backyard. Everyone dreams of such an idyllic relaxation spot, but not everyone has perfectly spaced, robust trees to support a hammock. No trees? No problem! This DIY hammock stand project is your ticket to achieving that peaceful retreat. Created with sturdy materials and simple tools, this hammock stand can be your next weekend project, offering a great way to kick off the summer by lounging in your very own hammock!

DIY Hammock Stand

Materials:
- 4×4 Redwood boards (for a sturdy, weather-resistant structure)
- 3″ Exterior wood screws (for constructing the base and attaching braces)
- 4″ Exterior wood screws (for attaching the uprights)
- Transparent wood stain (to protect and enhance the appearance of the redwood)
- Eye bolt with washers and a 1/2″ quick link (for hanging the hammock)
Tools:
- Circular saw (for cutting wood to the required sizes and making half-lap joints)
- Drill (for making pilot holes and securing screws)
- Chisel (for cleaning out the cuts in half-lap joints)
- Measuring tape and pencil (for accurate measurement and marking)
- Sawhorses or a work table (for a stable cutting area)
- Hammer or mallet (for assisting with chiseling)

Step-by-Step Guide to Building Your Hammock Stand
Crafting Half-Lap Joints
- Measure and Cut Timber: Match the circular saw’s depth to half the width of your 4×4 posts. Securely clamp the timber to your work station.
- Mark and Cut: Mark the exact locations for the half-lap cuts on your timber. Use the circular saw carefully along these marks, making multiple shallow cuts.
- Clean the Joint: Use a chisel to remove wood chips and tidy up the cut area, ensuring a clean, snug fit for the joints.
Building the Base
- Layout: Arrange your half-lapped 4x4s upside down in the correct configuration.
- Secure Joints: Pre-drill pilot holes, then drive 3″ wood screws to assemble the base.
Attaching the Uprights
- Prepare Uprights: Cut the tops of the uprights at a 22.5° angle, as per the plans.
- Secure Uprights: Set the uprights in position, then drill pilot holes and fix them with 4″ screws, ensuring another person helps to hold them steady.

Adding the Braces
- Measure and Cut Braces: After measuring and ensuring the braces fit snugly between the base and the uprights, secure them using 3″ screws.
- Fine Adjustments: Trim the boards incrementally for a perfect fit, checking constantly until satisfied.
Finishing Touches
- Stain the Wood: Apply a transparent wood stain to protect and enhance the look of your redwood structure.
- Curing Time: Allow sufficient time for the stain to dry completely.
Installing the Hammock Hardware
- Eye Bolt Installation: Measure and drill a hole 2½” from the top of each upright to install the eye bolt, securing it with washers.
- Attach Quick Link: Add the ½” quick link to the eye bolt for easy hammock attachment.
Hang the Hammock and Enjoy!
- Attach Hammock: Hook the hammock onto the quick links at both ends.
- Relaxation Time: Your new hammock stand is ready. Bask in the glory of your craftsmanship and enjoy a well-deserved relaxation session in your hammock.

Leave a Reply