
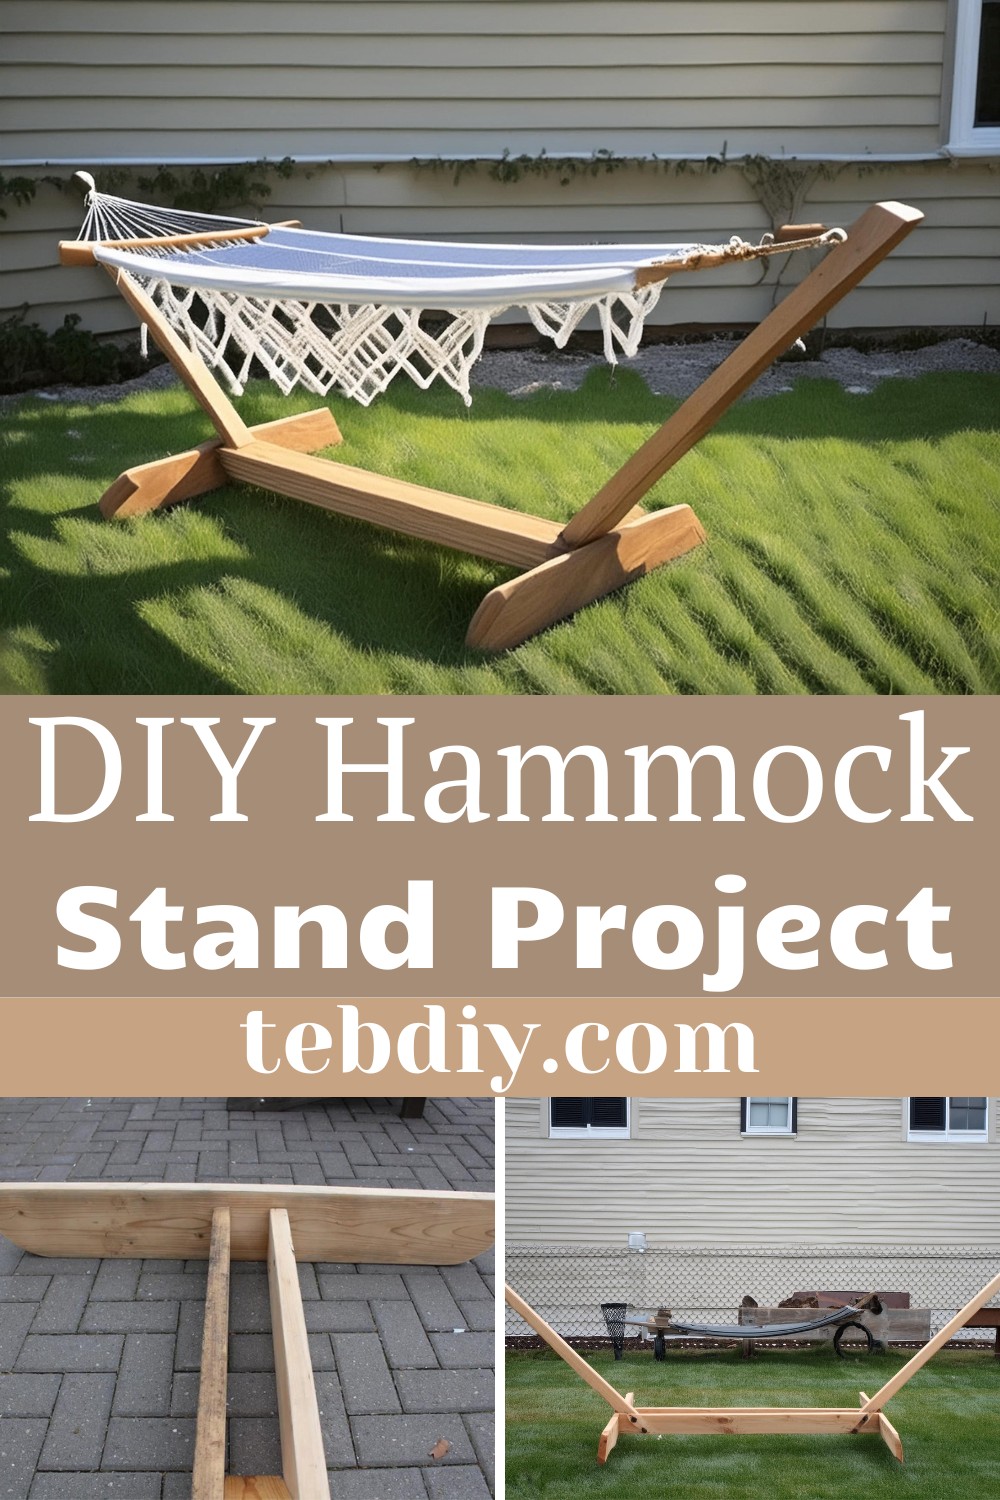
This DIY Hammock Stand project not only nurtures your crafting skills but also elevates your outdoor relaxation experience. This guide to constructing a simple, elegant hammock stand promises a rewarding endeavor, resulting in a sturdy, aesthetically pleasing haven for rest and leisure. A hammock stand offers the flexibility to enjoy the tranquility of swaying under the open sky, even in the absence of perfectly spaced trees.
DIY Hammock Stand Project

Customizable to complement your outdoor decor, this project not only adds a touch of serenity to your backyard but also serves as a proud testament to your handiwork. With the ability to move it to your preferred spot, this hammock stand ensures you have the perfect nook to unwind, read, or even nap, turning any outdoor space into a personal retreat.
Materials List
Lumber
- 2 pieces of 2×8, each 4 ft long
- 2 pieces of 2×6, each 6 ft long
- 2 pieces of 4×4, each 5.5 ft long
- 2 pieces of 2×4, each 8-9 inches long (or offcuts of 4×4)
Hardware
- 4 pieces of 1/2″ bolts, 8″ long
- 2 pieces of 1/2″ threaded eye bolts (ensure they are long enough to go through the 4×4)
- 6 pieces of 1/2″ lock nuts
- 8 pieces of 1/2″ fender washers
- 12 pieces of 3″ screws (use the correct type for pressure-treated lumber if applicable)
- 8 pieces of 2 5/8″ or 3″ screws (again, choose the correct type for pressure-treated lumber if that’s what you’re using)
Tools Required
- Safety glasses, hearing protection, dust mask (Personal Protective Equipment)
- Chop saw/Miter saw
- Cordless drill
- Cordless impact driver
- Two adjustable wrenches
- Socket set
- Tape measure
- Pencil
- 5/8″ Spade bit
- 1/2″ Spade bit
- Drill bit for pre-drilling holes for screws
- Clamps or a helping hand
- Carpenter or framing square
- Templates (provided in the project)
- Scissors
Optional Tools
- Jigsaw (for cutting curves in the legs)
- Sandpaper
- Finish (similar to deck finish)
- Hacksaw or angle grinder (for trimming the bolts)
Step-by-Step Guide
Crafting the Components
- Begin by cutting your lumber to the specified lengths as listed above. Make sure the two 2×6 base boards are exactly the same length for stability.
- Utilize the provided templates to mark the drilling locations for the main arm holes and the eye bolts. Accuracy here ensures a snug fit later on.
- Drill through the 2×6 and 4×4 pieces where marked using a 5/8″ spade bit for the arm holes and a 1/2″ bit for the eye bolt holes.
- For an aesthetic touch, cut the ends of the 4×4 arms at a 45-degree angle as shown in the template. Optionally, cut the legs (2x4s) with a curve using a jigsaw for a more elegant look.
The Assembly
- If you wish to apply a finish, now’s the best time to do so for an even application.
- Fasten the short 2×4 or 4×4 pieces to one of the 2×6 base boards as spacers/stiffeners. Then, assemble the base upside down to make use of gravity.
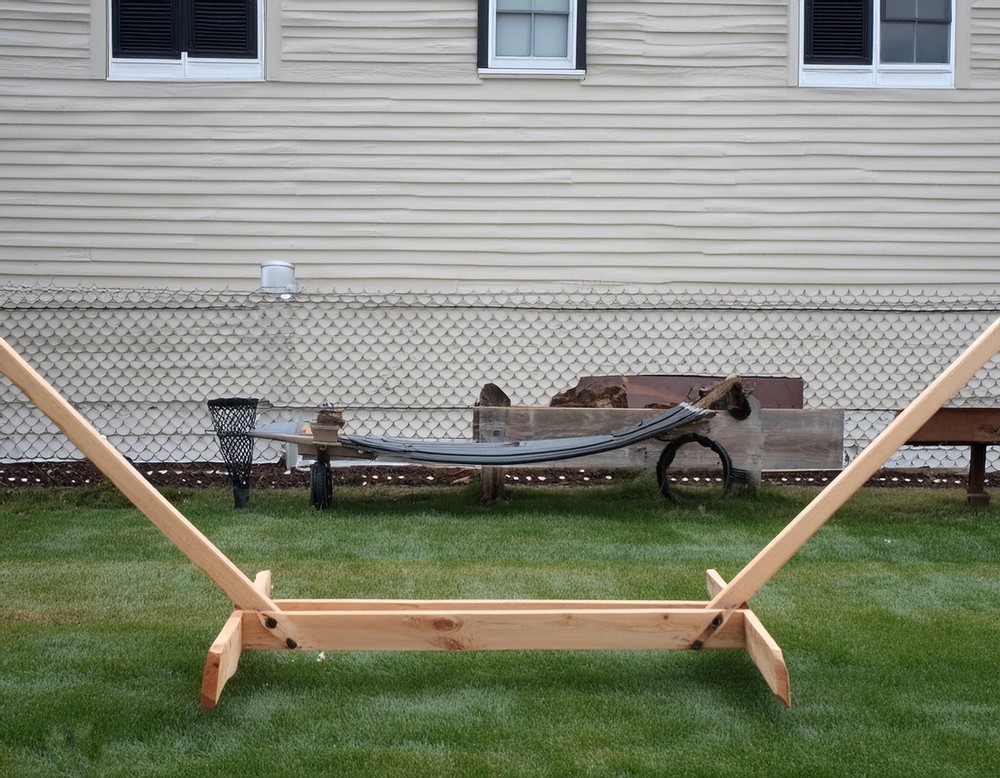
- Attach the legs (2×8) to the base boards, ensuring everything is perfectly square and the base boards are centered on the legs.
- Flip the stand right-side up and attach the arms (4×4) using the 1/2″ bolts with washers and lock nuts. Ensure the beveled end of the arms faces down and the eye bolts are aligned.
Relish Your Creation
Now, you possess your very own hammock stand, poised for many moments of leisure and tranquility. Note that the stand might creak initially as it adjusts under weight, but it will soon settle. Time to hang your hammock and enjoy the fruits of your labor.
This project not only supplies a functional piece of outdoor furniture but also instills the gratification of crafting something with your hands. So gather your tools, roll up your sleeves, and let’s bring this hammock stand to life!
Leave a Reply