Put your hands on this unique woodworking project that challenges and plays with the laws of physics! Whether you’re a seasoned woodworker or a curious beginner, this DIY gravity-defying cantilever fish bowl stand offers an opportunity not just to make an eye-catching piece for your home, but also to engage with fundamental elements of balance and design.
It’s perfect for placing vibrant fish bowls or cheerful potted plants. This rewarding project will not only develop your woodworking skills, but you will also turn simple pieces of timber into a conversation-starting masterpiece!
DIY Fish Bowl Stand / Planter Stand Project

Materials List
- Two pieces of timber approximately 500mm (20 inches) long; the width can vary, but a wider piece offers more stability
- Spotted gum decking boards were used in the original project; however, any lumber will suffice provided one piece is straight
- Optional finishes for aesthetic enhancement after completion: furniture oil, bees wax polish, or varnish
Tools Used
Make sure you have the following tools on hand:
- Personal Protective Equipment: Gloves, noise-canceling ear muffs, safety glasses
- Sliding Mitre Saw or Band Saw with tilting table
- Pull saw or hacksaw
- Sharp Chisels (19mm [3/4″] and 13mm [1/2″])
- Hammer
- 90-degree ruler
- Carpenter’s pencil or marker
- Tape measure
- Sander with various grit sandpaper (80, 120, 180, 240) – a random orbital sander was used in this project
Step-by-Step Guide
Measure Your Timber
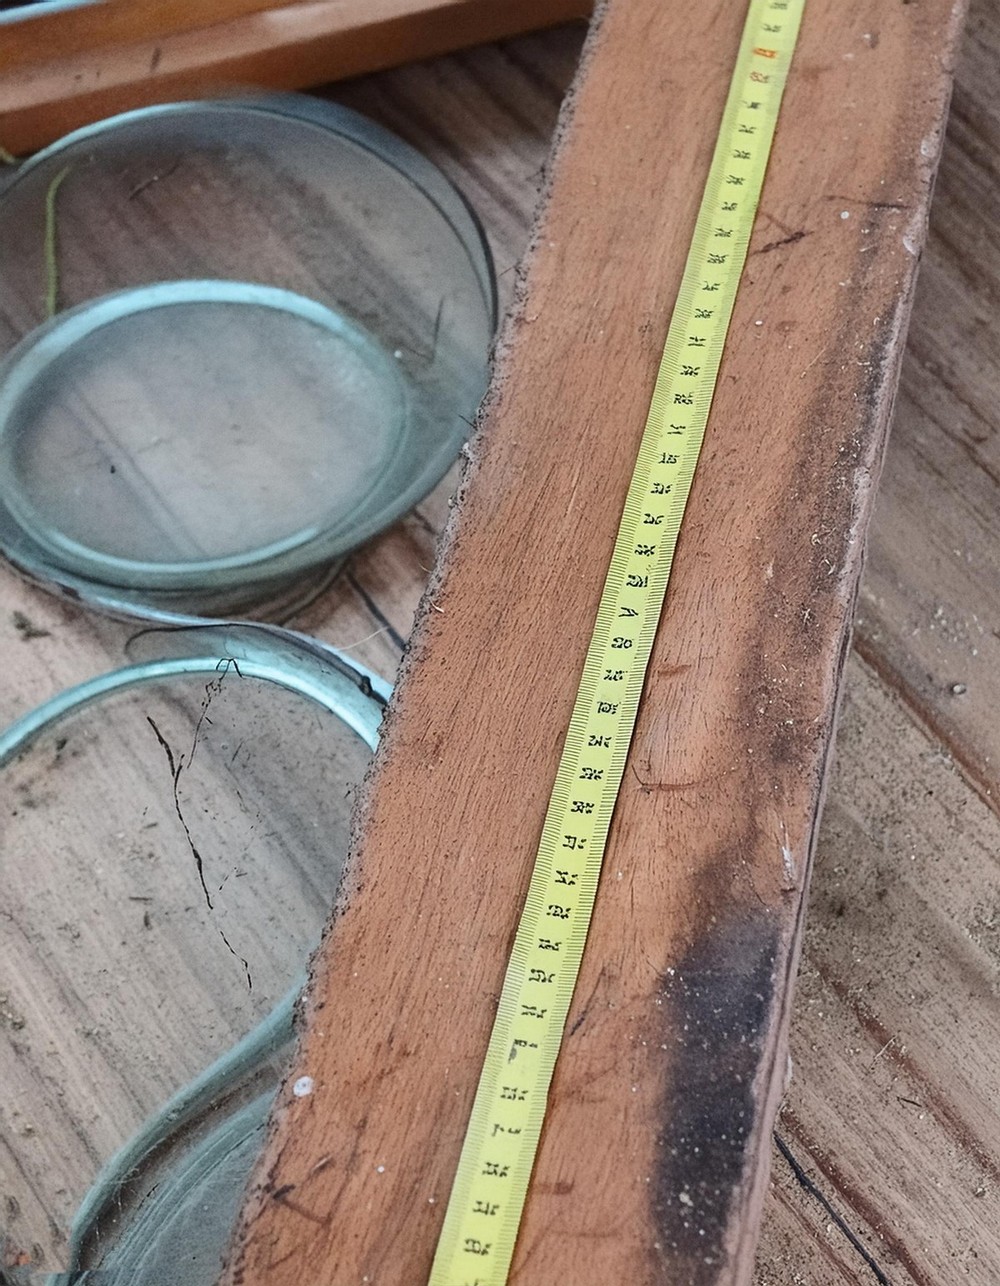
First, gauge the dimensions of your timber – you will need the length, width, and thickness. Record these measurements as they will be important for precision in later steps.

Marking for Cuts
Grab your 90-degree ruler, measuring tape, and marker to begin marking your timber:
- On each piece of timber, mark where cuts will need to be made. These include the angles at each end and a cut-out section in the center.
- Ensure the cut-out’s width matches the thickness of your boards and spans half the board’s width.
Precision Cuts
- Adjust Your Saw: Set your mitre or band saw table to a 35-degree angle for the end cuts.
- Cut Ends: Securely place each timber piece and make the angled cuts carefully on both ends.
- Cut-Outs: Utilize the set 35-degree angle to begin making multiple close parallel cuts within the cut-out marking, ensuring to stay within the lines.
Finalizing the Cut-Outs
With the rough form now cut, take:
- A chisel and hammer to refine the edges and remove any remaining pieces within the cut-out sections.
- Use your sander to smooth out all surfaces, handling edges and angles with detail to avoid splinters and ensure a snug fit.

Assembly
Now, it’s time to assemble:
- Slide the cut-out section of one timber piece into the corresponding section of the other. Adjust for tightness and stability, ensuring the structure stands balanced.
Finishing Touches
Optionally, apply your preferred finish (oil, wax, or varnish) to protect the timber and give it a polished look.
Enjoy Your Creation
Place your fish bowl or planter on the stand and enjoy the baffled reactions as people try to figure out how it defies gravity!
This project not only teaches you about woodworking but also delves into crafting artistic structures that combine functionality with an illusion of magic. Enjoy building, and don’t forget to share your masterpiece!


Leave a Reply