
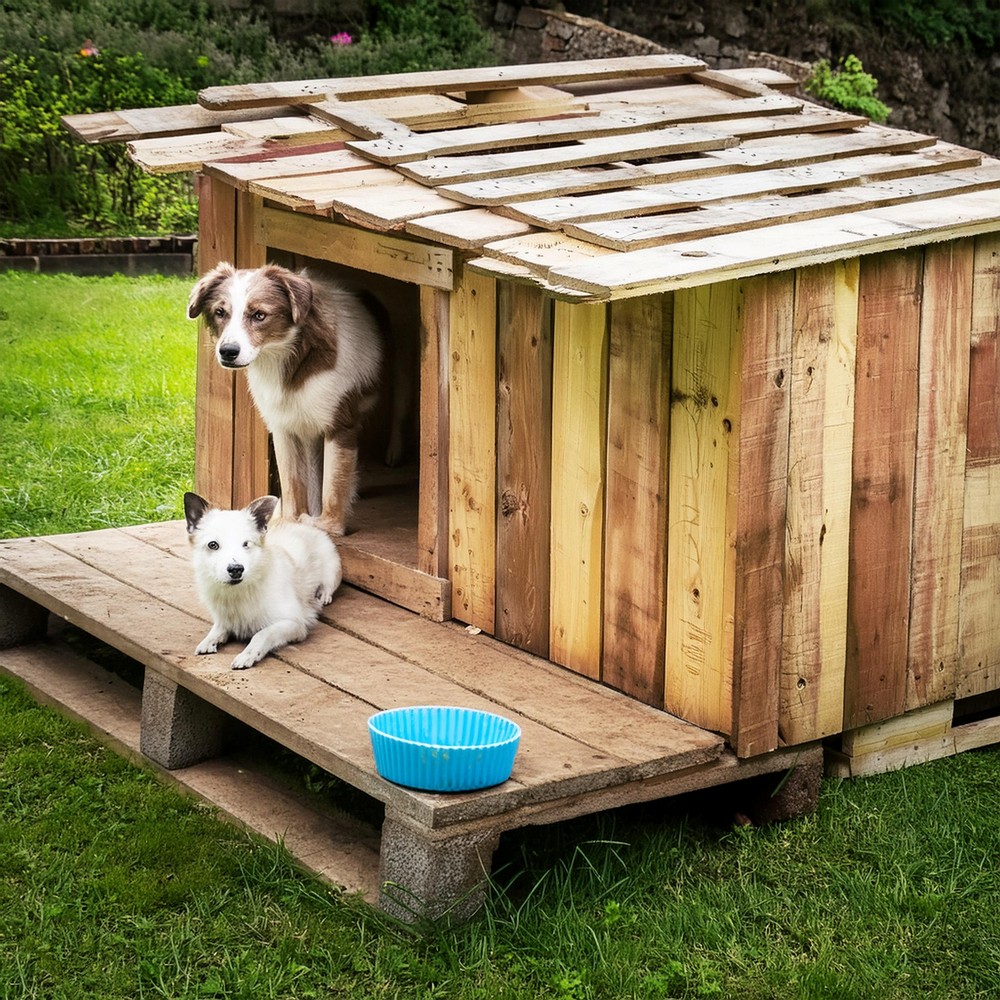
Let’s turn those old pallets into a cozy spot for your dogs. Picture your pets chilling in a cool doghouse on your deck, breathing in the fresh air with you. You might think it’s too hard or something only experts can do. Don’t worry! This guide will show you how to make a trendy home from simple pallet wood for your pets. This DIY Doghouse project is about recycling, being kind to the planet, and making your outdoor area look special.
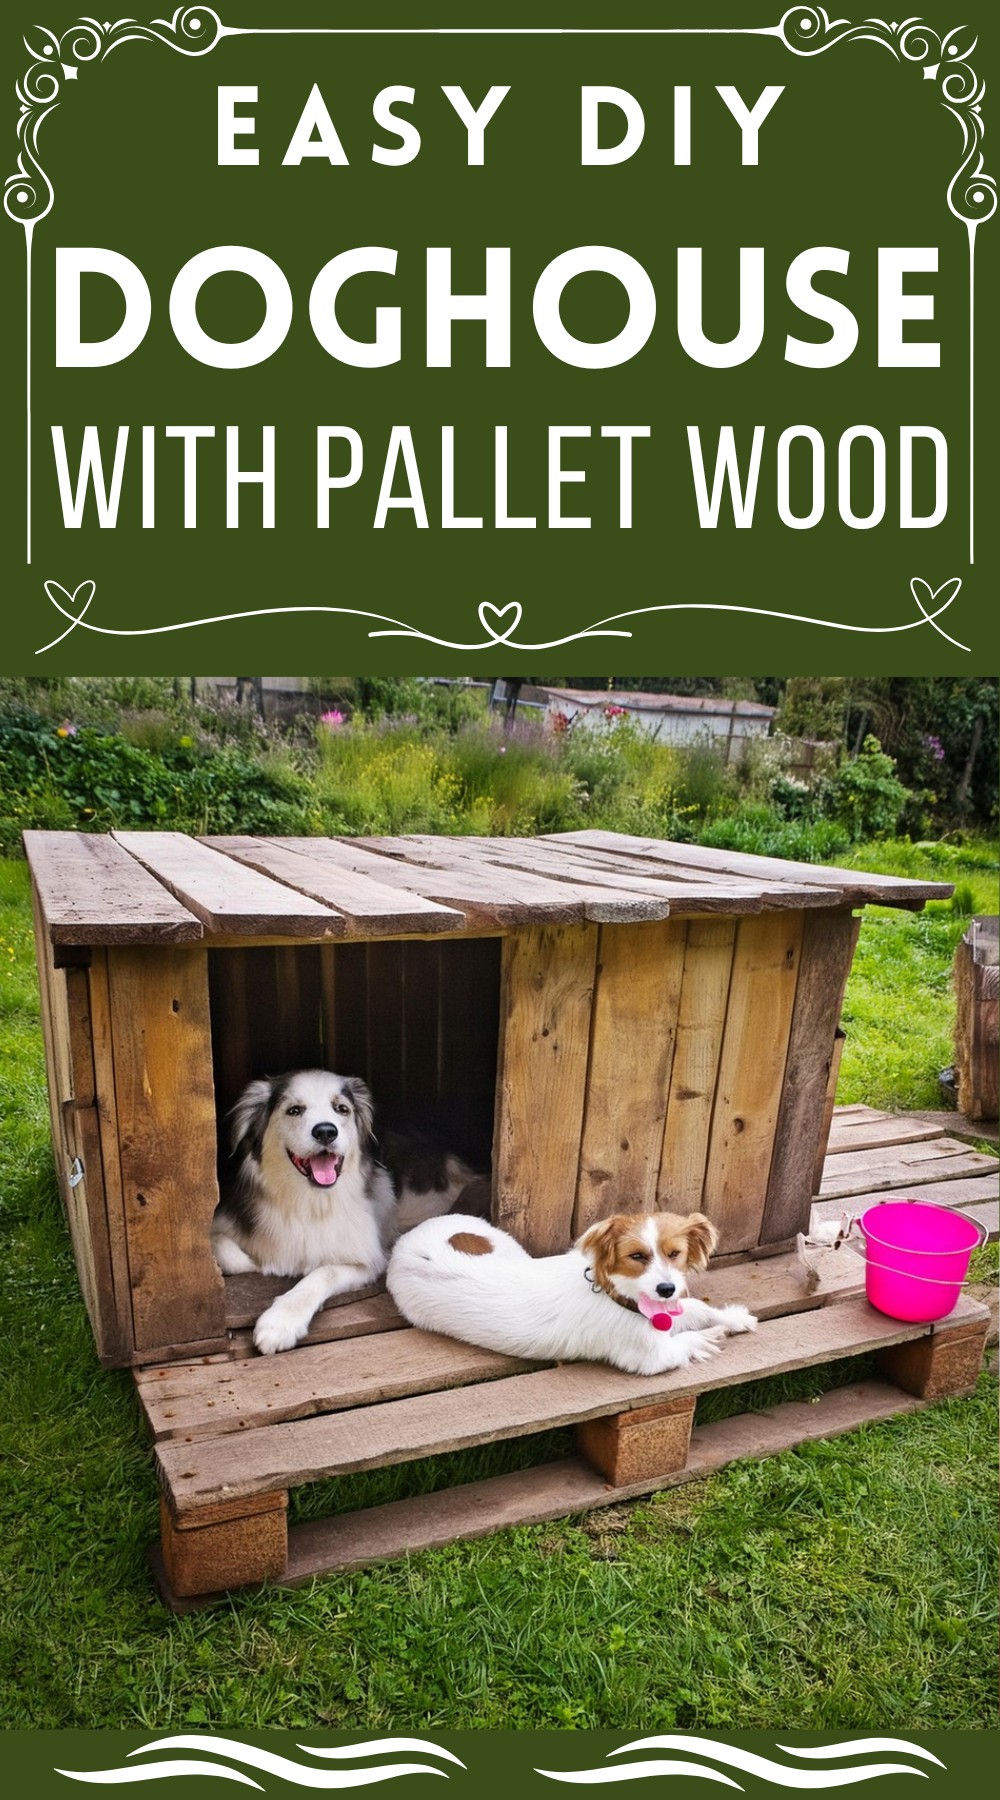
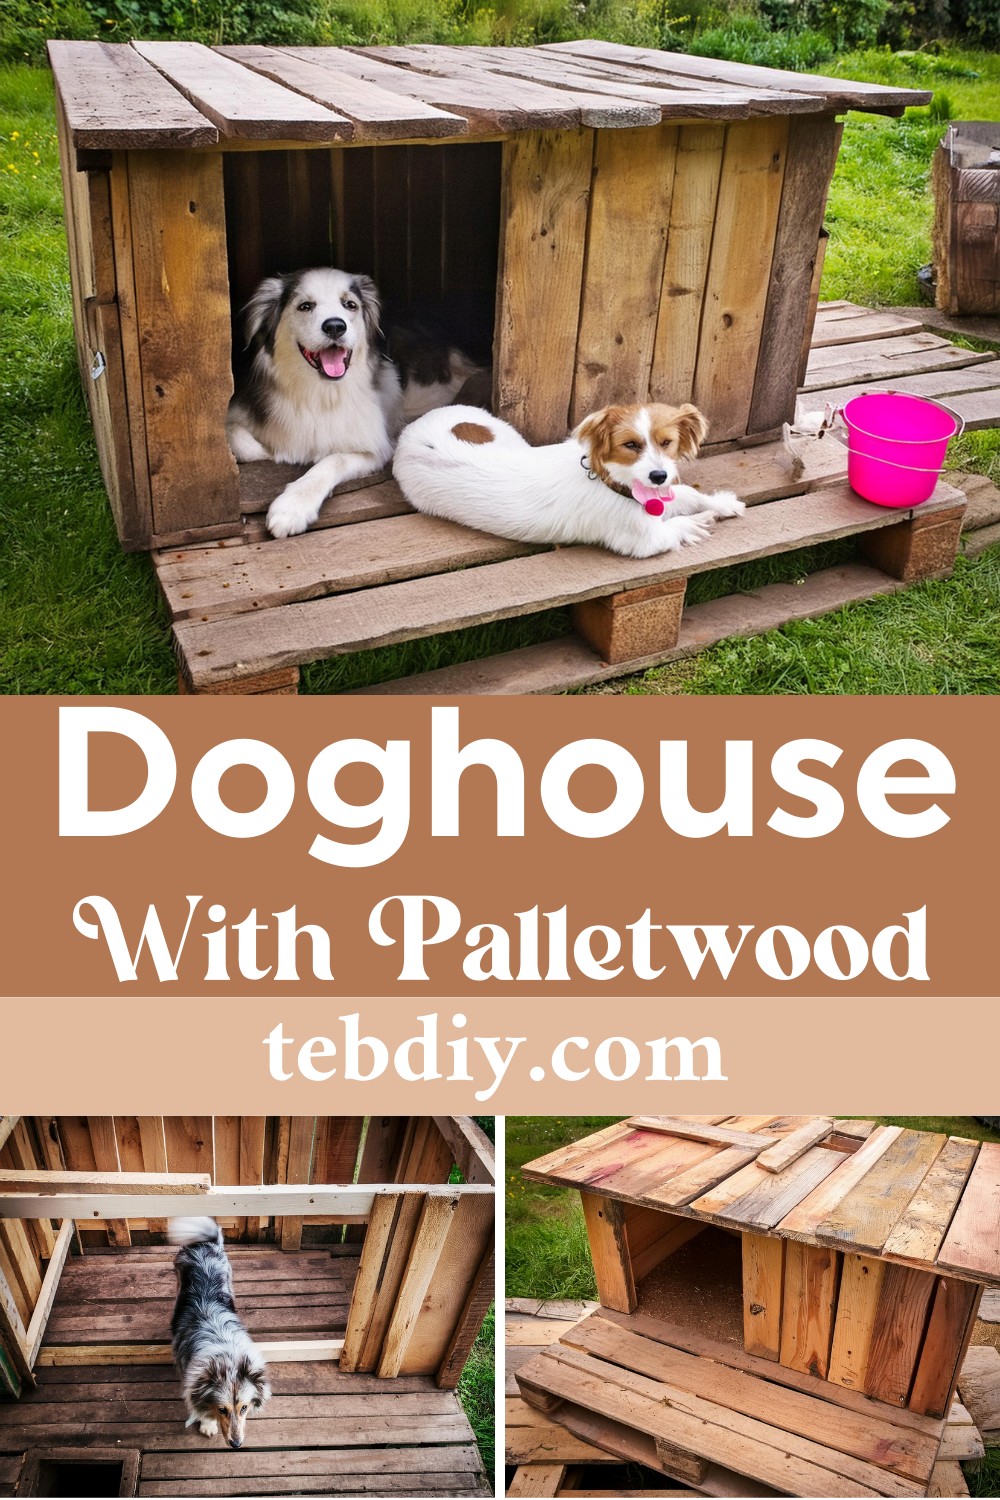
How To DIY A Doghouse
Materials List
- Pallets (the backbone of our project)
- Screws (be generous, you’ll need quite a lot)
- Clear wood protection oil (to weatherproof and beautify the wood)
- A paint roller (for smooth oil application)
Tools Needed
- Chop saw (for those clean, straight cuts)
- Handsaw (for the detail work)
- Propane burner (for that chic, burned look)
- Brass brush (to clean up after burning the wood)
Making Process
Sourcing the Pallets and Prepping
The adventure begins with a simple collection of pallets. Locate, load, and transport your pallets home. Start by selecting the most promising pallet to serve as the foundation. Dismantle the remaining pallets, saving the usable pieces for construction and relegating the others to firewood.
Laying the Foundation
Trim the sides of your chosen pallet using a plunge saw to prevent overhang. Next, dedicate some time to filling the gaps within this foundation pallet with wood slices tailored with the plunge saw to fit the varying sizes of gaps perfectly.
The First Burn
For a rustic, lived-in appearance, gently scorch the wood with a propane burner. Use a brass brush to remove charred areas, revealing a textured surface much more intriguing than merely sanded wood.
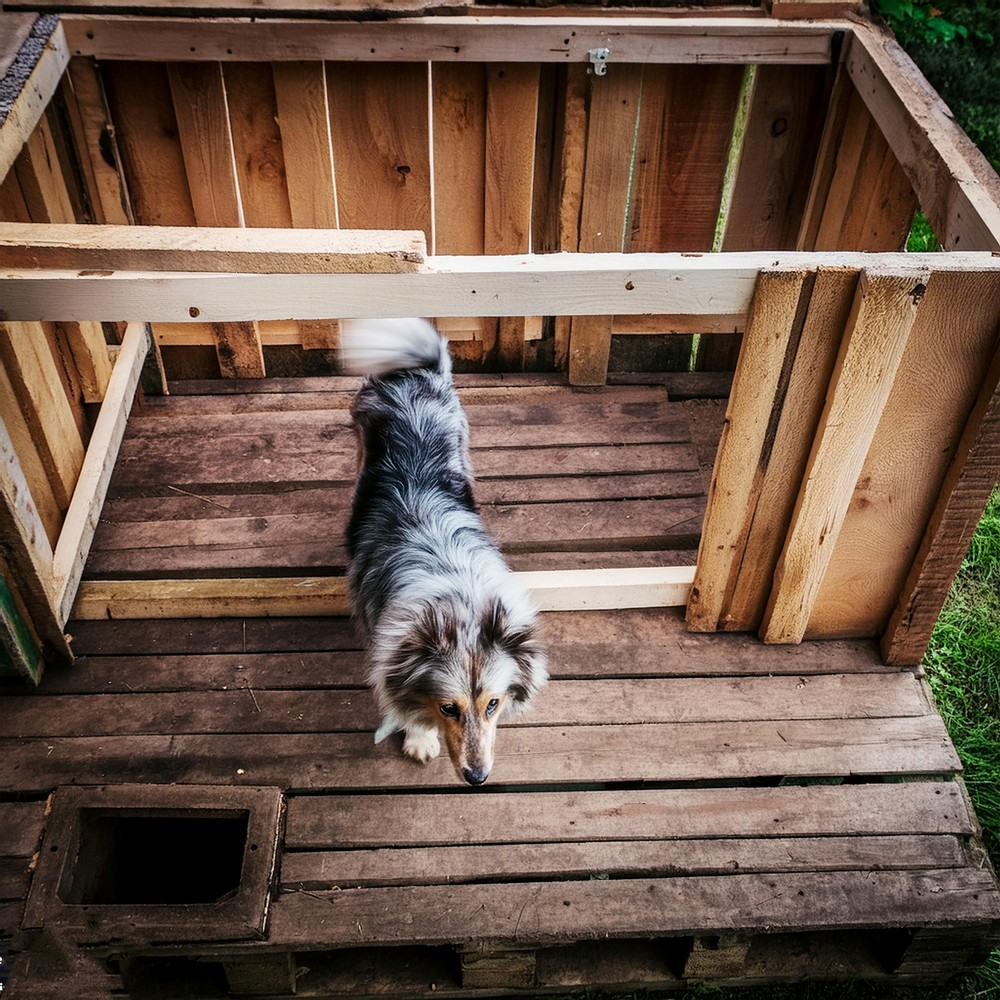
Constructing the Walls
Now, assemble the house’s frame using wooden bars and the salvaged pallet wood. This process is simpler than it sounds; even those without advanced carpentry skills can achieve sturdy, aesthetically pleasing results.
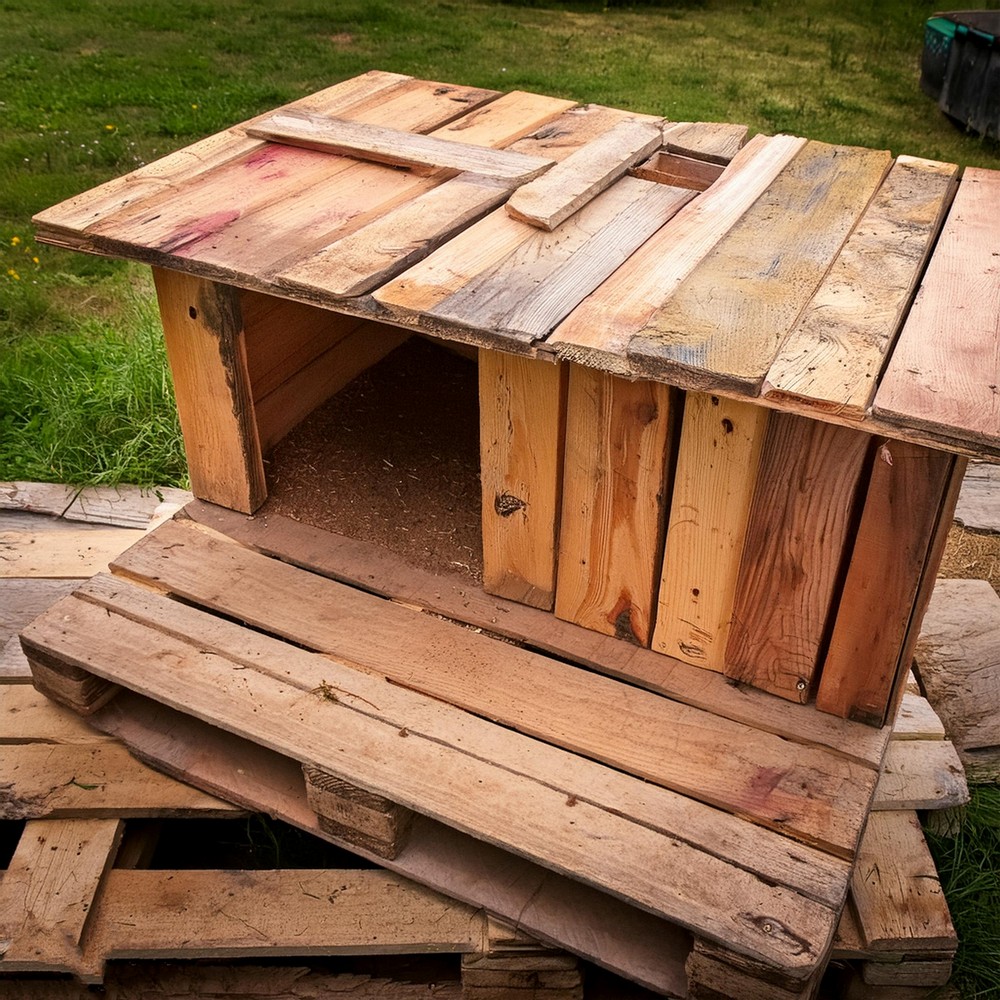
Erecting the Roof
Mirror is the process used for the walls to create the roof, securing salvaged wood with screws. Trim the front for a neat, flush appearance.
Finalizing with a Second Burn
To ensure a cohesive look, apply the propane burner again, focusing on the exterior walls, roof, and visible slats.
Sealing and Protecting
Apply wood protection oil with a roller, covering the doghouse thoroughly. This enhances the doghouse’s longevity and highlights the wood’s natural beauty.
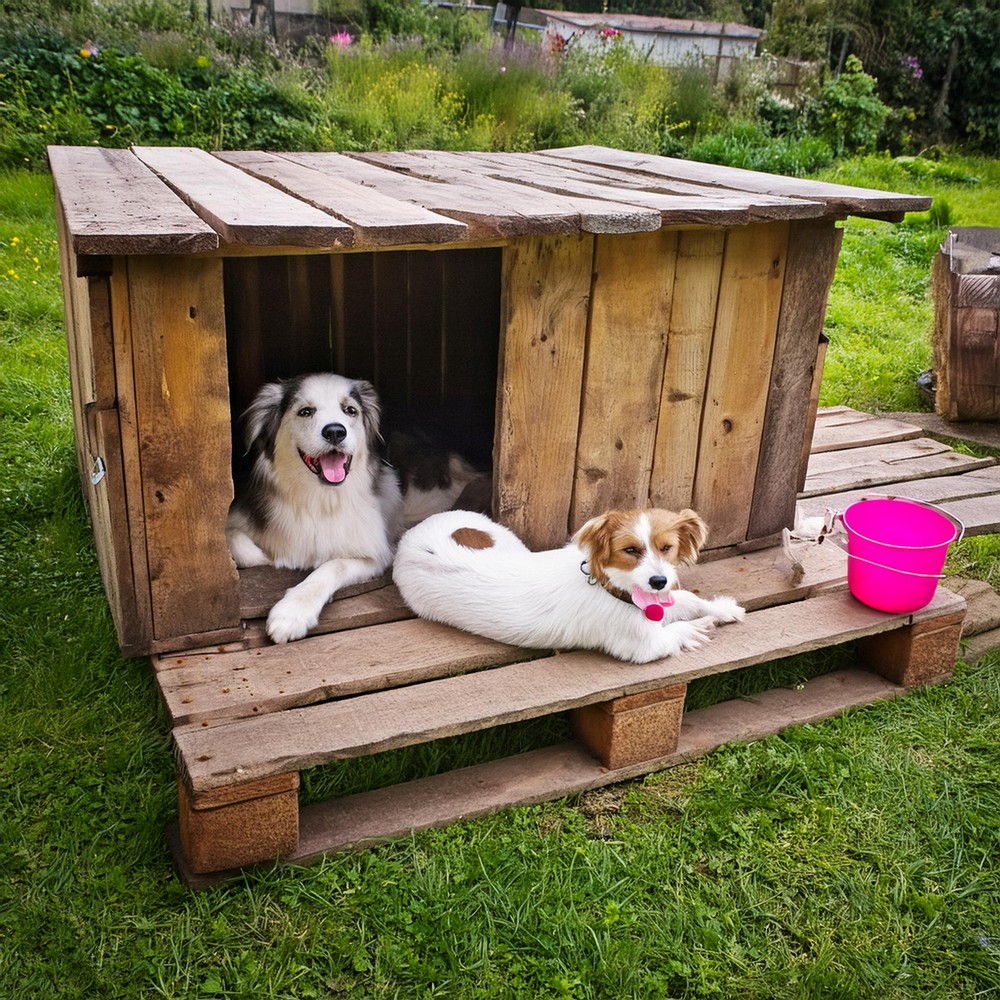
The Moment of Truth – Testing
After allowing sufficient drying time, introduce your dogs to their new sanctuary. Witness their approval as they explore their custom-built, stylish new home.
Concluding Thoughts
By following these steps, you’ve crafted a safe, comforting refuge for your pets and embarked on an upcycling journey that benefits the environment. This doghouse project proves that you can transform ordinary materials into something extraordinary with some creativity, manual effort, and a willingness to get a bit messy.
Leave a Reply