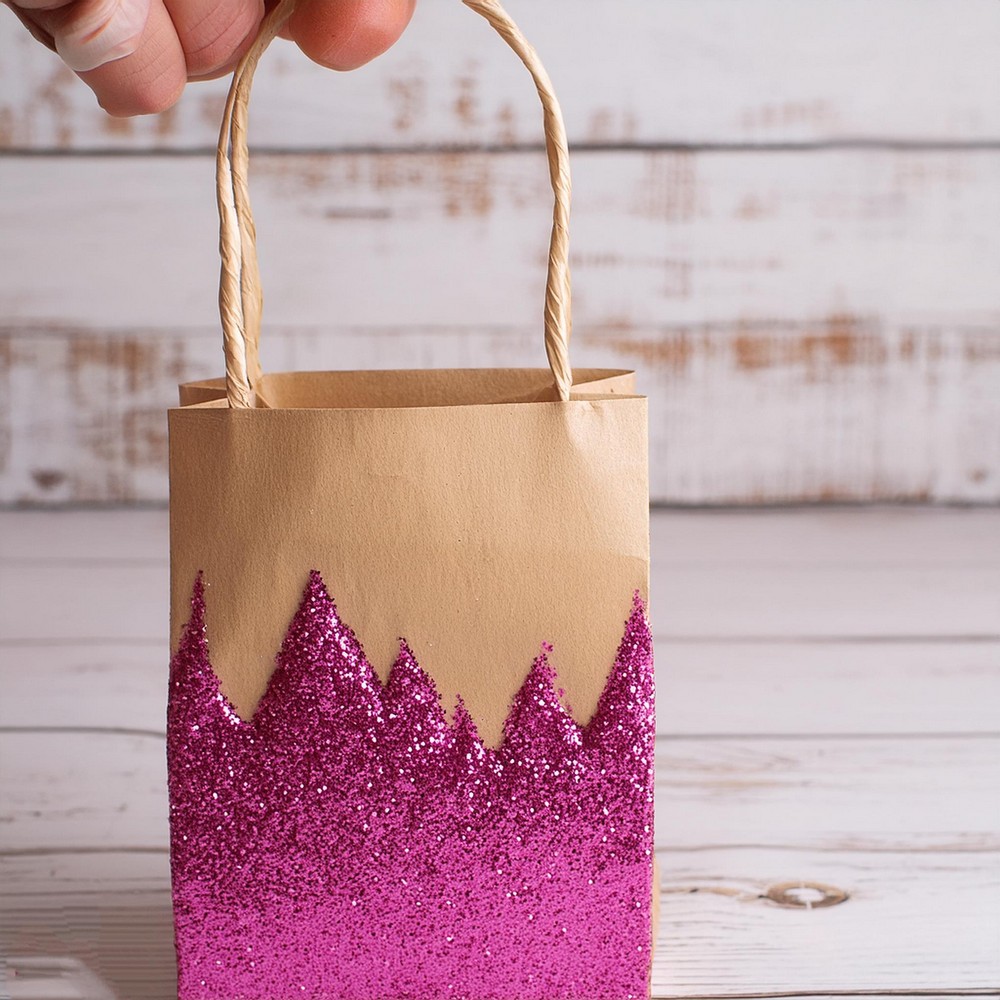
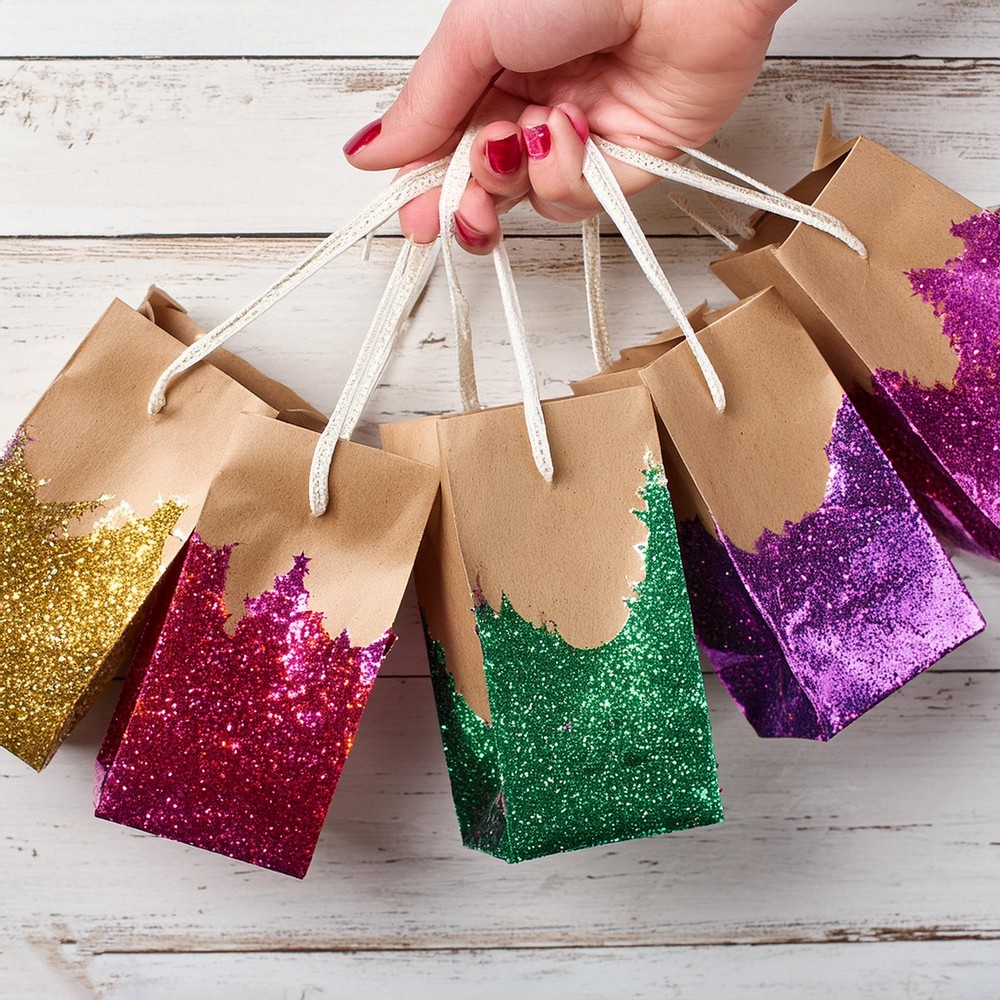
If you’re looking to give your gifts a touch of sparkle and personality, making this glitter-dipped gift bag will be a brilliant idea. This creative idea will help you transform ordinary paper bags into eye-catching masterpieces, making your presents stand out. It’s a simple yet effective way to add a special element to any occasion, whether it’s a birthday, wedding, or holiday gift. These Glitter-dipped gift bags will merge the joy of crafting with the delight of gift-giving, offering a personalized twist to your presents.
Glitter Dipped Gift Bag

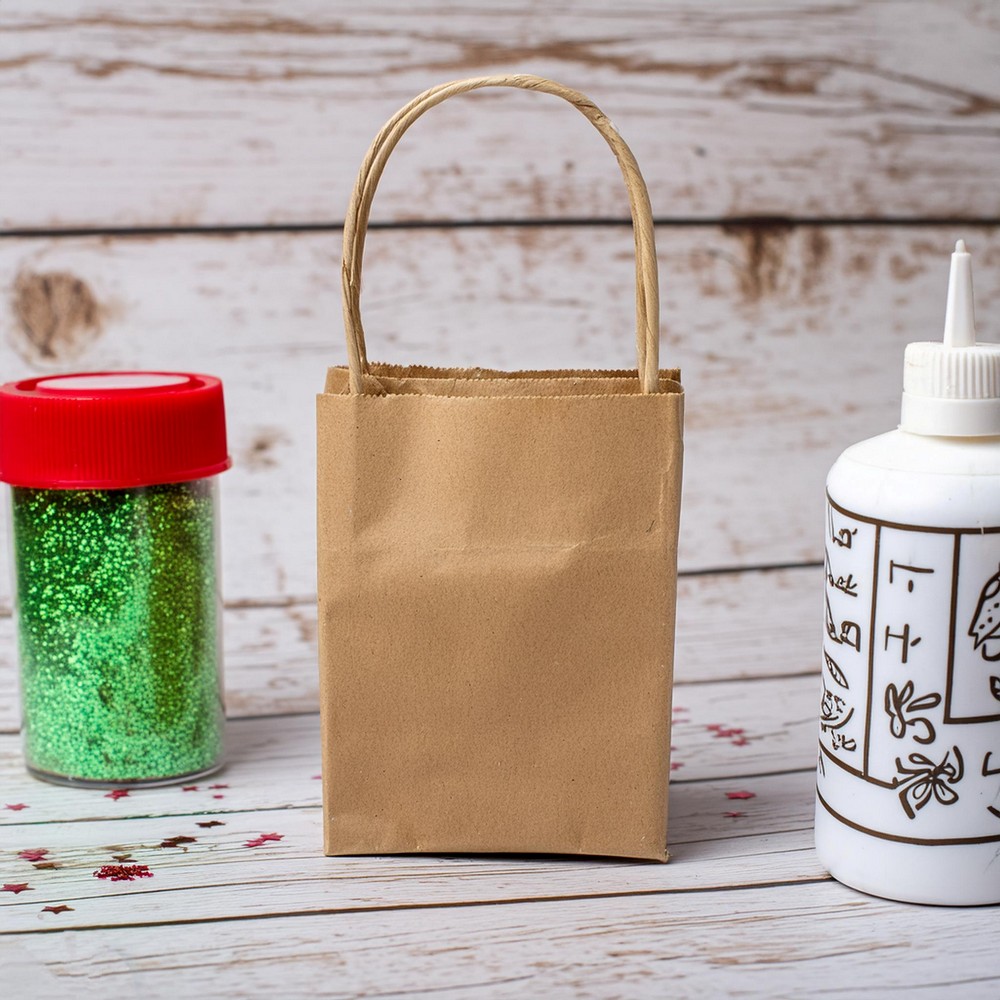
Materials Needed:
- Kraft paper gift bags
- Glitter
- Glue (e.g., Mod Podge)
Tools Required:
- Paintbrush or similar applicator
- Piece of paper or card stock

Step-by-Step Guide:
Prepare the Bag: Initiate the transformation by applying a thin layer of glue to the lower parts of the kraft paper bag. Be mindful not to cover the bottom of the bag. For the glue application, unleash your creativity – opt for wild, sketchy brush strokes or prefer a more uniform appearance with neat, straight lines.
Add the Glitter: Position the bag over a piece of paper or card stock to ensure an easy cleanup. Generously sprinkle glitter over the glued areas of the bag, turning it as needed to ensure complete coverage. The excess glitter will fall on the paper beneath, minimizing wastage.
Reclaim the Excess Glitter: Once the bag is fully glittered, gently lift the paper to funnel the unused glitter back into its container. This step is crucial for conservation and efficiency, especially if you’re working with a newly opened jar of glitter.
Settle and Dry: If your glitter container becomes overly full, a gentle tap on the bottom of your work surface can help settle the contents, making room for more. Allow the bag a few hours to dry completely, ensuring the glitter adheres well.

Seal (Optional): To reduce glitter shedding, consider adding a final layer of Mod Podge mixed with glitter over the dried bag. This seals the glitter, though it may slightly diminish the overall sparkle.


Leave a Reply