
DIY a charming birdhouse haven for feathered friends doesn’t only bring a touch of nature’s symphony to your backyard but also offers an exquisite opportunity to engage in crafting. Imagine witnessing the jubilant fluttering of wings as they swoop into their new, cozy abode, crafted by your own hands!
Whether you’re a seasoned DIY enthusiast or a curious novice eager to dabble in a new project, constructing this simple birdhouse allows you to recycle leftover materials and channel your creativity into a delightful decoration that sings the songs of practicality and style.
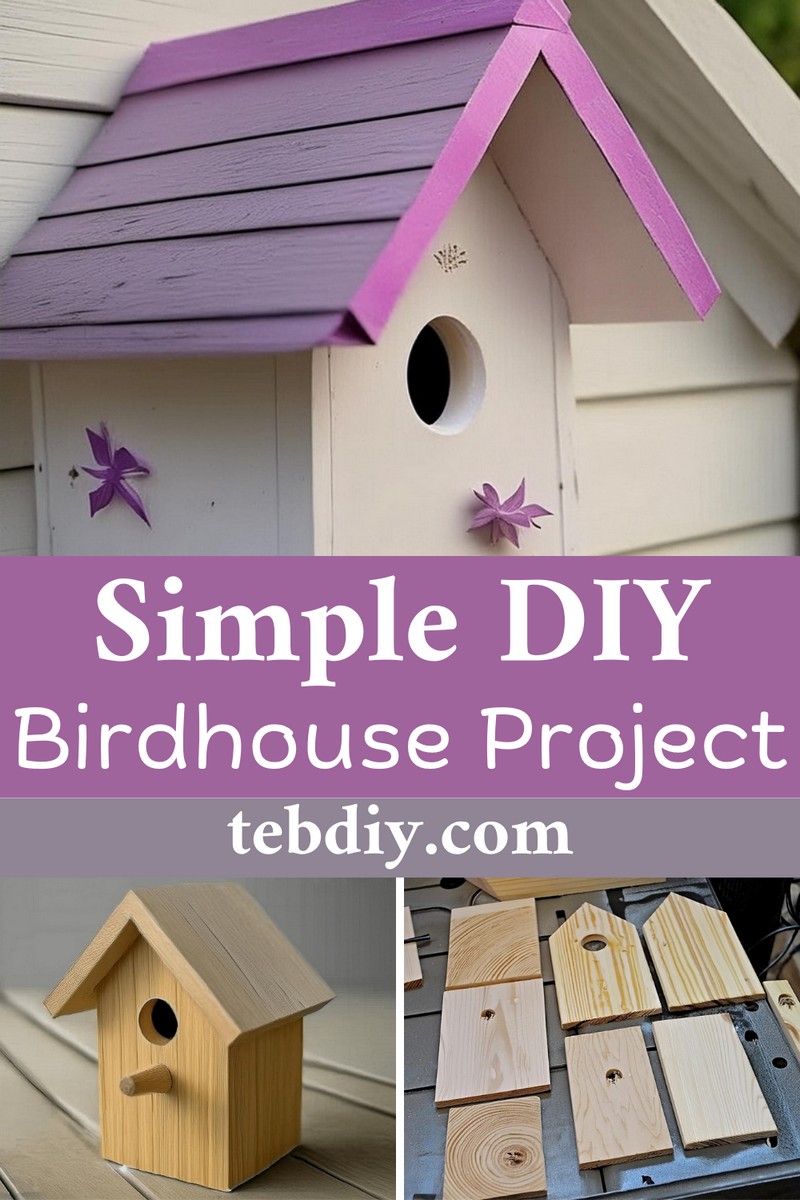
DIY Birdhouse Project
Tools Required:
- Miter Saw
- Hole Saw
- Sander
- Nailer
Materials Needed:
- Shuttering Boards
- Nails
- Paint
- Wood Glue
Step by Step Guide to Making the Birdhouse:
Design Plan
A concise blueprint is your first step towards a successful build. The plan for this birdhouse, detailed in the PDF attachment from the source, outlines all the measurements and the overall structure using Fusion 360 for a 3D view. Be sure to reference these to get your dimensions spot-on.
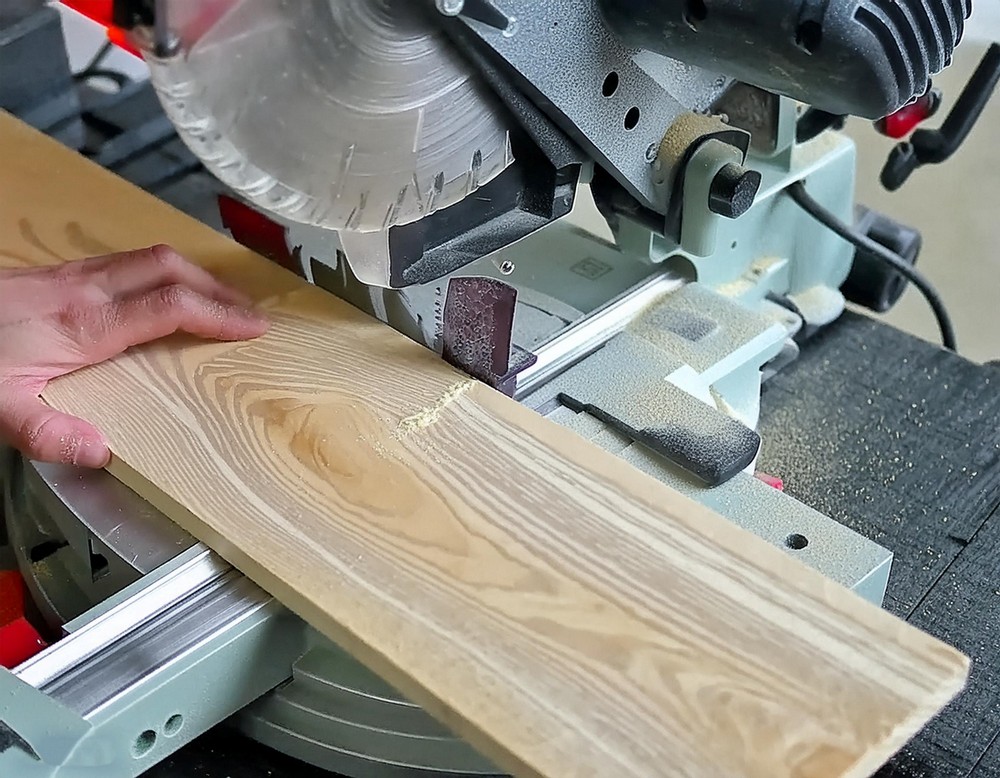
Precision Cuts
Armed with your miter saw, proceed to meticulously cut the shuttering boards according to the dimensions provided. Remember to employ the hole saw for a neat 40 mm entrance for your feathered guests.
Seamless Assembly
Once your wooden pieces are shaped and sanded to smoothness, the assembly begins. Bond each element together with a firm application of wood glue and reinforce with a pneumatic nailer to ensure stability.
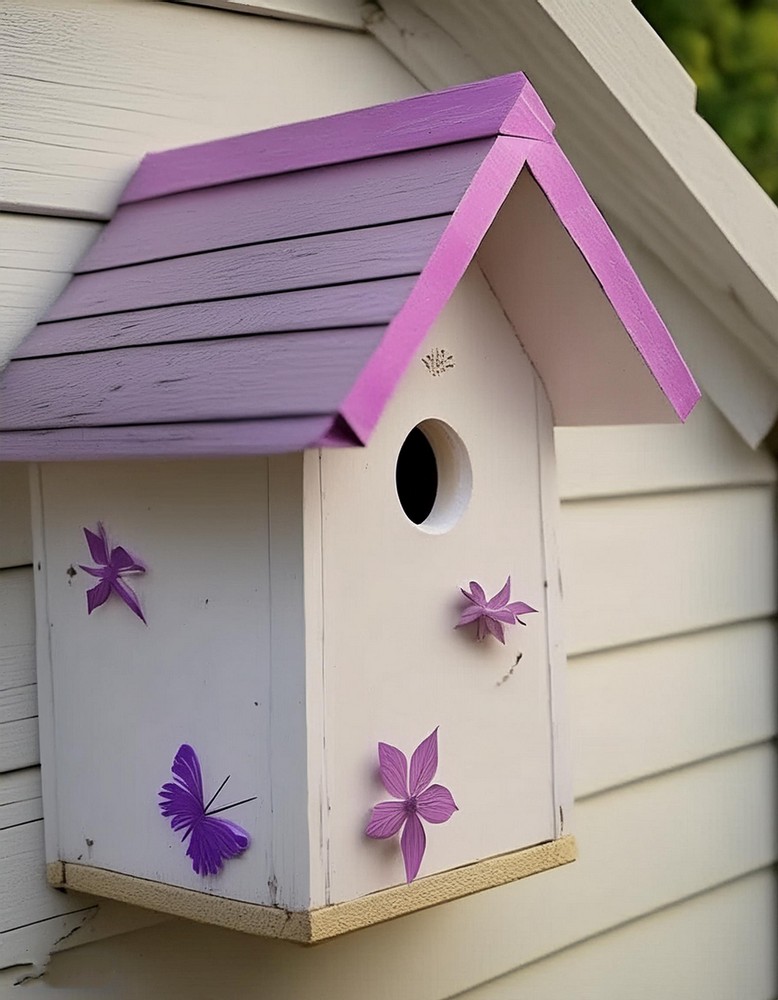
The Roof Concept
For the roof, fasten the two wooden sections with a wooden cleat. Apply wood glue and secure an “L” angle for a polished finish. Remember, the roof nestles snugly atop without being fixed, allowing for easy access when necessary.
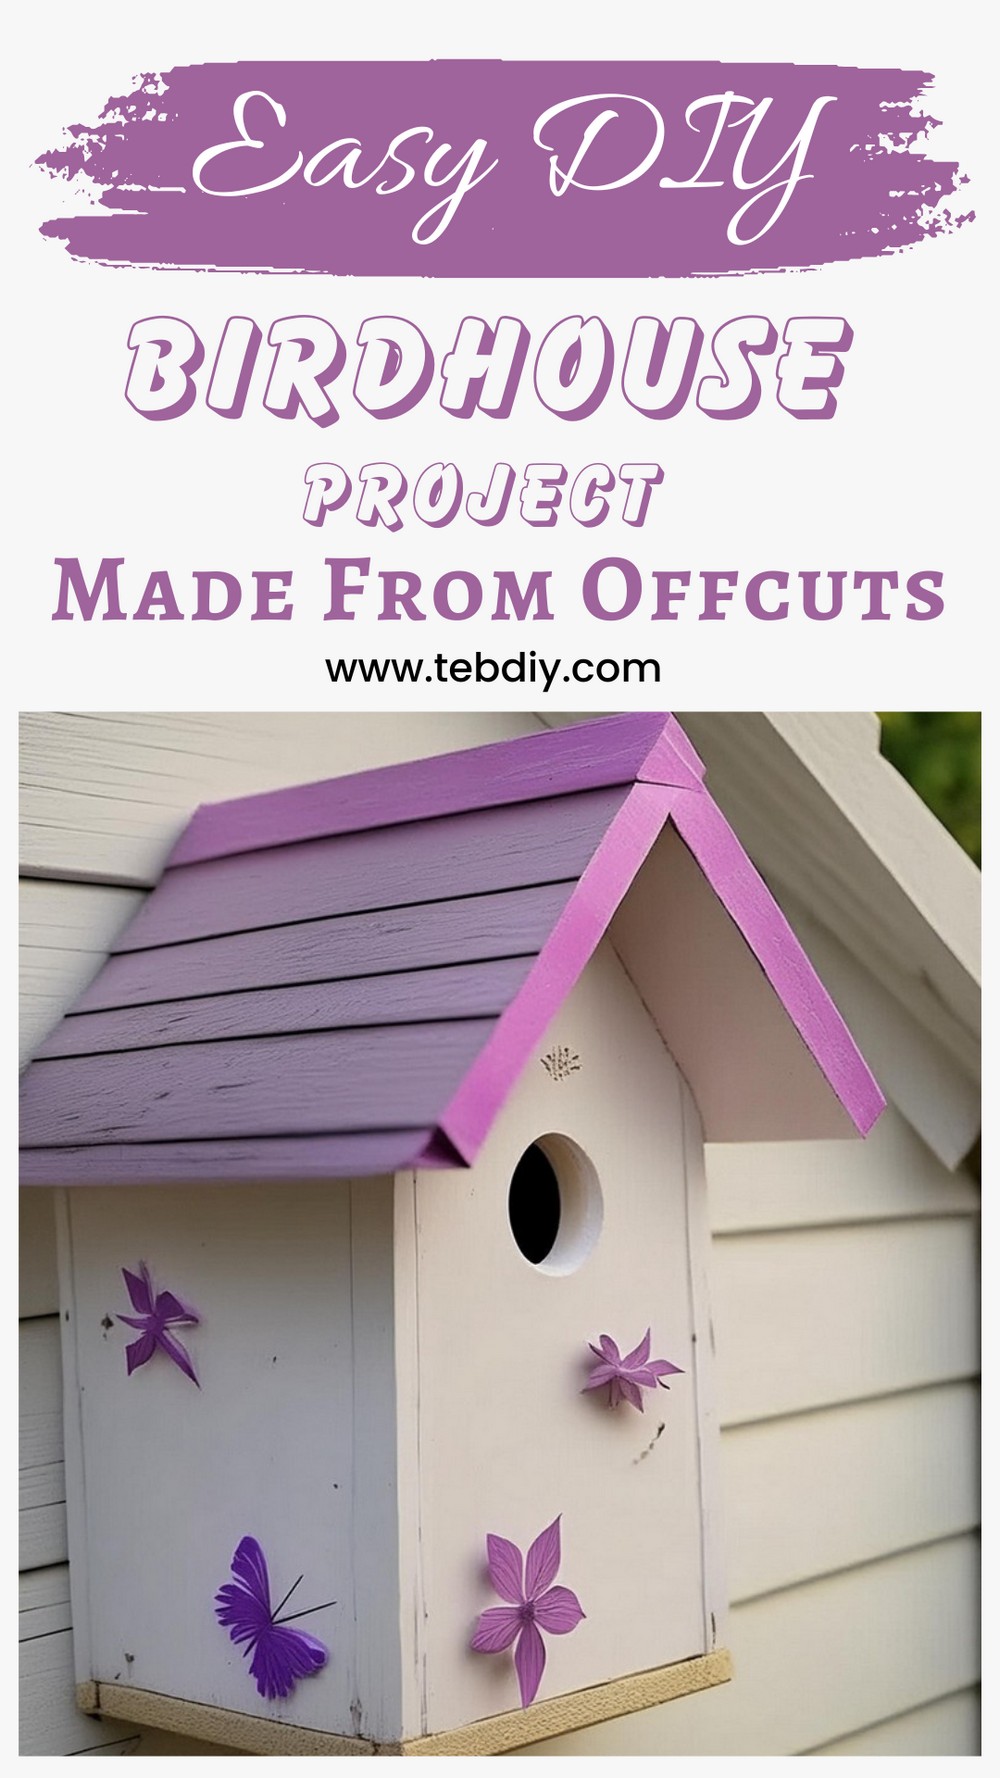
A Blank Canvas
Hand over the reins of creativity to your painting enthusiast. In this case, Colyne takes charge with a passionate application of two coats of white paint, laying the foundation for a personal touch.

Stencil Magic
To personalize your birdhouse, select designs and create stencils. After printing your chosen patterns, use a cutter to carve out the figures from an adhesive vinyl sticker layered with paint scotch for ease of use.
Artistry Unleashed
The artistic phase beckons as you adhere the stencils to the birdhouse. Colyne mirrors the palette of his children’s cabin for a harmonious theme, enriching the birdhouse with vibrant life.

The Final Perch
All that’s left is to find the perfect spot for your creation. Ideally, it should be a place where curious cats cannot intrude, such as at the crown of a quaint cabin. Witness the culmination of your crafting as it stands proudly, a welcoming beacon for inquisitive birds.
This project not only provides a picturesque accessory to your outdoor space but also presents a wonderful bonding activity that combines the joys of nature, crafting, and artistic expression.
Leave a Reply