
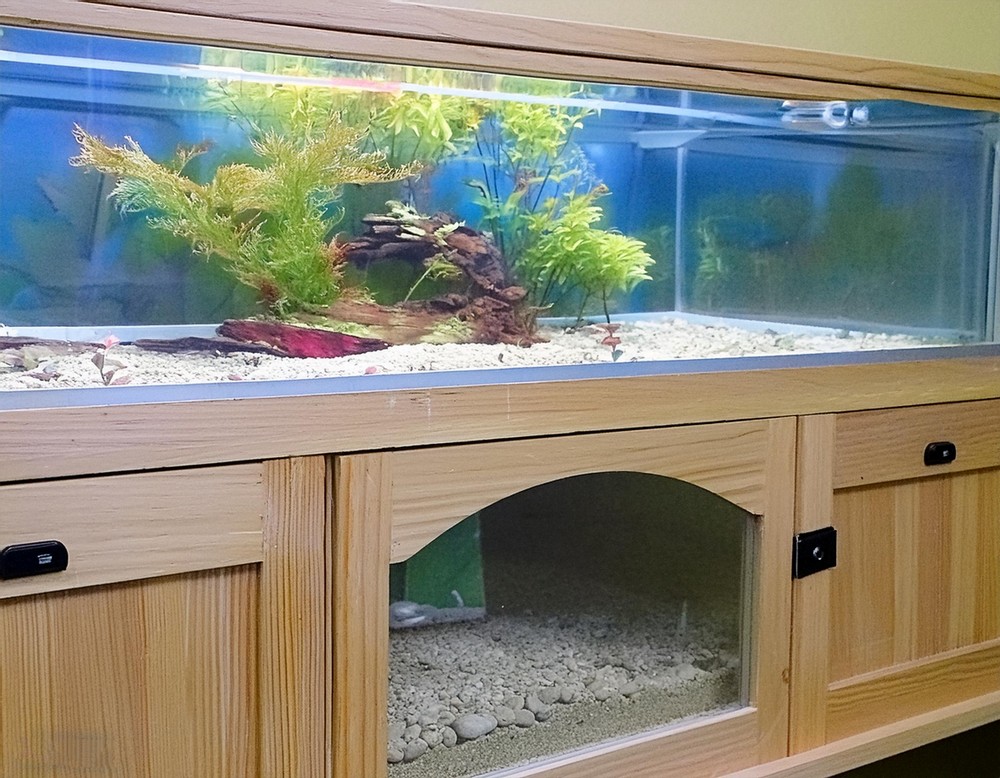
This DIY project is best to build a bespoke aquarium stand can be a fulfilling adventure—transforming planks of wood into a stylish piece of furniture that showcases your aquatic world. Whether you’re an experienced DIY or new to the woodworking scene, creating a pine stand from scratch is an excellent opportunity to hone your skills and add a personalized touch to your home.
DIY Aquarium Wooden Pine Stand
The project detailed below unfolds in a quaint backyard, amidst the unpredictable drizzles of a British September, proving that with determination and a bit of creativity, anyone can bring a vision to life, regardless of the weather or workshop restrictions.
Materials Needed:
- 18mm MDF (Medium-Density Fibreboard)
- 20mm x 69mm Pine
- 20mm x 144mm Pine
- D4 PVA Waterproof Wood Glue
- 6mm V-Groove Boards
Tools Used:
- Tape Measure
- Biscuit Joiner
- Router
- Orbital Sander
- Jigsaw
The Making Process:
Building the Base
First, lay the groundwork by constructing a solid carcass from the 18mm MDF. This provides a sturdy base for the stand. Following this, integrate two upright pieces to form the central part of the unit, laying the foundation for the rest of the structure.
Crafting the Front Frame
Shape the front frame from your 20mm x 69mm pine, cutting it to the desired length. Use a router equipped with a half-inch round nose bit to fashion two elegant flutes along each leg of the frame.

Joining Front to Base
With precision, biscuit joint the front frame to the MDF carcass, securing everything with D4 PVA waterproof wood glue for a robust and moisture-resistant bond.
Assembling the Frame Front
Progress by methodically clamping and attaching each component of the frame front, ensuring it dries thoroughly and achieves a sturdy construction, devoid of screws for a cleaner look.
Finalizing the Frame and Panels
Complete the front frame, extending it 20mm beyond each side of the carcass. This allows for the seamless integration of the end frames. Next, fashion the end panels from the same timber as the front, biscuit jointing the corners and carving a 7mm groove along the inside edge to accommodate the 6mm V-groove boards.
Constructing the Stand Top
Create the top of the stand by biscuit jointing together 20mm x 144mm pine boards. Cut to the correct size and router the edges for a polished finish.
Joining the Top and Crafting the Tank Surround
Securely attach the end panels to the front frame, using a chamfer bit for a precise finish, and screw the top in place. Then, mirror the process used for the end frames to construct the tank surround, ensuring you route the inside edge for consistency.
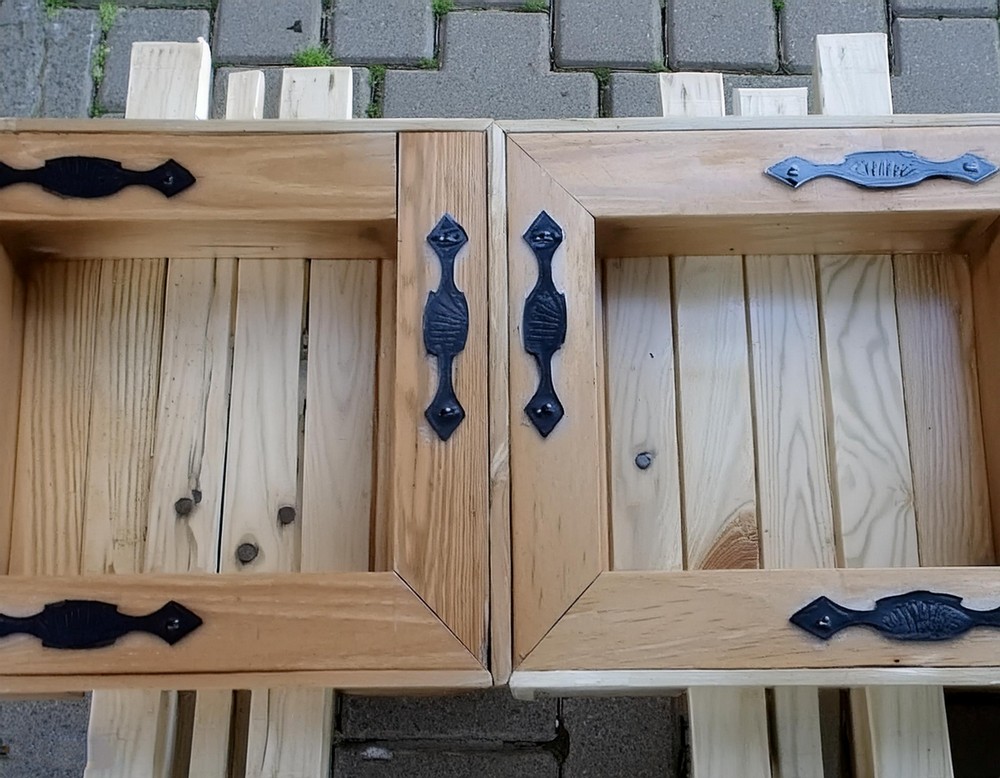
Embellishing and Final Touches
Add two flutes atop the surround with a router, ensuring a perfect match. Biscuit join the surround end panels to the front and clamp them to an 18mm MDF base. Once dry, chamfer the tank surround, and construct the lid, adapting it to suit the design by creating an arch in the middle section. Assemble doors echoing the end panel design and finalize with varnish for added durability and aesthetics.
Varnishing and Decorative Elements
Varnish the inner section with two coats of acrylic varnish and three coats on the outside for a gleaming finish. Finally, install hinges, add a custom-fitted 18mm MDF shelf for practical storage, and decorate with corner brackets to harmonize the surround with the stand, achieving a distinguished and cohesive look.

This project not only tests your craftsmanship but also rewards you with a bespoke piece. That adds charm and character to your home. Through patience, precision, and a bit of creativity. You’ll end up with a distinguished aquarium stand that’s both functional and a stately home for your aquatic friends.
Leave a Reply