
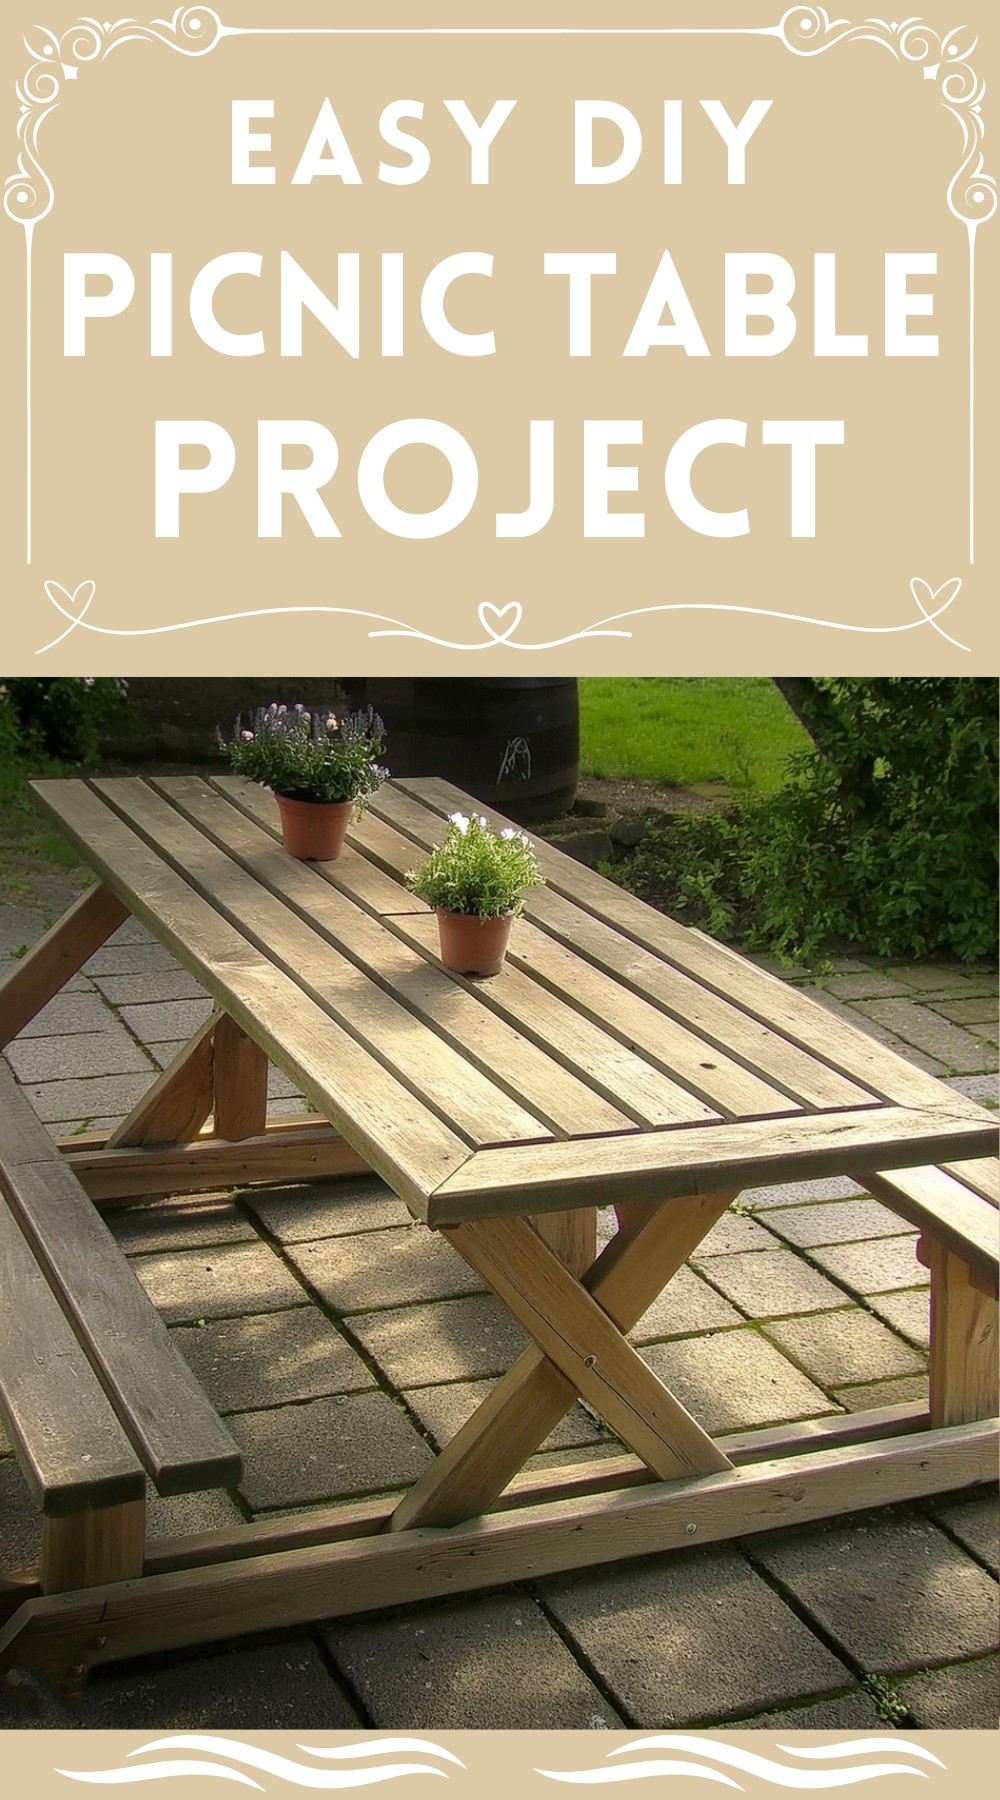
When you make a tasty meal from scratch bring it out to a DIY picnic table that you put together yourself. Think about how fun it would be to see your family and friends enjoy the food and also say “wow” at the table you made. This isn’t just something you can dream about, it’s what can happen when you make this wooden picnic table yourself. This table is special. It’s not like the regular picnic tables you see everywhere. This one has its style, and it’s made for people to sit comfortably. So, get ready to use your tools and show off how handy you are. We’re going to build a special place to eat outside, one piece at a time.
Easy DIY Picnic Table Project

Materials:
- Two by fours (89x38mm dimensions preferably, amount based on the cut list)
- M8 threaded rods (24 each of 16 cm, to be cut down after assembly)
- Wood screws (80mm in size)
Tools:
- Miter saw (The article hints that a miter saw is needed, remembering that the gauge might be set differently from the standard angles)
- Screwdriver or Drill (to drive the 80mm wood screws)
- Optional: SketchUp software (for those who want a digital version of the plan to work with)

Step-by-Step Process
Now let’s break down the construction process into digestible steps to ensure your DIY project goes smoothly.
Measure Twice, Cut Once – Layout and Cutlist
First, measure and organize all your materials based on the cutlist. Remember that if you are employing a miter saw, adjust it accurately—the gauge might be misleading. For instance, to achieve a 51.2-degree angle, you’d set your saw to 38.8 degrees.
Constructing Two Benches Like a Pro
After cutting, focus on assembling the two benches. M8 threaded rods are your best allies here, used extensively to connect the legs securely. While assembling, keep in mind the aesthetics; coach bolts can be used for a more polished look once functionality is assured with the threaded rods.
Legwork for the Table
For your table’s legs, you need to cut out the specific pieces carefully, as they will be the table’s main support.
Binding Your Creation – Screw It All Together
Assembling the pieces, ensure that the legs are aligned and no lower than the connecting two by fours. Note that horizontal connections should be raised 50mm off the ground to avoid a wobbly table on uneven terrain.
The Final Touches
With all the pieces assembled, it’s time for the final touches. Check all joints for sturdiness and adjust or tighten as necessary.

Wrapping It Up
Once you’ve followed these steps and checked the connections, your DIY picnic table is ready to be the centerpiece of your outdoor space. Remember, the beauty of DIY is not only in the finished product but also in the memories and learning that comes with each saw cut and screw turned. Enjoy your newest accomplishment with every outdoor celebration!
Leave a Reply