
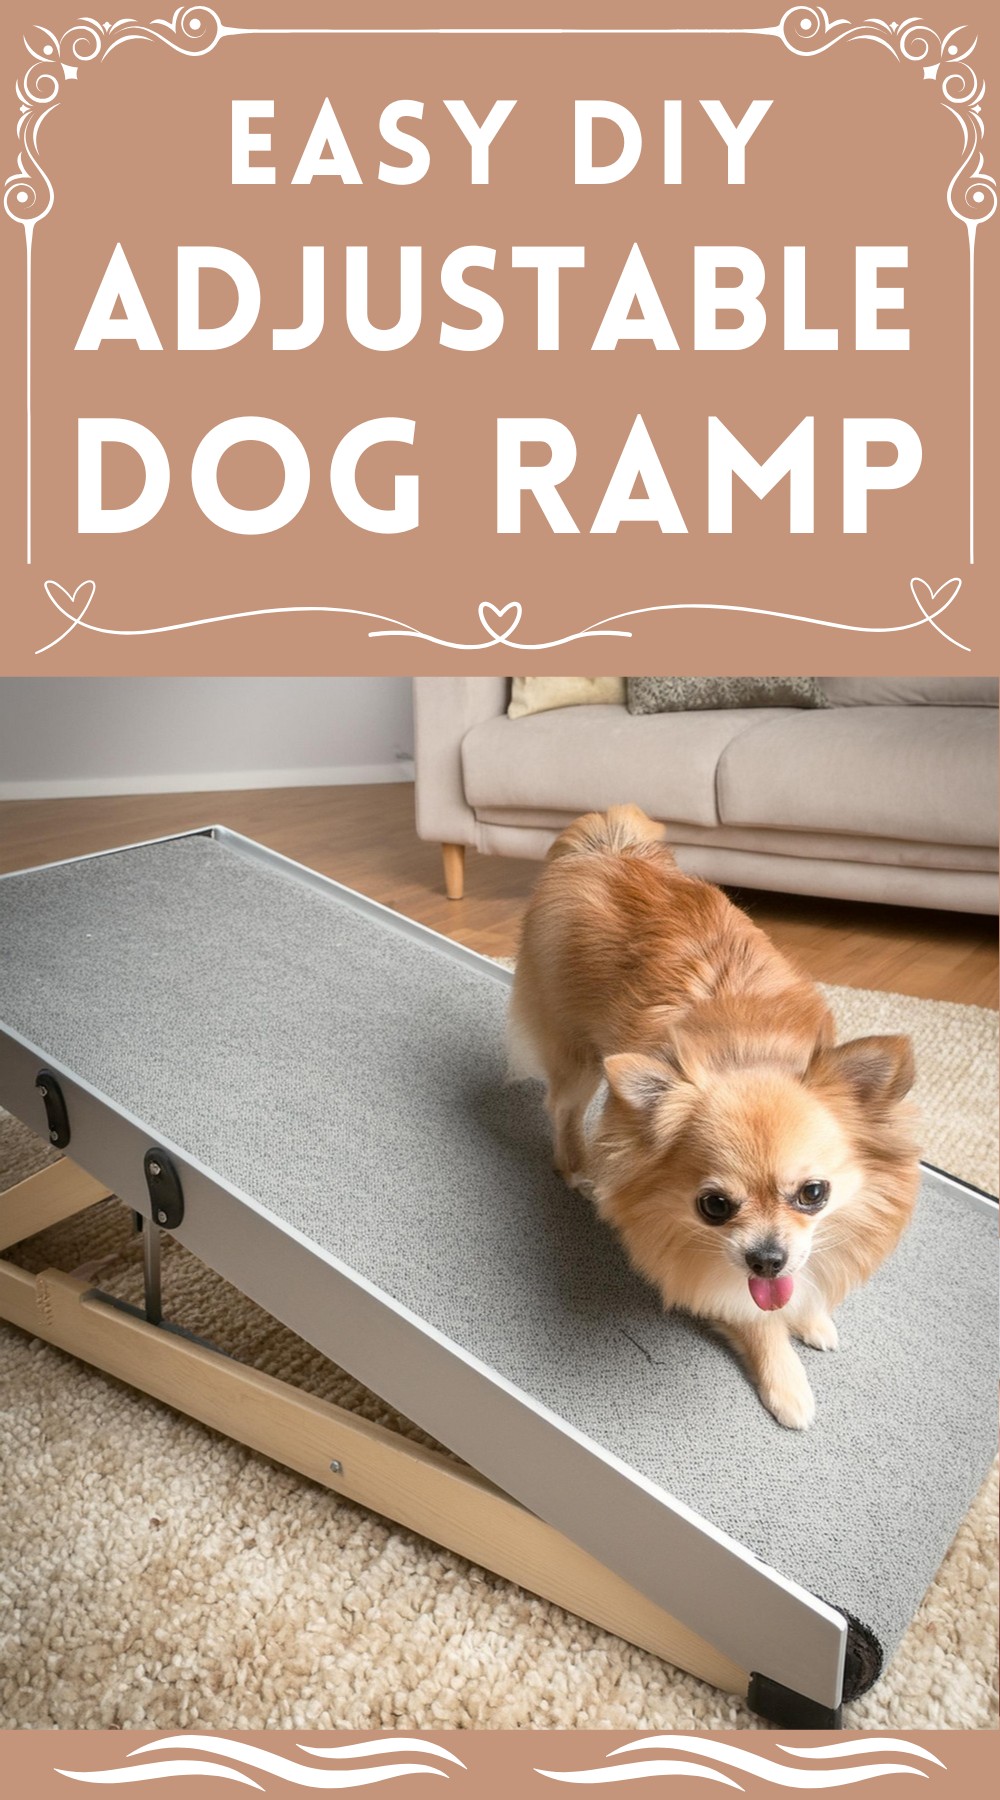
Create the perfect DIY solution for your furry friends with this simple-to-follow guide on making an adjustable dog ramp. With an intermediate difficulty level and taking just half a day to complete, this project is accessible and rewarding.
DIY Adjustable Dog Ramp

Materials Used:
- 3 pieces of 1×2 x 8′ board
- 1 piece of 3/4” plywood, size 15-3/4” x 47-3/4”
- 2 small hinges
- 3/4” dowel rod – minimum 14” long
- Wood glue
- Primer and paint
- Paintbrush
- Carpet measuring 49” x 17”
- 1-1/2” screws
- Carpet
Tools Needed:
- Nail gun with 1-1/4″ nails
- Drill
- Circular saw or table saw
- Jigsaw
- Sander and sandpaper
- Spray adhesive
Step-by-step Making Guide:
Building the Platform
Join the two shorter sides measuring 15-3/4 inches to the plywood ends using 2-inch nails. Attach the long sides measuring 49-1/4 inches. Ensure alignment of all ends before nailing.
Positioning the Inset Piece
The inset piece needs to be affixed to the platform’s underside. This will hold the hinges uniting the base and platform. Ensure the inset piece is flat (the remaining 1×3 x 15-3/4-inch board) and nailed inside the bottom part of the box using 1-1/4-inch nails.
Assembling the Base
Assemble the base just like the platform minus the plywood. The long sides, measuring 37 inches, should extend past the short sides, which are 14 inches long. Sandpaper all parts.
Crafting the Legs
Split the 15 1/2-inch piece into two equal pieces measuring 3/4 x 3/4 x 15 1/2-inch. Attach the dowel rod at the end of each leg then drill a 3/16-inch hole in the center of each leg’s end.
Attaching the Legs
Flip the platform and mark it 22 1/2 inches from the edge. Screw the legs loosely at these points.
Placement of Notches in Base
Draw a line 2 feet long and 1 inch down from the top on the base frame. From this line, mark it as 2 inches, 6 inches, 10 inches, and 14 inches.
Cutting the Notches
Drill a hole using a 3/4-inch paddle bit on your first mark. Repeat the process for all the other marks.
Base and Platform Assembly
Attach the hinges over the inset piece and then over the base.
Marking Angles on Notches
Hold up the platform and remember to keep the base on a flat surface. Align the legs with the bottom of each hole and mark each position.
Cutting the Notches
Employ a jigsaw to cut these notches. Once done, smoothen the base piece using a sander.
Dowel and Legs Assembly
Link the two legs using the dowel.
Painting
Prime and paint your ramp. Allow primer and paint to dry before moving to the next steps.
Adding Carpet
Wrap the platform with carpet. Ensure that it is properly glued onto the platform to avoid slipping.
Affixing a Handle
Add a handle to your adjustable ramp for smooth portability.

Leave a Reply