
Spark holiday spirit using the Free Crochet Santa Hat Pattern for playful hats sure to bring smiles and warmth.
Holiday cheer often starts with the little details that make a season feel cozy and special. This charming crochet Santa hat captures that festive spirit in a petite and decorative form. The bright red and white colors bring instant Christmas vibes, and the soft texture created by single crochets and slip stitches makes it perfect for decorating small spaces like a Christmas tree or even as a cute accessory. Its tiny size means it can add a whimsical touch wherever you place it, whether it’s hanging on a miniature tree or topping a gift as a handmade accent.
Free Crochet Santa Hat Pattern for Christmas Celebrations
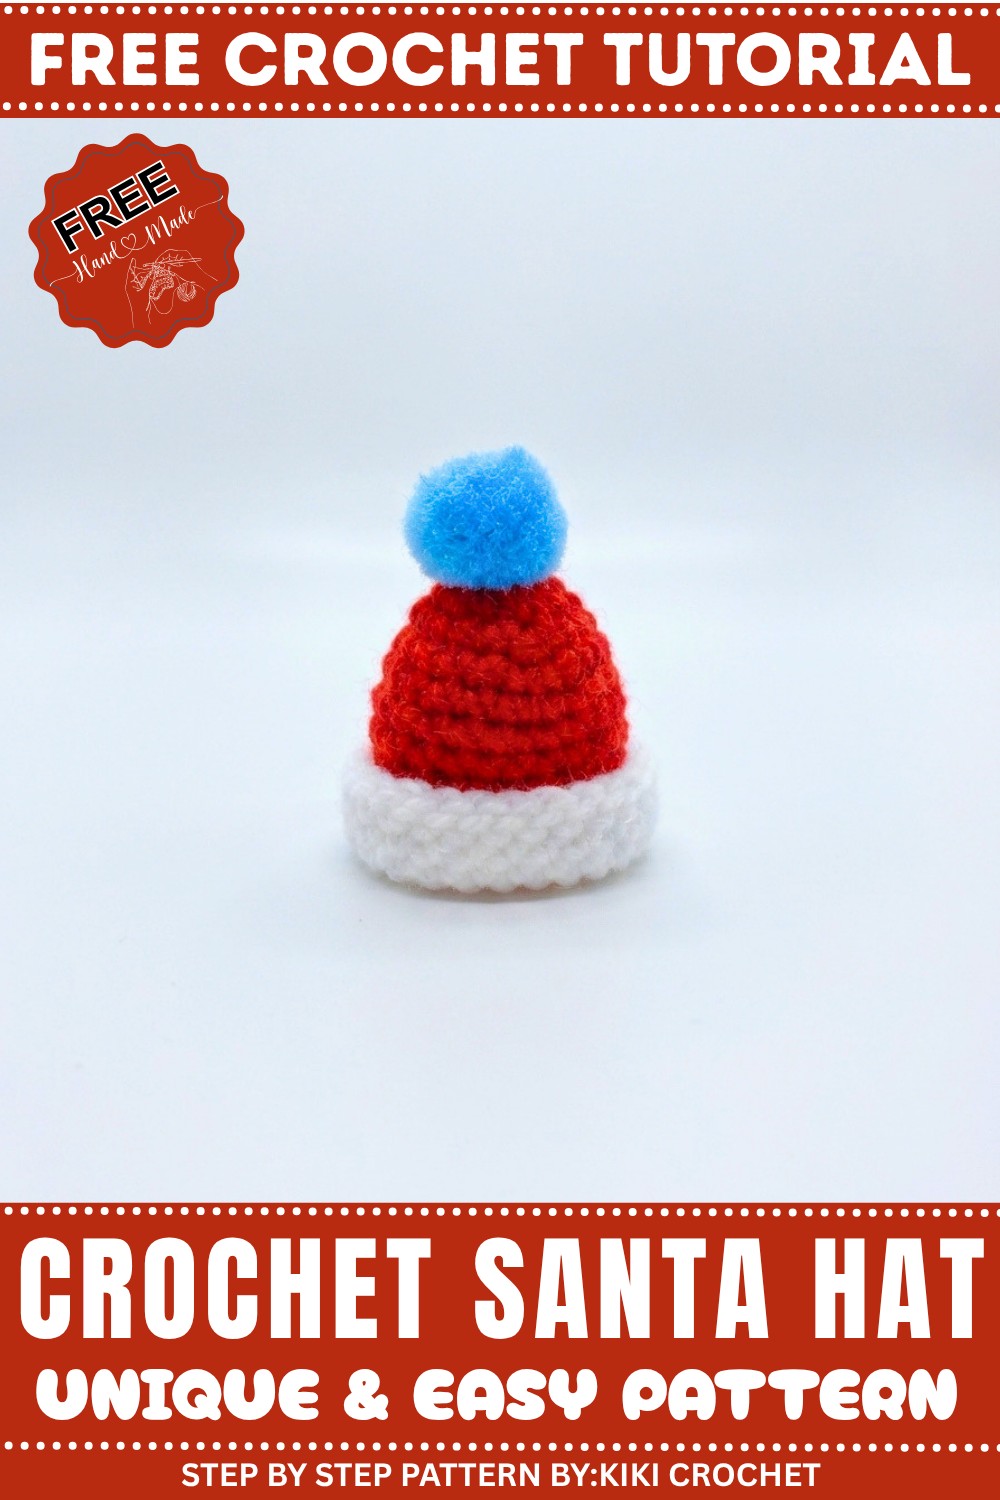
The project begins with a magic ring and uses simple single crochet stitches worked in rounds to build the cone shape of the hat. As you work up through the rows, the stitches increase to give the hat its classic pointed form. Chains and slip stitches help create neat edges and add the white trim characteristic of Santa hats. Adding a little pompom to the tip completes the look, and you can attach it with a glue gun for extra security. This pattern is welcoming for beginners because it uses basic stitches repeated carefully, making it easy to follow and fast to finish.
Other Fun Creations from This Pattern
This Santa hat pattern isn’t just for ornaments. You can make larger versions to wear as festive hats or create a series of them to decorate garlands and wreaths. By changing yarn colors or adding beads and embellishments, you can design custom holiday décor or charming gifts. The technique also adapts well to create tiny stocking toppers or even playful nativity scene accessories. This pattern opens up many cozy and creative ways to celebrate the holidays with crochet.

Mini Crochet Christmas Hat Pattern
This delightful miniature Christmas hat pattern is a perfect decoration for your holiday tree, table centerpiece, or even as part of gift wrapping. It’s quick to make, uses basic crochet techniques such as single crochet and slip stitches, and can be customized to match your holiday colors or theme. The addition of a pom-pom on top brings charm and a festive touch. Whether you’re creating a few for holiday crocheting or giving them as small handmade gifts, this pattern is quick, simple, and festive.
Skill Level & Terminology
- Skill Level: Beginner
This pattern is simple and uses foundational crochet techniques. Even new crocheters can complete it with ease. - Terminology: This pattern is written using US Crochet Terms:
- Magic Ring (MR): A circular foundation for crocheting in the round.
- Chain (Ch): Loops used for increasing height or shaping.
- Single Crochet (Sc): A compact stitch for fabric and texture.
- Slip Stitch (Sl st): Used for joining rounds or finishing edges.
Materials & Tools
- Yarn:
- Red (main hat color).
- White (brim and pom-pom).
- Crochet Hook: 2.5 mm crochet hook.
- Mini Scissors: For cutting yarn.
- Sewing Needle: For finishing and weaving in ends.
- Pom-Pom or Decorative Bomb: For the top of the hat.
- Glue Gun: Optional, for attaching a pom-pom securely.
Gauge
Gauge is not critical for this pattern as it is a decorative piece. A consistent tension will ensure the hat maintains its shape. The final hat will measure approximately 1.5 inches in height depending on your yarn and hook size.
Abbreviations List
| Abbreviation | Meaning |
|---|---|
| MR | Magic Ring |
| Ch | Chain |
| Sc | Single Crochet |
| Sl st | Slip Stitch |
Special Stitch Instructions
Magic Ring (MR):
- Wrap the yarn around your fingers to form a loop.
- Insert the hook into the loop, yarn over, and pull through.
- Chain 1 to secure the ring before working stitches into it.
What You’ll Learn & Why You’ll Love This Pattern
What You’ll Learn:
- How to crochet in the round using a Magic Ring technique.
- Basic shaping techniques for creating a cone-like hat structure.
- Skills for weaving in ends and attaching decorative pom-poms.
Why You’ll Love It:
This charming holiday project is quick and easy, making it ideal for small handmade decorations. The pattern is customizable to suit holiday themes, and the finished piece is versatile for decorating trees, tabletops, or gifts. You’ll love how festive and joyous these little hats look when completed.
Finished Size
The completed mini hat measures approximately 1.5 inches tall, making it perfect for Christmas decorations or accessorizing small displays.
The Pattern Itself
Part 1: Hat Body (Red Yarn)
Round 1: Magic Ring Foundation
- Begin with a Magic Ring (MR).
- Work 6 Sc into the ring.
- Pull the yarn tail tight to close the ring.
Explanation for Beginners: This step creates the circular base of the hat, establishing the foundation for working in the round.
Round 2: Increasing
- Ch 1, and crochet 1 Sc into the first stitch of the previous round.
- In the next stitch, work 2 Sc into the same stitch (increase).
- Repeat the sequence: 1 Sc, 2 Sc in the next stitch around the circle.
- You’ll have 9 stitches total at the end of this round.
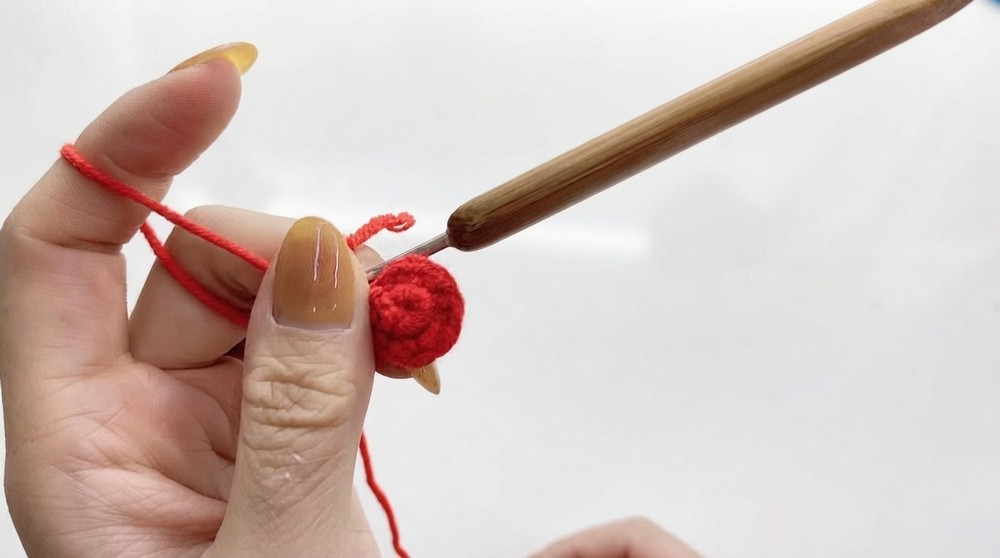
Explanation for Beginners: The increases allow the hat to grow in size while maintaining a conical shape.
Round 3: Continuing Increases
- Ch 1, then work 1 Sc into the first stitch.
- In the next stitch, work 2 Sc into the same stitch.
- Repeat: 1 Sc in next 2 stitches, 2 Sc in the next stitch.
- You’ll have 12 stitches at the end.
Explanation for Beginners: The incremental increases spread the shape outward while still building the structure of the hat.
Round 4–9: Maintaining Shape
- Ch 1, work 1 Sc into each stitch around (no increases).
- Repeat this for rows 4 through 9, building the height of the hat.
- At the end of round 9, Sl st to join, and cut the red yarn.

Explanation for Beginners: These rounds extend the hat vertically into a cone shape.
Part 2: Hat Brim (White Yarn)
Round 10: Adding Color
- Attach the white yarn to any stitch at the base of the hat.
- Ch 1, then work 1 Sc into each stitch of the previous row.
- For the brim of the hat, repeat 1 Sc into each stitch around the base circle. Sl st to join.


Explanation for Beginners: The white brim anchors the color contrast for a festive, finished look at the base of the hat.
Assembly & Finishing
Step 1: Closing the Top
- Take a sewing needle and sew the top opening shut by threading the yarn tail through the stitches at the tip of the hat.
- Pull tightly to close the top, knot securely, and weave in ends.
Step 2: Flipping and Shaping
- Flip the brim outward to create a rounded edge.
- Adjust the shape of the hat to ensure symmetry.
Step 3: Adding the Pom-Pom
- Use a glue gun to attach a decorative pom-pom (or bomb) to the top of the hat. Alternatively, sew it using thread.
- Ensure the pom-pom is securely fastened.
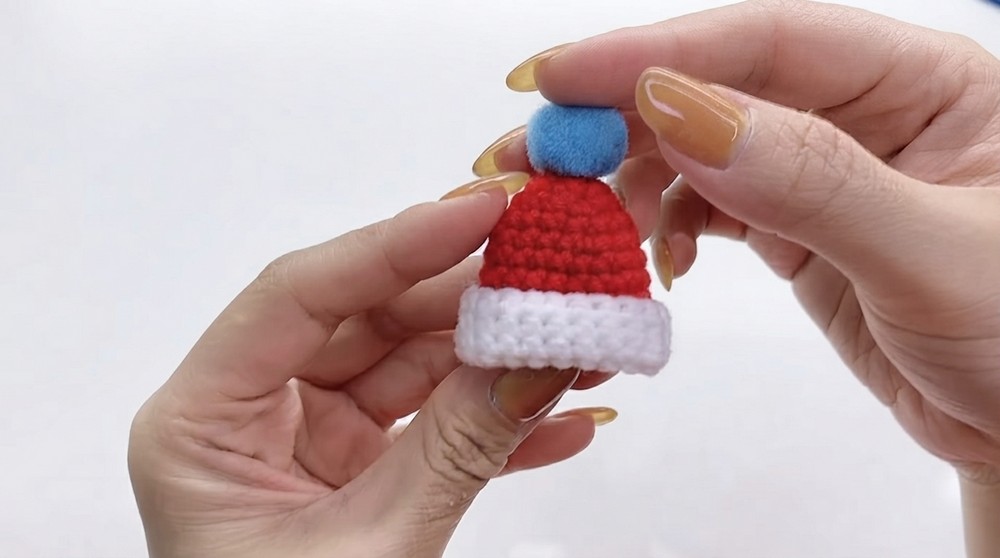
Explanation for Beginners: This final decorative step adds visual interest and the charm of a finished holiday accessory.
Difficulties & Solutions
Challenge #1: Uneven Stitching
Solution: Count your stitches at the end of each round to ensure accuracy and symmetry. Adjust any missed stitches promptly.
Challenge #2: Loose Ends or Unshaped Hat
Solution: Use a sewing needle to weave loose threads carefully into the project’s texture. Stiffening or proper shaping can help maintain the hat’s cone structure.
Final Thoughts
This crochet mini hat pattern is perfect for adding festive flair to your holiday decorations. The simple stitches come together quickly, making it ideal for beginners who want to explore making decorative items. Use colors that match your theme, and experiment with adding beads or other embellishments to give each hat a unique personality. Lightweight, customizable, and wonderfully cheerful, these hats are the perfect addition to your handmade holiday collection.
Leave a Reply