
Freshen up your holiday gifts with the Free Crochet Santaclaus Keychain Pattern for adorable stocking stuffers this season.
There’s a special kind of joy in tiny handmade treasures, especially when they carry the magic of the holiday season. This delightful Santa Claus keychain brings a sweet festive charm that’s both fun and practical. Made with a mix of red, white, and skin-toned yarn, its round face and little beard add character to your keys or bag. The construction relies mainly on double crochet stitches with careful increases and slip stitches to shape Santa’s face and hat. This makes the pattern easy to follow, even if you’re new to crochet.
Learn This Crochet Santaclaus Keychain Pattern for Christmas Spirit
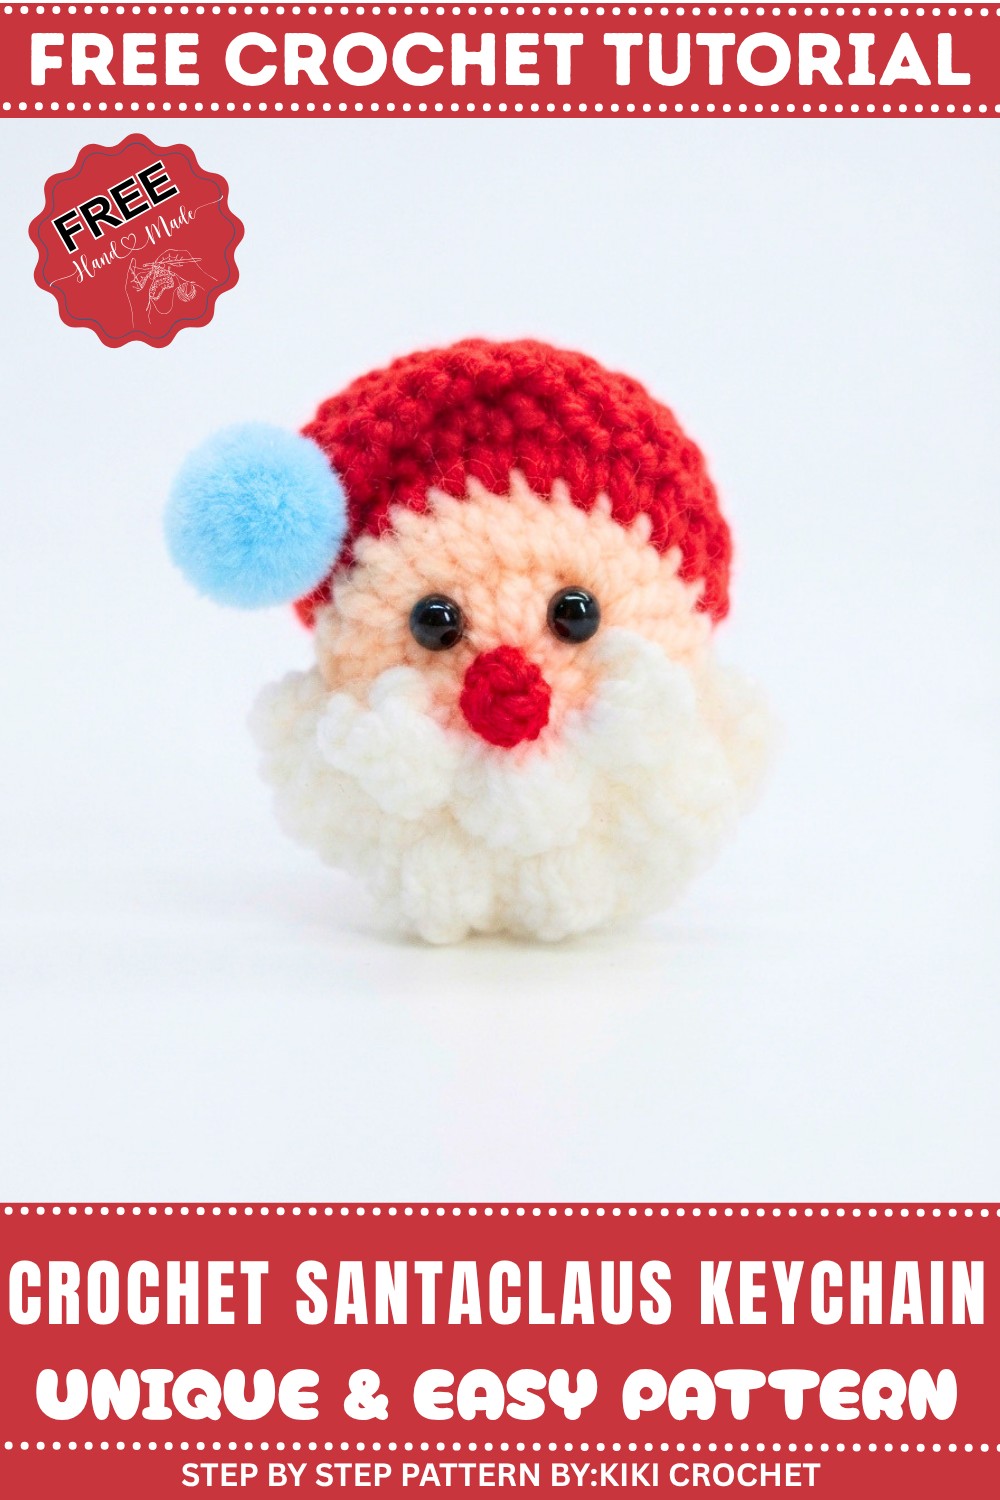
The process begins by creating a magic ring for the face, followed by rounds of double crochets that gradually increase to form a perfect circle. Then, the red yarn is used to build Santa’s classic hat, while white yarn creates the fluffy beard and trim. The mini eyes are added carefully for expression, and sewing needle work helps assemble the layers smoothly. That finishing touch of a pompom or a bit of glue seals everything neatly, turning the cute figure into a sturdy keychain ready to spread holiday cheer wherever you go.
Extend Your Crochet Fun
This Santa Claus keychain pattern is wonderfully adaptable. You can enlarge the design to make ornaments for your Christmas tree or little plush figures to tuck into holiday gifts. Smaller versions can turn into zipper pulls or festive earrings. By changing yarn colors, you can crochet different characters like elves or reindeer using the same basic shapes and stitches. This project is a joyful way to practice crochet while celebrating the season with your own handmade flair.
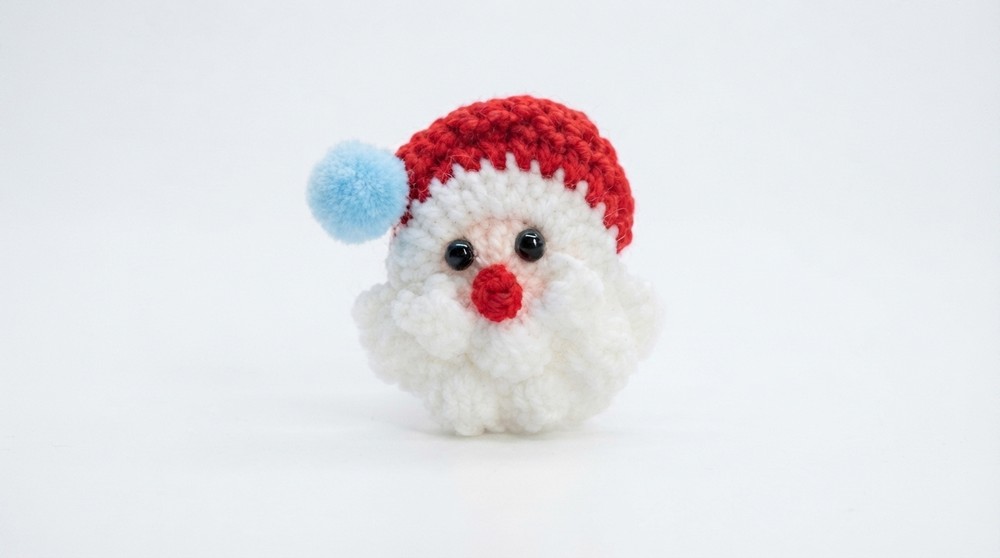
Crochet Santa Claus Ornament Pattern
This adorable crochet Santa Claus pattern is perfect as a Christmas decoration, whether for hanging on your tree, creating festive hair clips, or making fun and cheerful keychains. This pattern uses basic crochet stitches, making it a great project for beginners, with intermediate details like facial features and a hat for those ready to level up their skills. With just a few materials and a bit of time, you can create cute handmade ornaments to brighten your holiday season.
Skill Level & Terminology
- Skill Level: Beginner to Intermediate
This pattern is beginner-friendly and introduces techniques such as crocheting in the round, adding facial features, and simple assembly. - Terminology: This pattern uses US Crochet Terms, as follows:
- Magic Ring (MR): A way to start crochet projects worked in the round.
- Chain (Ch): The foundation for most crochet work and used for spacing.
- Single Crochet (Sc): A compact and basic stitch for structure.
- Double Crochet (Dc): A taller stitch used for more open textures.
- Slip Stitch (Sl st): A joining or finishing stitch.
Materials & Tools
- Yarn:
- White for the beard, brim, and accents.
- Skin or pink tone for the face.
- Red for Santa’s hat.
- Crochet Hook: 2.5 mm.
- Mini Scissors: For cutting yarn.
- Sewing Needle & Thread: To weave in the yarn ends and attach features.
- Eyes: Miniature safety eyes (4 mm) or alternative styles depending on preference.
- Glue Gun: For attaching eyes securely.
Gauge
Gauge is not critical for this pattern as it is decorative. The final size of the ornament will measure approximately 3 to 4 inches, depending on the yarn and hook used.
Abbreviations List
| Abbreviation | Meaning |
|---|---|
| MR | Magic Ring |
| Ch | Chain |
| Sc | Single Crochet |
| Dc | Double Crochet |
| Sl st | Slip Stitch |
Special Stitch Instructions
Magic Ring (MR):
- Wrap the yarn around your fingers to form a loop.
- Insert the hook into the loop, yarn over, pull through, and chain 1 to secure.
- Work the required number of stitches into the ring. Pull the thread tail to close the circle.
What You’ll Learn & Why You’ll Love This Pattern
What You’ll Learn:
- How to work projects in the round using the magic ring (MR).
- Basic color changes in crochet for multi-colored pieces.
- Techniques for creating realistic textures like Santa’s beard.
Why You’ll Love It:
This Santa Claus ornament brings charm and personality to your holiday decorating. It’s quick to complete, uses small yarn quantities, and is fully customizable. Add it to gift toppers, hair clips, or even holiday mobiles—it’s as versatile as it is adorable!
Finished Size
The completed Santa Claus ornament will measure approximately 3 to 4 inches tall, making it perfect for hanging on your Christmas tree or adding to seasonal accessories.
The Pattern Itself
Part 1: Santa’s Face (Skin or Pink Yarn)
Round 1: Create the Foundation Circle
- Start with a Magic Ring (MR).
- Ch 3 (counts as the first Dc).
- Work 11 Dc into the MR.
- Pull the yarn tail to close the ring tightly.
- Sl st into the top of the starting Ch 3 to join the round.
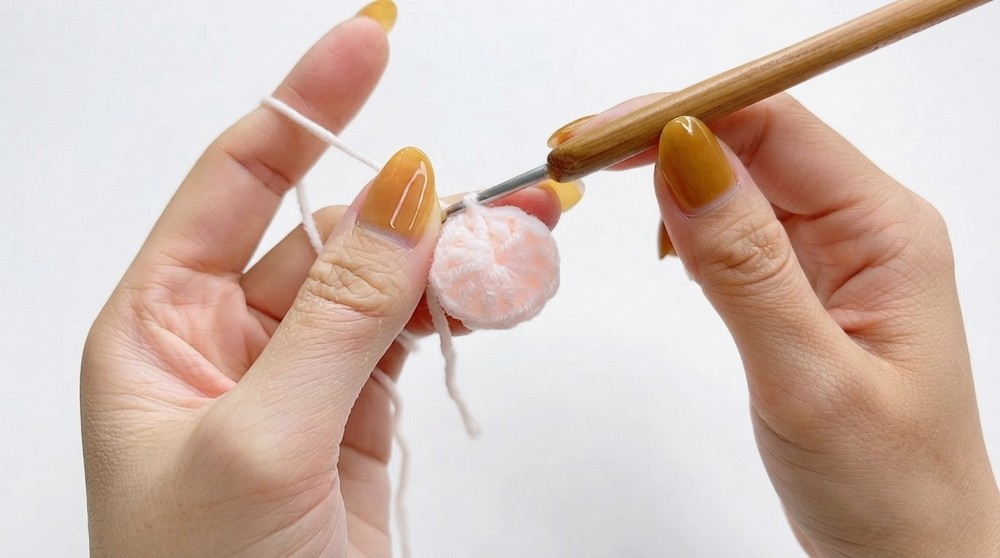
You will now have 12 stitches in total, forming the circular base of Santa’s face.
Part 2: Beard & Accents (White Yarn)
Round 2: Add Volume with Increases
- Attach white yarn to any Dc from Round 1.
- Ch 3 (counts as the first Dc).
- Work 2 Dc into each stitch around (increase in every stitch).
- Sl st into the top of the starting Ch 3 to join the round.
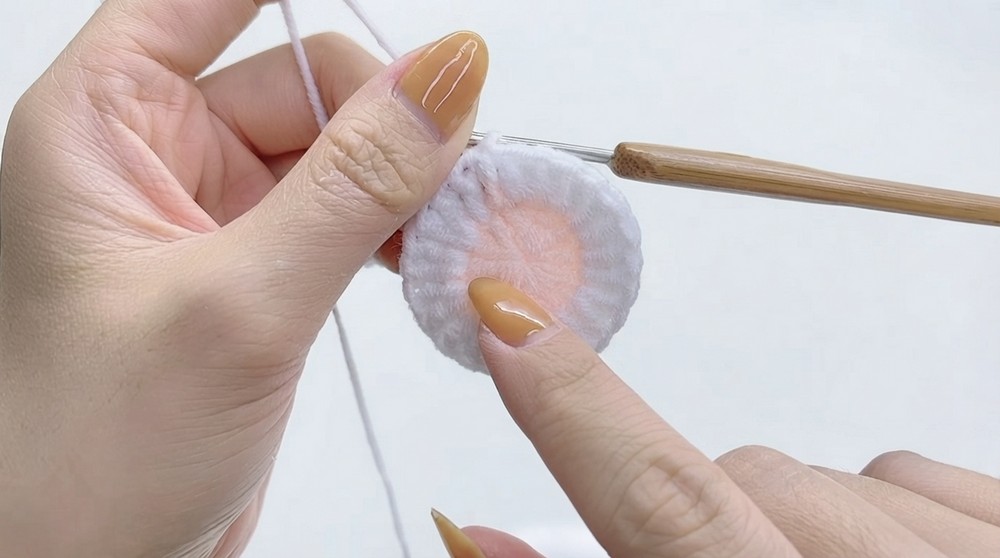
You should now have 24 stitches in the circle, creating a larger base for the beard.
Round 3: Texture for Beard Strands
- Ch 1, and work Sc + 3 Dc + Sc into the same stitch to form a “beard clump.”
- Skip the next stitch, and repeat the sequence: Sc + 3 Dc + Sc into the next stitch.
- Continue this pattern around the circle.
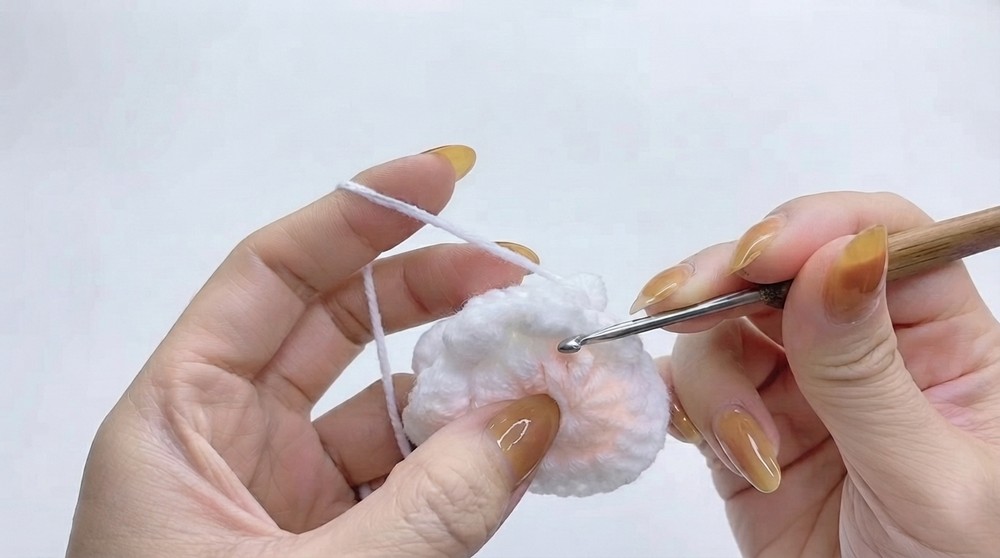
After completing this round, Santa’s iconic fluffy beard will be visible!
Part 3: Santa’s Hat (Red Yarn)
Round 4: Starting the Cone Shape
- Attach red yarn to any stitch at the edge of the face.
- Ch 3, and work 1 Dc into the next 2 stitches.
- Skip 1 stitch, and work 1 Dc into each of the next 2 stitches.
- Repeat this uneven pattern (skipping some stitches) to help shape the triangular cone.
Round 5–7: Building the Hat
- Ch 3 at the start of each round.
- Work 1 Dc into each stitch, skipping a stitch at the middle of each triangular segment to keep the shape pointed.
- Continue this process for 3 rounds until the hat is cone-shaped.
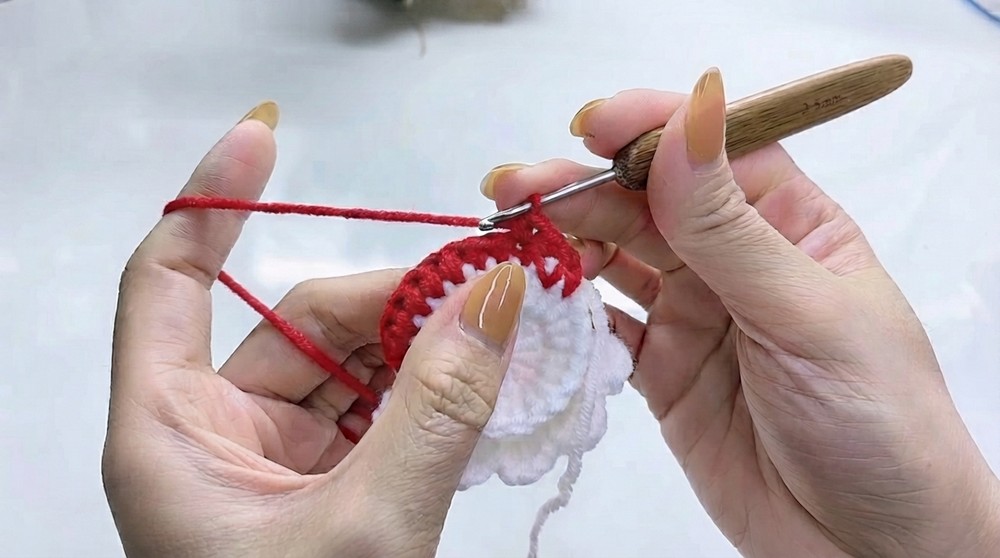
Round off the edges by switching back to white yarn and working single crochet around the brim of Santa’s hat.
Assembly & Finishing
Step 1: Attaching the Eyes
- Use the glue gun to attach 4 mm safety eyes to the face, positioning them symmetrically.
- Alternatively, sew on button eyes or embroider small black dots.
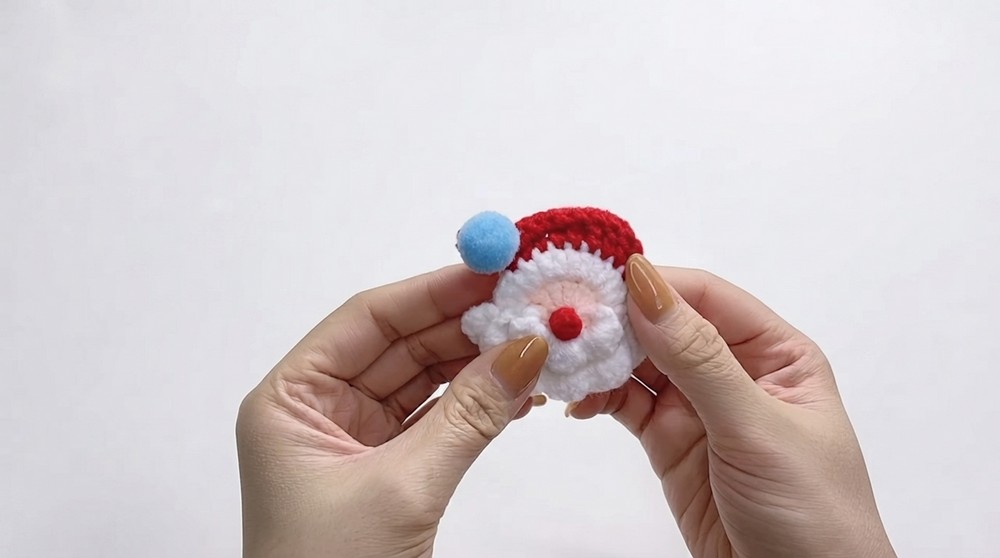
Step 2: Joining Parts
- Sew the red hat onto the white beard and face section using a needle and thread.
- Ensure all loose ends are woven in securely, especially at the edges.
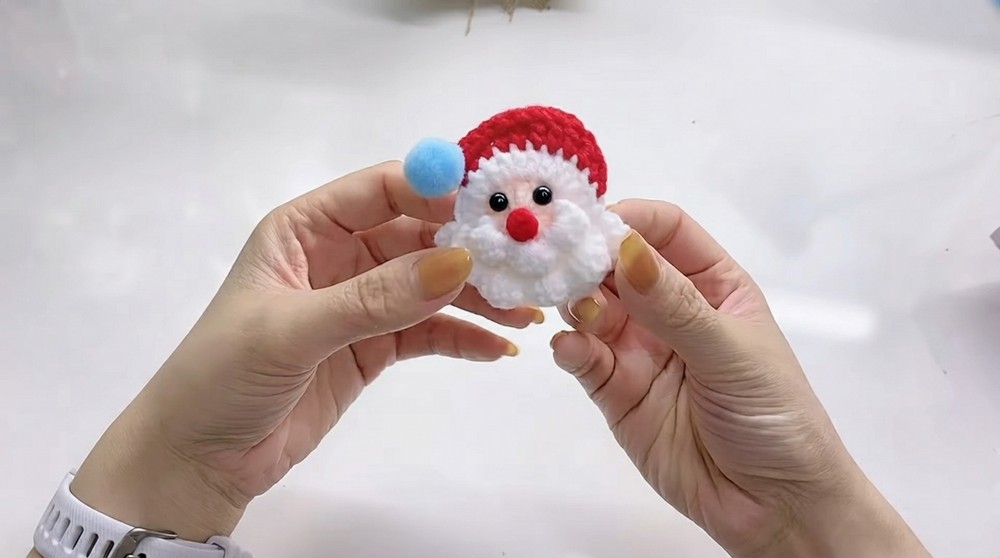
Step 3: Add the Pom-Pom
- Attach a tiny pom-pom to the tip of Santa’s hat using hot glue or stitching for extra security.
Difficulties & Solutions
Challenge #1: Uneven Circle Shaping
Solution: Count your stitches at the end of each round to ensure no missing or double stitches. Use stitch markers if necessary.
Challenge #2: Managing Color Changes
Solution: Securely tie off and weave in threads when changing colors to avoid loose ends or gaps between rounds.
Final Thoughts
This charming crochet Santa Claus ornament is perfect for displaying your creativity and spreading holiday cheer. The step-by-step design allows you to craft a cute and festive piece while improving your crochet skills. The pattern is highly versatile—you can make ornaments, keychains, hair clips, or even decorations for gift wrapping. Whether you’re crocheting for fun or for a special gift, this project is sure to bring joy to your Christmas festivities.
Leave a Reply