
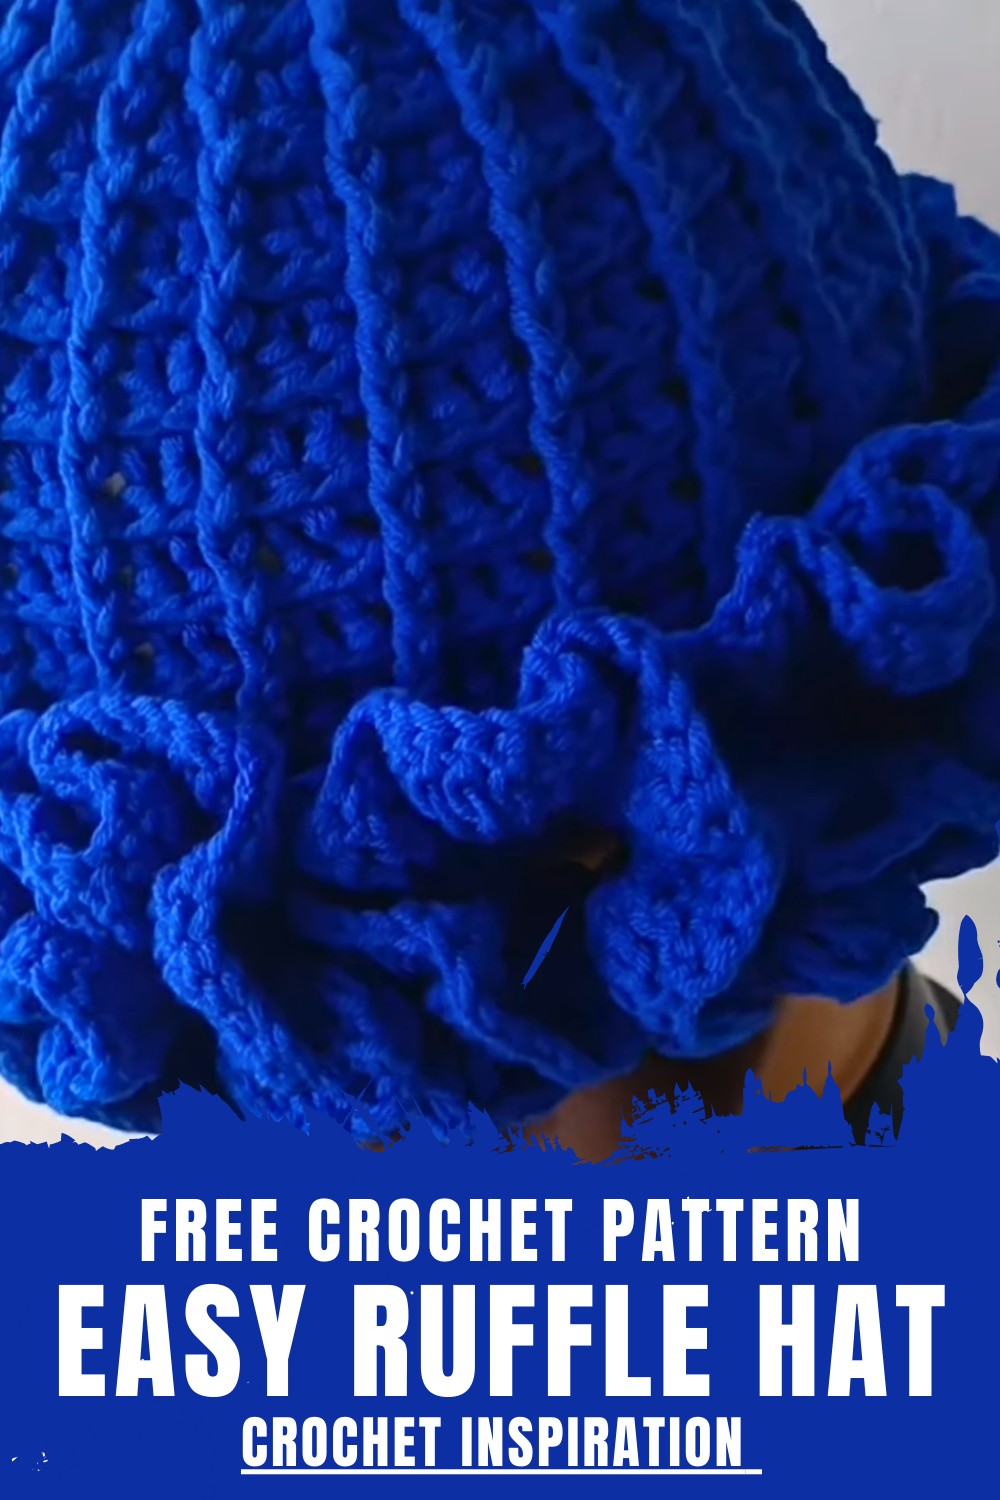
Dress up your day with soft and cheerful colors while a free crochet ruffle hat pattern, brings happiness and warmth to every age easily.
A soft and cozy hat covered in playful ruffles brings out laughter in little ones and shines with personality for anyone who wears it. The crochet ruffle hat pattern is a wonderful way to create headwear that feels light and fluffy while looking bold and stylish. Each ruffle stands out and creates a pretty texture that makes the hat extra special and eye-catching in a beautiful crowd.
Free Crochet Ruffle Hat Pattern for Any Season
Perfect for both children and adults this hat can be worn in cold weather to keep heads warm or used as a fun accessory to match any outfit. The simple pattern lets you use lots of colors so every finished hat can be bright and joyful. People love this hat for gifts or to add something sweet to their own wardrobe. Making a crochet ruffle hat pattern means sharing happiness with others and adding a touch of handmade charm to everyday life.
Waffle Stitch Ruffle Hat Free Crochet Pattern
Materials
- Yarn: Medium (worsted) weight yarn (sample uses 5-ply Milk Cotton)
- Hook: 4.5 mm crochet hook
- Notions:
- Scissors
- Measuring tape
- Stitch marker (optional)
- Gauge: Not strictly necessary for a stretchy hat, but sample hat’s flat circle to fit approx. 7.5 in / 19 cm before ruffles for adult.
Key Abbreviations
| Abbreviation | Meaning |
|---|---|
| ch | chain |
| sl st | slip stitch |
| sc | single crochet |
| dc | double crochet |
| tr | triple (treble) crochet |
| fpdc | front post double crochet |
| bpdc | back post double crochet |
| st(s) | stitch(es) |
| rep | repeat |
Special Notes
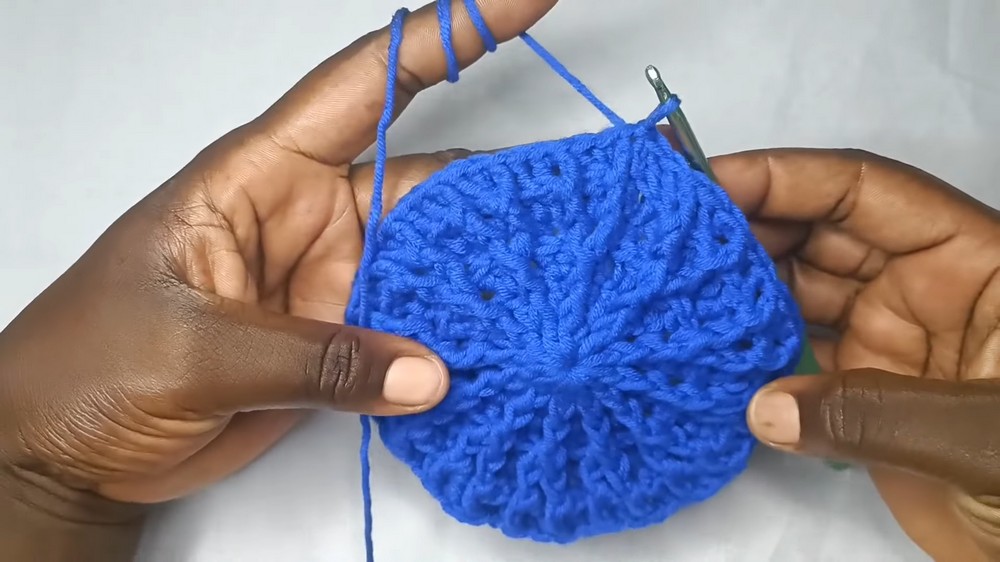
- The hat begins with a flat circle, then transitions to a waffle stitch texture.
- The ruffle at the edge is optional; without it, this is a basic waffle beanie.
- Use a stitch marker to mark the first st of each round to avoid confusion.
- Adjust the number of increase rounds for child or larger adult sizes.
Pattern
Crown
Modified Magic Ring:
- Ch 4, sl st into first ch to form a ring.
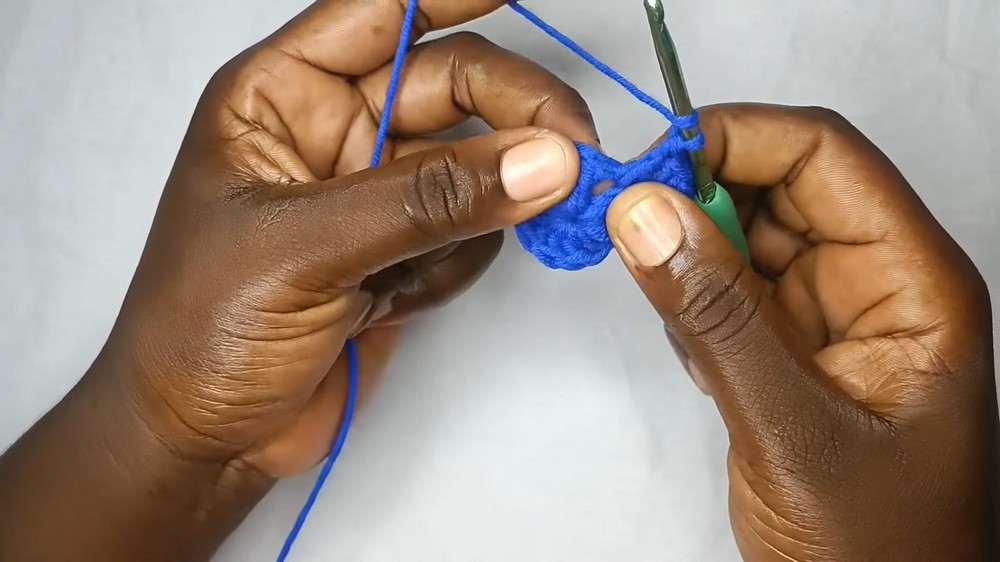
Round 1:
2. Ch 2 (does not count as a st), 12 dc in ring.
Sl st in first dc to close. (12 sts)
Round 2:
3. Ch 2, (fpdc around next dc, dc in same st) around.
Rep from * to * in each st (increase in each st).
Sl st in first fpdc to close. (24 sts)
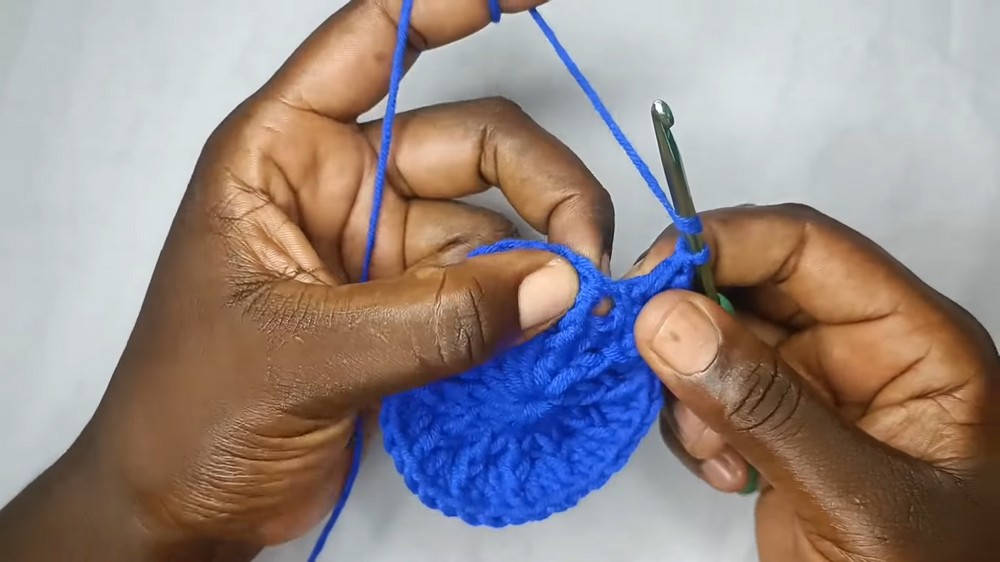
Round 3:
4. Ch 2, fpdc around next fpdc, in next regular dc work 2 dc in same st, around.
Continue: fpdc in post sts, 2 dc in each dc between posts.
Sl st in first fpdc to close. (36 sts)
Round 4:
5. Ch 2, fpdc around first fpdc, dc in space between the two fpdc, fpdc in second fpdc, dc in next two dc, repeat all the way around.
(You are setting up: fpdc on every fpdc, dc in and between.)
Round 5:
6. Ch 2, fpdc around first fpdc, (dc, dc in next dc), fpdc in next fpdc, (dc, dc in next dc) repeat around.
(Wherever there are two dc together between posts, place two dc in that gap.)
Increase as needed:
- Continue in this manner, placing fpdc (or bpdc) around posts and increasing between post groups where necessary to keep the circle flat, until the diameter measures about 7.5 inches (19 cm) for adult (or adjust per desired head size).
Body (No More Increases)
Main Hat Body:
7. When diameter is desired, work:
- Ch 2, fpdc around each fpdc, bpdc around each group of regular dc (as established), all the way around.
- Continue: fpdc around fpdc, bpdc around dc.
- Work straight, with NO increases, until hat reaches desired length to just above ear (try 7–8 rounds; or more/less as desired).
- Sl st to join at the end of each round.
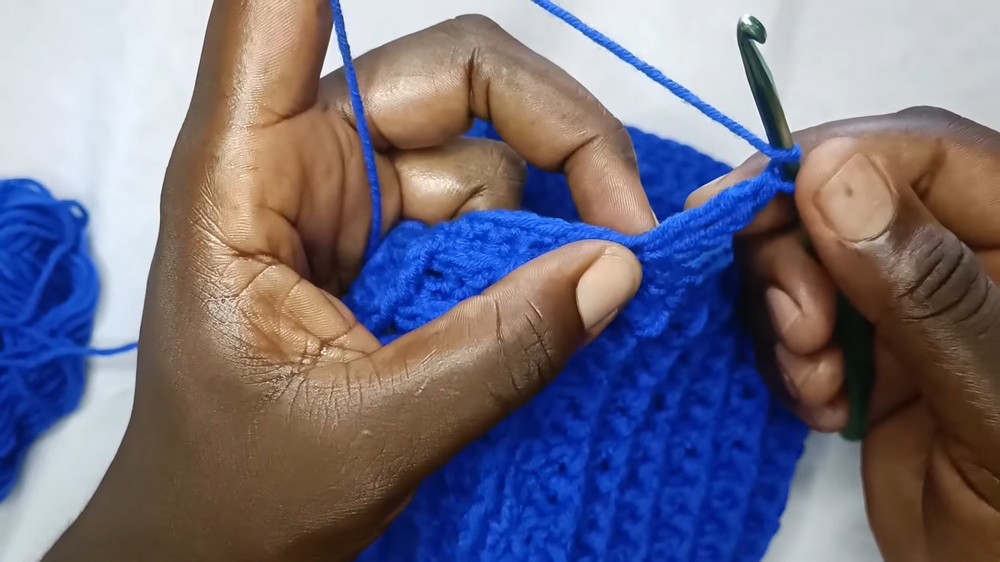
Brim
Single Crochet Band (before Ruffle):
8. Ch 1, sc in each st around.
Sl st in first sc to close.
Ruffle Edging
Ruffle Round 1:
9. Ch 4 (counts as first tr), in same st 3 tr (4 tr in first st),
In next st, 4 tr in same st,
rep around.
(For fuller ruffles, do 5 tr in each st; for lighter ruffles, do 3 tr per st.)
- Sl st in top of beg ch-4 to join.
Ruffle Round 2:
11. Sl st to first tr, ch 4, 3 tr in same st,
(4 tr in each st) around,
sl st to join.
- FO, cut yarn, weave in all ends.
Conclusion
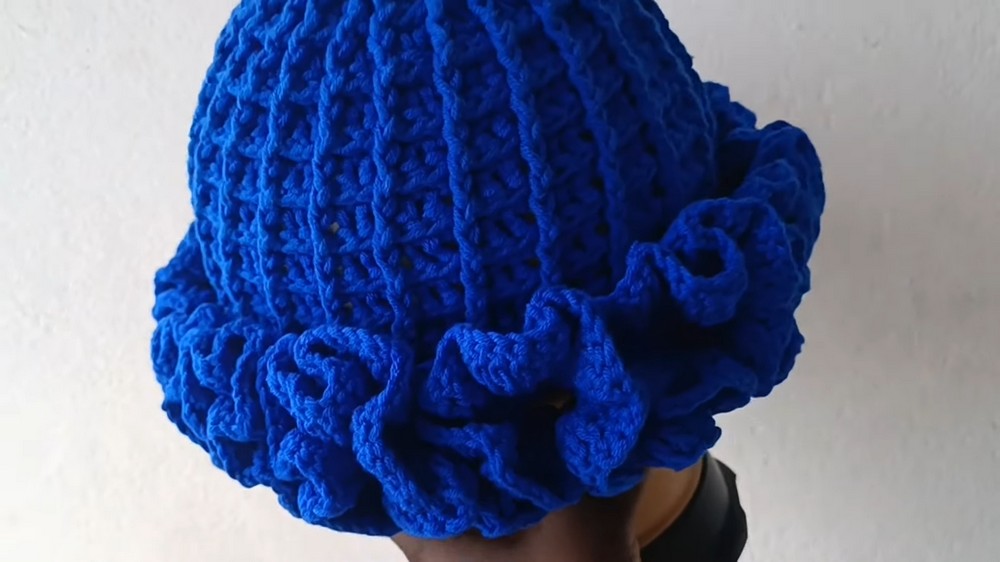
This hat is a stretchy, textured waffle stitch beanie with dramatic ruffle edging.
Skip the ruffle for a beautifully textured beanie on its own. The texture is created by consistently working front and back post double crochets.
The ruffle edge uses simple triple crochet clusters for maximum volume and stretch.
Pattern Corrections & Tips
- When “front post double crochet” or “back post double crochet” is mentioned, always go around the post of the stitch, not the top loops.
- You may adjust the number of increases in the crown for smaller/larger sizes.
- Always end rounds with a slip stitch in the first post stitch, not the starting chain.
- Use a stitch marker in the beg st of rounds when working the body or brim for easier tracking.
- For really bold ruffles, increase the number of triple crochet sts per stitch in the last two rounds.
Leave a Reply