
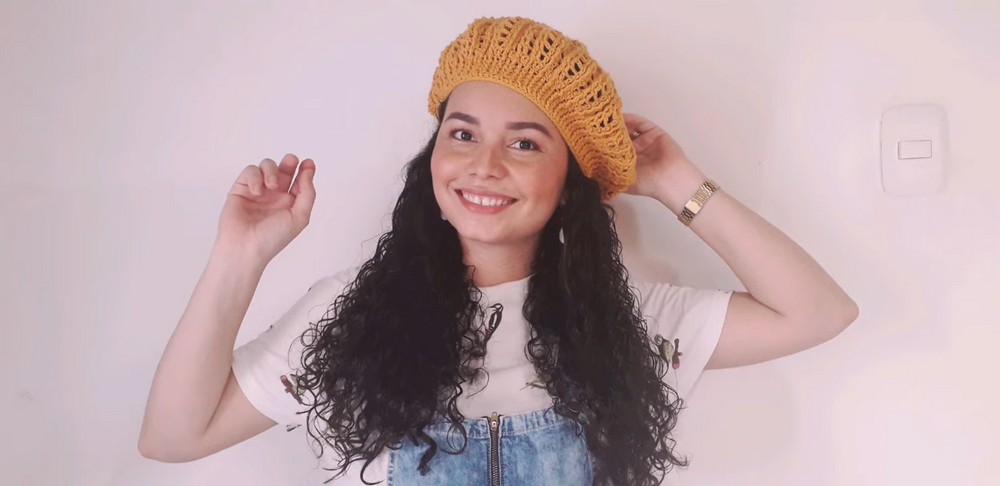
Style your look effortlessly with this free crochet beret hat pattern, offering a chic and cozy way to upgrade any outfit while keeping you comfortable year-round.
A soft, round hat on the head can change the whole look of a person in seconds. A free crochet beret hat pattern helps someone make this kind of stylish hat with just yarn and a hook. The hat sits gently on the head, giving a cool, relaxed look that still feels neat and smart. It can be worn in any season, keeping the head warm on cold days and adding fashion on mild days.
Free Crochet Beret Hat Pattern for Easy Style Tips
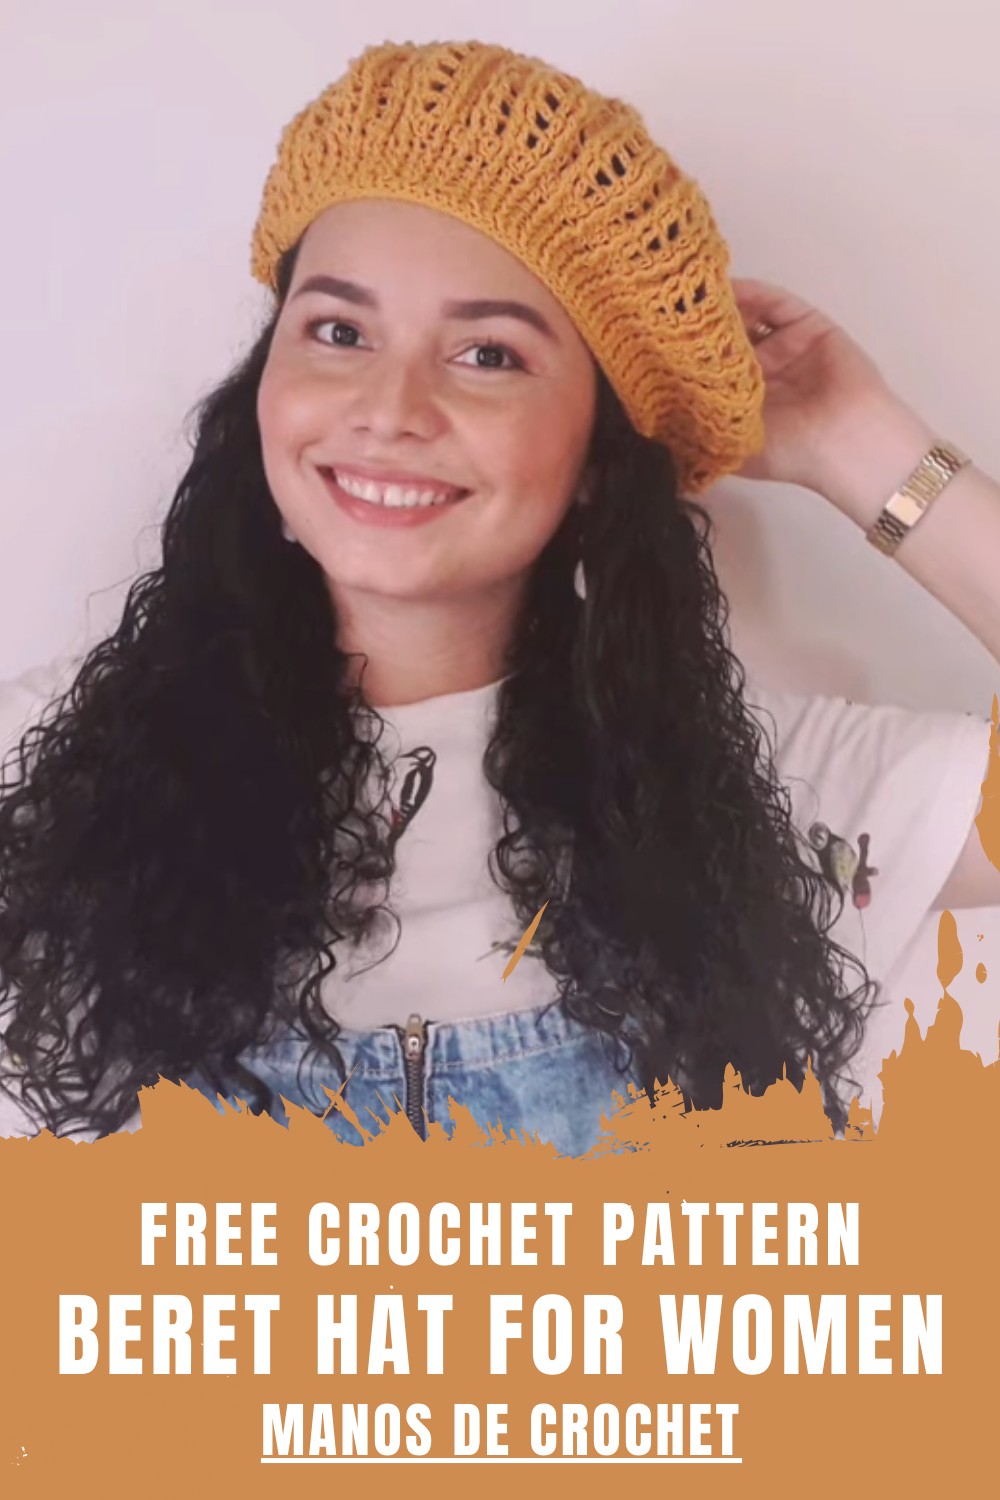
The beauty of the crochet beret is in its pretty stitches and gentle shape, which can be made in any color to match clothes or mood. It is light to wear, easy to fold, and simple to carry in a bag. This kind of hat can be used for daily wear, special outings, or photos, making any simple outfit look more special and more charming.
Crochet Parisian-Style Beret
Skill Level
Intermediate. Requires knowledge of basic crochet stitches (CH, SC, DC, SL ST), increase and decrease techniques, working in both front and back post stitches, and creating a magic ring.
Finished Size
- Diameter: Approximately 27–30 cm (10.6–11.8 inches) across when blocked.
- Height: Approximately 5–6 cm (2–2.5 inches) for the border section and 8–10 cm (3–4 inches) for the body.
Materials
- Yarn:
- Fingering weight or DK weight yarn (100% cotton recommended). Approximately 70–80 grams (less than 100 grams of yarn required).
- Hook:
- 2.5 mm crochet hook (Use a smaller hook to achieve tighter stitches for a polished finish).
- Additional Tools:
- Stitch markers (optional).
- Yarn needle (for weaving in ends).
- Scissors.
Abbreviations (US Terminology)
- CH: Chain
- SC: Single crochet
- DC: Double crochet
- BPDC: Back post double crochet
- SL ST: Slip stitch
Special Techniques
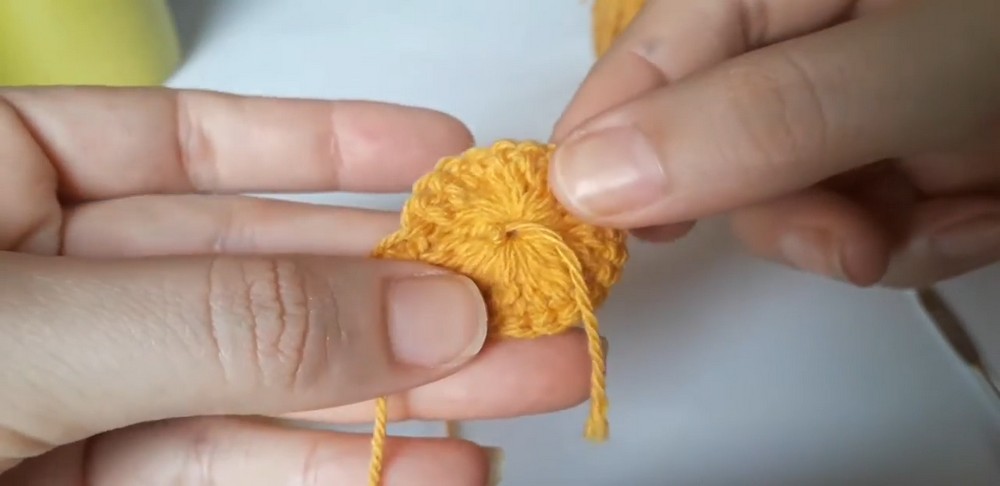
- Magic Ring: Start the beret with a magic ring to ensure a closed center.
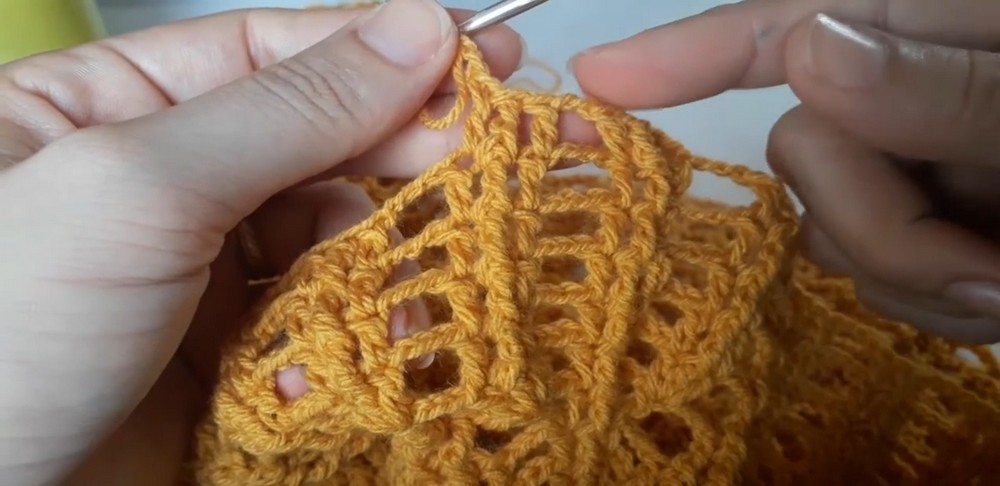
- Back Post Double Crochet (BPDC): Insert your hook from back to front and around the post of the crochet stitch below to create the ridged texture.
- One-Step Join: To seamlessly close each round, use the last stitch and third chain from the beginning to join all three loops.
Pattern Instructions
Step 1: Begin the Magic Ring (Crown of the Beret)
- Magic Ring:
- Create a magic ring using your preferred method or as outlined in the video.
- CH 3 (counts as the first DC).
- Round 1:
- Work 24 DC into the magic ring. (CH 3 counts as the first DC, so crochet 23 more DC).
- Pull the magic ring tight to close the center.
- Work a SL ST in the third CH of the starting chain to close the round.
Step 2: Building the Body
- Round 2: Increase and Spacing:
- CH 3 (counts as the first DC).
- Make 1 DC in the next stitch.
- CH 2.
- DC in the next stitch, DC in the next stitch, CH 2. Repeat this sequence around the entire round.
- SL ST into the third CH to close the round.
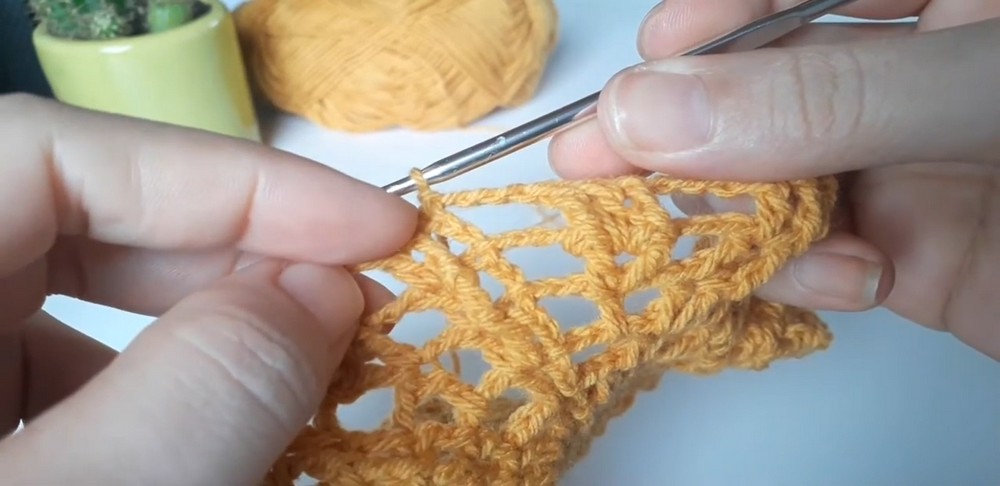
- Round 3:
- CH 3, DC in the next stitch.
- CH 3, DC in each of the next 2 stitches, CH 3.
- Repeat this sequence all the way around.
- SL ST into the third CH to close the round.
- Round 4 (Adding the First Increase):
- CH 3. DC in the next stitch.
- In the third stitch, work 2 DC together (an increase).
- CH 2, DC in the next 2 stitches, work 2 DC together (increase), CH 2.
- Repeat the sequence and join with a SL ST into the third CH.
- Round 5:
- CH 3. Work the body texture with BPDC.
- DC in the next stitch, BPDC around the next DC from the previous row.
- CH 3. DC in the next stitch. Work 2 DC together (an increase). CH 3.
- Repeat the sequence and join with a SL ST to complete the round.
- Rounds 6–7:
- Continue alternating increase rounds (add DC in between the spaces) and textured BPDC rounds.
- Work rows incrementally, with increases in each round.
Increase Formula for Subsequent Rounds:
- Round 6: Increase by working 3 stitches in space (previous row contained 2).
- Round 7: Increase by working 4 stitches in space.
Step 3: Midway Adjustments and Pattern
- Round 8:
- Continue the established pattern as the beret takes shape, ensuring that each row has an added increase at the center of the groups.
- Add back-post texture on every alternate row to maintain the textured stripes.
- Round 9:
- After completing your increases, stop adding stitches to create the flat disk. This ensures a smooth transition into the sides of the beret.
- Begin to work even rounds without increases.
Step 4: Shape the Border
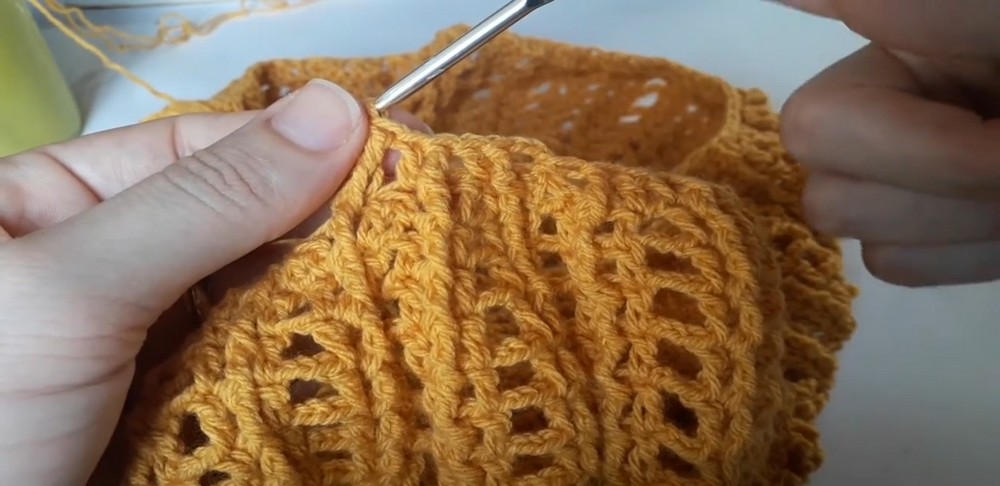
- Ridge Section:
- For the brim, stop increasing on the round, and perform 5 rounds of alternating BPDC and DC stitches.
- These rounds give the beret texture while ensuring a snug fit.
Step 5: Final Round
- To finish the beret, create a single crochet edge along the border:
- CH 1 and SC into every stitch along the last round. Make sure to keep your stitches even to avoid puckering.
Finishing the Pattern
- After completing the last SC round, cut the yarn and secure with a slip knot.
- Use a yarn needle to weave in all loose ends.
- Optional: Lightly block the beret to smooth out the stitches and achieve the desired shape.
Final Words and Tips
Tips for Crocheting Success
- Check Your Tension: Maintain even tension to ensure a symmetrical beret.
- Measure as You Go: Try on your beret as you work to ensure proper fit.
- Use Quality Yarn: 100% cotton or a lightweight DK yarn will help achieve the perfect drape.
Customization Ideas
- Add a Pom-Pom: Attach a pom-pom at the top for a playful, classic finish.
- Experiment with Colors: Use a variegated yarn or alternate colors for the rows to add unique patterns.
- Accessorize: Adorn the beret with beads, buttons, or crocheted flowers.
Conclusion
Congratulations! You have completed your beautiful Parisian-style crochet beret, a timeless accessory with intricate details and stunning texture. Whether you wear this creation yourself or gift it to a loved one, its charm and elegance are sure to make a statement.
Leave a Reply