
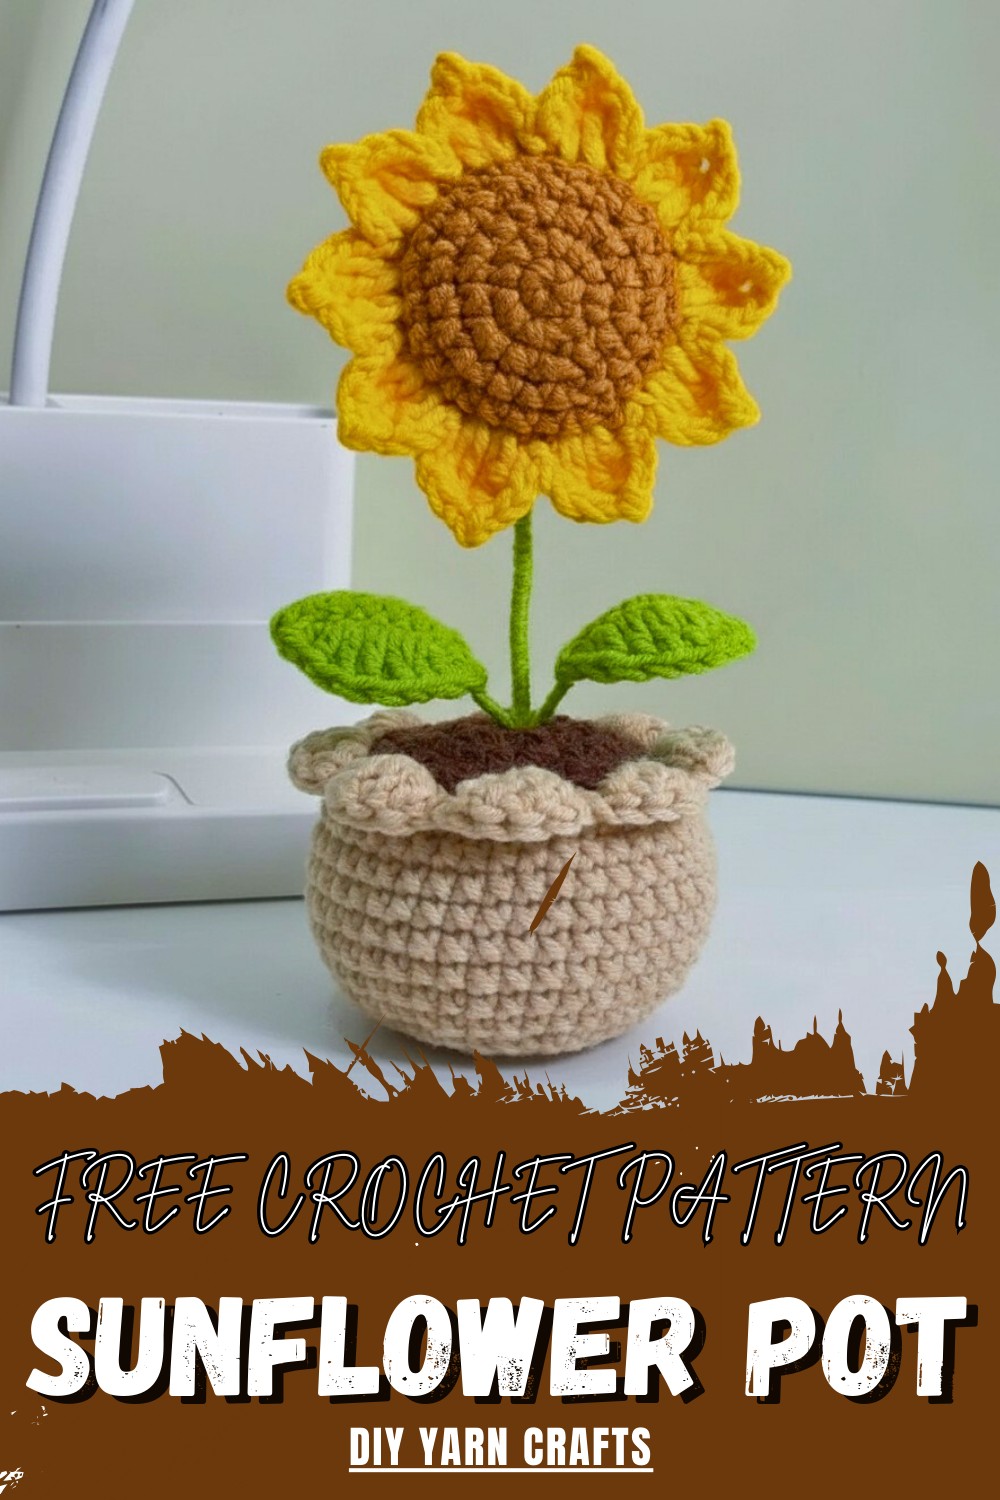
Sprinkle sunshine in your home with this free crochet sunflower pot pattern sure to brighten any space & add a cheerful touch to your décor.
A big yellow petal shines like the sun and makes any corner feel bright and cheerful. This sunflower made from yarn stands tall in its little pot and looks just like a real flower but never needs water or sunshine. With the crochet sunflower pot pattern, you can have your own blossom to put on a table, in a window, or give as a special handmade gift to someone you love.
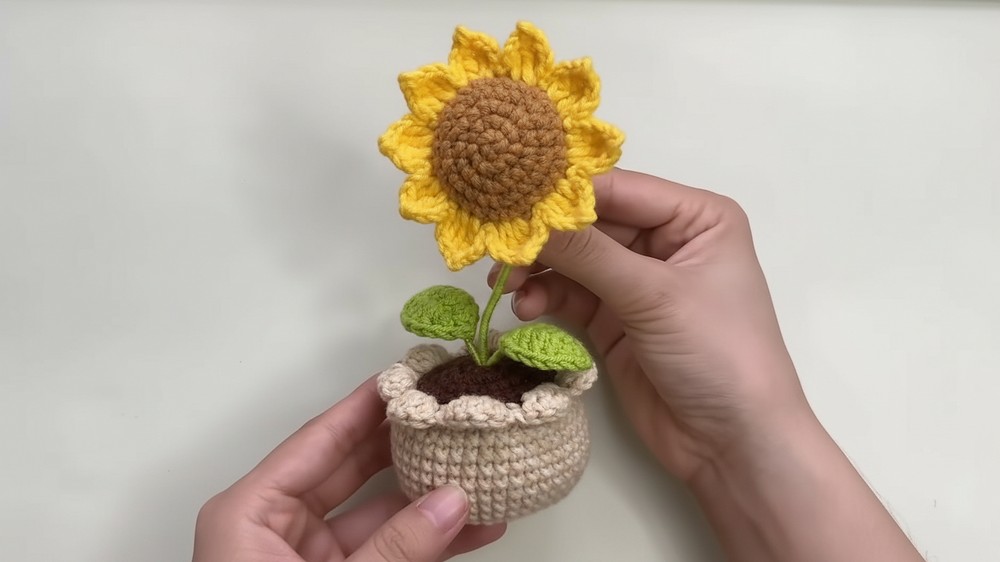
Beautiful Free Crochet Sunflower Pot Pattern for Any Room
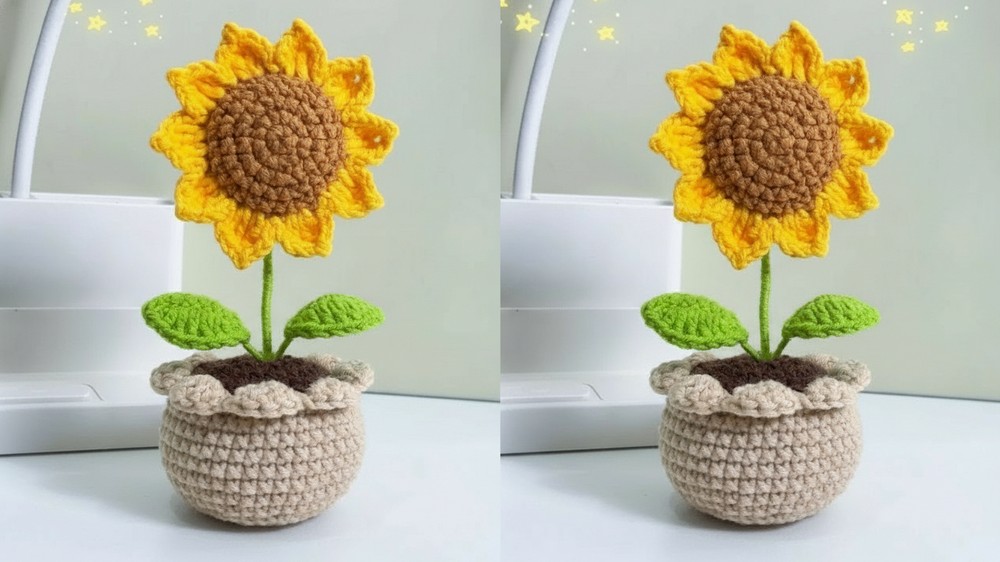
The friendly round center and smiling petals add color and beauty to every space, and the thick green leaves make the flower look even more real. People use it to decorate their homes, teach kids about flowers, or even to bring luck to an office desk. There is no mess or wilting, and it stays lovely every day. This pattern is simple to follow, making it perfect for beginners who want something beautiful and lasting to cherish for years.
Free Crochet Sunflower Pot Pattern
Materials
- Yarn:
- Brown (stamen and soil)
- Green (sepal, leaves, stem)
- Yellow (petals)
- Preferred fiber: Cotton or acrylic, sport or DK weight
- Hook: Size suitable for yarn (e.g., 2.5–3.5mm)
- Wire: 15 cm floral wire (for leaf/stem support)
- Fiberfill: For stuffing
- Scissors
- Yarn needle: For sewing/assembly
- Craft glue (for securing yarn to wire and stem)
- Measuring tape (optional)
Abbreviations (US Terms)
| Abbreviation | Meaning |
|---|---|
| MR | Magic ring |
| ch | Chain |
| sl st | Slip stitch |
| sc | Single crochet |
| hdc | Half double crochet |
| dc | Double crochet |
| tr | Treble (triple) crochet |
| inc | Increase (2 sc in one stitch) |
| dec | Decrease (sc 2 together) |
| FLO | Front loop only |
| BLO | Back loop only |
Special Notes
- The leaves and stem are wired for stability.
- Make all joins with sl st unless otherwise stated.
- This plush is worked in the round unless noted.
- Adjust hook/yarn size to scale project.
- Patterns are continuous rounds unless directed to sl st/join and ch 1.
Pattern
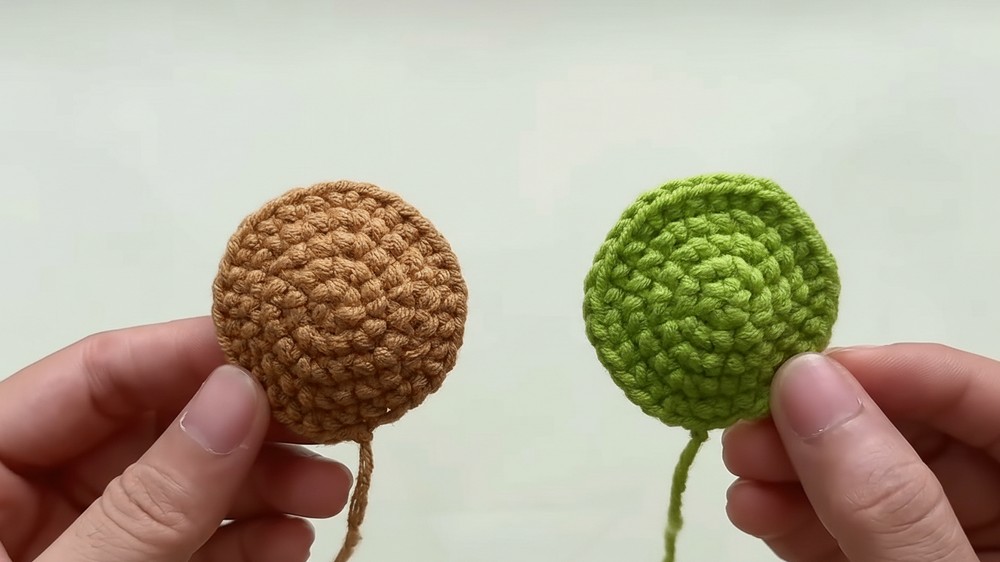
1. SEPAL (Green) & STAMEN (Brown)
(Make both with same pattern. Do sepal first, then stamen.)
Round 1: MR, 6 sc in ring. Pull tight.
Round 2: (Ch 1) Inc in each st around (2 sc in each st) – 12 sts.
Round 3: (Ch 1) (Sc in next st, inc in next st) around. – 18 sts.
Round 4: (Ch 1) (Sc in next 2 sts, inc in next st) around. – 24 sts.
Round 5: (Ch 1) (Sc in next 3 sts, inc in next st) around. – 30 sts.
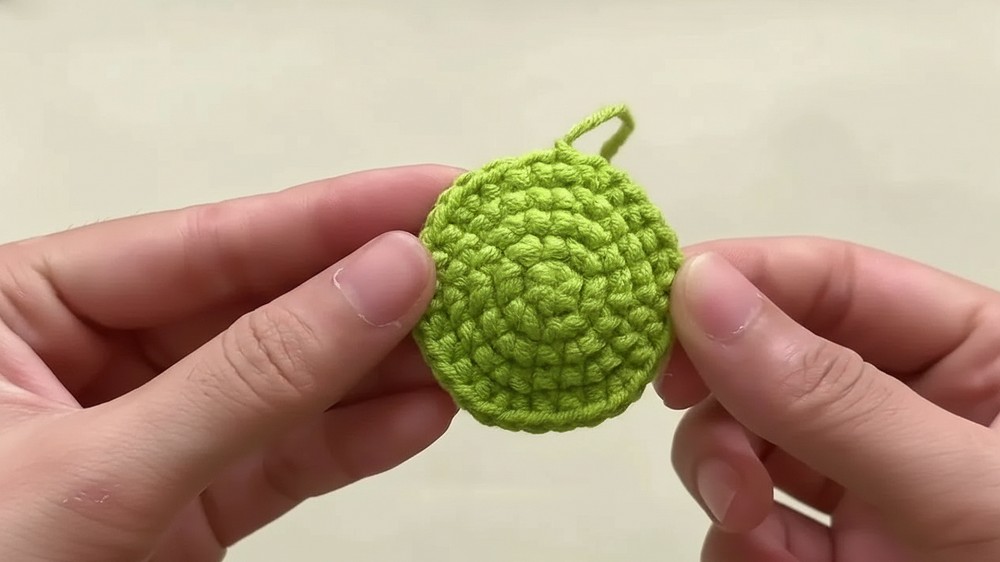
Sl st to first st. Fasten off.
2. PETALS (Work as you join sepal to stamen)
Preparation: Hold sepal (green) and stamen (brown) with wrong sides together, aligning stitches.
For Each Petal (work through both sepal and stamen layers):
- Insert hook through first st of both layers.
- Pull yellow yarn through and ch 2.
- In next st of both layers:
- Dc
- Tr in the same stitch
- Ch 2, sl st in second ch from hook (for tip).
- In next st of both layers:
- Tr
- Dc in the same stitch
- Ch 2, sl st in next st for anchoring.
- Repeat steps 3–6 around until you have 10 petals, leaving a gap for stuffing before closing.
- After last petal, sl st to first st to join. Fasten off.
3. LEAVES (Make 2)
Foundation: Ch 8.
Leaf Side 1:
- Insert wire (15 cm), hold alongside chain as you work.
- Working over the wire:
- Sc in 2nd ch from hook,
- Hdc in next,
- Dc in each of the next 2 ch,
- Dc in each of next 2 ch (4 dc total from above),
- Hdc in next,
- Sc in last.
Tip: Ch 2, sc in second ch from hook (forms leaf tip).
Leaf Side 2:
- Working into other side of foundation chain:
- Hdc in first,
- Dc in each of next 3,
- Hdc in next,
- Sc in last,
- Sl st to first sc to join.
- FO.
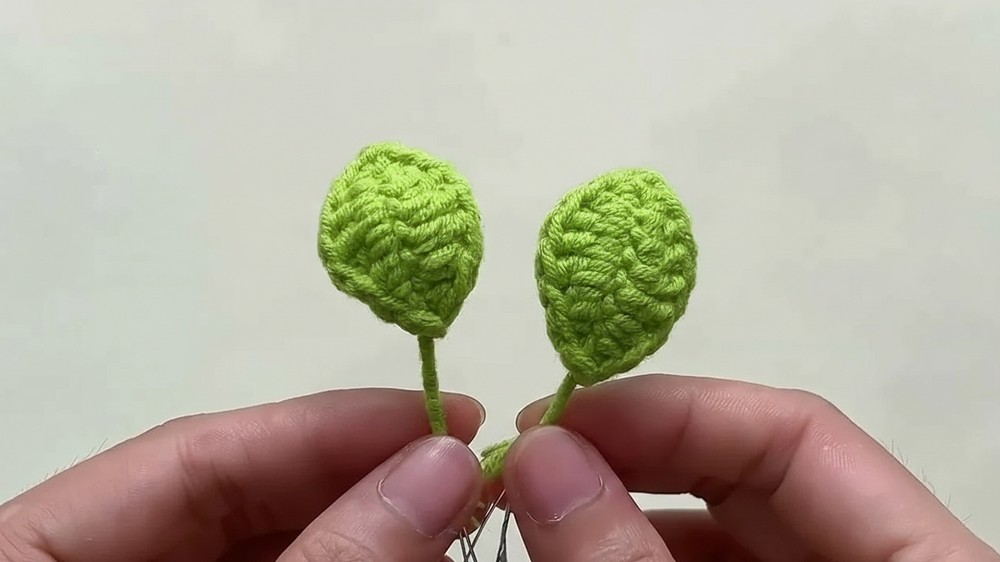
Finishing:
- Wrap exposed wire with green yarn and secure with a knot or glue.
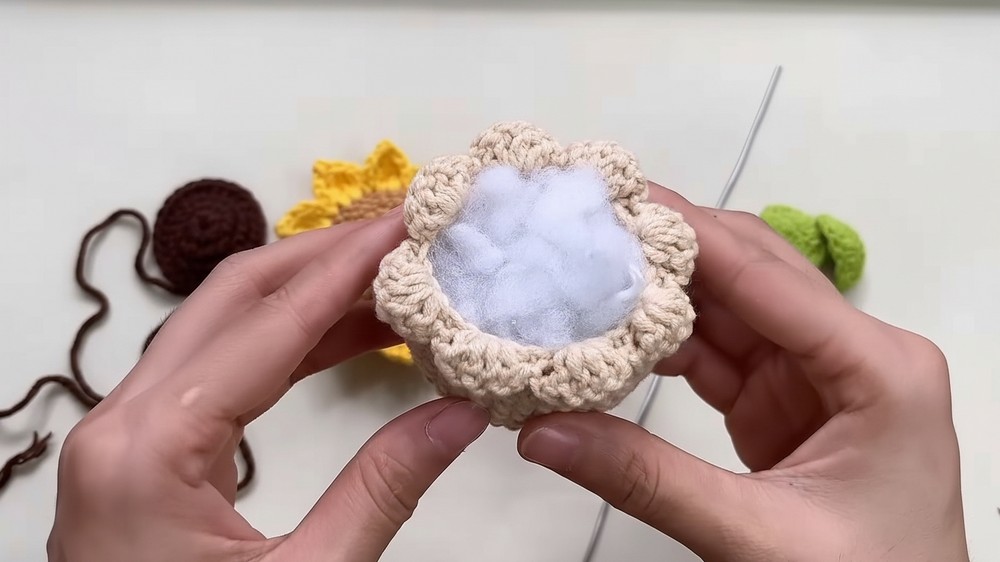
4. POT (Terracotta/Brown)
Round 1: MR, 8 sc in ring.
Round 2: (Ch 1) Inc in each st around (2 sc in each st) – 16 sts.
Round 3: (Ch 1) (Sc in next st, inc in next st) around – 24 sts.
Round 4: (Ch 1) (Sc in next 2 sts, inc in next st) around – 32 sts.
Round 5: (Ch 1) (Sc in next 3 sts, inc in next st) using BLO – 40 sts.
Round 6: (Ch 1) Sc in each st around (both loops).
Rounds 7–12: (Ch 1) Sc in each st around – 6 rounds total.
Round 13: (Ch 1) (Sc in next 3 sts, dec) repeat around.
Round 14 (Pot Rim/Decorative Edge):
- (FLO) Skip 1 st, 4 dc in next st, ch 1, skip 1 st, sl st in next st; repeat around.
FO and weave in ends.
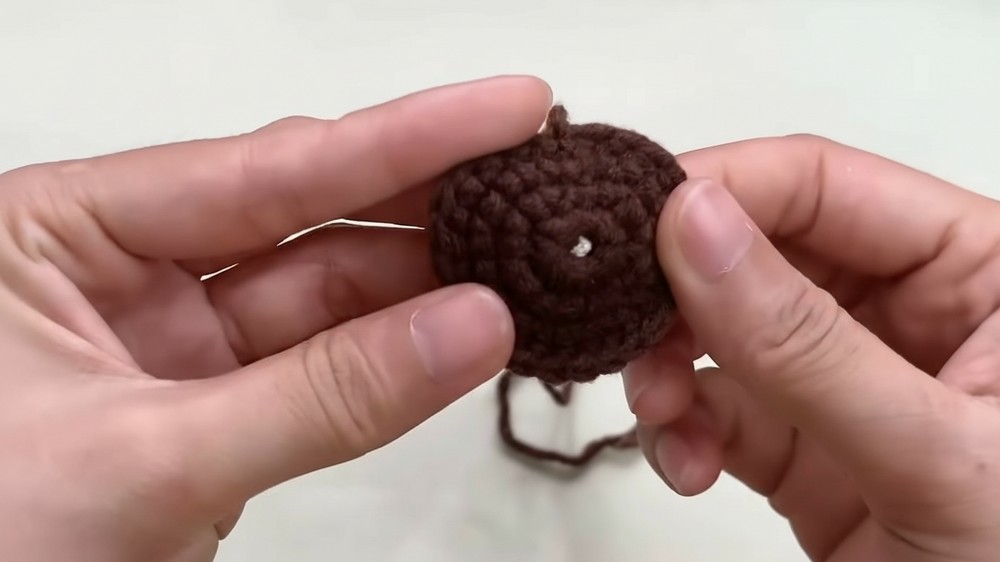
5. SOIL (Brown)
Round 1: MR, 8 sc in ring.
Round 2 to fit: Continue increasing (as in the sepal/stamen) to match the diameter of the pot opening.
- Leave a small center hole (for inserting the flower stem).
- FO, leaving a long yarn tail for sewing.
6. ASSEMBLY
- Stuff the Pot:
- Fill base with fiberfill.
- Sew Soil in Top:
- Sew soil into pot, closing it but leaving the tiny center hole.
- Make and Cover Stem:
- Apply craft glue to the wire, wrap with green yarn tightly, covering completely to hide wire.
- Insert through center hole of soil+pot. Dab glue to anchor.
- Attach Sunflower Head:
- Push the other end of the wrapped stem through the center hole of the sunflower layers (sepal & stamen).
- Wrap more green yarn up base of flower’s back for neatness if desired, securing with glue.
- Attach Leaves:
- Tie or glue leaves to the stem as desired. Wrap and secure with more green yarn.
- Complete:
- Weave in all ends and shape petals/leaves as desired.
Conclusion
This sunflower pot is a charming amigurumi project featuring clear shaping for all parts. The petals are crocheted as you join the sepal and stamen, and the supportive wire makes the leaves and stem sturdy and poseable, perfect for decor or gifting.
Pattern Corrections & Tips
Corrections:
- “Seep” = sepal; “staman” = stamen.
- Always insert hook through both layers when joining petals.
- Increases and decreases are done as written for neat rounds.
- Slip stitch at end of each round (unless working in a spiral).
Tips:
- Wrap wire tightly with yarn for a clean look, always secure ends with glue.
- Customize size by adjusting rounds for pot/soil/sepal.
- Fluff petals for a full, lively sunflower.
- Leave small gap in petals for stuffing, then close.
Leave a Reply