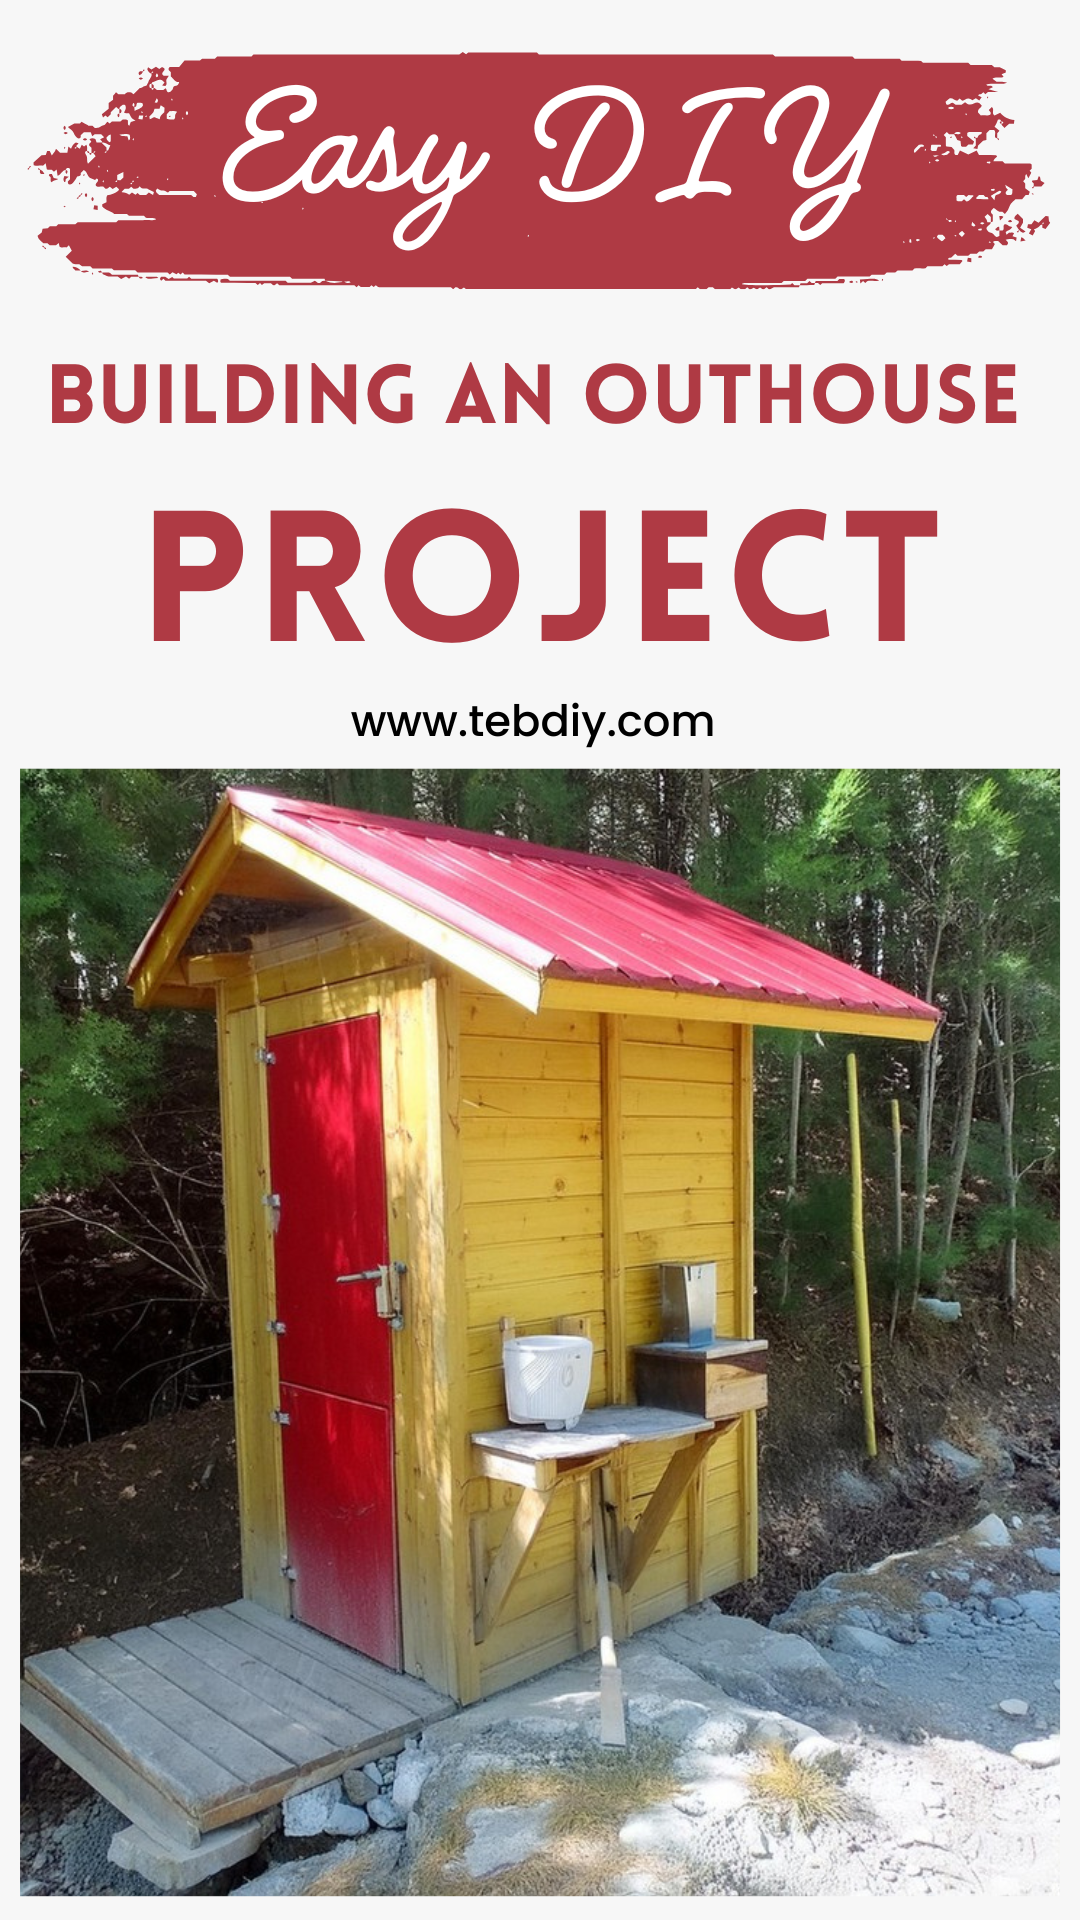
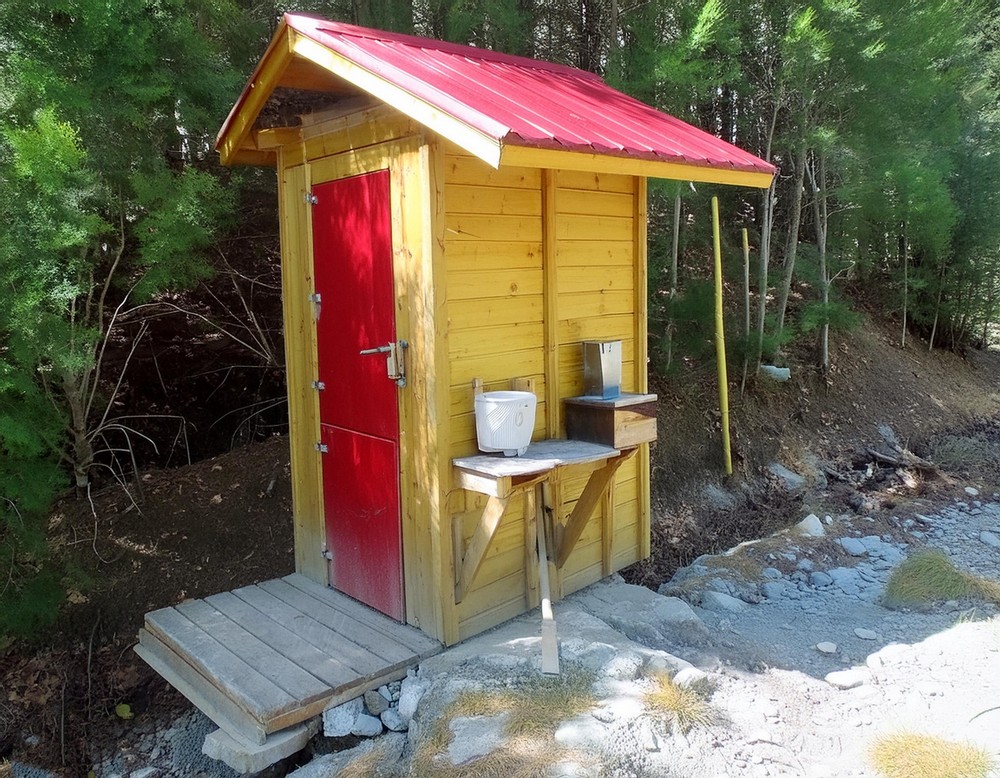
Have you ever fantasized about creating a quaint and practical outdoor restroom that radiates rustic charm? Whether it’s for your charming country cottage, a remote cabin nestled in the woods, or simply an additional convenience for those busy outdoor gathering days, building an outhouse can be a functional and rewarding DIY project. With a dash of elbow grease and a flair for woodworking, you can craft not just a necessary facility, but a conversation piece that marries form with function. So roll up your sleeves, because we’re about to embark on a time-honored construction journey – the bespoke outhouse.

Building An Outhouse Project

Materials:
- 4 x 4 posts
- 2 x 4s (pressure-treated)
- Deck boards
- 3/4 inch pressure-treated plywood
- Sheet metal (22 x 41 inches)
- Nylon screen
- Molding
- Roofing material (metal roofing or shingles)
- 1 x 3 boards (for corners)
- Toilet seat
- Vent pipe
- Screws
- Nails
- Paint (for end cuts on boards)
- Caulk
- Silicon
- Old sink
- Plumbing for wash station (optional)
- French trench materials (optional)
Tools:
- Shovel
- Level
- Saw
- Screwdriver
- Hammer
- Drill
Step-by-Step Guide
Selecting and Preparing the Site
Prior to digging, confirm with local regulations the allowable placement in proximity to water sources and property lines. Insert a stake as a guide and form a three-foot square with additional stakes, marking the bounds of your hole, which should be dug to at least three feet deep, or deeper for heavy use.
After finalizing the hole, construct a rectangle using the 4 x 4 posts to function as the base frame, sitting above ground level to prevent water seepage.

Creating the Base and Floor
Design a four-foot square base for the structure, creating a similar sized landing at the entrance. Employing pressure-treated 2 x 4s and deck boards, assemble the subfloor, ensuring to cover the entirety of the base frame periphery with plywood to regularize the surface for future wall installation.
Erecting the Walls and Seat
Fashion the walls using standard framing methods, avoiding blocking between certain studs to allow for a ventilation pipe. The walls take shape around the square footprint with an eye to structural integrity and interior comfort. Within this framework, craft a bench seat using sturdy material, lined with sheet metal to enhance cleanliness.
Assembling the Roof Structure
Esteem practicality over aesthetics for the roof, simplifying the construction. Fashion the trusses to support a modest overhang and seal the resulting structure sufficiently to deter insects.
Crafting the Door
Opt for a quaint two-piece door, which provides both privacy and a potential view. The lower half offers strength and sealing, while the upper welcomes light and air when desired.

Installing Ventilation and Toilet Seat
Install a vent pipe for airflow and to diminish odors, ensuring it projects above the roof line. Fit a standard toilet seat atop the sealed bench, detailed with precision to maintain sanitation.
Adding a Wash Station (Optional)
For additional utility, construct a wash station by integrating a sink and drainage system, potentially utilizing a French trench for eco-friendly water disposal.


Leave a Reply