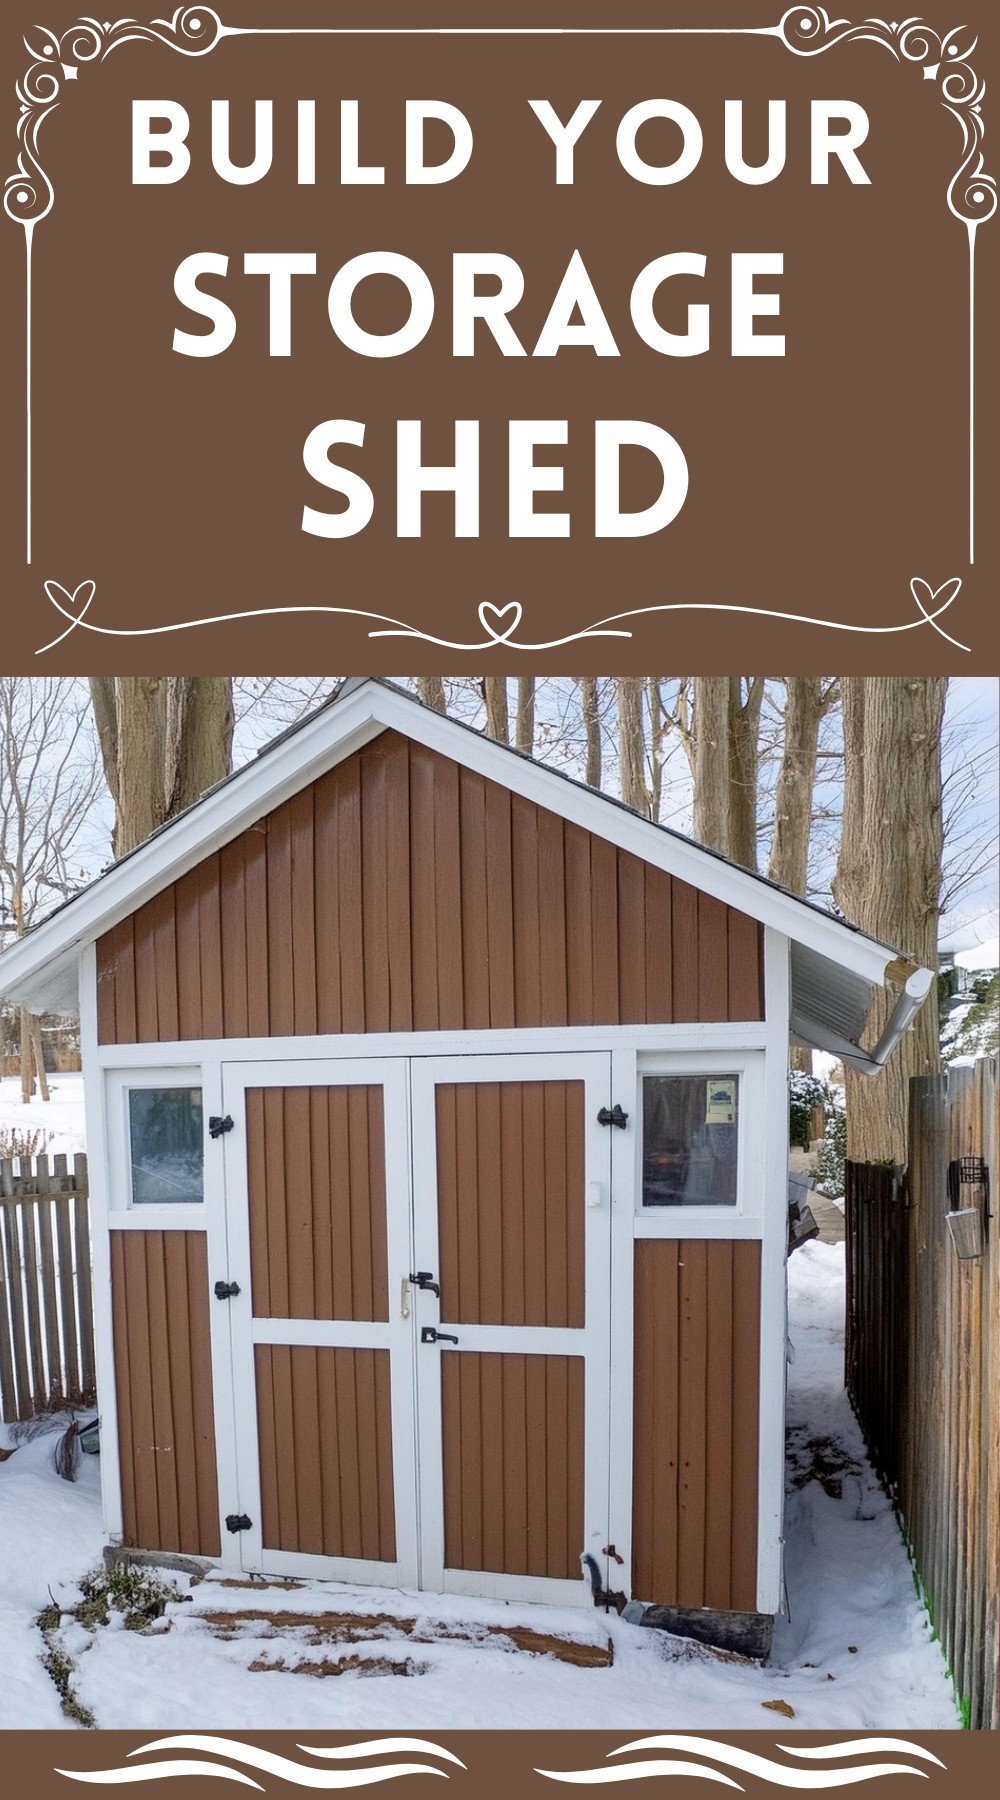
Starting a project to build your storage shed is exciting! It not only gives you extra room to store things but also makes you feel great because you’ve built something useful and long-lasting. If you’re looking to clean up your space, want your workshop, or just want to try your hand at building, this project is perfect for you. It will not only meet your needs but also make your place look better. We’ll show you all the materials and tools you need and take you step by step to make a strong and good-looking storage shed.

Build Your Storage Shed

Materials List for the Foundation and Structure
Foundation Materials:
- 15 Cinderblocks
- Clay Bricks (for above-ground construction)
- Concrete Pavestones
- Limestone Screening
- Mortar
Framing and Roofing Materials:
- 2×4 Lumber (a significant amount for framing)
- Joist Plates
- 7/16 inch Plywood Boards (for roofing)
- Brown Asphalt Shingles
- 2×8 Lumber (for base of wall frames)
- I-Bolts
Finishing Materials:
- Fake Board and Batten Siding
- White Trim
- Light Brown Wood Stain (semi-transparent)
- Bright White Paint
- Concrete Tiles (for floor finishing)
Tools Required
- Spades and a Pickaxe (for foundation preparation)
- Chisel and Hammer
- Air Hammers (for framing)
- Miter Saw (especially one that can cut angles)
- Drill

Building Process in Steps
Groundbreaking for Foundation
Start by selecting the location, considering the slope and proximity to established trees. Use spades and a pickaxe to level the ground and form channels for the cinderblocks, taking care to include a route for electrical wiring.
Preparing Foundation Materials
Gather your cinderblocks, bricks, and pave stones. Remember, clay bricks should only be employed above ground to prevent erosion.
Laying the Foundation
Line the channels with limestone screening before burying your electrical. Lay down the cinderblocks methodically, ensuring they are level. Incorporating rebar posts tied with strings will aid in keeping the walls straight.
Framing the Structure
The frame provides the skeleton of your storage shed. Use 2×4 lumber, and secure them with the air hammer. Joist plates are essential for the roofing angles to maintain integrity over time.
Wall Construction
Construct wall frames from 2×4 lumber at 2-foot intervals and attach them securely. Temporarily lean them against a stable structure.
Foundation Finalization and More Electrical Work
Cover electrical wiring with conduit for protection and a polished look. Complete the foundation with limestone aggregate and pave stones for solidity and drainage.
Attaching Wall Frames to Foundation
Connect the wall frames to the 2×8 base using screws through the i-bolts previously mortar-set in cinderblocks, ensuring everything is squared and secure.
Roof Trusses and Attachment
Carefully measured and constructed roof trusses are essential to support the external roofing materials. Utilize joist plates for maintaining precise angles.
Siding
Apply the faux board and batten siding, adding white trim for pronounced edges and aesthetic appeal.
Crafting the Doors
After several attempts to ensure correct tolerances, the doors are affixed with sliding deadbolts for security and functionality.
Painting and Roof Finish
Apply your chosen stain and paint to the assembled shed and doors. Complete the roof with plywood and asphalt shingles for weather resistance.

The Finished Product
Install the doors with suitable latches and locks. Opt for plexiglass windows for natural light, and finish the floor with concrete tiles. Optionally, add interior shelving and bike racks to maximize storage utility.
Building your storage shed is a rewarding project that not only provides additional storage but also the opportunity to learn and apply construction skills. With the right materials, tools, and attention to detail, you can create a functional and attractive space that adds value to your property.

Leave a Reply