
Make a place where the air is fresher, the perspective unique, and the experience utterly magical. Now, visualize having the power to bring this scene to life, crafting an enchanting skyline retreat that’s not just a hit with the kids but a nostalgic nod to your childhood dreams. The pursuit of building a treehouse marries creativity with carpentry, transforming ordinary backyards into realms of adventure. Whether it’s a leafy lounge for summer daydreams or a secret clubhouse under the canopy, this project is your blueprint for creating memories that climb to new heights.
How To Build A Treehouse For Kids

Materials List
To begin your arboreal abode, gather the following materials:
- 2 pieces of 8′ long 2×8 pressure-treated (PT) lumber
- 6 pieces of 12′ long 1×6 PT decking material
- 6 pieces of 8′ long 2×6 PT lumber
- 3 pieces of 10′ long 2×4 PT lumber
- 3 pieces of 10″ long, 3/4″ diameter galvanized lag screws and washers
- 2 pieces of 8″ long, 3/4″ diameter galvanized lag screws and washers
- 8 galvanized joist hangers
- 8 galvanized rafter ties
- Nails, deck screws
- Pulley for 1/4″ rope
- Camouflage tarp for the roof
- Cedar boards and 2×4 lumber from an old fence (or substitute for railing/walls)
Tools Required
The toolbox for this task includes:
- Basic hand tools: hammer, saw, level, square, tape measure, adjustable wrench
- Power tools: cordless drill, jigsaw (miter saw, table saw, and router are helpful but not essential)
- A ladder, or at least a stepladder to begin with

Building Your Treehouse
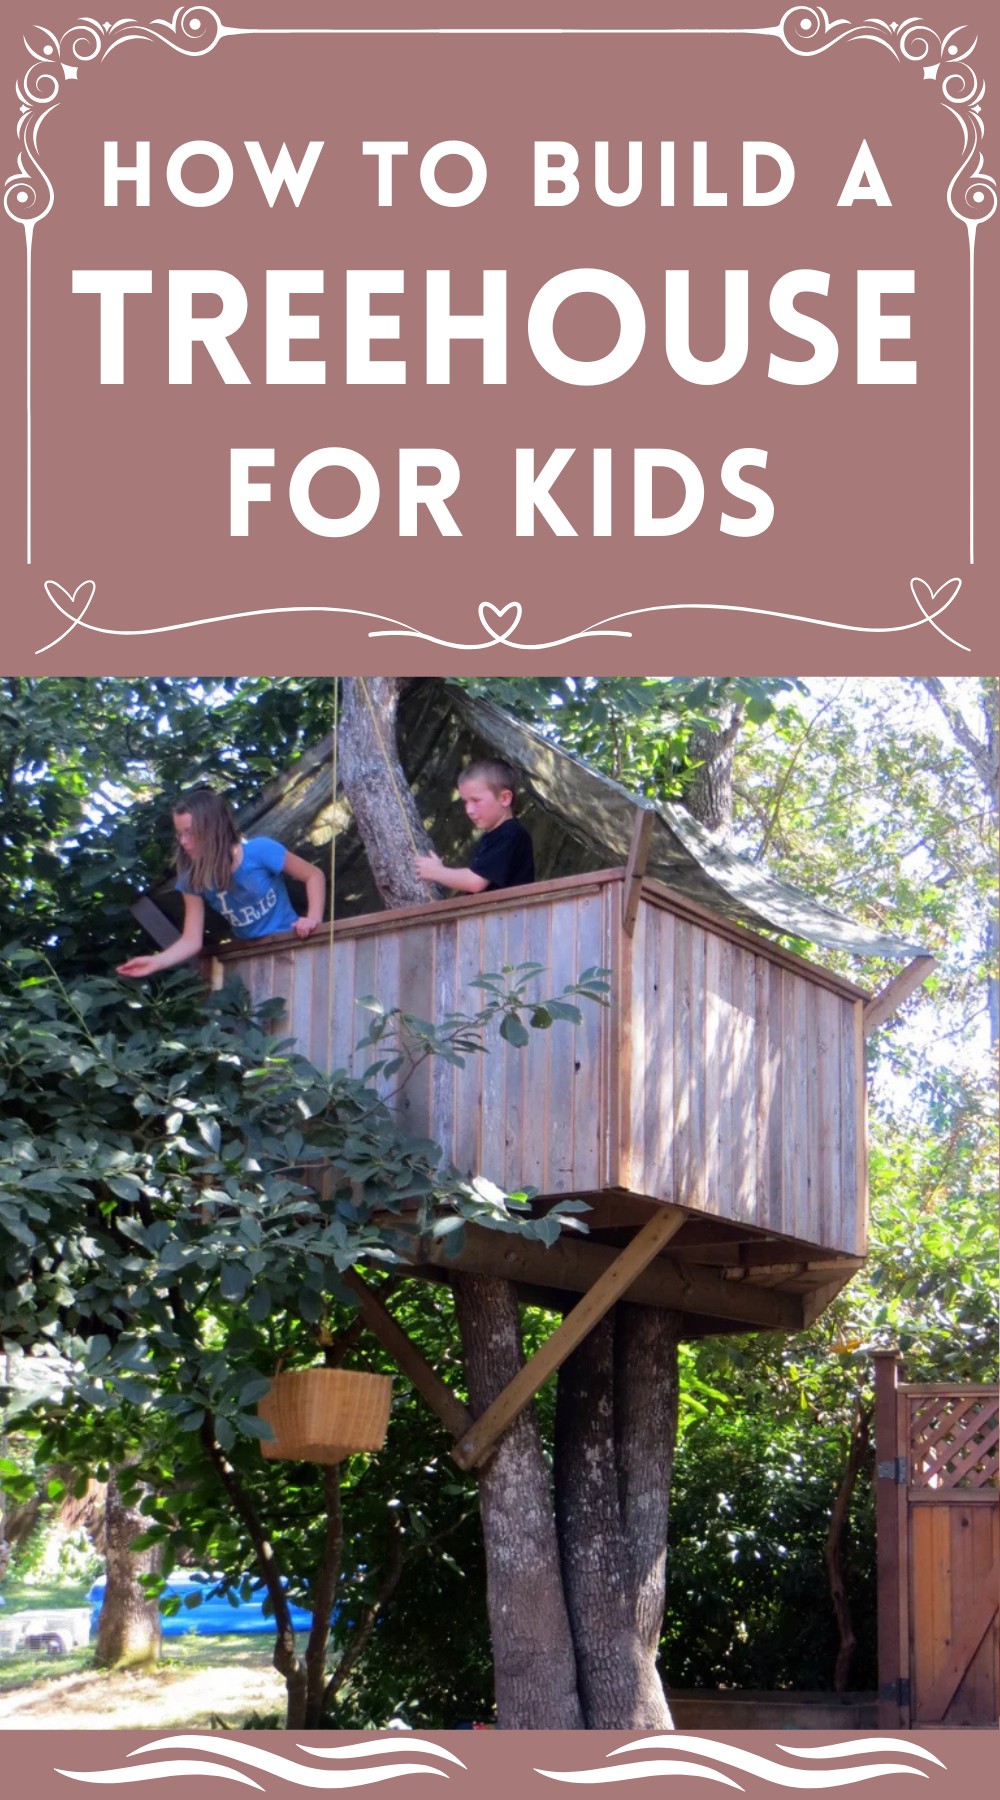
Select Your Trees: Identify two or three trees in close proximity that can support your structure. Opt for robust, healthy trees, keeping in mind that oaks like the Garry oak are solid choices. Decide how high off the ground you want your treehouse — around 9′ offers excitement without being too daunting for young adventurers.
Design Phase: Sketch out your design, starting with inspiration and adjusting to the realities of your space. Be flexible; some adjustments will be inevitable as your project progresses.
Preparing the Main Supports: Begin by fixing a temporary wood strip to mark the floor level of your treehouse on your chosen trees. Drill holes above this mark for the lag screws, ensuring they allow for tree growth. This foundational step ensures your treehouse has room to evolve with its living supports.
Installing the Platform Base: Cut your decking material to size and arrange it to form the platform. This stage starts to outline the footprint of your treehouse, offering the first tangible glimpse of the project scale.
Construct and Secure the Platform: Combine the 2×6 lumber into a robust frame atop the main supports. Getting the platform right is crucial, as it’s the base upon which everything else will be built.
Reinforcing with Braces:
Add diagonal 2×4 bracing to stabilize the platform, an important step to ensure safety and rigidity. This step is vital for preventing any dangerous wobble.
Elevating the Experience with a Pulley: Install a pulley system to add an element of practicality and fun, making it easier to haul up tools, materials, or even a snack for the builders and their helpers.
Final Touches on the Structure: Lay down the decking, carefully fitting it around the tree trunks and considering future growth. This is where your treehouse starts to come together as a usable space.
Creating an Entranceway: Add a unique entrance or lower deck for a creative access to your treehouse. This bonus area adds character and functionality to your design.
Safe Guards: Finish up by constructing railings for safety, utilizing cedar boards or other materials to fill in gaps, and ensuring a secure perimeter for all to enjoy.

Leave a Reply