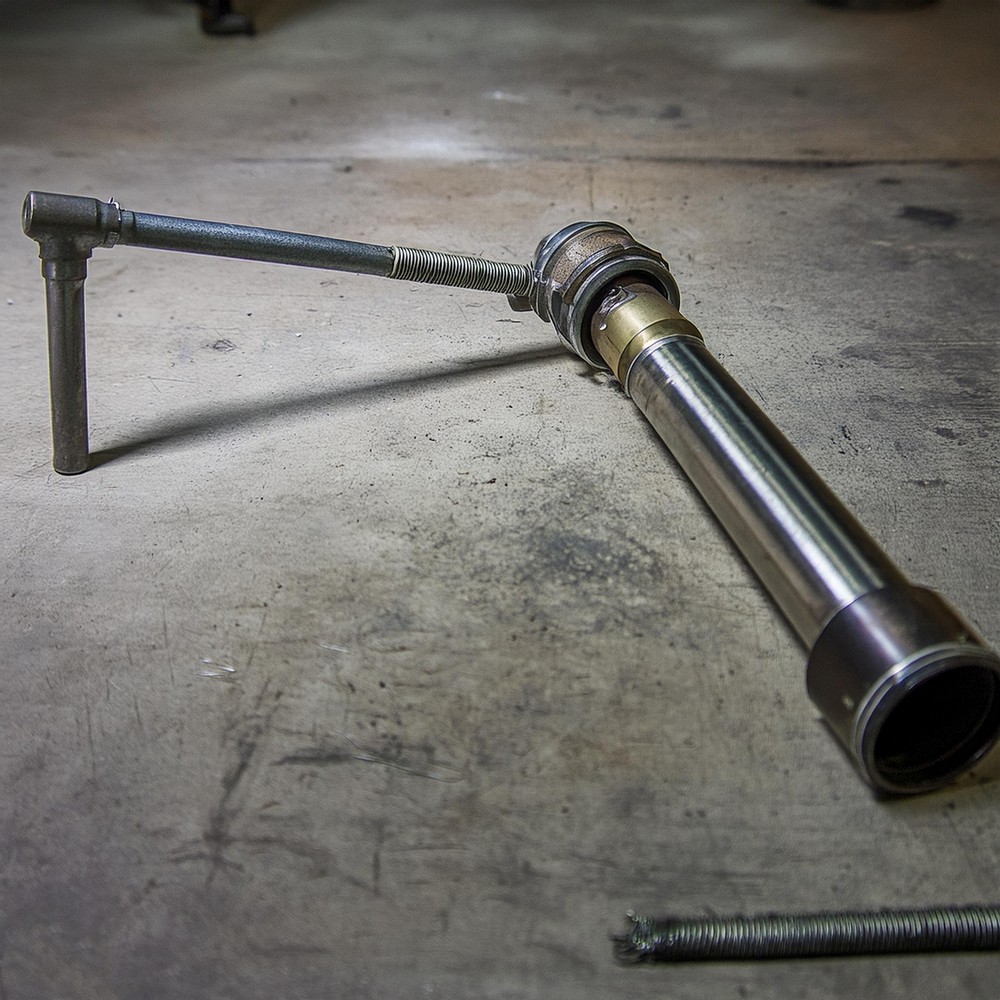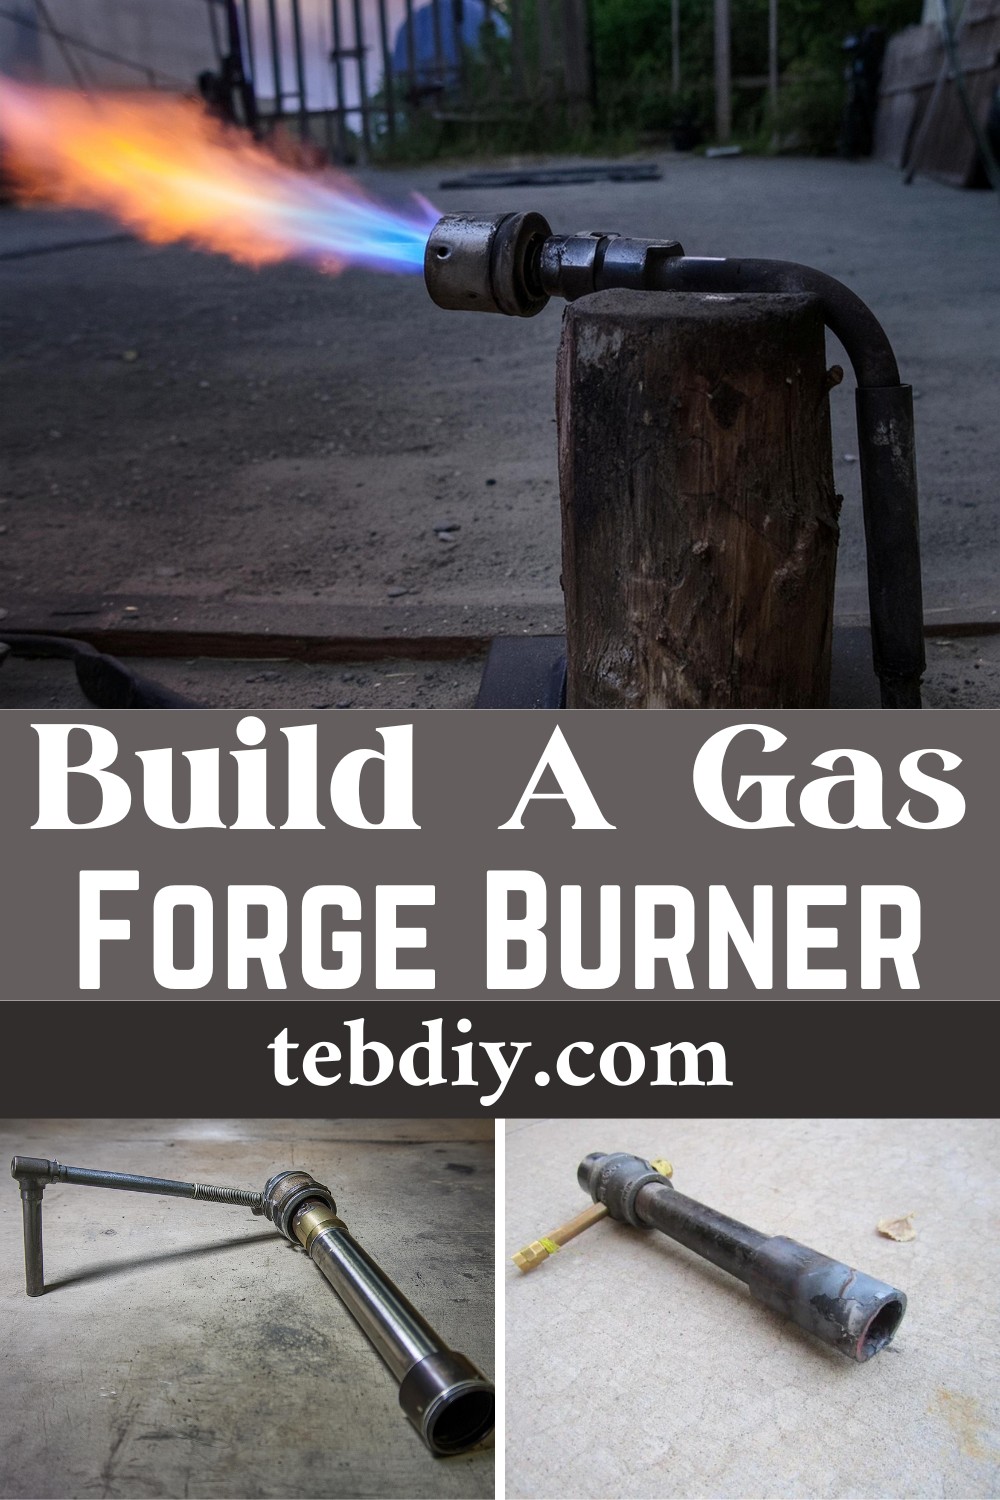
Building a gas forge burner not only immerses you in the practical aspects of thermal dynamics but also unleashes your creative spirit, allowing you to mold, shape, and create metal workpieces with precision and ease. Here, we present an amazing tutorial to help you build a gas forge burner in this regard. Engineered with simplicity and efficiency, this burner design serves as a beacon for DIY enthusiasts seeking to venture into the realms of metal artistry or enhance their workshop capabilities. So, follow the given steps to make this useful tool, and surely thank me later.
How To Build A Gas Forge Burner

Materials and Tools Required:
Materials:
- Black iron pipe fittings (Note: Avoid galvanized fittings due to toxic fumes when heated)
- Brass fittings: All 1/8″
-
- 4″ brass nipple
- Coupler
- End cap (for intake segment assembly)
- Additional fittings for hose connection distancing
- 1″ pipe segment for flare creation
Tools:
- Drill with a set of bits
- Couple of files
- Tap set (optional for setting screws; alternatives provided)
- Functional forge or alternative heat source for flare creation
- Gas regulator (Note: Direct hose connection from burner to propane tank is insufficient)

Initial Setup:
- Utilize a carpenter’s square to mark a center line on the bell reducer.
- Extend this line down the reducer’s side.
- Position a 1/8″ brass nipple against the reducer’s rim to mark its center across the initial line, mirroring this mark on the opposite side.
Drilling:
- Align marks using a vice, stating with a pilot hole, followed by enlarging with a 3/8” bit.
- Use a round file to enlarge the hole allowing the brass nipple to fit snugly through.
Securing the Gas Tube:
- Drill a hole for a set screw, slightly angled towards the reducer’s smaller opening.
- Use a tap (size 8/32 tap recommended) to create threads for the screw.
Orifice Creation
- Center a mark down the 4” nipple length.
- Carefully drill the orifice using a #57 drill bit, ensuring the orifice points down the burner tube.
Step 3: Flare Crafting
- Heat a 3” segment of 1” pipe to a red-hot temperature.
- Using a round bar, hammer the rim to expand the opening to about 1 1/2″.
- A set screw can be added for adjustment versatility.
Step 4: Assembly & Orientation
- Insert a #57 bit, shank first, through the orifice to aid in orienting the orifice towards the smaller end of the reducer.
- Secure with a set screw after achieving proper alignment.
- Configure the final assembly of brass fittings to protect the gas hose from heat. Attach to an LP gas hose connected to a regulator and propane tank.

Alternatives and Work-Arounds
- Set Screw Alternative: Without a tap, secure the gas tube using a 1″ pipe segment against the bell reducer.
- Flare Alternative: If unable to heat forge the flare, using a 3″ piece of 1″ pipe over the burner tube suffices, albeit with slightly less oxygen draw.

Leave a Reply