
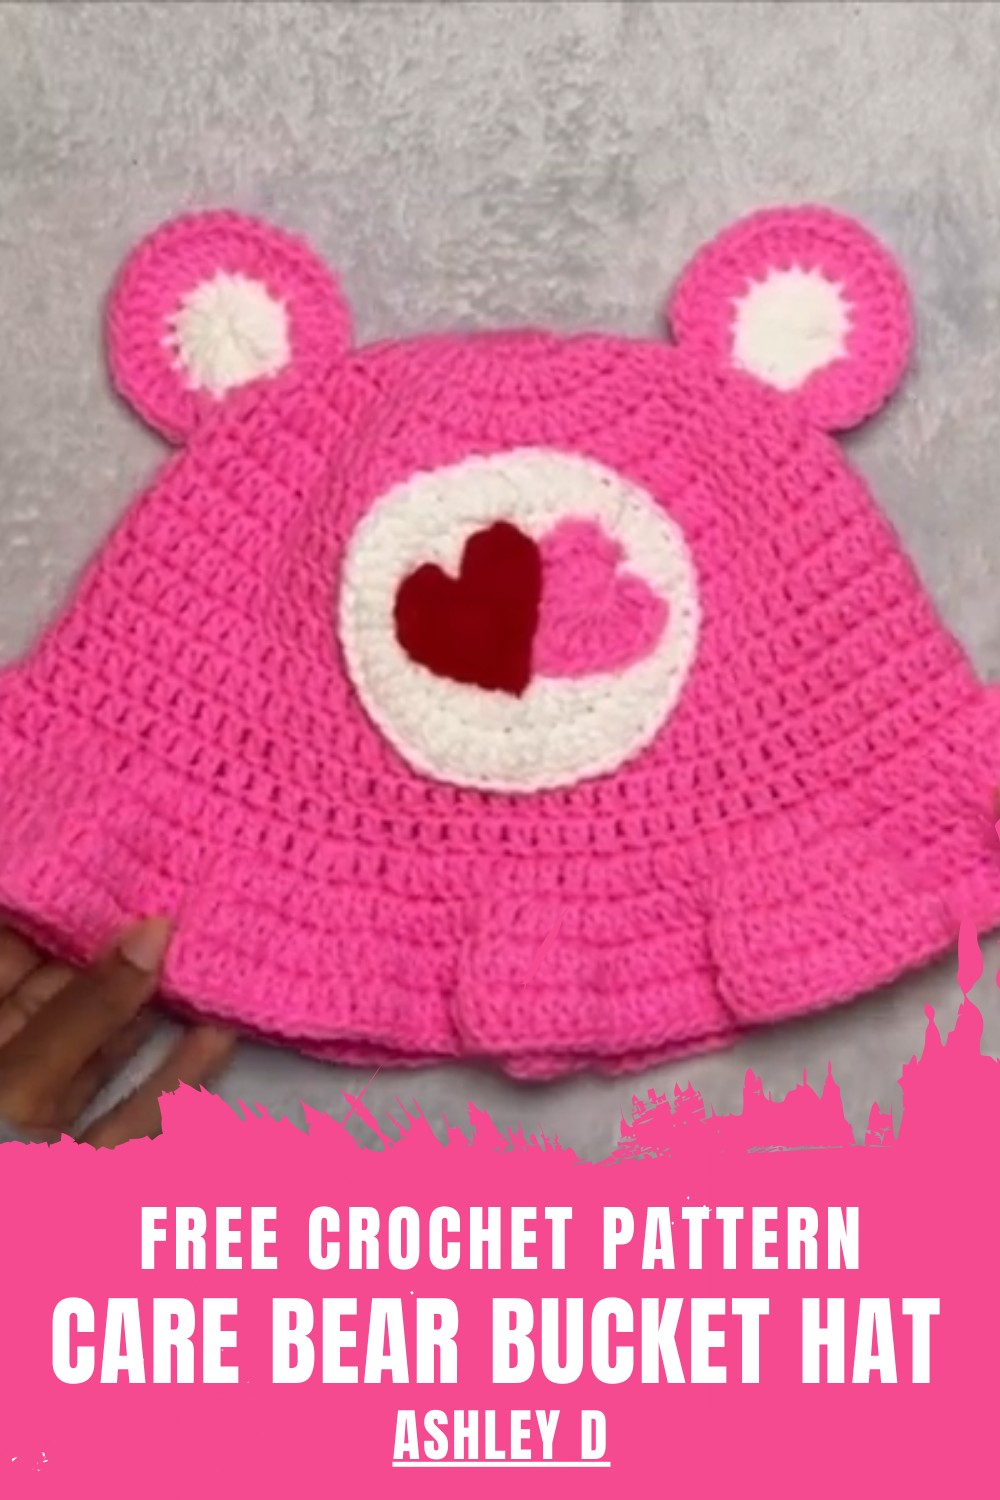
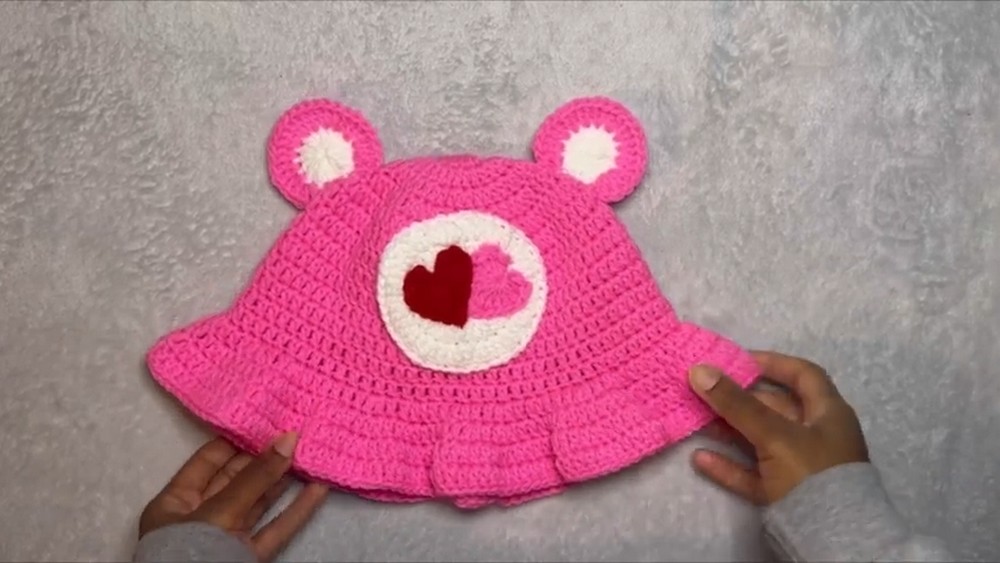
Spread joy with free crochet care bear bucket hat pattern that brings colorful bear magic to your wardrobe for sunny days and happy moments.
Smiles appear as this colorful accessory brings happiness wherever it goes. Bright yarn and cute little bear faces make each hat feel special and friendly. The crochet care bear bucket hat pattern is full of charm and fun with a wide brim to help shade from the sun. It sits gently on the head and makes everyone look cheerful and unique. People love how easy it is to wear for outdoor fun or sunny days at the park.
Easy Free Crochet Care Bear Bucket Hat Pattern
Children enjoy the playful bear shapes and adults like the sweet touch on any outfit. Use it to keep hair tidy and feel extra joyful while spending time with friends or family. The crochet care bear bucket hat pattern also makes a thoughtful gift that shows how much you care. It is a simple way to bring brightness and warmth to everyday moments and to spread cheerful vibes all around.
Free Crochet Care Bear Bucket Hat Pattern
Materials
- Yarn:
- Worsted weight yarn (Category 4) in White, Pink, and Red
- Crochet Hook: 4.25 mm (or 4 mm if preferred)
- Notions: Stitch markers, scissors, yarn needle (for sewing & weaving ends)
- Optional: Small crochet hook for finishing knots
- Gauge: Not critical, but finished hat fits most adults and teens
Key Abbreviations (US Terminology)
- MR = Magic Ring
- ch = chain
- sl st = slip stitch
- sc = single crochet
- dc = double crochet
- tr = treble crochet
- st(s) = stitch(es)
- flo = front loop only
Special Notes
- Chains at the beginning of rounds do not count as stitches.
- Always slip stitch to the top of the starting chain at the end of each round unless otherwise instructed.
- For colorwork, secure ends well for durability.
Pattern
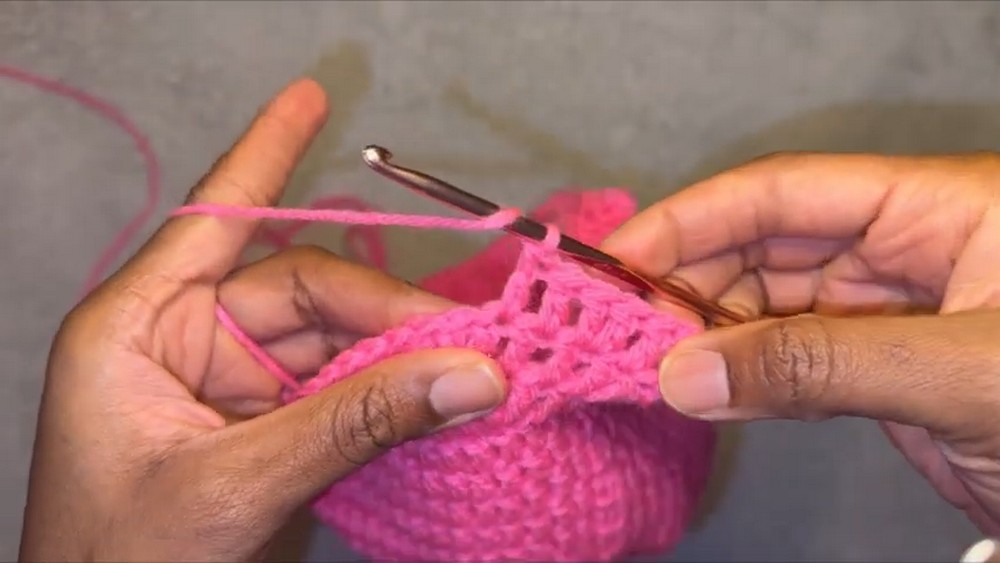
Bucket Hat – Main Body
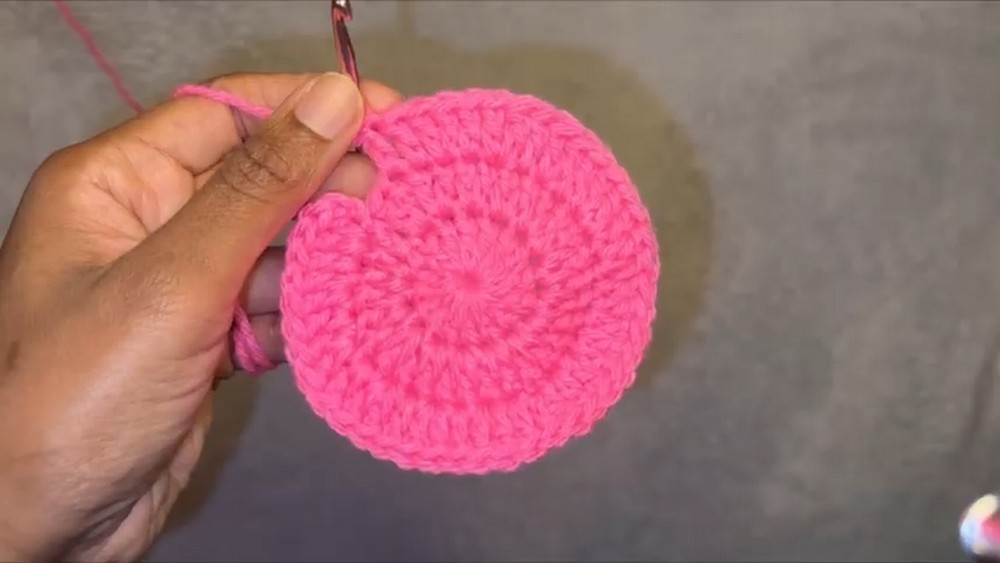
Crown
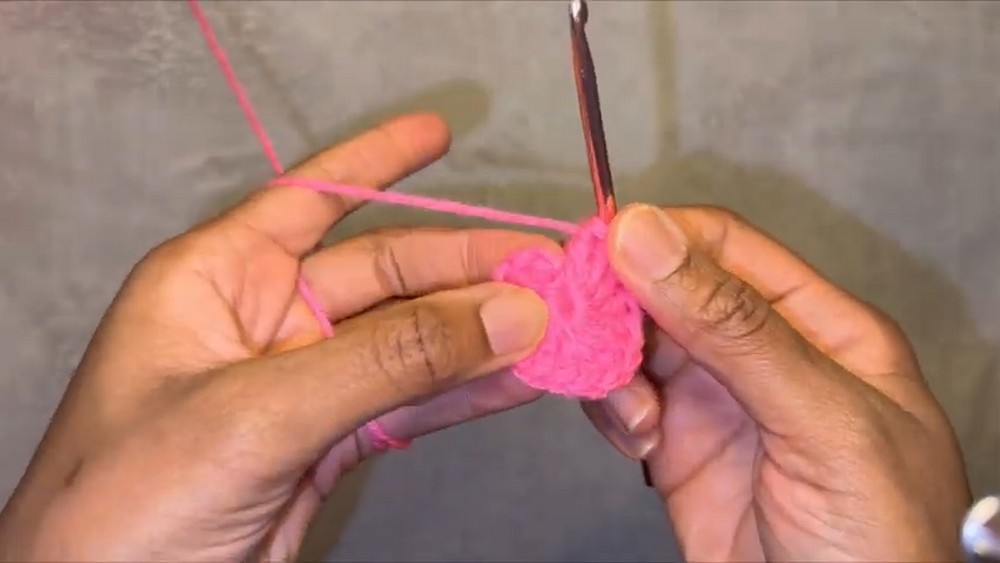
- With White, make a MR.
- Ch 2, 16 dc in MR. Pull ring closed tightly. Join with a sl st to the top of ch-2. (16 sts)
- Ch 2. 2 dc in each st around. Join with sl st. (32 sts)
- Ch 2. 2 dc in first st, 1 dc in next st; rep from * around. Join. (48 sts)
- Ch 2. 2 dc in first st, 1 dc in each of next 2 sts; rep from * around. Join. (64 sts)
Sides
- Ch 2. Dc in each st around. Join. (64 sts)
- Repeat round 6 for a total of 13 rounds (including forming and established rounds; you may adjust for desired depth).
Brim
- Ch 2. Working in flo for this row:
2 dc in first st, 1 dc in next st; rep from * around. Join.
(Increases, brim begins to flare) - Ch 2, [2 dc in first st, 1 dc in next 2 sts] around. Join. (Continue in both loops from now)
- Ch 2, [2 dc in first st, 1 dc in next st] around. Join.
- Ch 2, dc in each st around. Join.
- Fasten off, weave in all ends.
(Optional: Add another row for a longer brim.)
Ears (Make 2)
Each ear is worked in two colors for a two-layered effect.
Ear – White Back
- With white, MR. Ch 2, 16 dc in MR. Pull ring closed. Join with sl st.
- Fasten off.
Ear – Pink Inner
- Attach pink in any st. Ch 2, [2 dc in each of the next 12 sts] Join with sl st. (24 dc)
- Fasten off, leaving a long tail for sewing.
Assembly
- Place inner (pink) ear on top of back (white) and use tail to sew both through the hat at desired position (spanning approx. 4 rounds). Secure with stitch markers before seaming for positioning. Weave in ends.
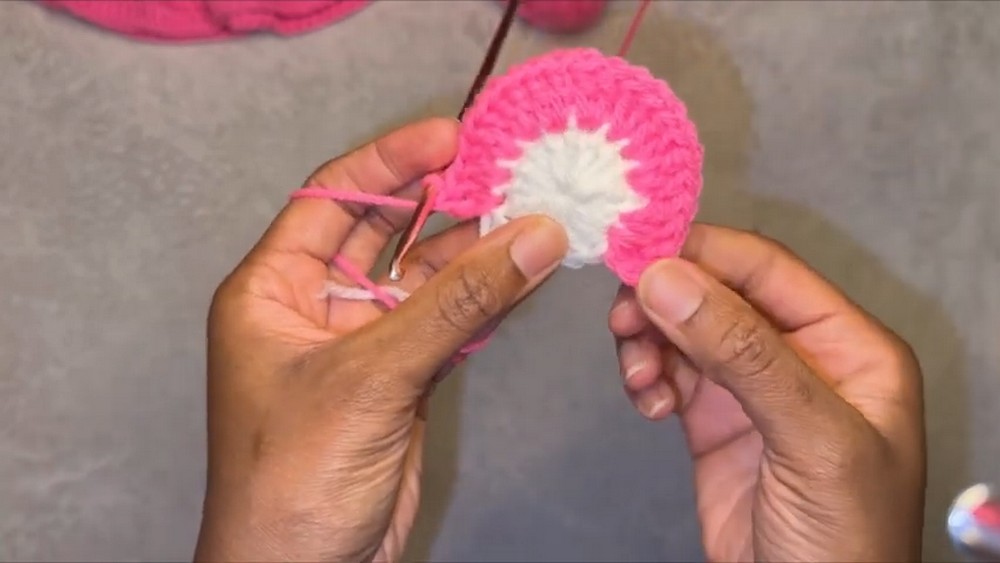
Face Patch (White Circle)
- With white, MR. Ch 2, 16 dc in MR. Join. (16 sts)
- Ch 2, 2 dc in each st around. Join. (32 sts)
- Ch 2, [2 dc in first st, 1 dc in next st] around. Join. (48 sts)
- Fasten off, leaving a long tail for sewing. Weave in ends or secure excess yarn to the back.
Hearts (Make 2 – Pink & Red)
(Work each heart separately and attach to patch before assembling to hat. See construction order for overlapping hearts.)
Heart Motif
- With desired color, MR. Ch 2.
- Into MR:
- 3 tr
- 3 dc
- ch 1
- 1 tr
- ch 1
- 3 dc
- 3 tr
- Pull ring nearly closed, sl st into MR. Pull ring tight, ch 1, fasten off, leave long tail for sewing.
Assembly
- Sew pink heart to white patch first.
- Sew red heart overlapping pink heart.
- Secure all ends behind the patch; knots can be tied for extra security.
Finishing
- Sew assembled face patch (with hearts) to center front of hat.
- Secure well, weave in excess ends.
- Block gently if desired for best shape.
Conclusion
Congratulations on completing your Love-a-Lot Care Bear-inspired bucket hat! This delightful accessory combines classic bucket style with playful details, perfect for Care Bear fans of all ages.
Pattern Correction
- Ensure each crown-round increase totals are checked and adjusted as necessary for even shaping.
- Check that the number of rounds on both ears and hat sides match for symmetry.
- Adjust brim rounds as required for desired width and flare.
Tips
- Use stitch markers at the start of rounds and when placing ears or patches for even, precise placement.
- For a smaller or larger hat, add or remove increase rounds accordingly and check fit as you progress.
- Secure all appliqué and embellishment ends tightly for durability, especially if the hat will be worn by children.
Leave a Reply