
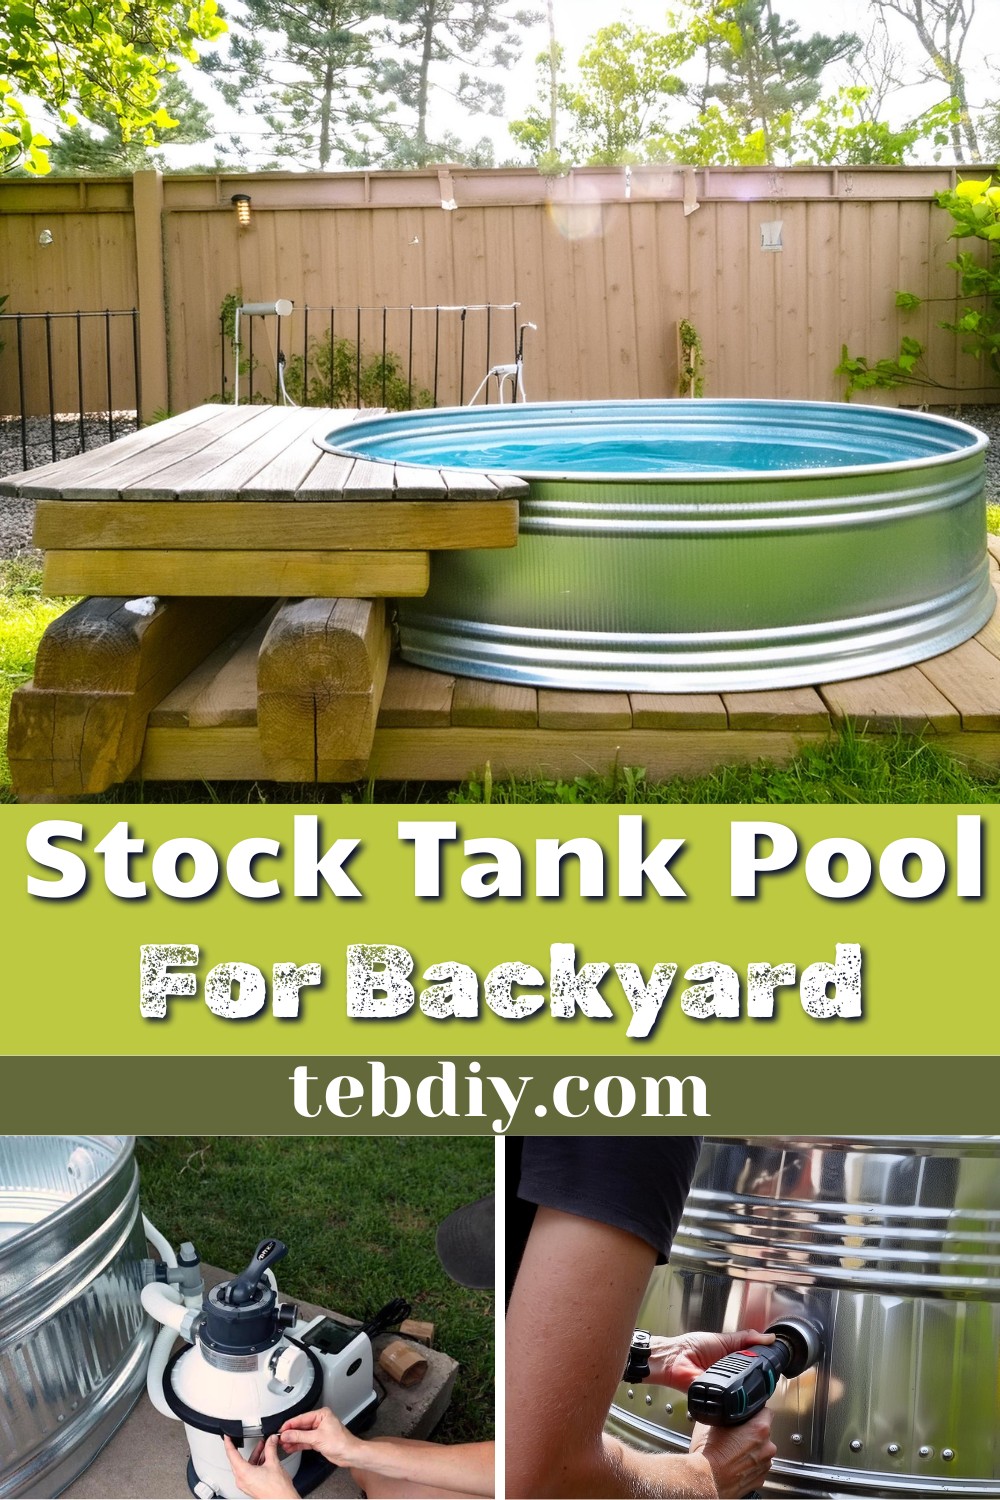
Turn your backyard into a refreshing retreat, a sanctuary where the summer heat meets its match in the cool, tranquil waters of your very own pool. This isn’t just any pool; it’s a stock tank pool – a clever, cost-effective solution that blends rustic charm with chic simplicity. With some creativity and basic DIY skills, you can set up this backyard game-changer in just an afternoon. Gather your supplies early, as their popularity has made them a hot commodity. Follow these steps to create a miniature oasis that will be the envy of your neighbourhood.

How To Make A Stock Tank Pool

Materials List:
- Stock Tank: Opt for a 6′ tank, available at local suppliers or feed/farm supply stores.
- Pool Filter Pump: A slightly more powerful model ensures better water clarity.
- Pre-Fill Water Filter: To remove impurities from the water as you fill your pool.
- Plunge Valves: Essential for controlling water flow.
- Inlet: Comprises of two necessary parts to connect the pump to the pool.
- Inlet Nut: To securely fasten the inlet.
- Hole Saw: For creating openings in the tank.
- Glass Filter Media: A durable and efficient filtering option.
- Hydrogen Peroxide: A natural alternative to chlorine.
- H2O2 Test Strips: To monitor the hydrogen peroxide levels in the water.
- Marine Sealant: Prevents water from leaking through the holes.
- Plumbing Tape: Ensures a watertight seal on threaded connections.
- Metal File: Smoothens any sharp edges after drilling.
- Pool Skimmer: Keeps the water surface clean.
- Grounding Rod: For electrical safety.
Tools and Equipment:
- Drill: For making holes for the inlet and outlet.
- Vacuum/Cleaner: To remove metal shavings after drilling.
- Screwdriver/Wrench: For securing components.
Step-by-Step Guide to Creating Your Stock Tank Pool:
Gather Your Supplies
First up, you’ll want to make sure you have all your supplies and tools at the ready. Choosing a sand filter pump can save on maintenance efforts and costs over time.
Prepare Your Ground Surface
If you don’t already have a level concrete slab, you’ll need to level a spot in your yard using sand. This ensures a stable base for your pool.
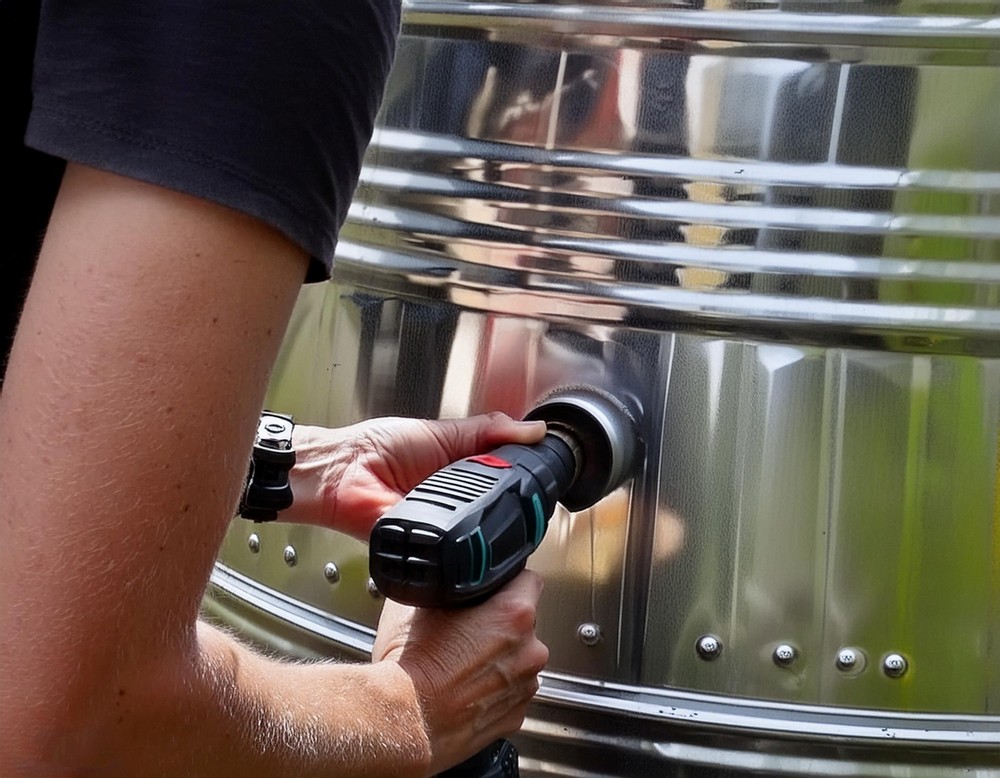
Drill Inlet and Outlet Holes
Select the spots on your tank, ensuring clearance of the outer lip for both the inlet and outlet. After drilling, use the metal file to smooth edges and vacuum up metal shavings.
Install the Inlet/Outlet Valves
Apply plumbing tape to the threads for a tighter seal, then secure the valves with marine sealant for a watertight fit. Attach the additional components like the air jet valve according to instructions.
Install the Plunger Valves
These valves are integral for maintenance and managing the water flow, allowing for future replacements or adjustments without draining the pool.
Add Your Filter Media
Replace traditional sand with glass media for longer-lasting and more efficient filtration. Ensure it’s filled to the manufacturer’s recommended level.
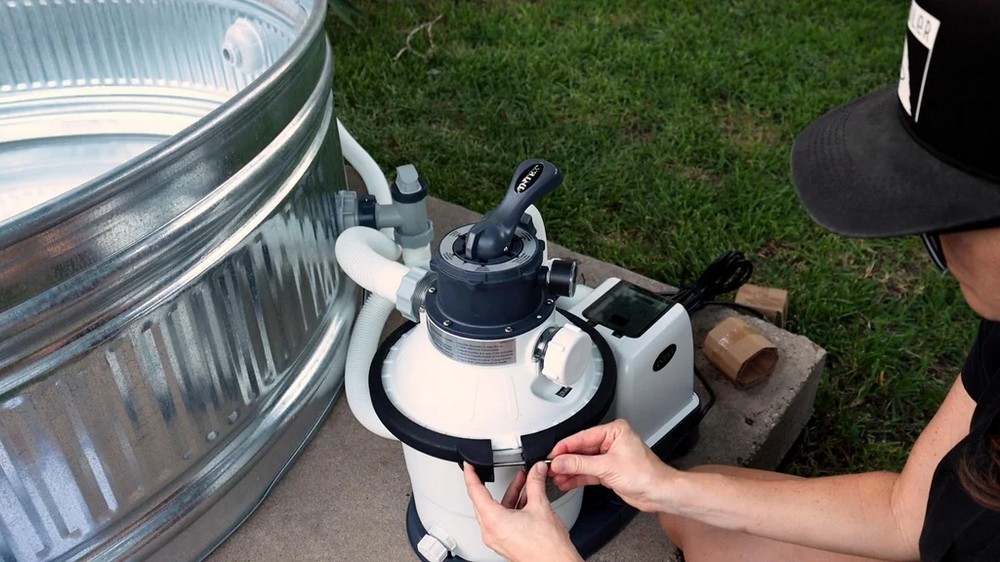
Attach the Hoses & Set Up the Filter/Pump
Following the pump’s instructions or a helpful YouTube tutorial, connect all hoses and setup the filter and pump system securely.
Fill the Pool!
It’s time to fill your stock tank pool with water! Opt for a natural pool cleaner like food-grade hydrogen peroxide to keep the water fresh and safe. Don’t forget to use test strips to monitor the water’s quality.
Enjoy the Pool
Congratulations, you’ve now got a backyard feature that offers relief from the heat, a spot for leisure and making memories during those sweltering summer months.
Leave a Reply