
Making this DIY Screech Owl Nest Box is a fun and exciting project you can do by yourself! Imagine having a cute little home for owls right in your own garden. It’s not only a great way to decorate your outdoor space but also gives these lovely birds a cozy place to stay. So, grab some basic tools, follow our simple instructions, and before you know it, you’ll have crafted a beautiful nest box. It’s a rewarding project that brings nature a bit closer to your home, and you can proudly say you made it with your own hands.
DIY Screech Owl Nest Box
- A single 1″x10″x8′ cypress or cedar board, 3/4″ thick
- Two robust 1 1/2″x1 1/2″ exterior hinges
- Roughly thirty 2″ exterior-grade deck screws
- Tools of the Trade
- Standard woodworking hand tools including a saw
- Power Drill to create clean, smooth holes and drive screws without splitting wood
- Measuring Tape to ensure precise dimensions
- Carpenter’s Square ensures perfect angles and alignment
Step-by-Step Guide to Assembling the Nest Box
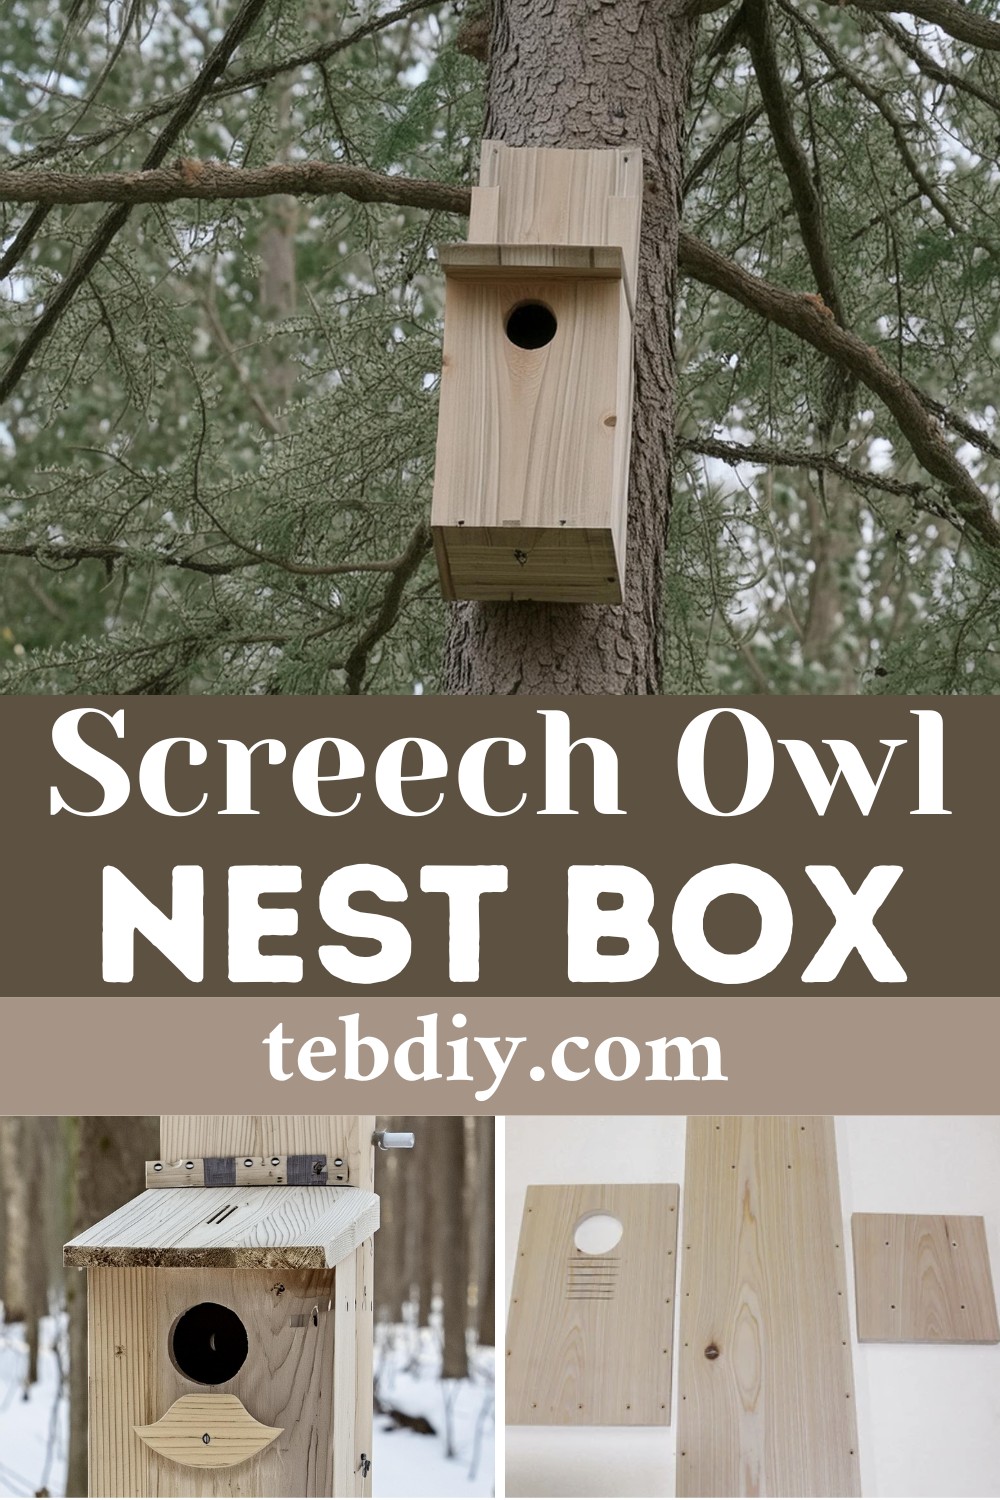
Preparing the Pieces
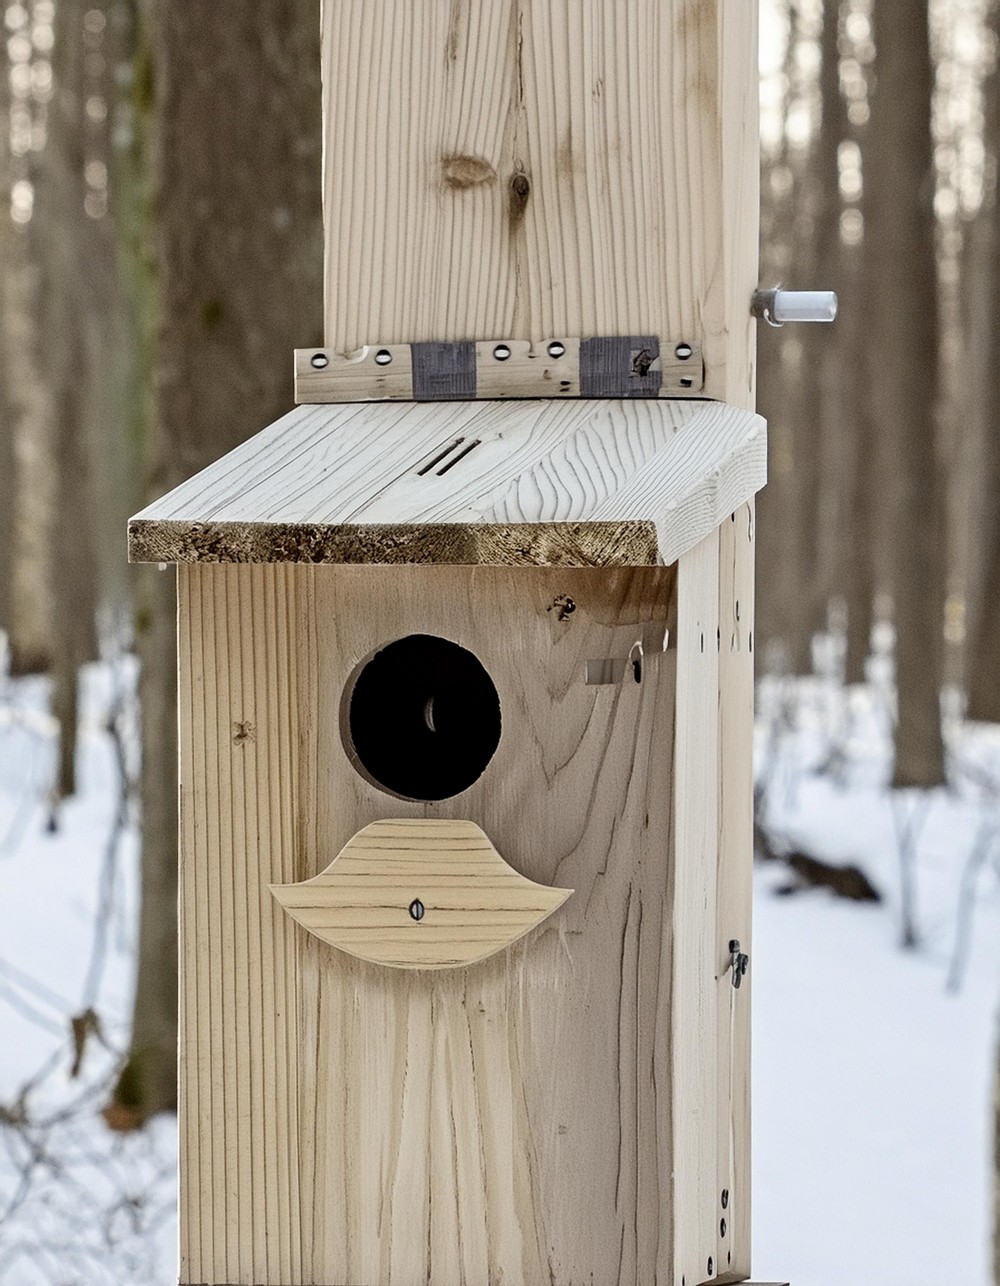
Start by cutting your board to the dimensions in the provided drawing, ensuring each piece fits together flawlessly. During this step, cut out the 3″ entrance hole on the front piece very carefully—10″ from the bottom of the board to the hole’s baseline.
Crafting the Base:
Drill small 1/4″ holes in the floor piece for drainage. Lay the back piece flat and set up the sides against it. Pre-drill to prevent the wood from splitting before using screws to join these pieces together.
Water-Proofing the Design:
Fix the floor section 1/2″ above the base to avoid water seeping into the nest and causing damage or discomfort to the owl family.
Front Piece Installation:
Attach the front, ensuring it’s perfectly vertical and flush with the sides to prevent gaps and misalignment.
Rooftop Fitting:
Center the roof atop the sides, checking for even overhang on each side before securing.
Finalizing the Structure:
Fasten the hinges to the roof and back piece to allow for easy opening and monitoring, keeping in mind that spacing is key—at least 1 1/2″ from the edges.
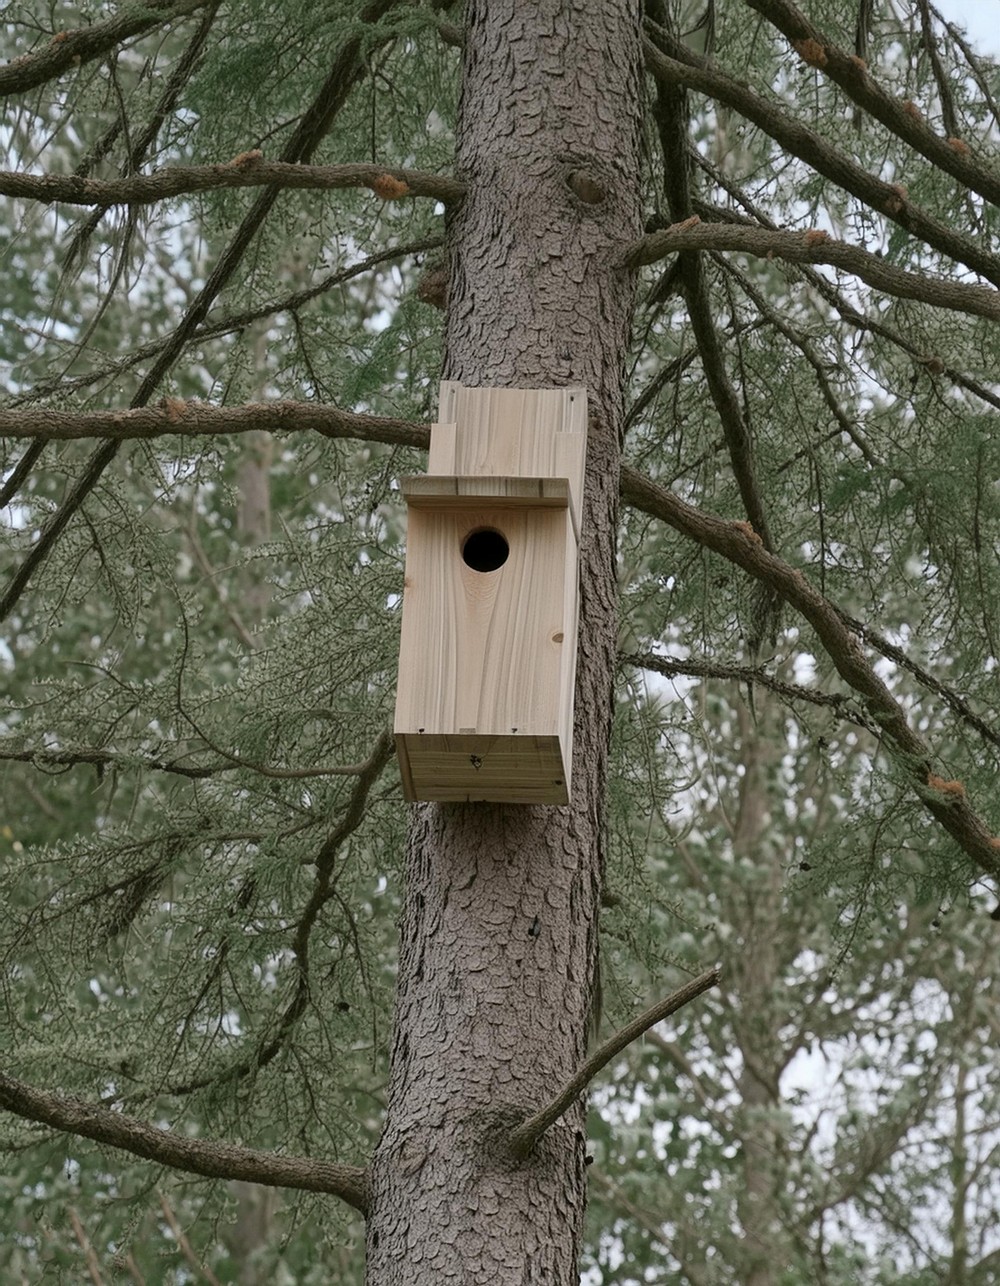
Ready to Mount:
Drill appropriate mounting holes in the back and attach the nest box to your chosen tree or post using galvanized lag screws, with washers for extra stability.
Ideal Placement for the Nest Box:
Choose a location that avoids the north-facing side to spare the nest box from colder winds. Preferably, the entry hole should face east or south to indulge the owlets in some delightful morning sunshine. Sprinkle a modest layer of wood chips or dry leaves inside to give owls a starter pack for making their new home comfortable.
Leave a Reply