
Build your very own shed can be a rewarding experience. It’s a chance to create a space that is tailor-made for your needs, offering a sanctuary for your tools, a workshop for your hobbies, or a haven for your gardening passion. Constructing a shed from the ground up allows for a personalized touch and the satisfaction of saying, “I built that.” With attention to detail and a little elbow grease, you too can construct a sturdy and aesthetically pleasing 8 ft. x 6 ft. shed, just like the one we will explore in this guide.
DIY Shed Project
Tools Required
To construct the shed, ensure you have the following tools at your disposal:
- Hammer
- Shovel
- Miter Saw
- 7-1/4 in. Circular Saw
- Jig Saw
- Impact Driver/Drill
- Speed triangle
- 4 ft. Beam Level
- Caulk Gun
- Various clamps
- Kreg K4MS Jig Master System
Materials List
Here’s a rundown of the materials you’ll need to gather before starting:
Nails and Screws
- 1 box of 1 1/4 in. roofing nails
- 2 boxes of 2 in., 6D Exterior Galvanized nails
- 5 lb. box of 3 1/2 in. exterior grade screws
- 1 lb. box of 2 1/2 in. exterior grade screws
Floor/Foundation
- 7 pieces of 2 in. x 6 in. x 8 ft. Pressure-treated lumber
- 2 panels of 3/4 in. x 4 ft. x 8 ft. Ground Contact Pressure Treated Plywood
- 6 pieces of 4 in. x 4 in. posts (leftover from a fence project)
- 2 bags of 50 lb. Fast-Setting Concrete Mix
- 2 tubes of 10 oz. Liquid Nails Heavy-Duty Adhesive
Walls and Rafters
- 40 pieces of 2 in. x 4 in. x 92-5/8 in. Prime Whitewood Studs
Roof
- 1 Roll of #15 Felt Roof Deck Protection
- 3 Bundles of 3-Tab Shingles
- 4 panels of 7/16 in. x 4 ft. x 8 ft. OSB TechShield Radiant Barrier
- 2 pieces of 4 ft. Long Roof Ridge Exhaust Vent
- 4 pieces of 10 ft. Galvanized Roof Edge Flashing
Siding & Trim
- 7 panels of 48 in. x 96 in. Composite Panel Siding
- 15 pieces of 3/4 in. x 2 in. x 8 ft. Pre-Primed Composite Reversible Trim
- 4 pieces of 3/4 in. x 6 in. x 8 ft. Pre-Primed Composite Reversible Trim
- 1 tube of 10 oz. Exterior Caulk
Construction Steps
Foundation
- Construct a rectangular base frame using the 2×6 pressure-treated lumber, with two pieces cut to 6 ft. for shorter sides and the remaining two at the uncut 8 ft. length.
- Place the frame at the desired location and dig six 1 ft. deep holes for the posts.
- Place the posts in the holes and secure them with Fast-Setting Concrete Mix.
- Ensure the shed floor is level using a 4 ft. level; then secure the base frame to the posts and trim the tops of the posts flush to the 2x6s.
- Install three 6 ft. long cross-support beams spaced at 24 in. on center and reinforce with smaller pieces of leftover lumber.
- Prepare the floor by cutting the plywood to 4×6 ft., applying Liquid Nails, and fastening with 2 1/2 in. screws every 12 inches to the foundation.
Build Roof Trusses
- Design the trusses with a 4/12 pitch for a lower slope roof, appropriate for Texas’s snow-free climate.
- Construct the first truss on the shed floor and secure the peak with leftover plywood using 2 1/2 in. screws or nails.
- Use the first truss as a template to build the additional trusses, ensuring they will be spaced 24 in. on center.
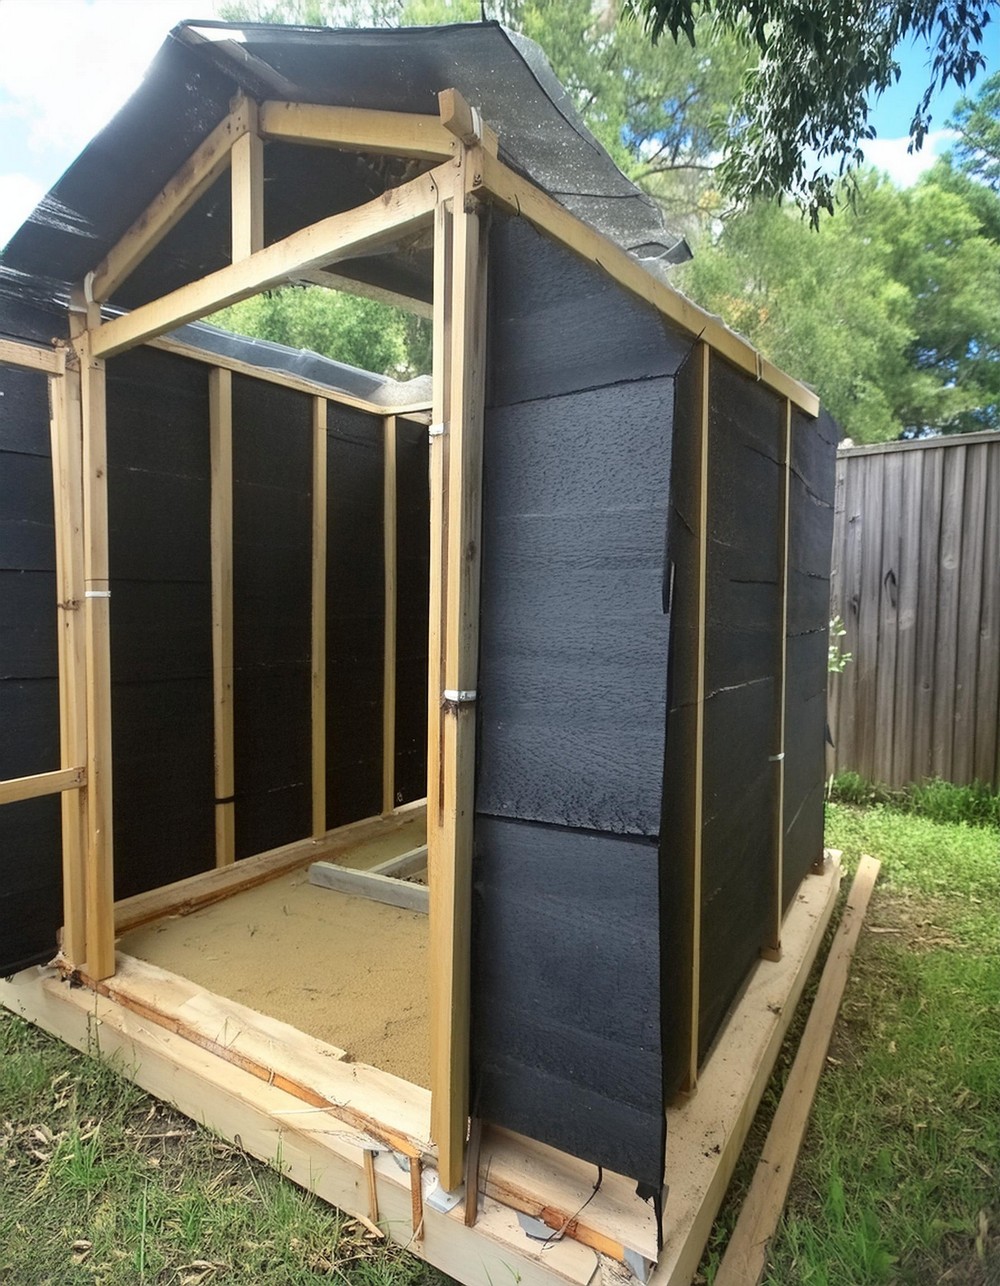
Walls
- Cut four 2x4s at 8 feet for the two sides and cut remaining studs to the desired wall height (6 ft. tall in this project).
- Assemble the first long wall with two 8 ft. 2x4s for the top and bottom plates, spacing the 6 ft. studs at 24 in. on center.
- Construct two long walls and one smaller back wall with the same stud spacing.
- Raise the walls, bracing with old 2x4s, and build a 3 ft. wide door opening with a doubled 2×4 header.
- Level the walls and secure them to each other and the floor using 3 1/2 in. screws and add a top plate for additional stability.
Roof Support
- Start attaching the roof trusses, bracing the end truss temporarily to hold it in place.
- Place all five trusses at approximately 24 in. on center, aligning with the wall studs.
- Secure the trusses to the top of the walls and add 8 ft. 2x4s on both sides of the roof truss assembly for lateral stability.
Roof Panels
- Measure and cut roof panels to fit, with a 1 in. gap at the top for a ridge vent.
- Attach the cut panels ensuring they are secured to the roof trusses, which helps square the roof.
Siding
- Attach 4×8 ft. siding panels to the walls, trimming excess material to match the roof pitch.
- For the sides, cut the siding panels to the required length and secure with nails at 24 in. on center.
Doors
- Use a “sandwich” construction method for durable double doors, framing with 2x4s and facing with OSB and siding.
- Trim the door frames with 2 in. composite trim and attach hinges and latches.
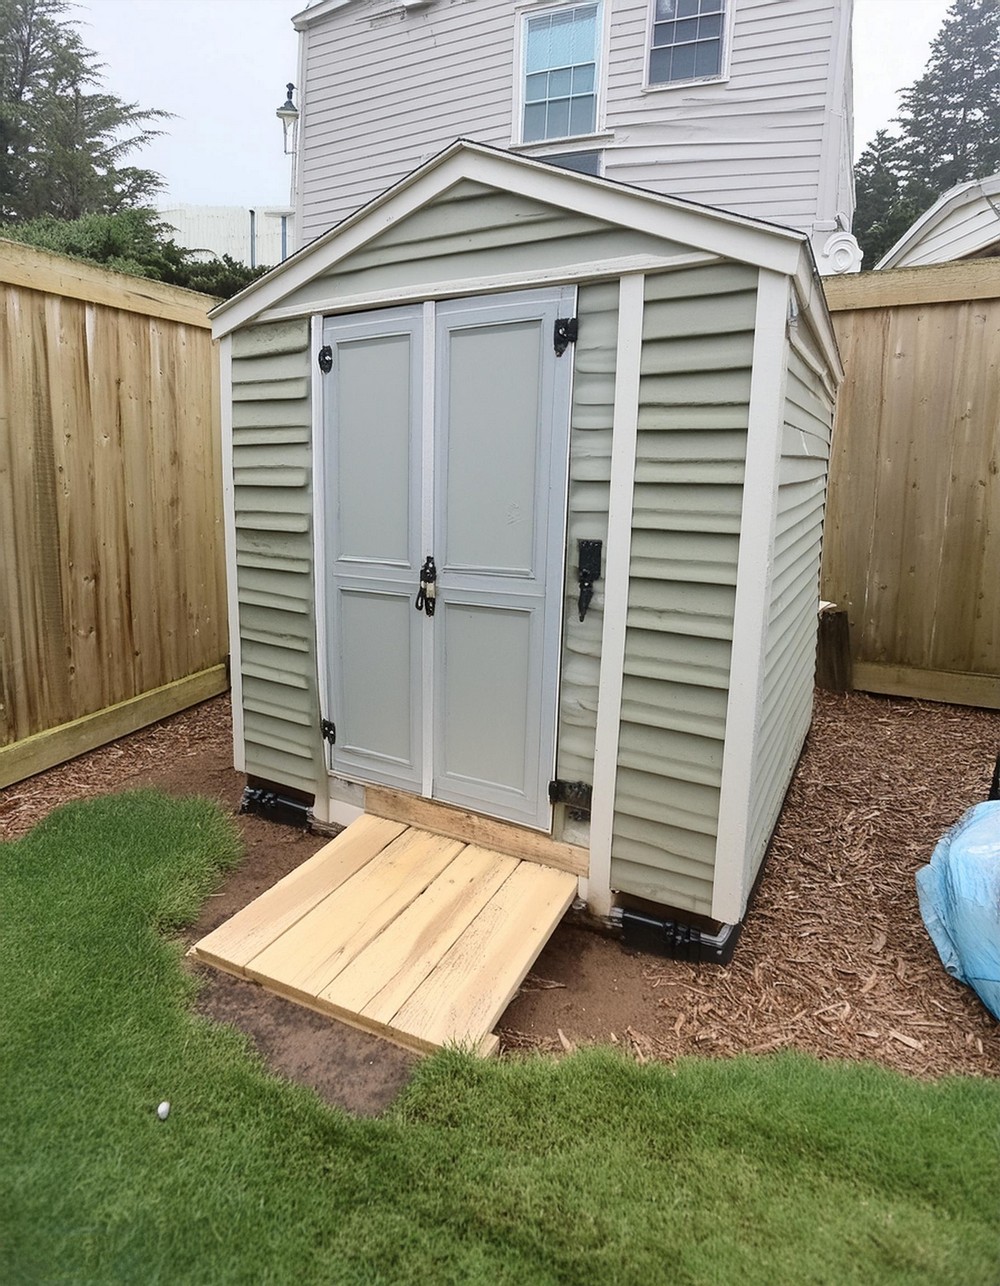
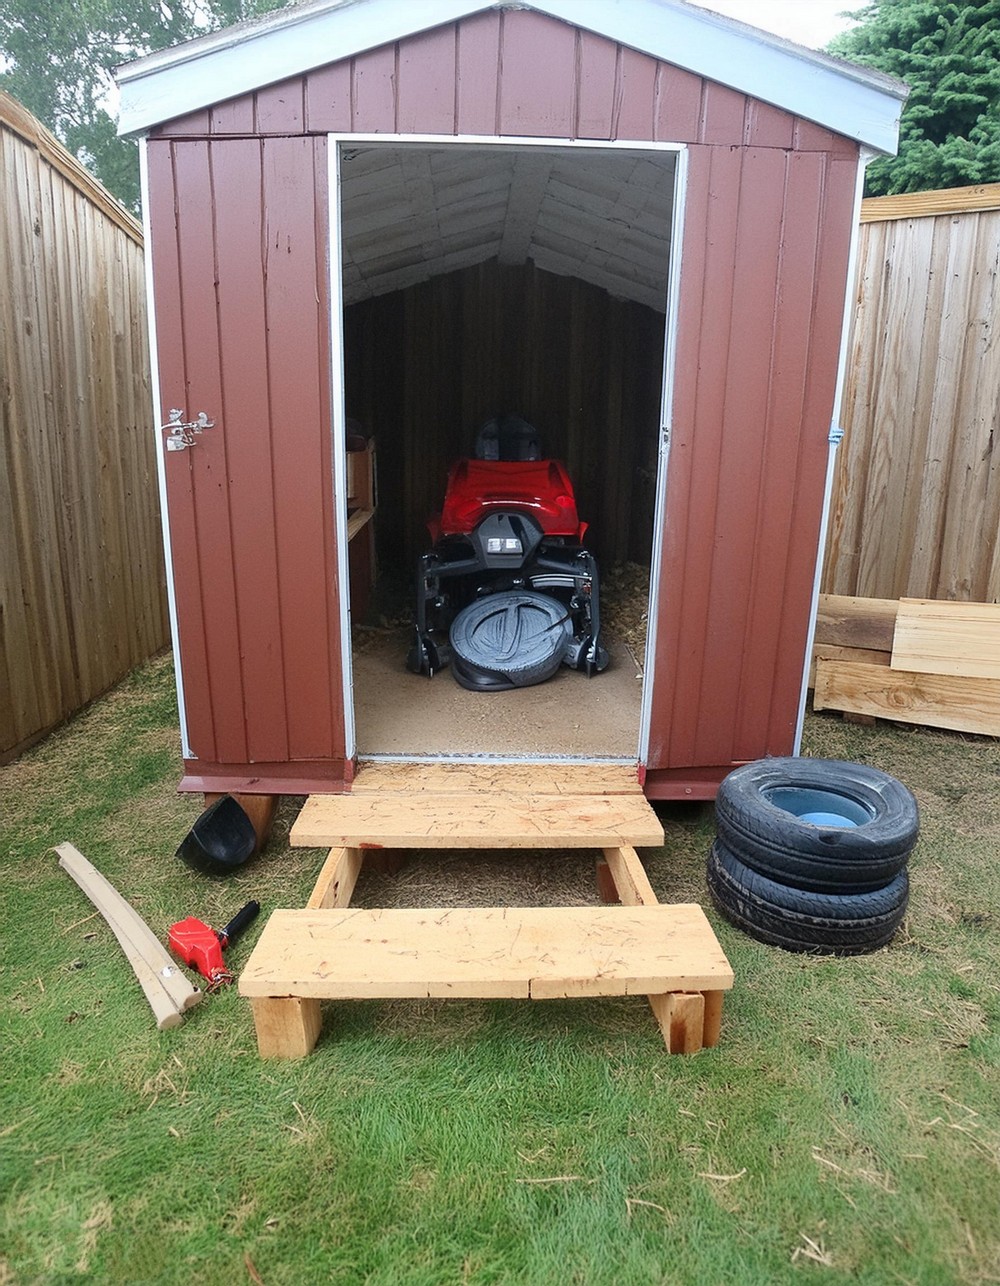
Ramp (Optional)
- Assemble a ramp using 2×6 lumber to accommodate the width of the door opening, ensuring it’s level with the ground.
Caulk and Paint
- Apply caulk to cover all seams and nail holes on the trim and siding panels.
- Paint the shed with exterior paint, choosing complementary colors for the trim and main panels.
Conclusion
Once painted and detailed to your liking, your new shed will stand as a testament to your hard work and dedication to craft. It will be a functional addition to your property and a space that is entirely your own.

Leave a Reply