
If you’ve always loved the idea of a unique, DIY Christmas decoration, making a Christmas tree from fabric scraps can be perfect! This delightful and eco-friendly craft helps repurpose leftover material and allows creativity to shine.

Uses Of Handmade Christmas Tree
Whether creating a centerpiece for your festive table or supplementing your traditional tree décor, this fabric scrap Christmas tree can add a personalized touch to your holiday decorations. Not to mention, it’s a fantastic activity to do with family members during the holiday season!
Making Of Christmas Tree
This amazing mini Christmas tree is completely handmade using the simplest materials available. Children can make it for their teachers to give as presents. Or you can create one tree for each member at your Christmas Eve party.
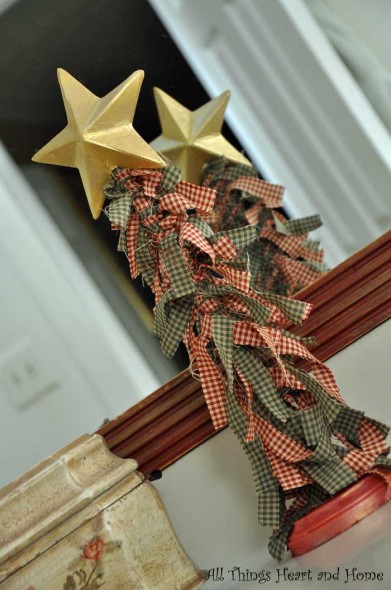
This is our finished masterpiece, and if you’re interested in making it, follow the given process.
First, get the listed supplies on hand.
- Less than 1/4 yd. of fabric
- Wooden dowel cut 12″ long (1 dowel at Hobby Lobby made three trees)
- A star made from either wood or paper (I used the “paper” kind that’s hollow)
- Paint the base and the star, adding glitter before they dry, if you want!
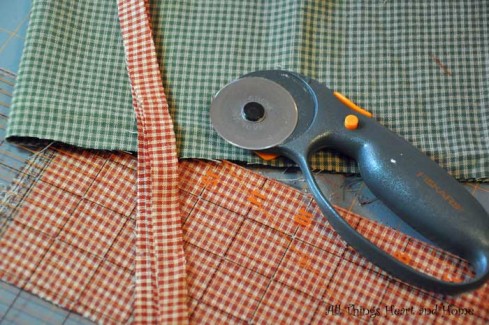
For Fabric: Each tree takes less than 1/4 yd. of fabric. Use what you have, or get creative at Hobby Lobby! You need to cut the fabric into strips about 3/4″ wide.
For Base: You can get your base from the storeroom or the local thrift store near you. It’s pretty easy to find. Just keep the weight and height in measure and get as small a size as you can because it’s just a one-time used craft piece, and it won’t be used for a longer time.
You can also paint your base and add a glittery touch by sparking some glitter before the paint dries. It will make your Christmas tree look more amazing.

When the base is done, move on to the star and paint it yellow. Here, the glittery touch is necessary because it’s the top attractive portion of our Christmas tree. So, use the same process to paint the star and give it a sparkling appearance. Paint ( I used craft paint in Pearl Gold; it’s kind of soft and, well, pearly!)

Insert dowel into base and star onto the dowel.
Carefully drill a hole just smaller than the dowel…, and then you can wedge the dowel in place. (You could use a bit of wood glue if it’s loose)A wooden base (At Hobby Lobby for .50!)
Drill holes in the center of the ground the size of the wooden dowel.

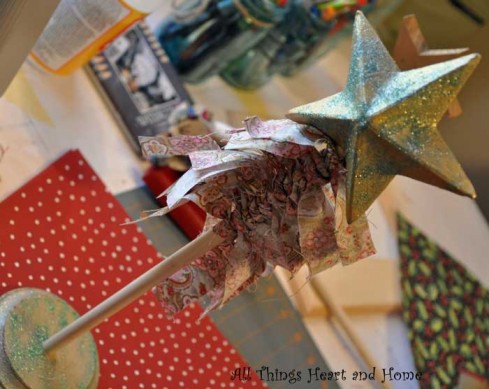
The fabric stripes we’ll cut in the first step will add to the dowel. Stiff them a bit more to give a thicker appearance at the top by adding more and more stripes and keeping them closer together.
Then, give it a tree-like appearance by keeping the size of the stripe narrow at the top and broader at the bottom. Plus, keep the fabric stripes a bit wider from each other in the down section so they may look like an actual Christmas tree with a thin tip at the top and spreading at the bottom.

Now, twist and turn the fabric strips to fill out the tree. They start to fray on the ends and will look extremely amazing.
Leave a Reply