
What better way to welcome the summer than to DIY a sea glass wreath? It is completely relevant to it, shines brightly when hung at the front door on sunny days, and thus grabs visitors’ attention. So, I decided to share a tutorial on how to make a wreath with some Sea Glasses (I had a lot), wreath form, ribbon, and a bit of glue. It will remind you of the beach sight. So, if you want a quick, easy, and fun way to use your leftover Sea Glasses, keep reading!

About Homemade Sea Glass Wreath
Today, we will make a wreath covered with a shiny ribbon and then with a layer of semi-transparent, colorful pieces of glass. There will also be a beautiful ribbon butterfly or bow knot on the top of the hanger. You can use it over the house to decorate for Summer. You will learn completely with me how to craft this wreath with helpful tips, suggestions, and visual guides. So, let’s get started!
How To DIY Sea Glass Wreath?
Now, I shall share with you the step-by-step instructions with images and recommendations on how to make the sea glass wreath:
Skill Level: Anybody can DO
Step 1: Gather The Supplies
- Pieces of Sea Glasses: I used flat, irregular shapes in many clear pastel colors (pink, blue, green) and sizes.
- Glue: Sea glasses are glueable. I used hot glue sticks, which were utilized by the glue gun, to stick on the wreath base. It is better because it is transparent (for undetectable bonds) and attaches glasses faster.
You can use any clear adhesive designed for joining the glass, but a better one is hot glue. More options are silicon and wood glue. Make sure to read the label instructions and recommendations.
- Wreath Form: I used a large floral & craft ring, which is biodegradable and thus environment-friendly. You can buy from 1 dollar store.
- Ribbon: for wrapping around the ring and for hanging. It will also make a good place for attaching the glasses. Have enough!
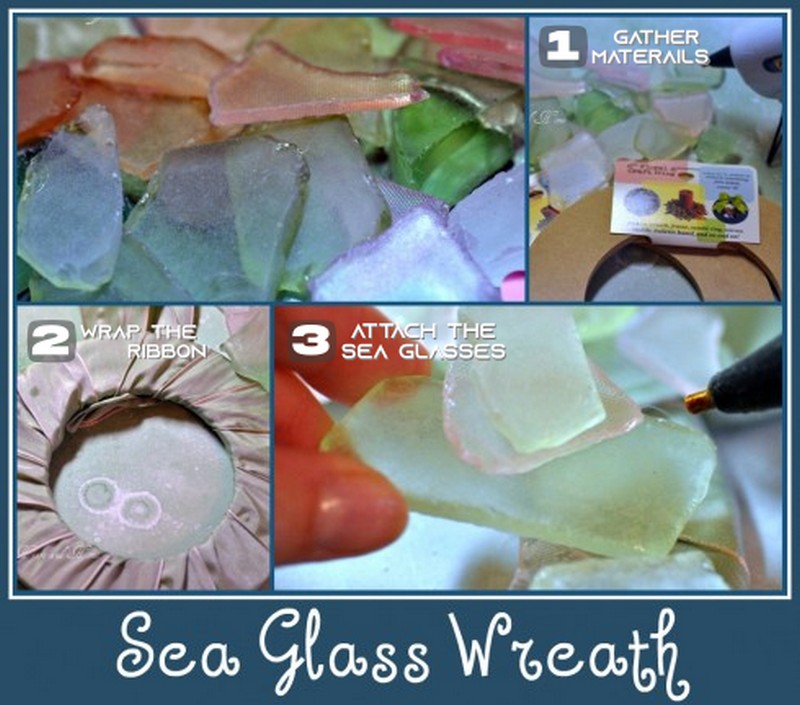
Step 2: Wrap The Ribbon Around Wreath
A shiny ribbon background for the semi-clear sea glass will be great. Here is how to add a ribbon:
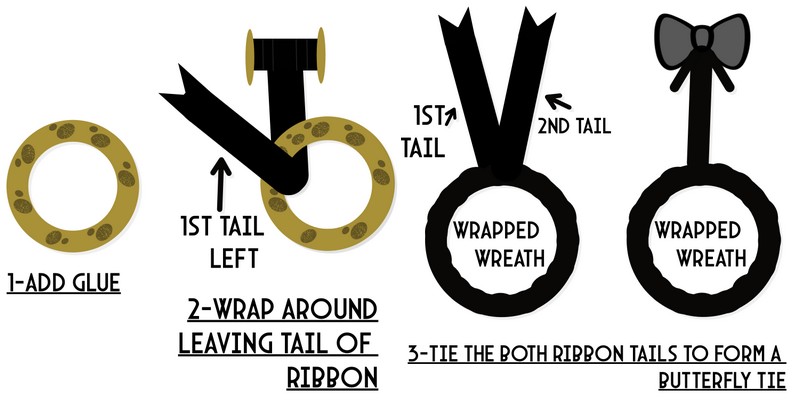
- Take the ring and apply hot glue to any ring part at a low temperature.
- Now place the ribbon over the glued area, leaving a long tail, and wrap it around the ring.
- It is better to Apply glue as you go (every time before wrapping the ribbon to a new region) instead of applying it whole at once.
- When you reach the top of the ring, leave the long tail and tie it with the previous tail to make a bow or butterfly ribbon.
Step 3: Attach The Sea Glasses
Before gluing, thoroughly wash the sea glasses, dry them with cloth, and sand the area to be glued. Keep the glue gun in a low-temperature setting to avoid damaging the sea glass or the wreath base.
Here is how to attach the sea glasses on wreath:
- Apply the hot glue carefully to the back of each sea glass piece and press it onto the wreath base.
- Then position and place your sea glass, stacking some on the other.
- Carefully pick up pieces and hot glue… I glued from the top to the bottom.
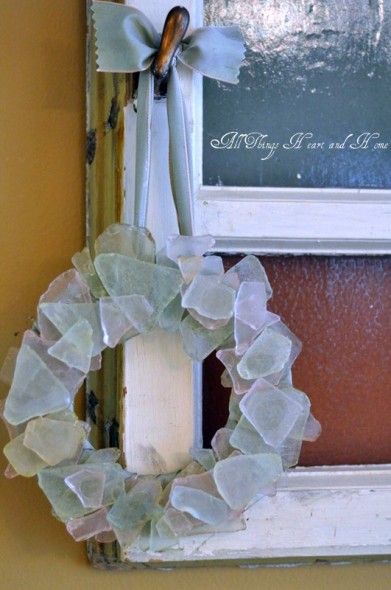
Step 4: Hang The Wreath
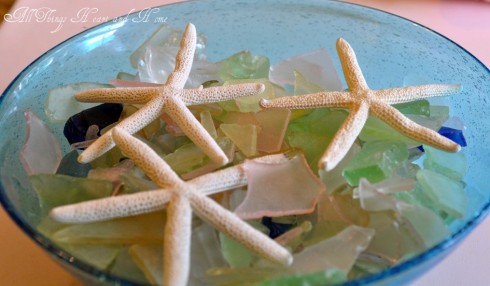
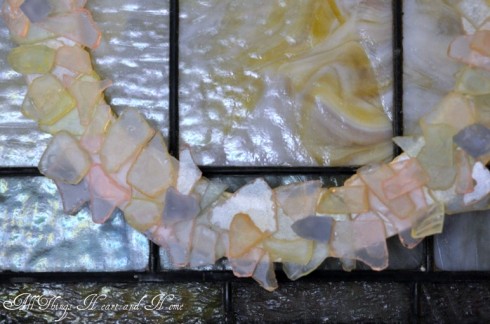
I hung it over the stained glass in the dining room…these colors are dreamy. You can use it anywhere, like an upgraded porch, living room, etc!
But I like the tiny wreath the best!
~Summer is a state of mind~
And sea-glass is one of the things that takes me there…
Leave a Reply