
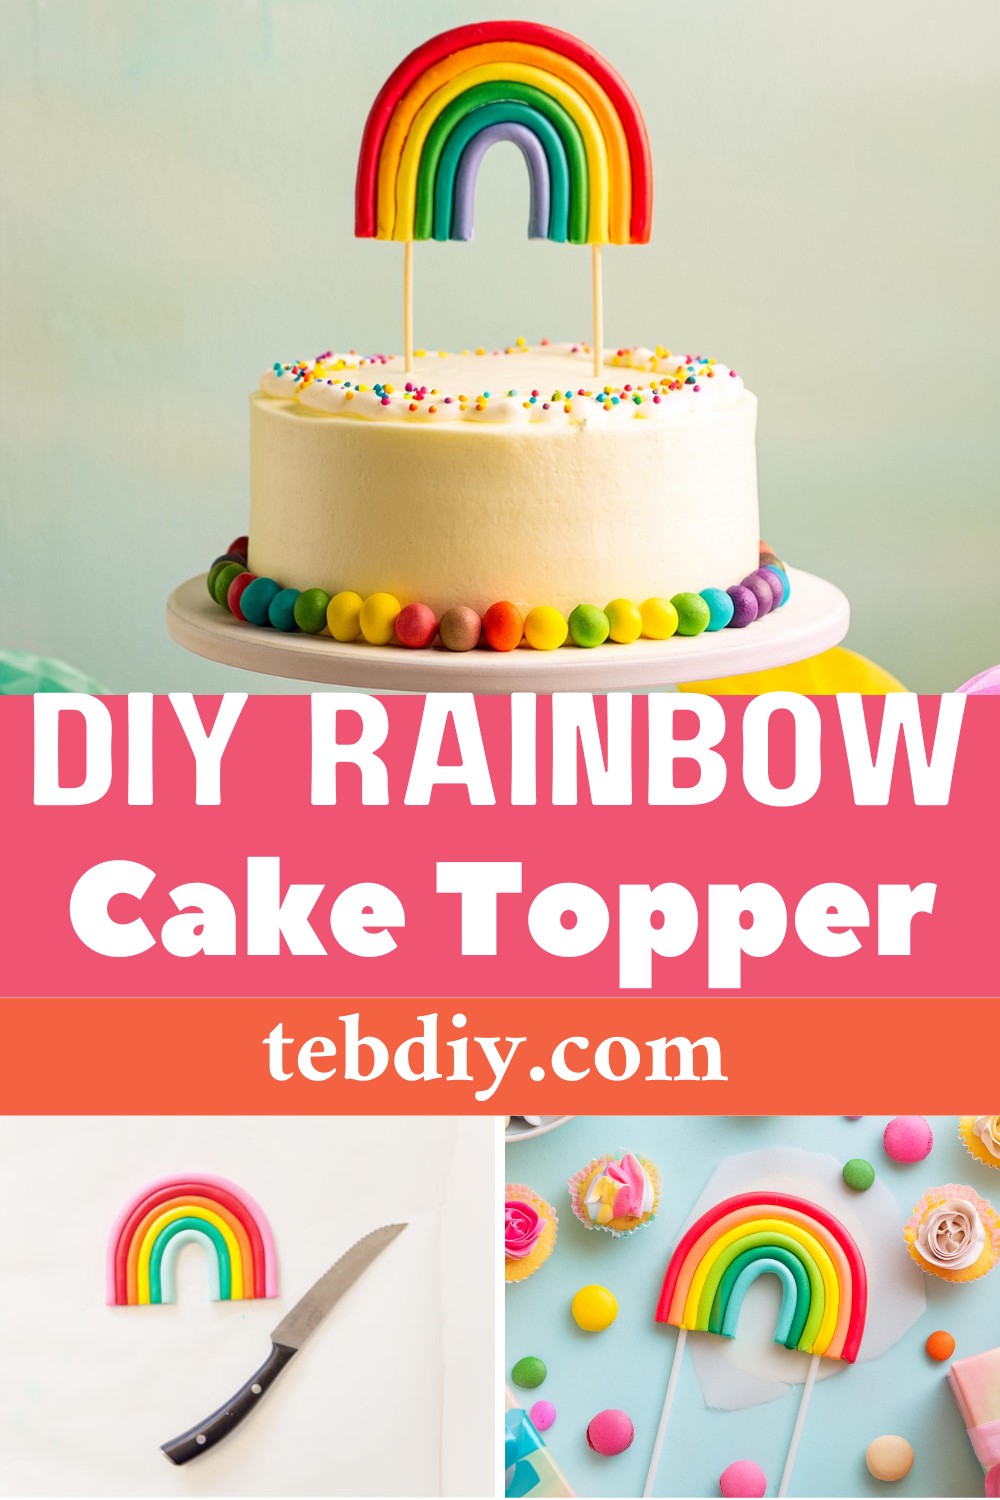
Add whimsical flair to your cakes with a delightful DIY Rainbow Cake Topper. Guided by simple steps, it’s fun, easy, and the perfect addition to any celebration.

DIY Rainbow Cake Topper
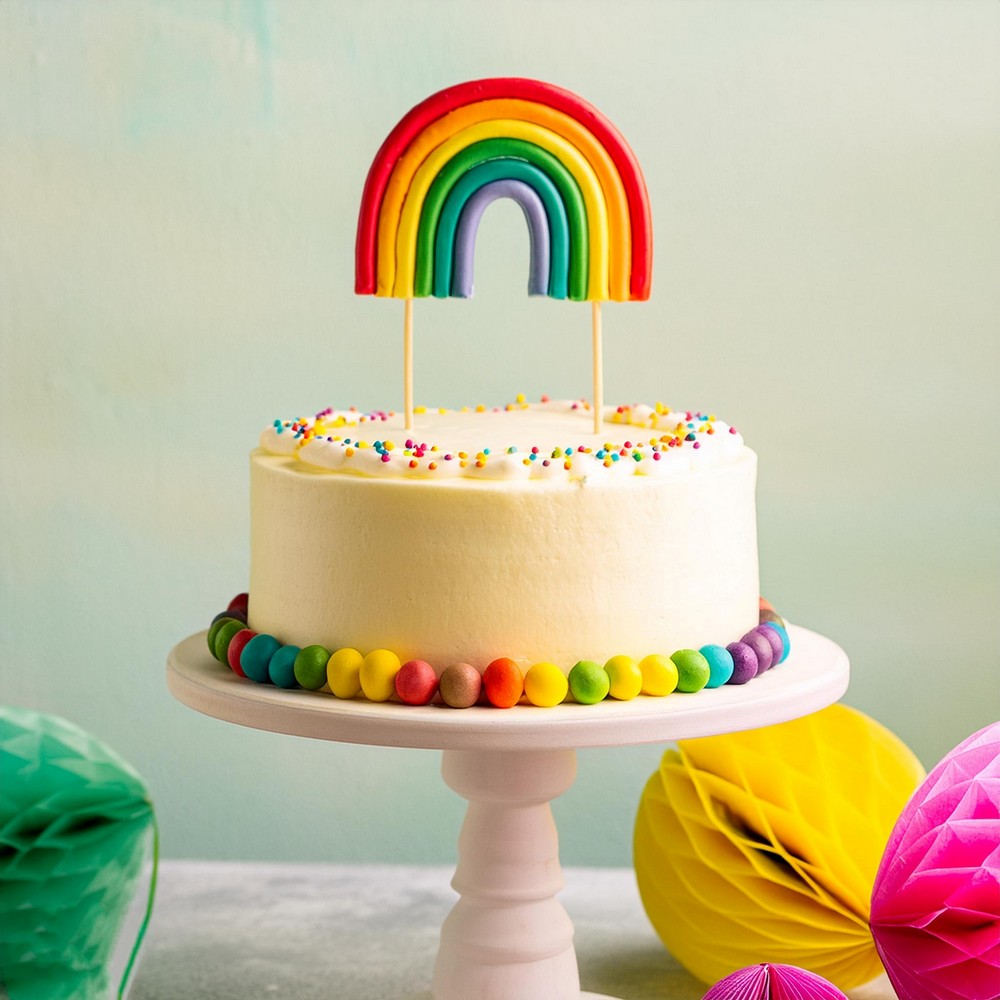
Brighten up your celebration cakes with a charming DIY Rainbow Cake Topper. This simple addition turns any cake into a spectacle, making moments more magical for birthdays, parties, or any rainbow-themed celebration. By cutting the wood skewers to the desired length, the height and position of the topper on the cake can be easily customized. Whether it’s for a child’s birthday party or to brighten someone’s day, its vibrant colors and adorable presence are perfect.
Materials Needed:
Sculpey Clay (assorted colors)
Parchment paper
A knife
Wood skewers
Glue
Step-By-Step Guide To Crafting Your Rainbow:
Prep Your Clay:
Chunk out a piece of your chosen sculpey clay color and skillfully roll it into a slim, elongated shape. Repeat this procedure with all your different clay colors.
Assemble The Rainbow:
Lay out a sheet of parchment paper – a handy trick to ensure your sculpted clay can be moved easily. Next, curve the top layer of your colored clay gently into a rainbow shape. Gradually build your rainbow, tucking each new color inside the previous one.
Finishing Touches:
After shaping your vibrant clay rainbow, you’ll find some spare clay left over. Use a sharp knife to cleanly slice off these excess portions.
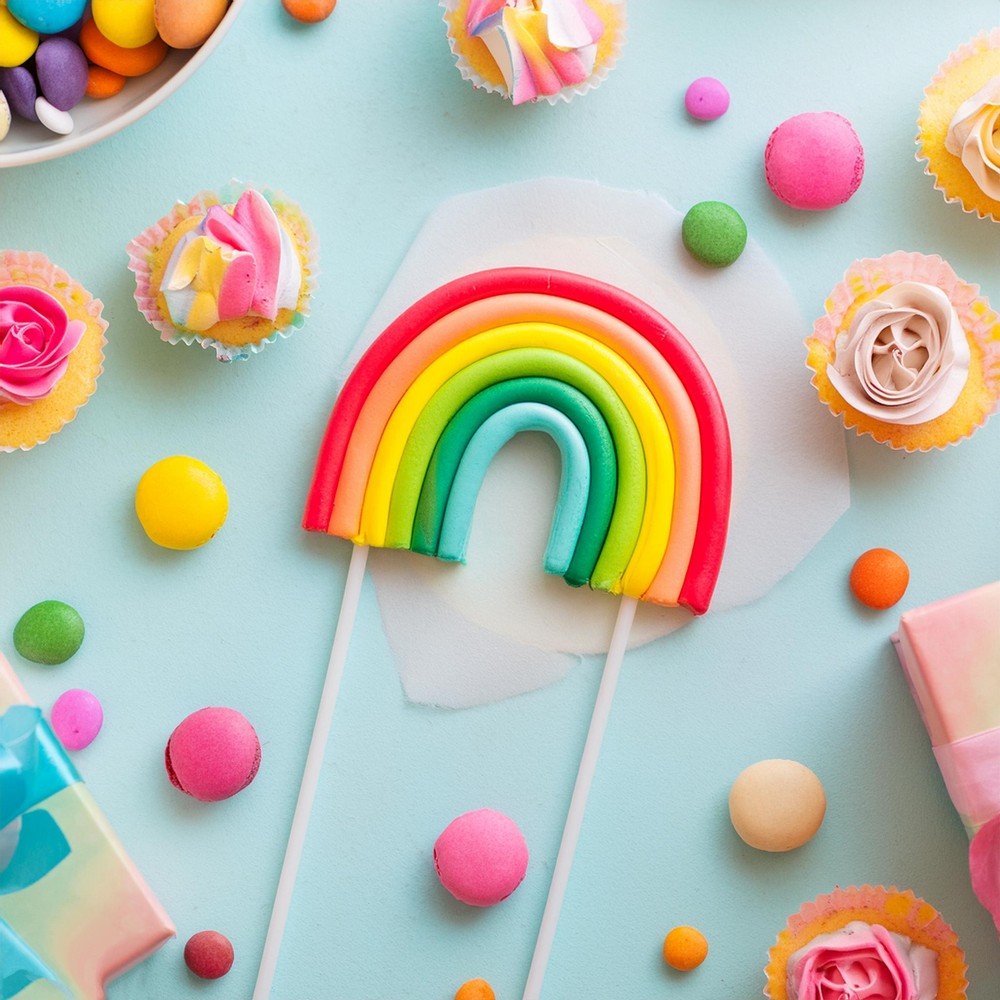
Skewer Insertion: Align your wood skewers to the edge of your rainbow – choosing two points for balanced support. Mildly press the skewers into the clay to create the necessary punctures.
Bake And Cool:
Without the skewers, bake your clay model following the instructions given on your Sculpey package. Let it cool and harden once baked.
Final Assembly:
Apply a bit of glue to your skewers and cautiously insert them into the pre-made holes in your cooled clay rainbow. Adjust the skewer lengths to suit your cake height. Finally, sit back and admire your beautiful DIY Rainbow Cake Topper gracing your delightful cake!
Leave a Reply