
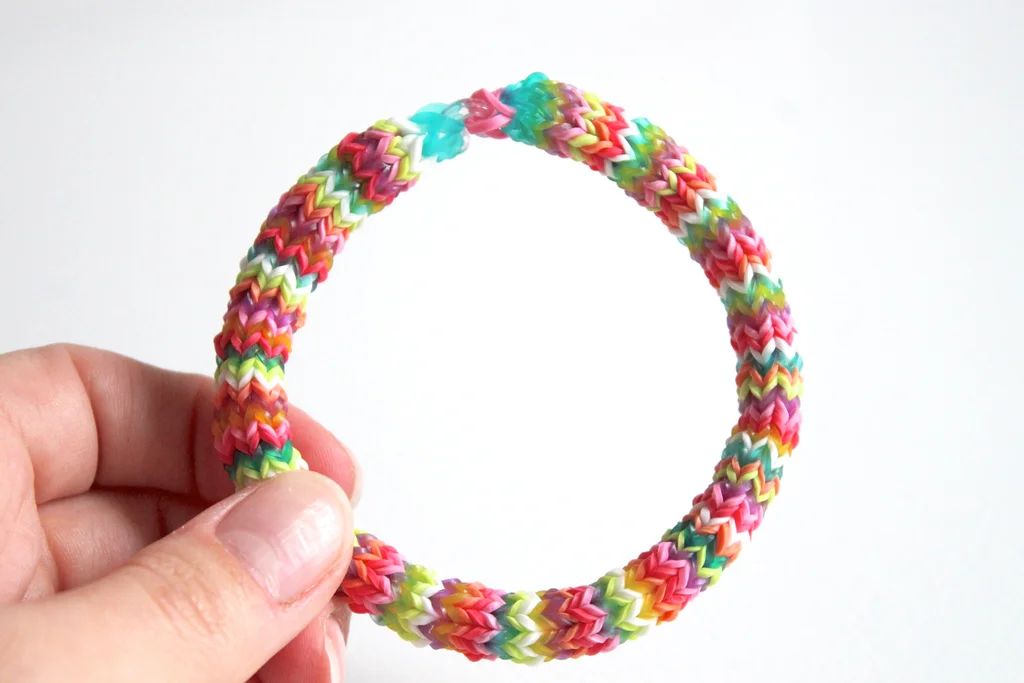
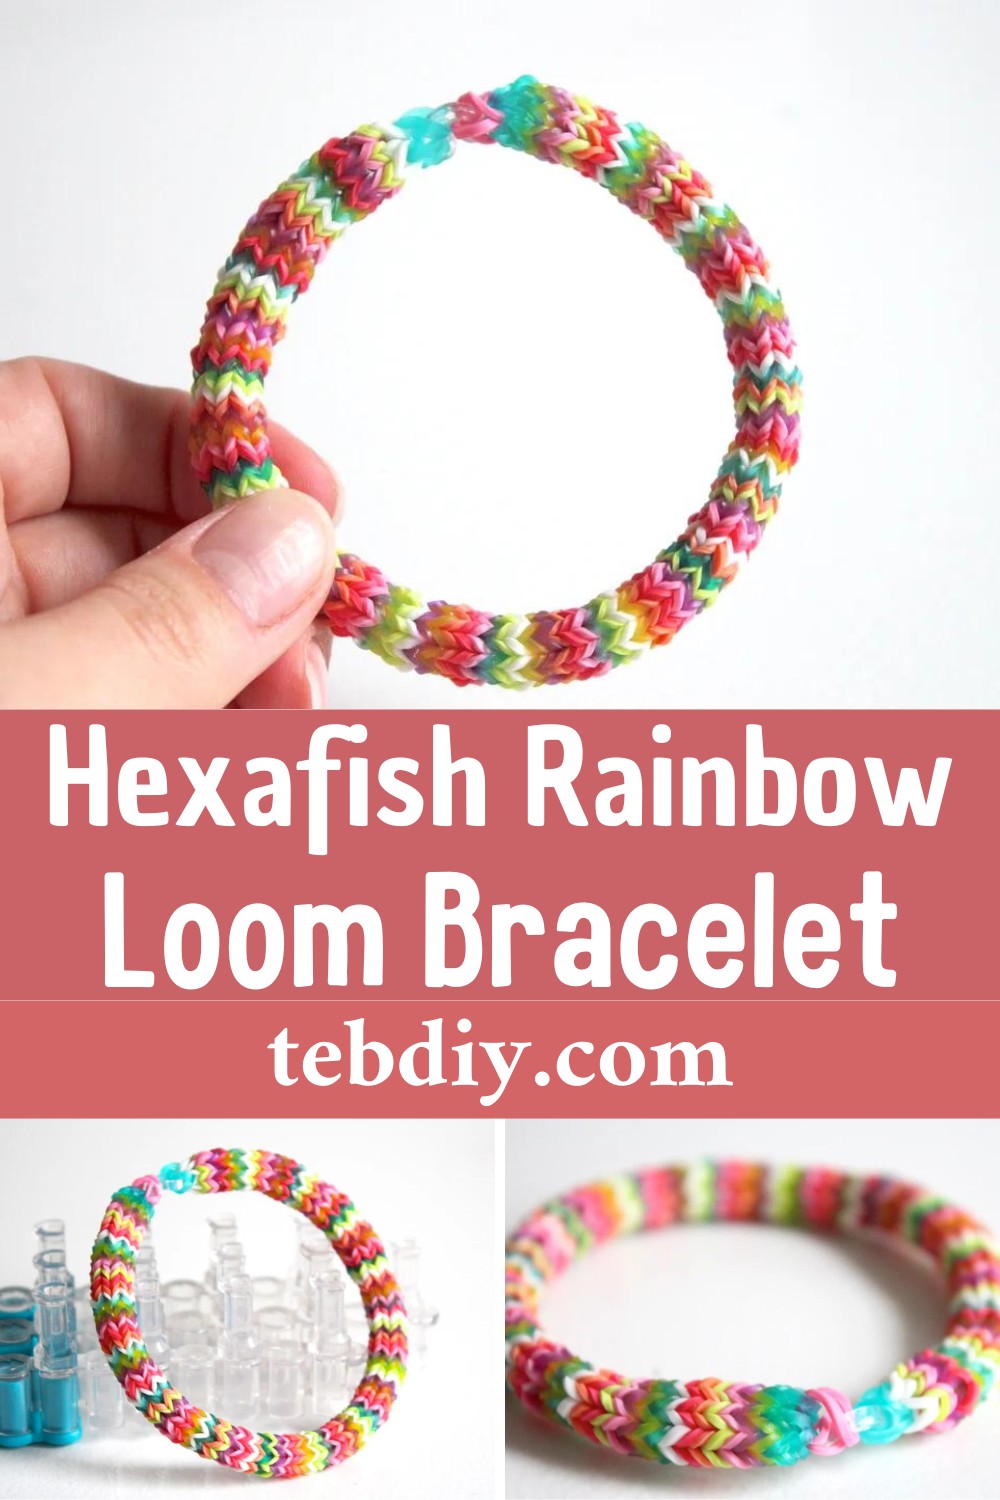
Let’s explore the vibrant world of Hexafish Rainbow Loom Bracelet. This particular design stands out with its chunky texture and complex appearance, reminiscent more of a bangle than a simple bracelet. Perfect for those willing to invest a bit of time, the process is surprisingly straightforward, and the result is utterly satisfying.

Hexafish Rainbow Loom Bracelet
Materials and Tools Needed
- A Rainbow Loom Kit: This should include a loom, a hook, some C-clips, and rubber bands.
- Rubber Bands: These come in various colors to personalize your bracelet.
- C-Clips: To secure the ends of your bracelet.
- A Loom Hook or Small Crochet Hook: For weaving the bands through.
- Scissors: For trimming excess bands.

Armed with these supplies, you’re all set to create your Hexafish masterpiece.
Let’s follow the steps:
Crafting Steps
Preparing the Loom
Remove one piece of the loom to work with only two rows of pegs, aligning them squarely. Kickstart the bracelet by looping a band in Figure 8 across pegs 1 and 2, then continue to place bands from pegs 2 to 3, 3 to 4, and so forth, until you loop back to the beginning. The color of these starter bands isn’t critical, as they will be removed later.
Laying the Foundation
Stretch two bands around the six pegs to create a solid foundation. Then, use your hook to pull the figure eight bands over the top bands, working from the outer pegs to the center. While the sequence isn’t crucial, maintaining a consistent pattern can help streamline the process.
Building the Bracelet
As the foundation takes shape, focus on keeping three bands on the loom at any given time. Each layer involves adding a new band around all six pegs and looping the bottom band over the top two bands on each peg before repeating the process. This step is the core of your crafting, fleshing out the bracelet’s body.
Observing the Growth
The bracelet emerges from the bottom of the loom, allowing you to witness its progress. Continue adding bands until it reaches your desired length. It might look a little peculiar initially, but stretching it out helps it take on its proper shape.
Finishing the Loom End
Once at the required length, loop over all extra bands on the pegs until only one band remains on each. Then, strategically move the bands to reduce them to three pegs and secure them with another band, forming a triangle. Loop the bottom bands over the top, consolidating them into one peg and securing them with a C-clip.
Reattaching to the Loom
The trickiest part involves placing the bracelet back onto the loom. Transfer six sets of bands back onto it, ensuring two bands are on each peg. Cut away any excess bands.
Step 8: Completing the Bracelet
The mirror is the finishing technique used on the first end to complete the other side of the bracelet. Once all bands are condensed to one peg, attach it securely with a C-clip.
How to Maintain Consistent Tension
To maintain consistent tension while crafting the Hexafish Rainbow Loom Bracelet, the key is to be mindful and deliberate with each rubber band you loop and weave on the loom. Gently stretching the bands before placing them can prep them for easier handling. As you work, pay attention to the force you’re applying to each band, aiming to keep it steady throughout the project. This consistency in handling the bands ensures that each section of the bracelet is uniform in appearance and feel, significantly enhancing the overall quality and durability of your creation.
Conclusion
You have crafted an impressive Hexafish Rainbow Loom Bracelet. This project not only tests your patience and skill but rewards you with a beautiful piece of jewelry. Admire your work, wear it proudly, or gift it to someone special. The joy of crafting comes from the process as much as the final product. So, why stop here? Explore further, and who knows what other dazzling creations await your touch?
Leave a Reply