
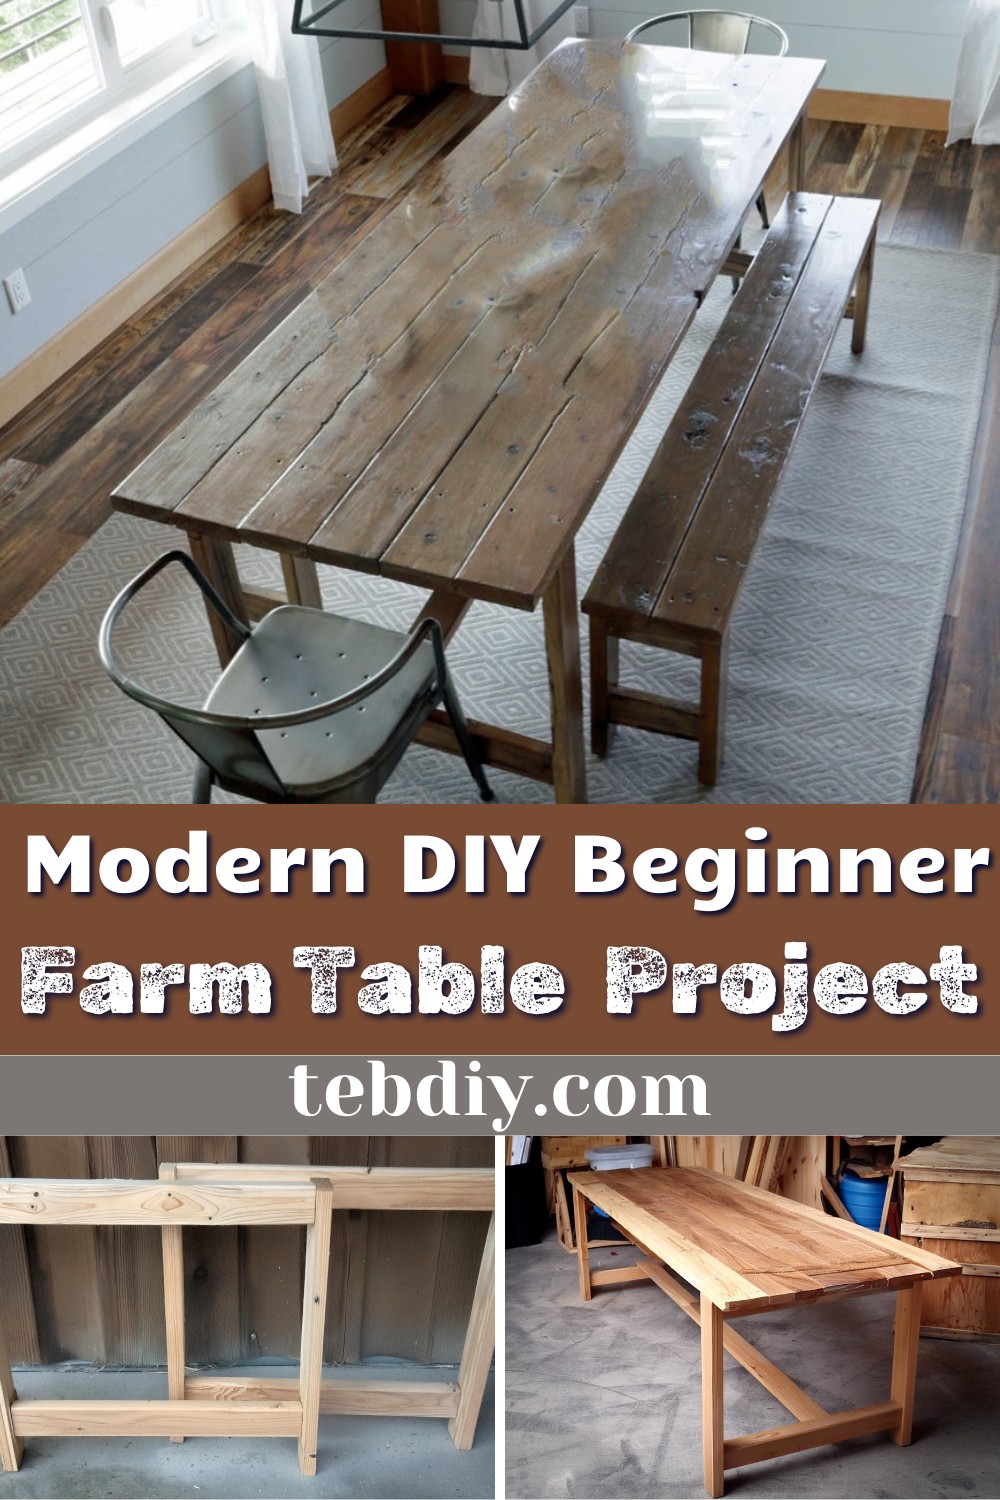
Here is the Modern DIY Farm Table! This is a fantastic DIY project for anyone wanting to build their very own rustic dining table without needing expert woodworking skills or a substantial budget. The creator has designed a beginner-friendly farm table that costs less than $50 in lumber and can be assembled using just two tools drill and a saw. The detailed guide shows each step clearly, ensuring you can create a functional and stylish piece even if it’s your first woodworking project.
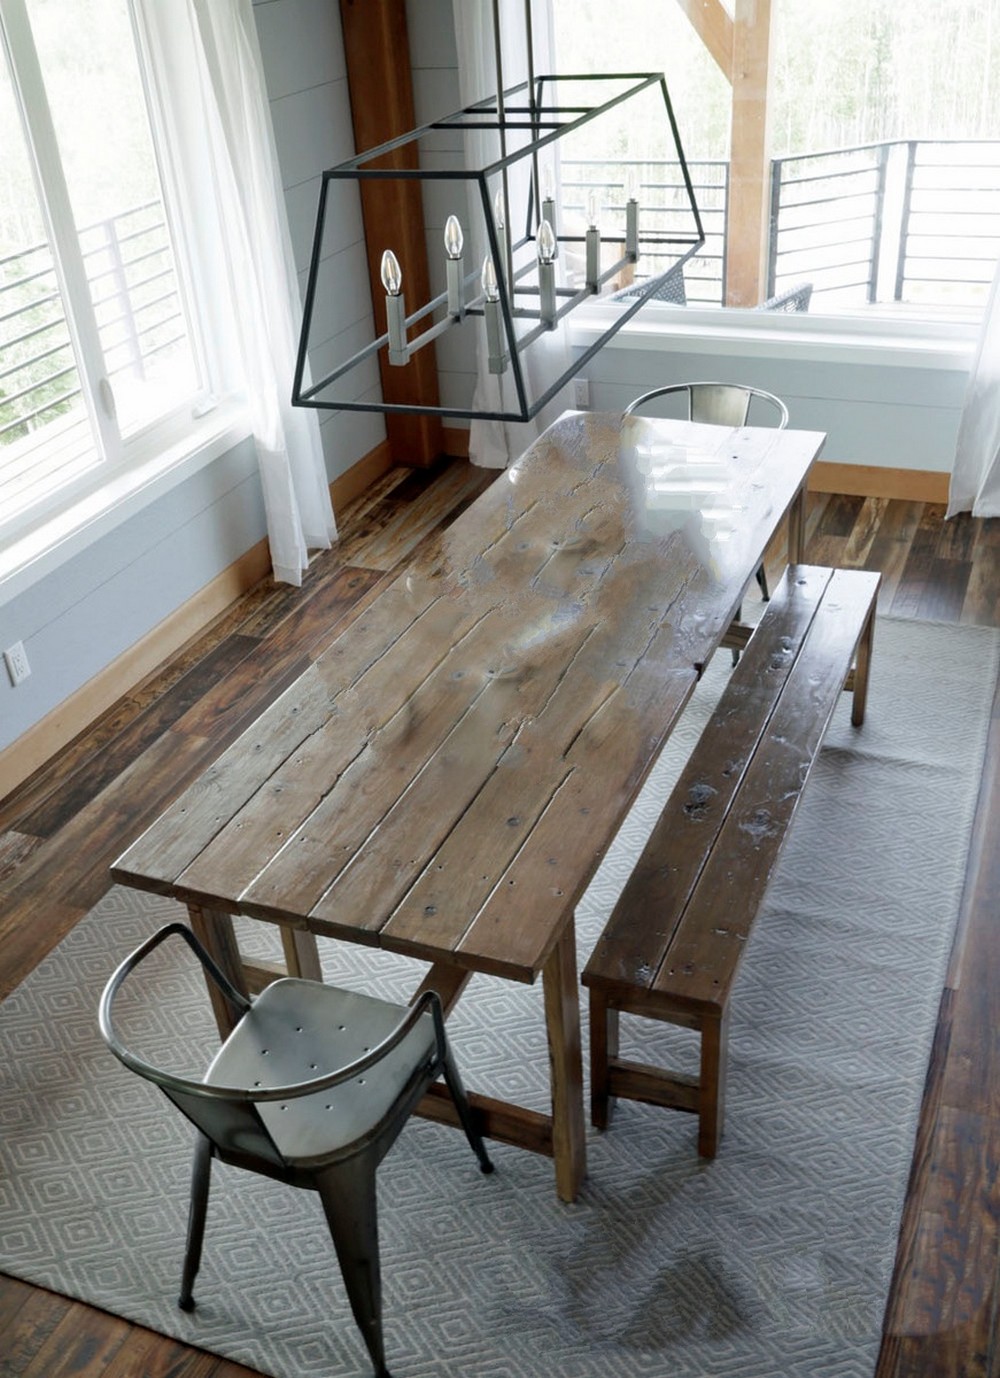
DIY Beginner Farm Table
Materials List
To get started, here’s what you’ll need in terms of materials:
- Lumber:
- 6 pieces of 2×4 @ 8 feet or 8 foot stud length
- 6 pieces of 2×6 @ 8 feet or 8 foot stud length
- Hardware & Misc:
- Approximately 100 2-3/4″ self-tapping wood screws
- Wood glue
- Clear Silicone or Dark Brown silicone (depending on your desired finish)
- Watco Danish Oil
- Color-matched wood filler (for filling screw holes once the wood staining is dry)
Tools Required
- Drill
- Saw (A miter saw is used in this guide, but you can opt for a circular saw or jigsaw with a steady hand)
Step-by-Step Guide
Step 1: Preparing the Top Boards
- Begin by setting aside the 2x6s for the tabletop. Since they come precut to a standard stud length (92-5/8″), no cutting is required for them.
Step 2: Cutting the Frame
- For the table’s frame, cut the 2x4s according to the following measurements:
- 8 pieces @ 28-1/2″ for the end leg sets
- 2 pieces @ 75-1/2″ for the side aprons
- 1 piece @ 80″ for the bottom stretcher
- 1 piece @ 25-1/2″ for the middle support
- Ensure all cuts are straight to maintain the integrity of the frame.

Step 3: Assembling the Frame
- Use scrap 1x boards to raise the horizontal boards on the legs before securing them from the outside. Ensure to maintain alignment and squareness throughout the process.
Step 4: Installing Middle Support
- The middle support not only prevents the aprons from spreading but also serves as an anchor for attaching the tabletop boards. Ensure it’s installed securely and centered.
Step 5: Attaching the Tabletop
- Begin by finding the center on both ends of the framework and start attaching the precut 2x6s from there, working your way outwards. This method ensures an even distribution of boards.
- Be mindful of screw placement for aesthetic reasons. Although joining the boards edge to edge isn’t required, consider using silicone or a Kreg Jig for a smoother finish.
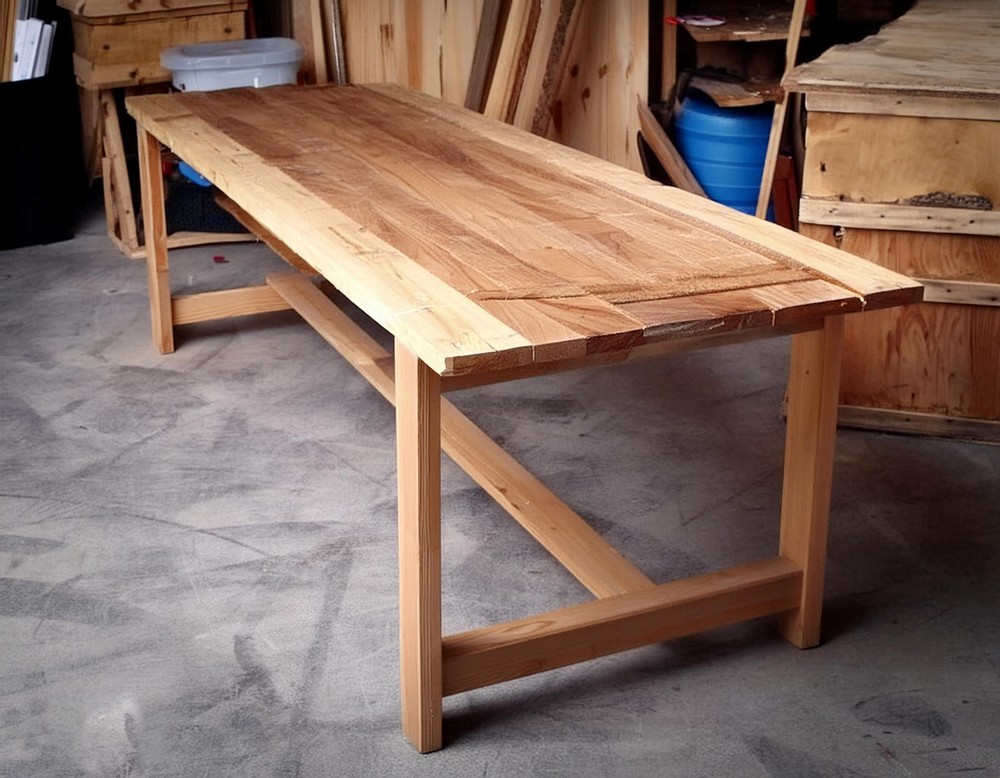
Step 6: Sanding and Finishing
- To achieve a rustic yet smooth finish, start sanding with an 80-grit sandpaper and finish with a 120-grit to remove any splinters or rough patches.
- Apply Watco Danish Oil for a durable and easy-to-apply finish. It acts as both a stain and a sealant, reducing the need for multiple products.
Step 7: Final Touches
- Fill any visible screw holes with color-matched wood filler after the stain has dried completely. This step will enhance the table’s appearance, making it ready for your dining room.
Leave a Reply