
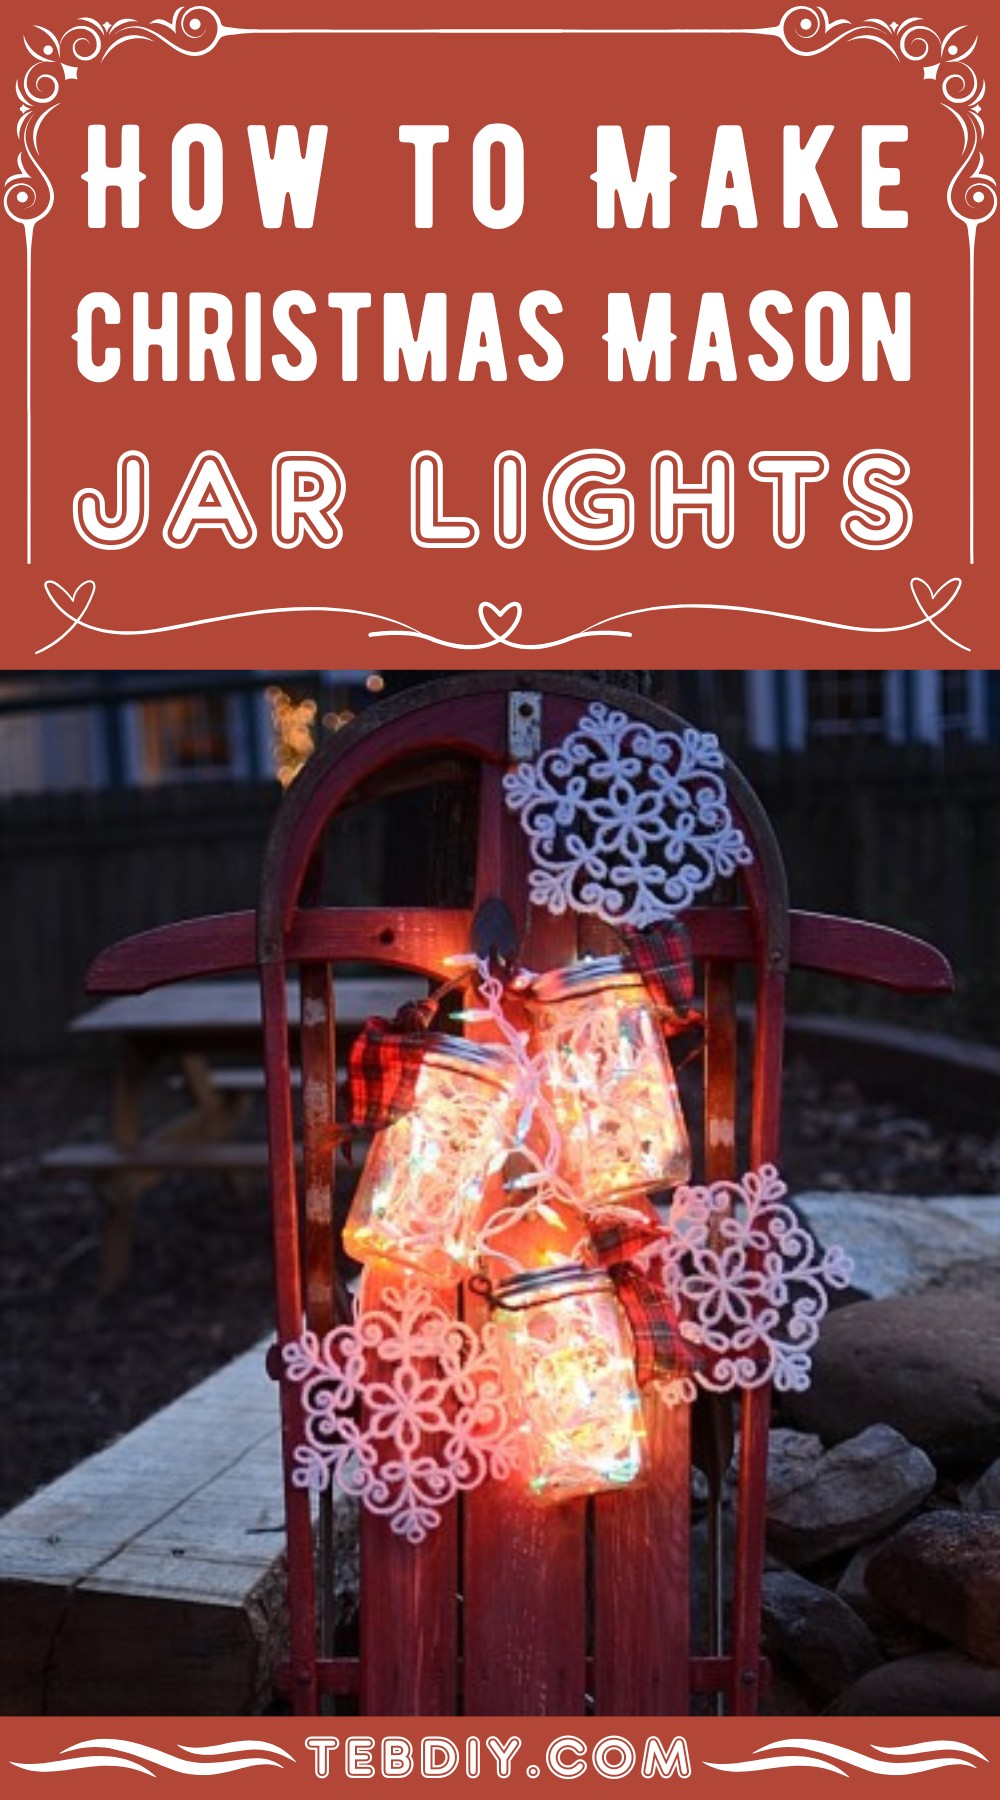
The Hosting preparation for a night Christmas party is unsatisfactory without glowy, colorful lanterns you make your own. So, today, I am sharing these hanging DIY Christmas mason jar lights you can prepare in 6 simple steps. It is pretty similar to my previous mason jar lights project for the porch, but it is exclusively for winter and Christmas themes.
I added colorful string lights this time, further enhanced by buffalo plaid and snowflakes. In neat weather, I prefer you to use them in your backyard. So, if you want to learn how to make Christmas lights using a mason jar, I shall teach you all today!
Why Mason Jars Are Great For Making Lights?
Mason jars are great glass shells; they are cheap, large, and more noticeable and have an acceptable shape. So, crafters do not need to mold glass and make an outline for their light. Usually, they have a hole in the lid so that we can insert bulbs or lights inside. So, I think mason jars are a great material for making lanterns or lighting.
How To DIY Christmas Mason Jar Lights?
Below are the step-by-step instructions on how to DIY mason jar light for Christmas:
Skill Level: Easy
Step 1: Gather Materials
In addition to many mason jars, the following materials should also be in hand to DIY Christmas mason jar lights for hanging:
- 100 Multi-color String Lights (bulbs will be bigger than those I used in DIY String Light Fairy Garden)
- Grapevine String
- Sticky Wall Hooks
- String Light Hooks
Always follow safety practices while working with electricity items like string lights. Keep them turned off, never cut them, wet them, and cover a damaged part with insulating material. It is great to use the battery-powered lights because they have less voltage. For proper wiring, call a professional family member.
- Red Green Buffalo Plaid
- Snow Flakes
- A Spot to Hand Lanterns
Tool:
- Sharp Scissors
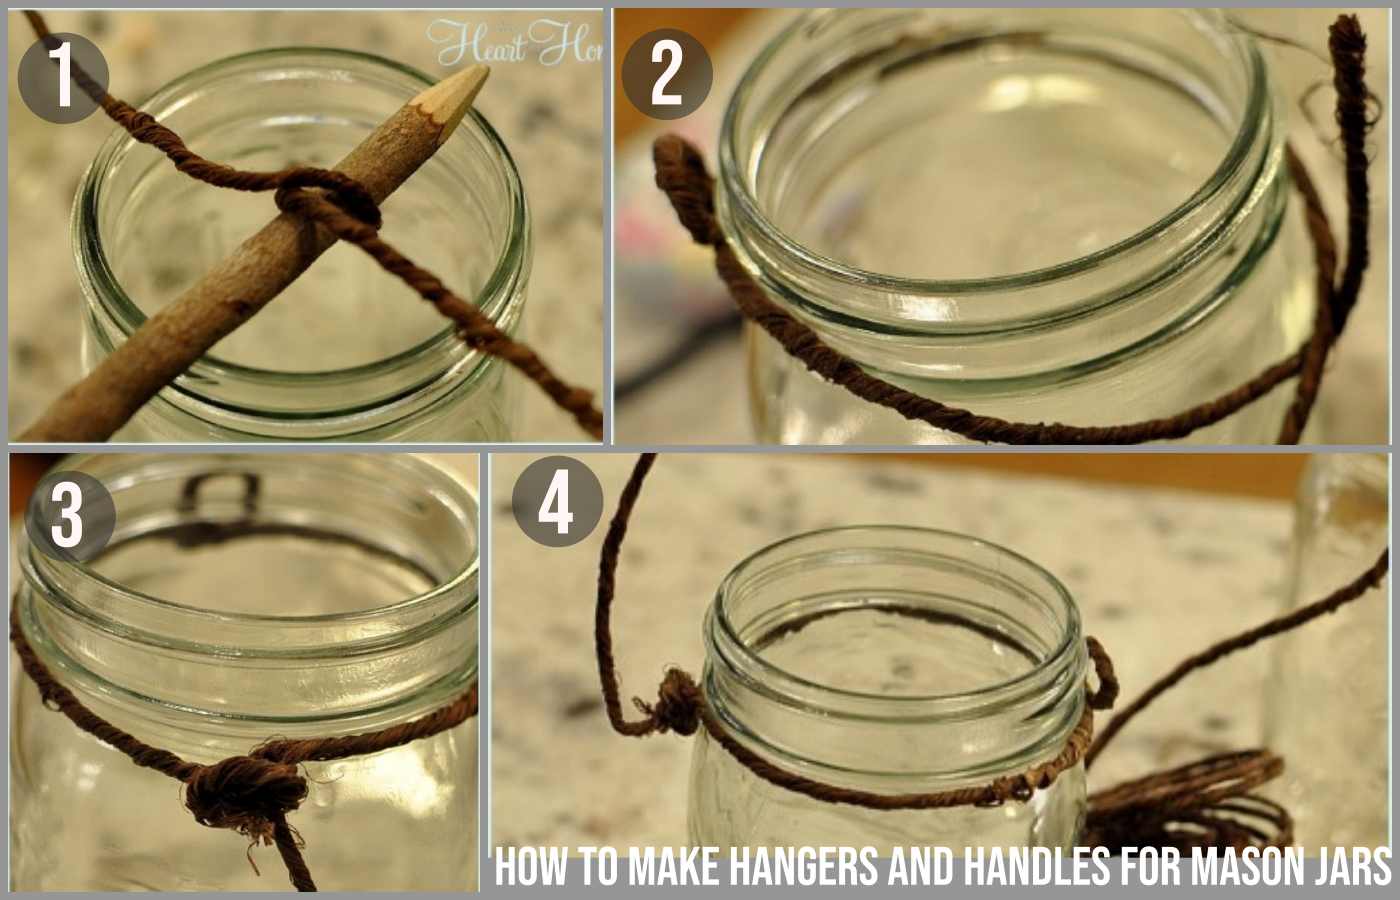
Step 2: Make Mason Jar Hangers & Handles
I have covered the guide in detail on how to make hangers and handles for the mason jars here along with a complete guide to hang it.
- In short, get some length from the grapevine string, make a loop in the center, turn left and right lengths around the jar neck and make a tie opposite to the loop.
- Then, tie the untied length with the loop to make a handle. See the steps in the picture:
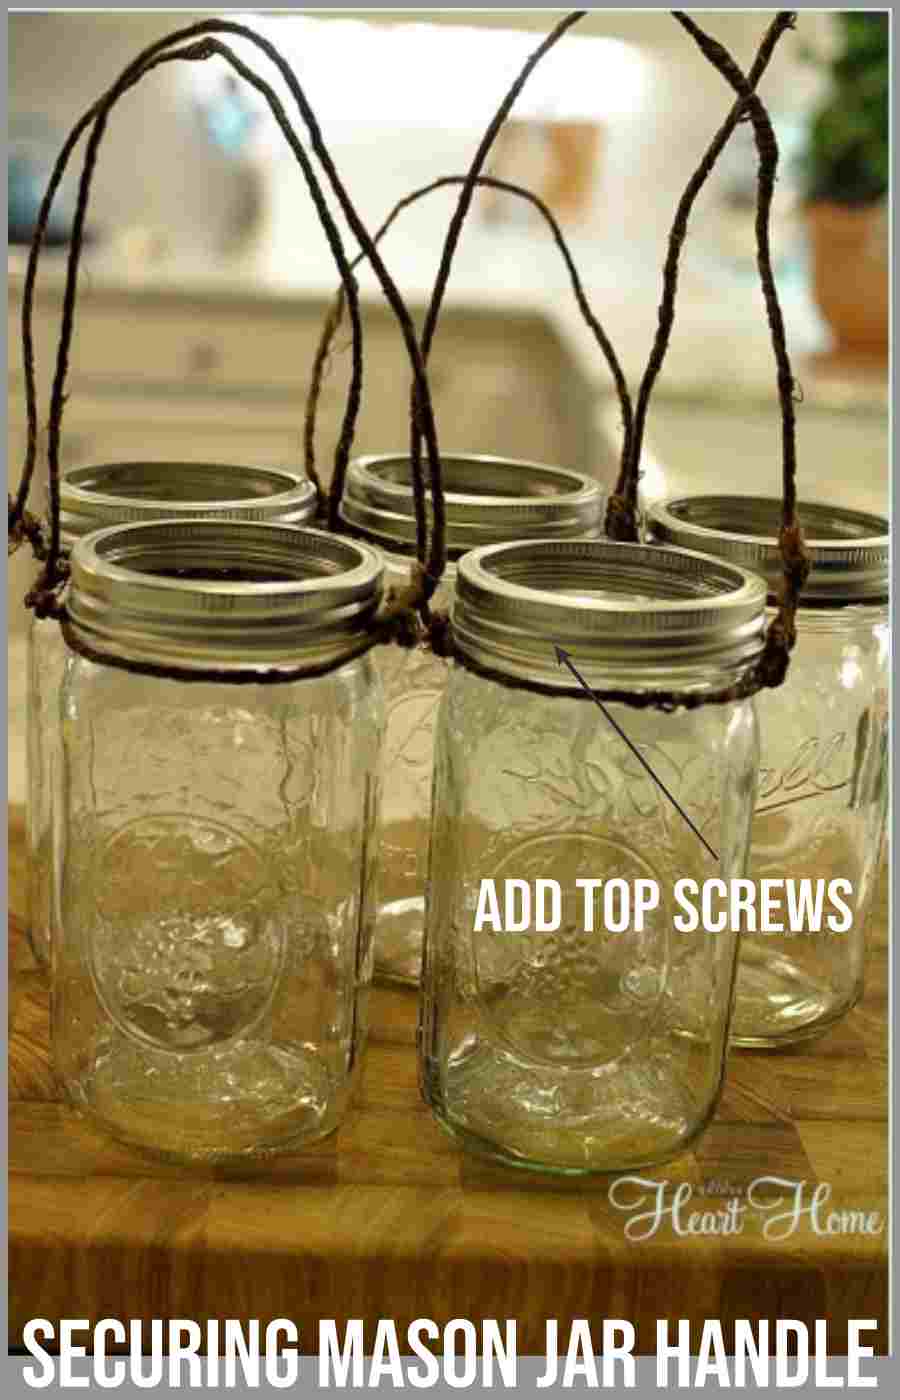
Step 3: Secure The Handles
To secure the mason jar handles, I put back the top screw or lid band without a disk. It left space to insert the lights while I also secured the handles.
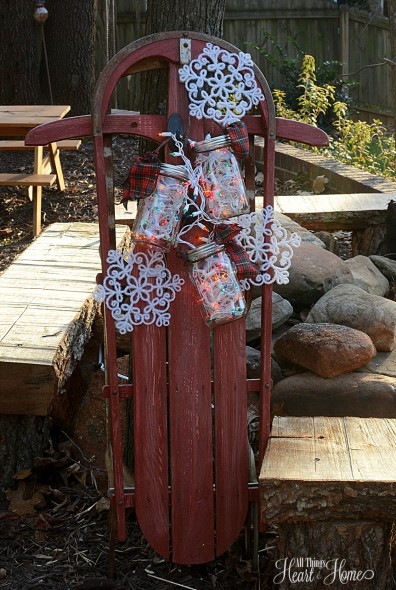
Step 4: Hang The Mason Jars
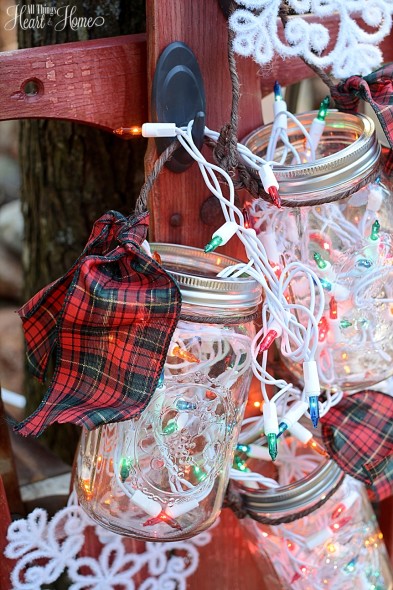
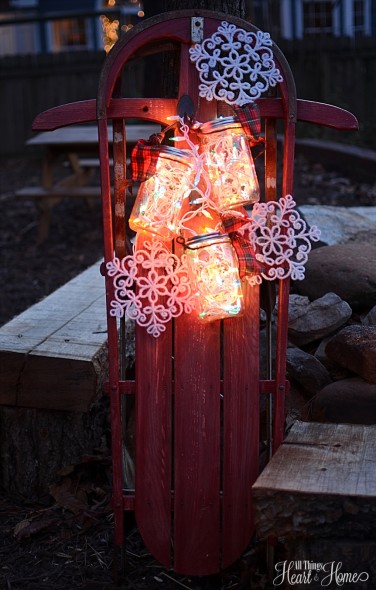
I used the swinging hook on my upgraded porch when attaching my first mason jar lanterns. But this set of Christmas lights consists of only three jars. Since smaller, I attached it to my winter sled (which I didn’t want to drill holes in!), so I used sticky wall hooks that hold the jars and won’t ruin the sled! I hung two jars above and one below.
Also Read: How to Upgrade the In-screen Porch
Make sure you select an outdoor area with the nearest electricty source.
Step 5: Insert the Lights In Jars
I had three mason jars, so I inserted one-third of the lights (about 33) in each out of one hundred. As mentioned, Always ensure you follow all the safety measures before touching the lights. Though some parts of the string pooped out, I adjusted them by turning around the hooks.
You can follow my handy formula to find the number of lights to insert in each jar:
Number of lights in a jar = Total Number of Lights in a String ÷ Number of Jars
Step 6: Embellish The Latern Area
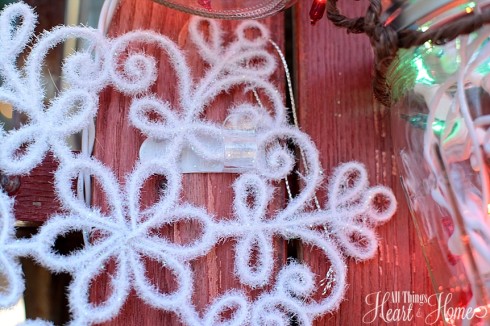
In keeping with my snow theme all over the house, I added a few flakes with these outdoor light hooks. I tied the buffalo plaid pieces around the grapevine handles to complete a winter look.
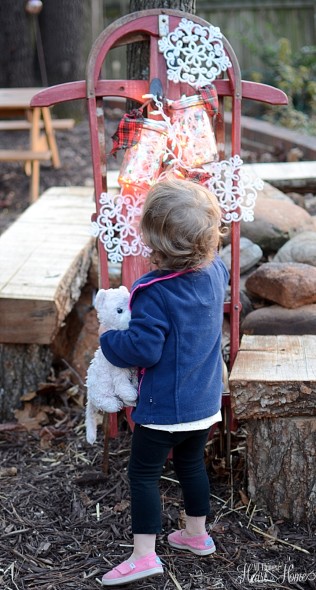
Sweet Finley loves it…
Last Step: Turn The Lights ON
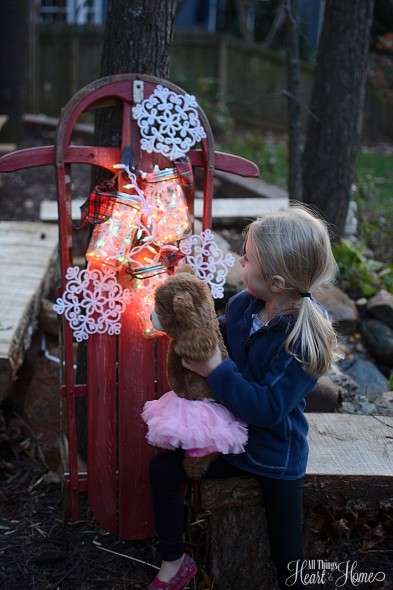
And as the sun goes down, turn ON the mason jar lanterns that add a magical glow to the backyard…perfect for our Christmas party. (I think I will change the lights out to white lights and put this next to the front door for a winter welcome…
And so do Elliot and Miss Berry Brown Bear…
FAQs
How Can I Cut the Center Of Mason Jar Lid?
While most jars have a separate disk and screw, if you have received one that lacks, here is how to cut:
- Mark the Center
- Heat a Knife in the oven or use a blowtorch.
- After heating the knife, start cutting.
Leave a Reply