
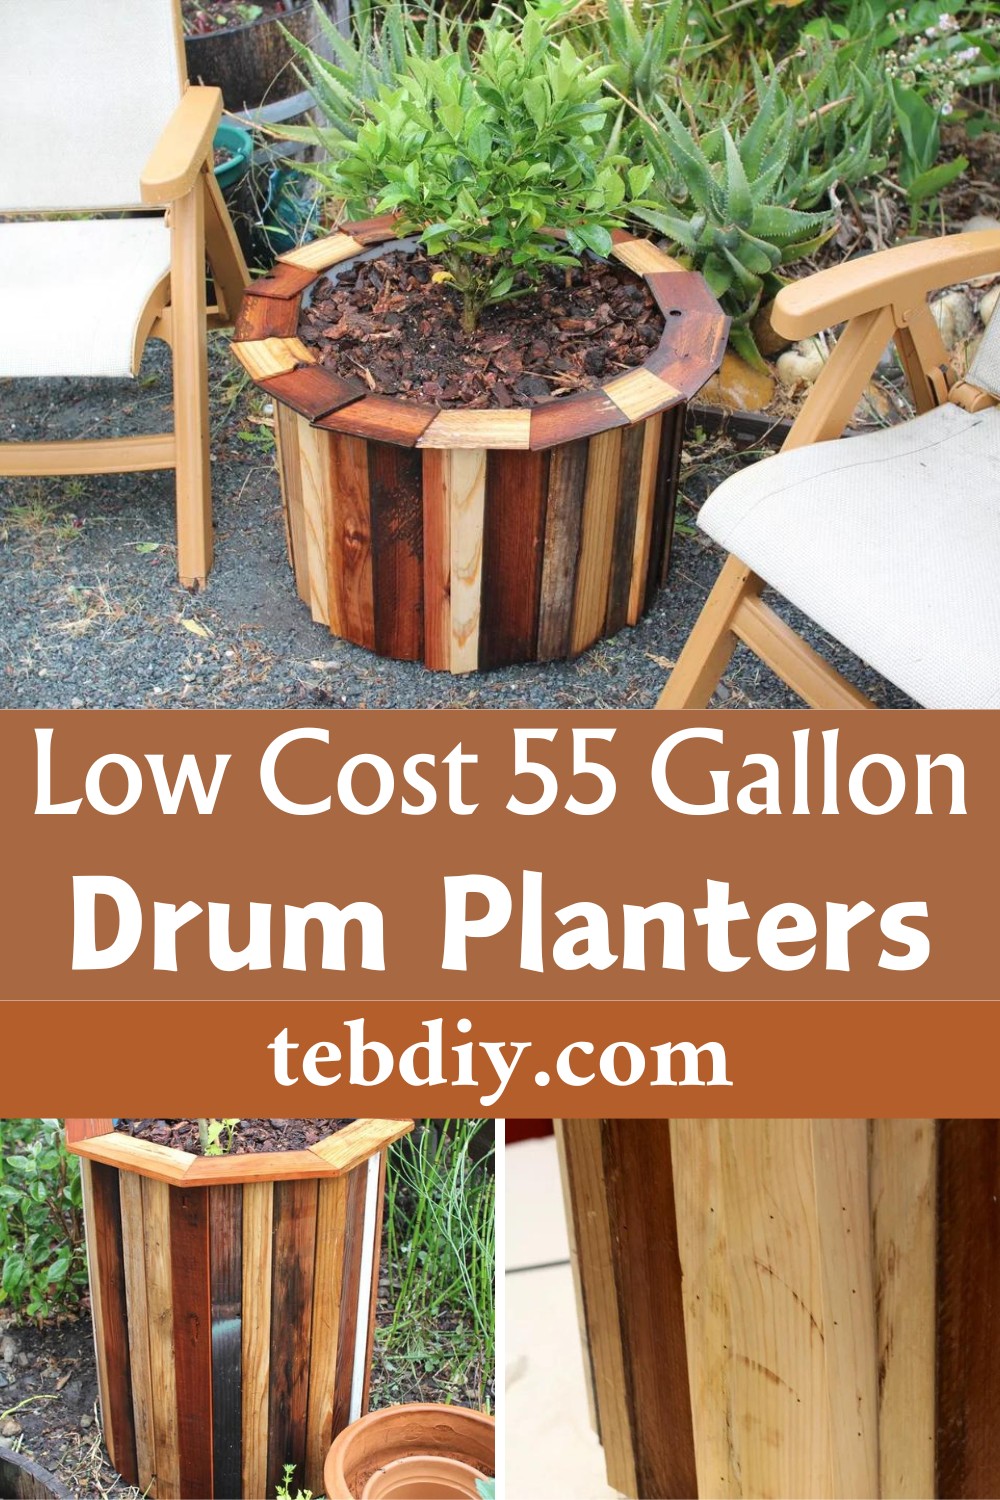
Explore the charm of rustic outdoor decor with a unique and creative project that marries style, functionality, and sustainability. Here, we explore the possibility of repurposing hard-wearing, low cost 55 gallon drum planters into creative vessels for your cherished blooms and greens. These versatile planters, fashioned out of reused drums, aren’t just creative statements for your garden but also a testament to an ingenious recycling approach and mindful living.

Low Cost 55 Gallon Drum Planters
Made with love and personal gusto, these planters add an enchanting allure to your outdoor space, irrespective of the scale. A small backyard or a sprawling garden serves as remarkable focal points, infusing the area with a sense of rustic charm and a dash of modern design. Moreover, they form a symbiotic relationship with nature, promoting her well-being as much as they amplify her beauty.
Required Materials:
- Used 55-gallon plastic drums
- Scrap wood (preferably redwood slats)
- Drywall screws
- Fender washers
- Air powered brad nailer
- Brad nails
- Window-screen material (for covering large drainage holes)
- Small pebbles (for drainage)
- Premium compost-rich soil mix
- Plants of your choice (fruit trees, vegetables, etc.)
- Mulch or wooden chunks
Required Tools:
- Jigsaw with a fine tooth blade
- De-burring tool (optional)
- Drill with 3/8″ bit (or larger)
- Planer
- Table saw
- Miter saw
- Hammer
Making Process
Getting the Barrels: Firstly, you must acquire some 55-gallon plastic drums. These are quite plentiful on various online platforms, usually cheaply.
Cutting the Barrel: Cut the top off of one of your barrels with a good jigsaw. If you prefer two smaller planters, cut the barrel in half.
Deburring (Optional): If you have a de-burring tool handy, you can use it to smooth the cut edges of your barrel, though this step is not strictly necessary.
Drilling Holes for Drainage: Using a drill (3/8″ or larger bit), drill many holes through the barrel’s bottom. This ensures ample drainage for your planted companions.
Attaching Risers: To make the large barrel easier to move and position, attach some 2×4 skids on the base using drywall screws and fender washers.
Preparing the Wood: If you have some scrap wooden slats lying around, put them through the planer to clean them up. Then, rip them to varying widths and cut them to different lengths according to the size of your barrels.
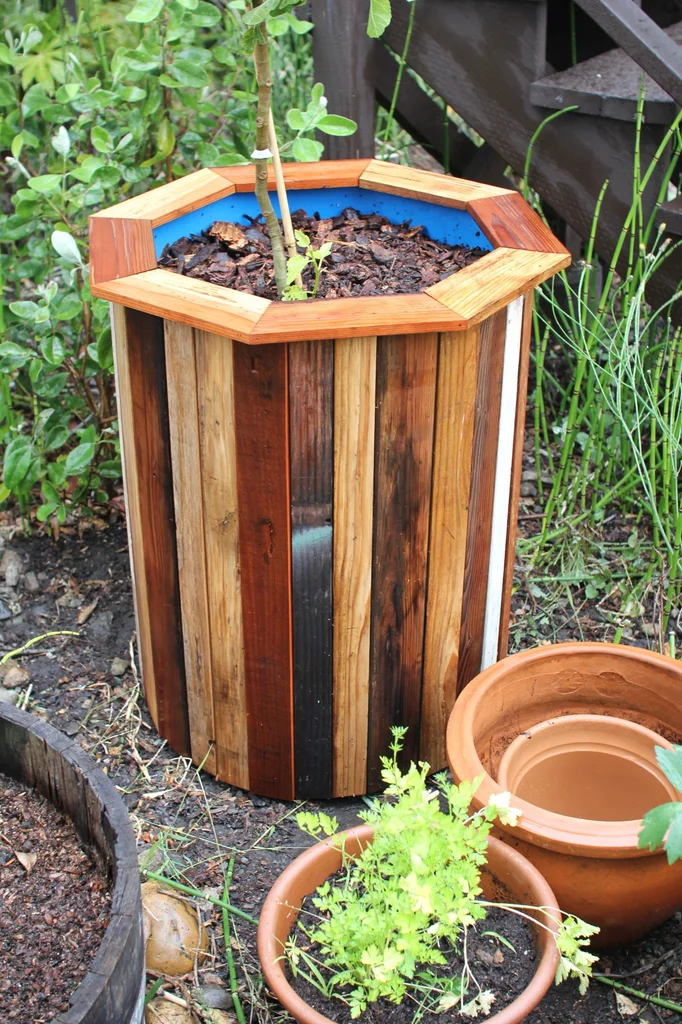
Affixing Wood to Barrel: This is where the creative fun begins! Using an air-powered brad nailer, affix the wooden slats around your barrel in an attractive pattern. Be sure to keep the wooden slats as close to each other as possible to prevent the plastic barrel from showing through.
Different Approach for Full-size Barrel:
Experiment with different methods of attaching the slats for the full-size barrel.
Hammering the Brad Nails: Use a hammer to bend down the exposed brad nails on the inside of the barrel, securing the wooden slats and preventing injury during the potting process.
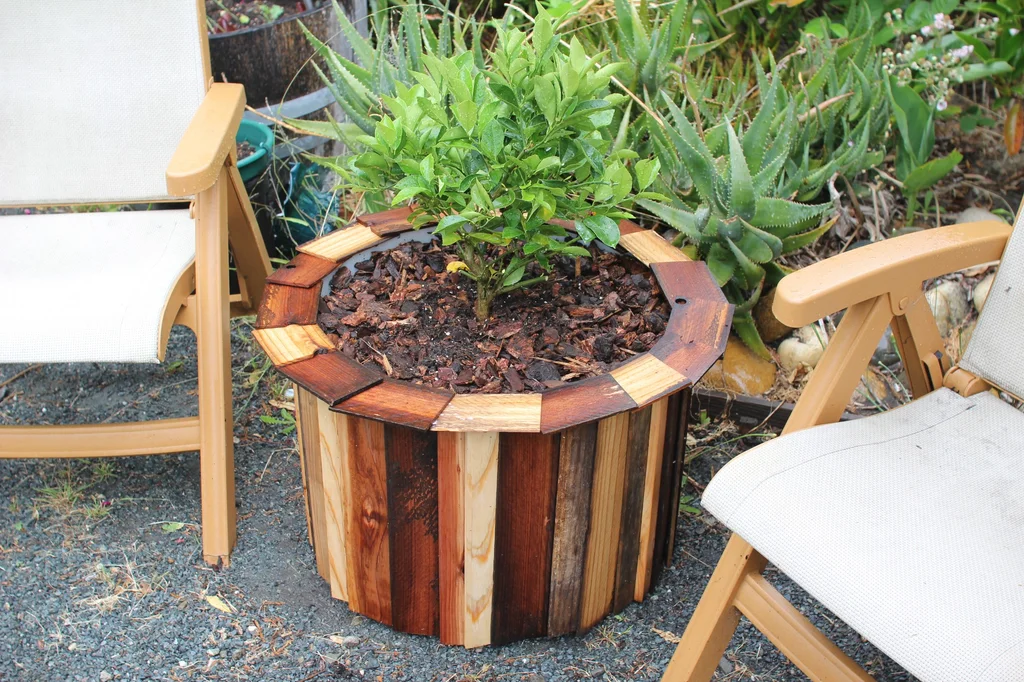
Creating the Planter Top: Experiment with different methods of creating decorative tops. You could cut and arrange the wooden slats in an octagonal pattern or continue the shingling method used on the sides.
Covering Large Drainage Holes: If the bottom of your planter originally had large holes, use some window-screen material to cover them up.
Adding Gravel: To ensure optimal drainage, lay an inch or so of small pebbles at the bottom of each planter.
Adding Soil: Fill your planters with a quality soil mix designed for container gardens.
Planting your Plants: You can plant your favorite fruits, vegetables, or ornamental plants in your newly crafted planter.
Mulching: Lastly, cover the plant’s roots with more soil and a layer of mulch or wooden chunks to keep the moisture in check.
Leave a Reply