
Ice baths, also known as cold water immersion, have been adopted by many athletes, fitness lovers, and health-conscious individuals for their well-documented benefits. Letting you enjoy its benefits, we have the simplest DIY idea that you can follow easily. It involves converting a chest freezer into a makeshift ice bath setup. This idea is embraced for its simplicity, convenience, and cost-effectiveness, making refreshing cold baths accessible right in the comfort of your own home.

Creating a chest freezer ice bath is a budget-friendly DIY project that brings cold therapy right to your home. This setup includes a digital temperature control for specific cooling, a filtration and sanitation system to keep the water clean, and GFCI protection for safety. It’s perfect for athletes or anyone practicing the Wim Hof Method, offering a precise and adjustable way to manage water temperature for recovery or therapy. This homemade strategy minimizes time and cost while providing high efficiency and safety.
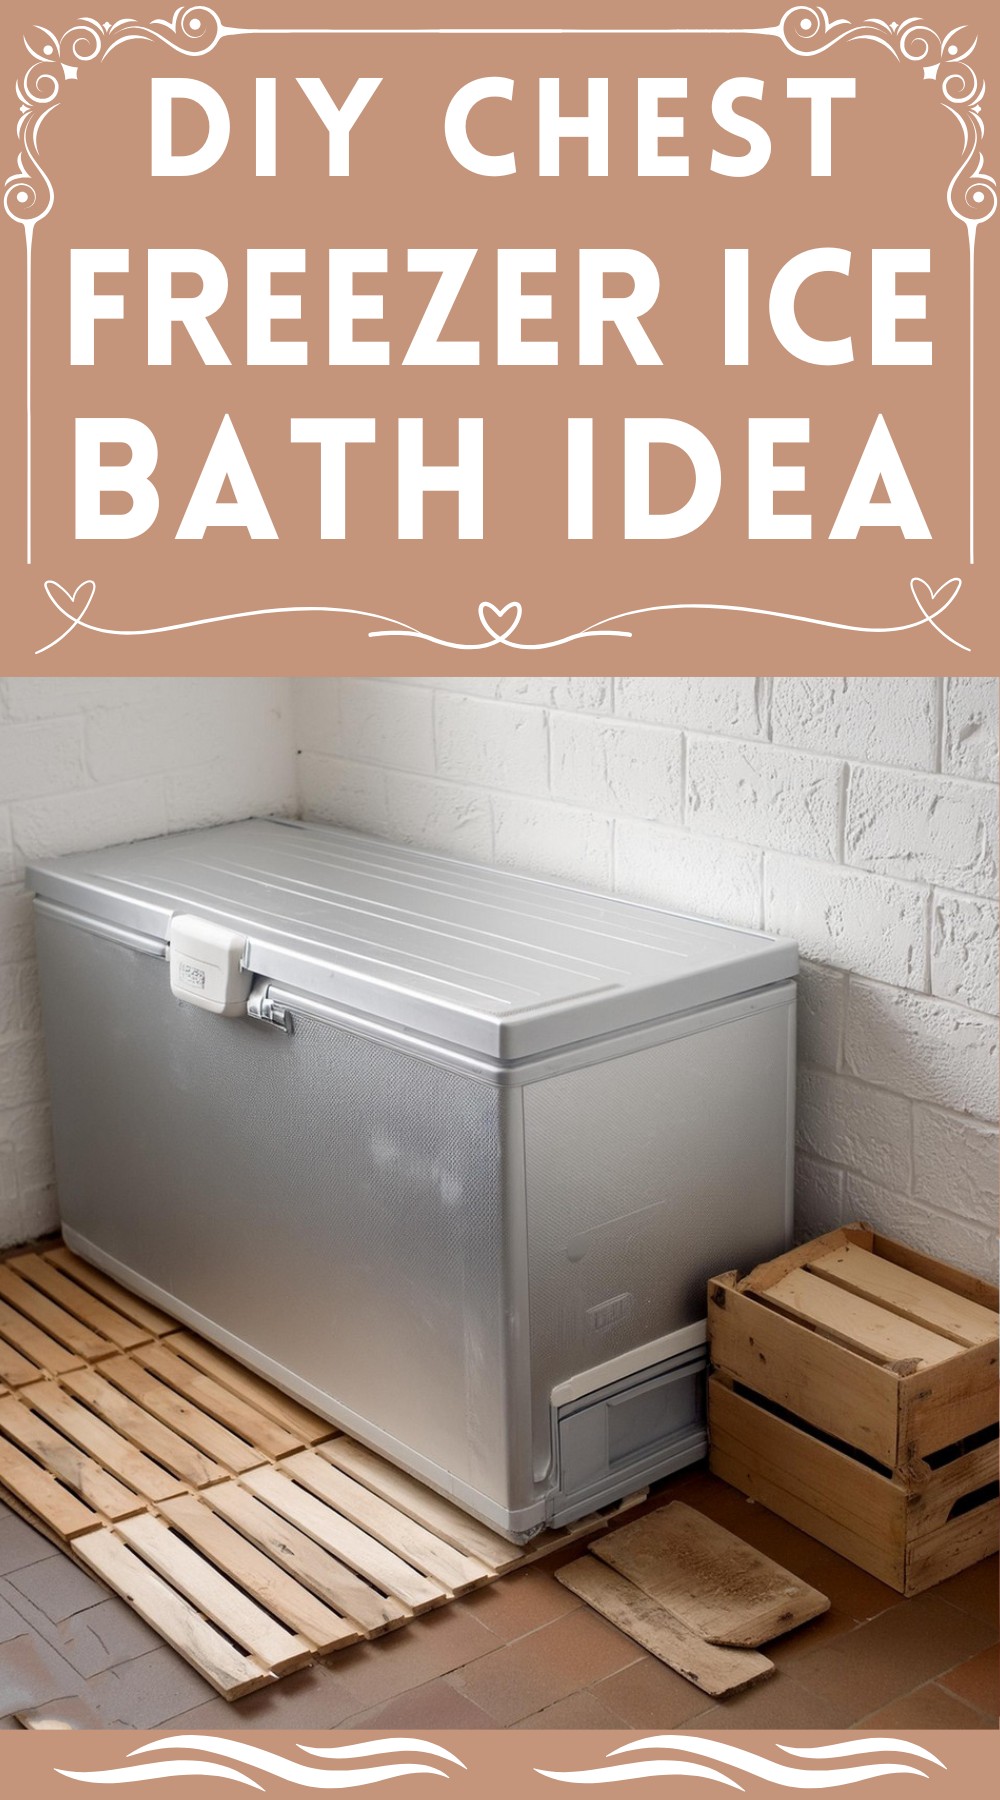
Making Your Chest Freezer Ice Bath
Essential Components:
- Chest Freezer: The vessel of your ice bath experience. Choose one according to the size that suits you best.
- Sealing Material: To ensure that no leaks spoil your sub-zero adventures, we recommend JB Water Weld.
- Digital Temperature Controller: For precise control of your icy retreat.
- Filtration Pump: Keeps your water crystal clear, enhancing the cleanliness and longevity of your setup.
- Ozone Generator: Bolstering the sanitary conditions within your makeshift cold plunge.
- GFCI Safety Adapter: A critical safety measure to protect from electrical hazards.
Additional Supplies and Accouterments:
- Surge-Protected Power Strip: To safely connect and manage multiple devices.
- Garden Hose: For filling and emptying your chest freezer, length and durability are key.
- Faucet Adapter: If required, ensure a seamless connection between your indoor faucet and the garden hose.
- Zip Ties: Offering organization and safety to your setup.
- Plastic Storage Box: To house and protect the electronic components.
- Scooping Plastic Box: A flat-sided container to help remove the last remnants of water after draining.
- Plates or Floor Protection: Strategically placed in front of the freezer to mitigate the risk of slips or damage to the floor.

Step-by-Step Building Process
Safety Precautions
Before you embark on this journey, never forget the safety aspect. Incorporating water and electricity in close quarters demands respect and precaution.
- GFCI Adapter Use: Rigorously use a GFCI safety adapter — it’s a non-negotiable part of the setup, instantly cutting off power in case of any short circuit to prevent electric shocks.
- Electrical Disconnection: Establish a foolproof routine to ensure the freezer is unplugged before any interaction, such as opening the lid.
Sealing the Freezer
First things first, you need to seal every seam inside the freezer to prevent water ingress that could damage your equipment.
- Step 1: Preparing the Freezer: Clear out all internal components, such as trays and dividers, so you’re left with just the freezer’s shell.
- Step 2: Applying the Sealant: Execute with a steady hand; JB Water Weld will be your best ally here, ensuring a waterproof barrier that lasts.
Assembling Your Ice Bath
Now that you’ve prepped your freezer, it’s time to assemble the components into a cohesive unit.
- Install the Filtration Pump: Fit this device to help keep your water invitingly fresh.
- Set Up the Digital Temperature Controller: Wire this in to meticulously manage the chill factor according to your desires.
- Ozone Generator Installation: Implement this system for its exceptional sanitation properties, ensuring a clean soak every time.

Final Steps and Connections
- Power Up: Connect your freezer, filtration pump, and other components to the surge-protected power strip, which then connects to your GFCI adapter.
- Safety Cover: Ensure that your electronics are housed within the protective casing, using zip ties for tidy cable management.
Using and Maintaining Your Ice Bath
Lastly, let’s talk about the upkeep. It’s not only about the build; maintaining your cold plunge setup is pivotal for ongoing, safe use.
- Regular Cleaning: With your filtration in place and a routine for adding and cleansing the water, aim to maintain a pristine bath.
- Electrics Check: Periodically ensure all is well with your electrical components, and nothing has come loose or shows signs of wear.
Conclusion:
What you have now is more than a DIY project; it is a rejuvenation station, a personal wellness hub. Embrace this cold therapy treasure, and may it bring you countless moments of invigorating joy and health.

How can you customize your chest freezer ice bath for optimum recovery and comfort?
Customizing your chest freezer ice bath can elevate your recovery and comfort experience. To begin, you can adjust the water temperature, ideally between 50 to 59 degrees Fahrenheit, for optimal muscle recovery. You might want to add insulation like foam or clothing material on the inside walls and bottom to add warmth. A proper lid also helps maintain a steady temperature by reducing heat loss.
For comfort, consider adding a simple step/stool for easy entry and exit, and a non-slip mat to prevent accidents. It’s also beneficial to have a timer within reach to regulate your ice bath duration, usually between 10 to 20 minutes, to ensure safety and effectiveness. Always remember your customization should align with your personal comfort level and recovery needs.
Leave a Reply