
A bare shelf can feel unfinished even when the rest of the room looks neat. Plaster figurines offer a simple way to give that space a little character without filling it with large decorations. Their gentle shapes and solid appearance suit many home styles, from colorful bedrooms to calm, neutral living rooms.
Decorative Plaster Figurines for Home | Free DIY Ideas
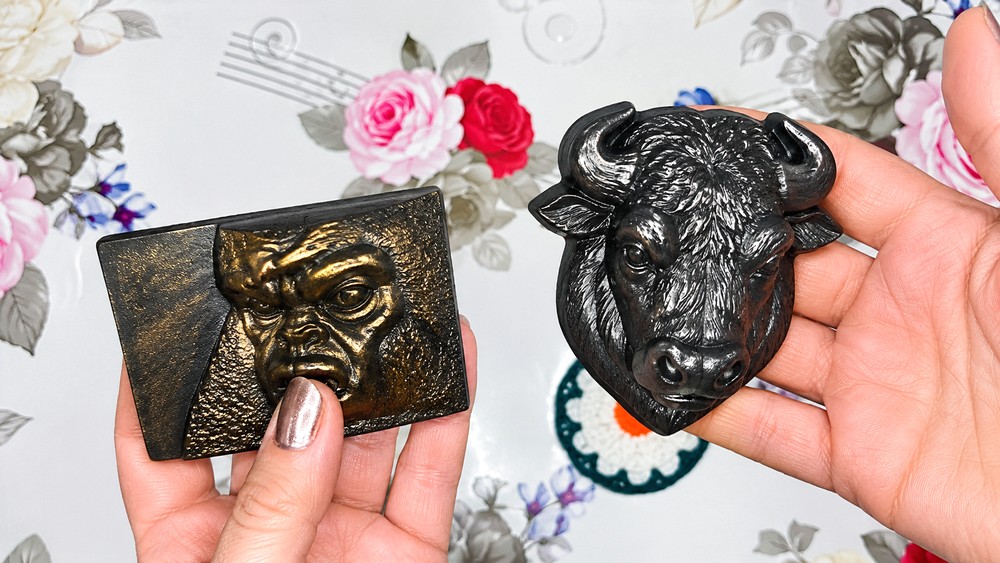
One of the nicest things about these figures is the freedom to choose their final look. A smooth white surface feels clean and classic, while a few painted details can give each piece a different personality. Plaster is commonly poured into a mold and allowed to set before the figure is carefully taken out. Once dry, the surface can be painted or left plain, depending on the style you prefer. Small details, such as the outline of a face or a textured edge, often have the biggest effect.
About the Creative Channel
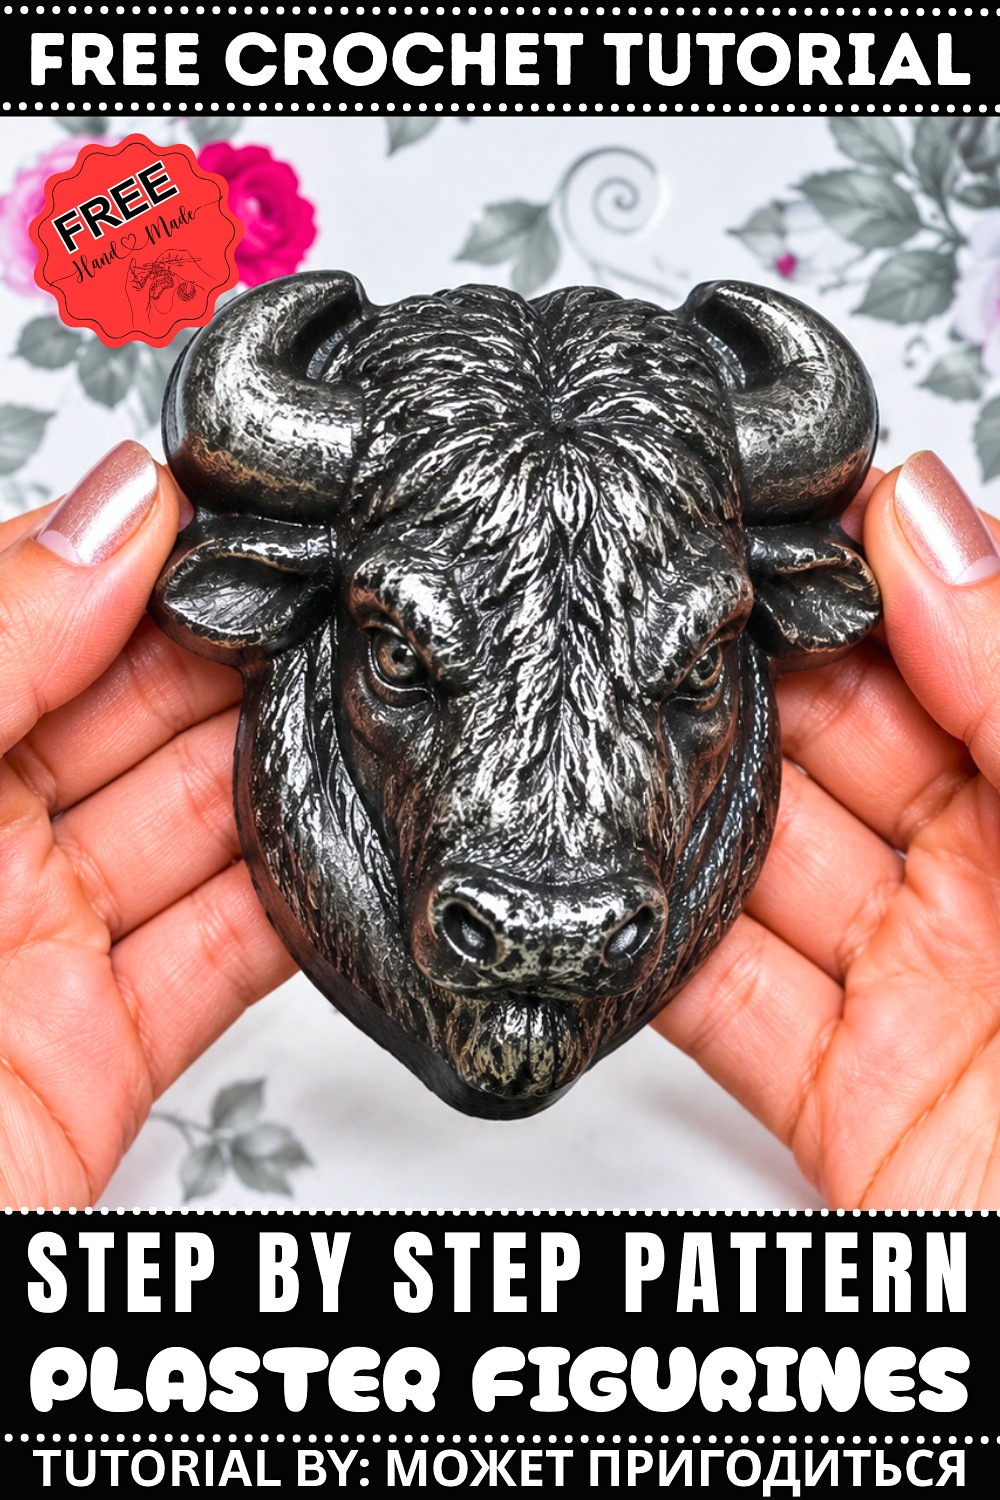
The channel Может пригодиться shares this plaster figurine idea as an example of turning simple materials into decorative objects. Its name gives the project a practical, approachable feel. Viewers interested in small home accents can take inspiration from the shapes, finishes, and personal touches that these lovely little figurines allow.
A group of figurines can sit together on a windowsill, while a single piece works well beside books or a small plant. They also suit handmade birthday presents or simple table decorations. Keeping the display uncluttered helps the shapes stand out.
Among Free DIY Ideas for home decoration, this project is appealing because it turns an ordinary material into something personal. Each figure can have its own color and mood, so even similar shapes do not have to look identical.
DIY Plaster of Paris Figurines: Casting, Priming, and Painting
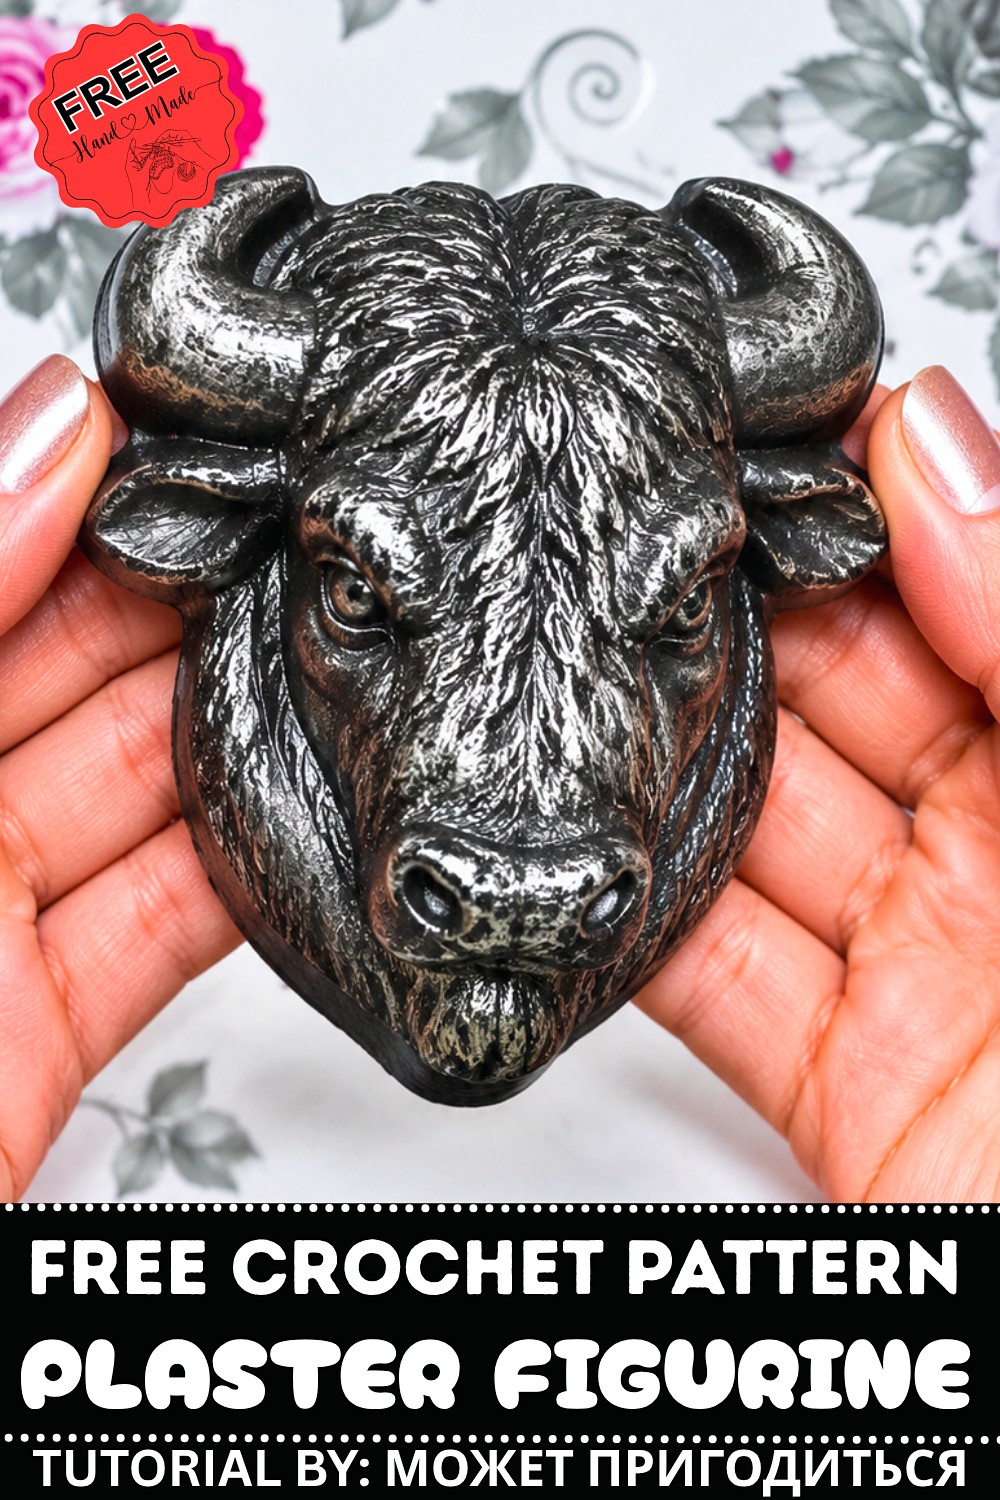
Create beautiful and unique figurines with plaster of Paris—a simple and rewarding material perfect for crafters of all ages. Whether flat, hollow, or three-dimensional, plaster figurines are especially fun for children, who love to paint and decorate their own creations. In this beginner-friendly tutorial, you’ll learn how to mix, cast, demold, prime, and paint plaster of Paris figurines, using basic tools and readily available supplies. Let’s make lovely, durable figures you can display, use as gifts, or add as decorations to boxes and other craft projects.
Materials and Tools
Start by gathering all the materials and tools mentioned in the tutorial.
Materials
- Plaster of Paris (for casting figurines)
- Water (for mixing with plaster)
- PVA glue (for priming figures)
- Acrylic paint or tempera paint (for coloring figures)
- Optional: White paint (for priming as an alternative to PVA glue)
Tools
- Measuring container (such as a glass, cup, or bucket)
- Mixing bucket (for preparing the plaster)
- Plastic or silicone molds (to shape your plaster figures)
- Spray bottle with soapy water (to prepare molds)
- Stirring stick or spoon (to mix plaster and primer)
- Small bowl (for mixing primer)
- Paintbrushes (for priming and painting details)
- Protective surface or tray (to protect your work area)
- Toothpick or skewer (for delicate demolding, if needed)
- Paper towels or cloth (for cleanup)
- Gloves (optional) (if you want to keep your hands clean)
Instructions
1. Preparing to Cast Plaster Figures
1.1 Choosing and Preparing Molds
- Select your plastic or silicone molds. These can be for flat or 3D figures—both types work well for this project.
- Before pouring the plaster, spray the inside of each mold lightly with a soapy water solution. This will help the hardened plaster release easily from the mold once set.
1.2 Measuring Supplies
- Choose a measuring cup or small bucket based on how much plaster you’ll need.
- For a small batch (for kids or single molds), use a glass.
- For larger or multiple figures, use a larger container.
- Measure equal volumes of plaster and water using the same measuring container. Always measure by volume, not weight.
2. Mixing Plaster of Paris
2.1 Mixing the Plaster
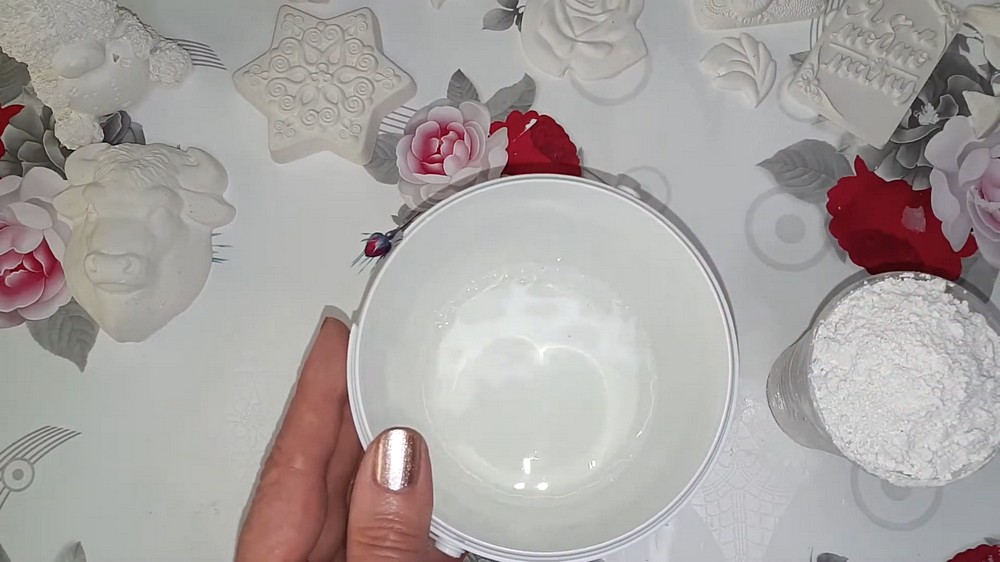
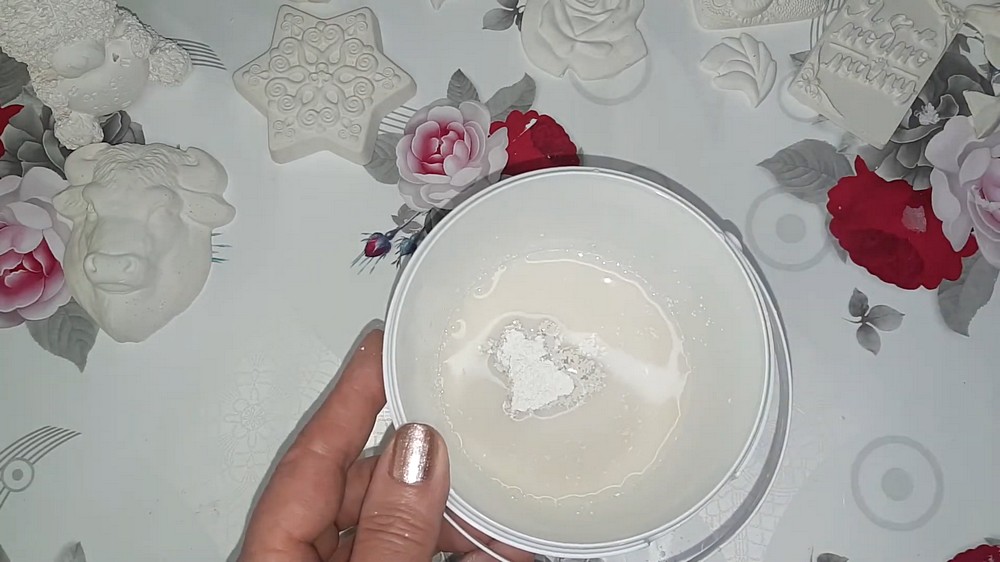
- Pour water into your mixing bucket first. Always start with water to prevent lumps and get a smoother mix.
- Gradually add plaster of Paris to the water, sprinkling it evenly. Add until the surface of the water is covered and a slight “hill” of plaster forms above the water.
- Let the plaster absorb the water for a few moments without stirring. This helps all the plaster soak evenly.
- Stir the mixture thoroughly with a stick or spoon until it reaches the consistency of liquid sour cream—not too thick and not too runny. Scrape the sides and bottom for an even mix.
3. Pouring the Plaster into Molds
3.1 Filling the Molds
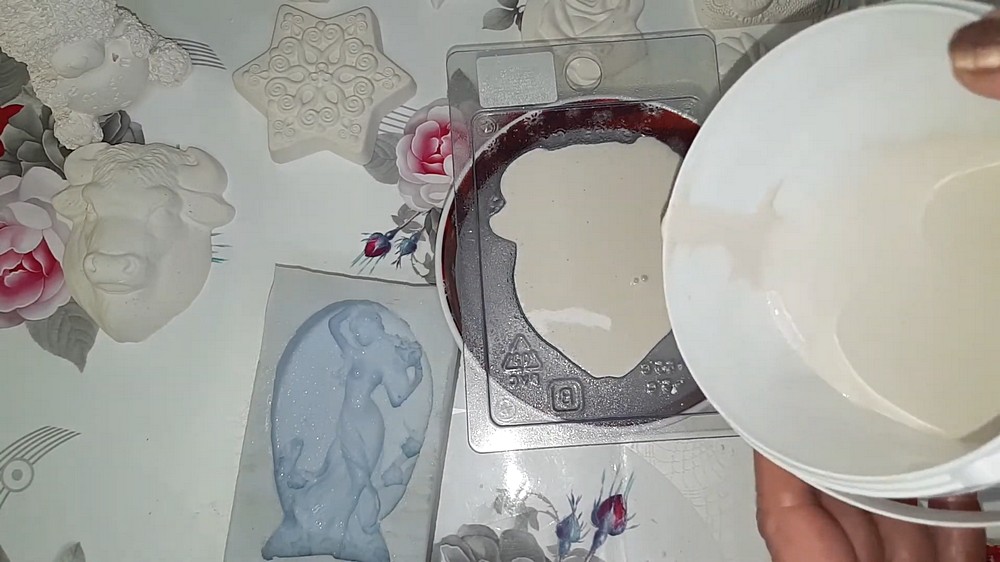
- Gently pour the prepared plaster into the molds, filling them to the top.
- Tap or gently shake the molds on your surface to release any trapped air bubbles. You may also lightly knock the mold to further release bubbles.
3.2 Setting and Curing
- Allow the plaster to set in the mold for about 30 minutes. Do not disturb during this time.
- You’ll notice that as it sets, the plaster will warm up due to the reaction and then start to cool down.
- Wait until the cast feels cool to the touch before demolding.
4. Demolding the Plaster Figures
4.1 Removing from Molds
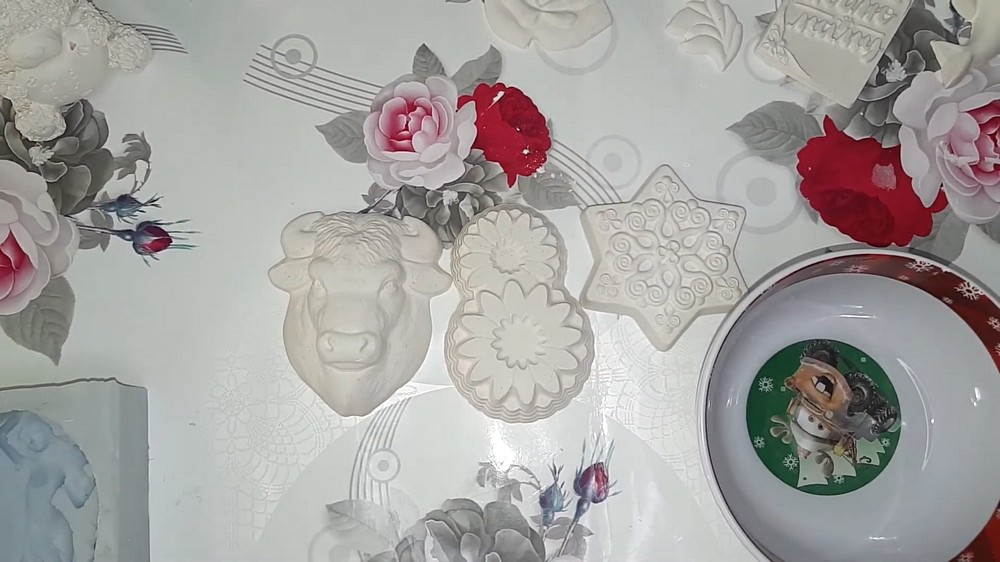
- Once the plaster is cool and fully set, carefully remove the figures from the molds.
- For delicate pieces, take your time and apply gentle pressure, working the edges free before popping the whole figure out.
- If needed, use a toothpick or skewer to help ease stubborn sections free.
4.2 Allowing to Dry
- Place the demolded figures on a safe surface and let them air dry completely.
- Drying time depends on figure size and thickness, but ensure the pieces are not damp before the next step.
5. Priming Plaster Figures
5.1 Making a Primer Solution
- In a small bowl, mix PVA glue and water together to create a thin, milky solution that can be brushed on easily.
- Ratio: Use just enough water to make the glue easy to spread and absorb—add a little more water if it’s too thick.
- Alternatively, you can use white paint diluted with water, or even a commercial primer.
5.2 Applying Primer
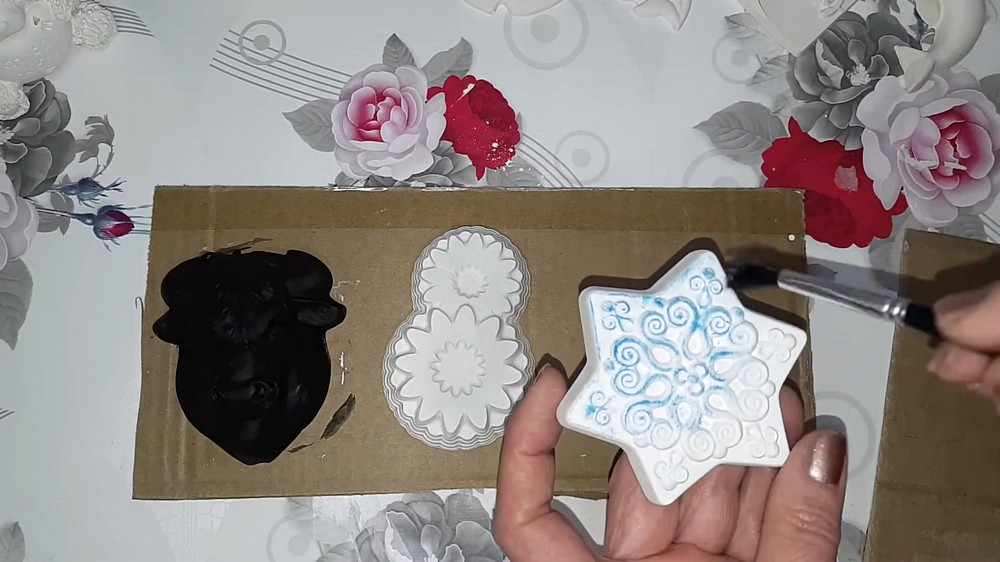
- Brush the primer solution evenly over the surface of each plaster figure using a paintbrush.
- Coat all areas, including intricate parts and edges, to help seal the plaster and prevent it from absorbing too much paint.
- Let the primer dry quickly—usually just a few minutes.
6. Painting Your Plaster Figurines
6.1 Painting Process
- Once the primer is dry, your figures are ready to decorate.
- Use acrylic or tempera paints for vibrant, lasting color.
- Paint each figure in stages, letting each paint layer dry completely before adding new layers or colors.
- If desired, use several coats to ensure bright, even coverage. Allow each layer to dry to avoid streaking or mixing.
6.2 Final Touches
- Use fine brushes for details such as facial features, outlines, or small decorations.
- Let your imagination guide your color choices and patterns. Enjoy this creative step!
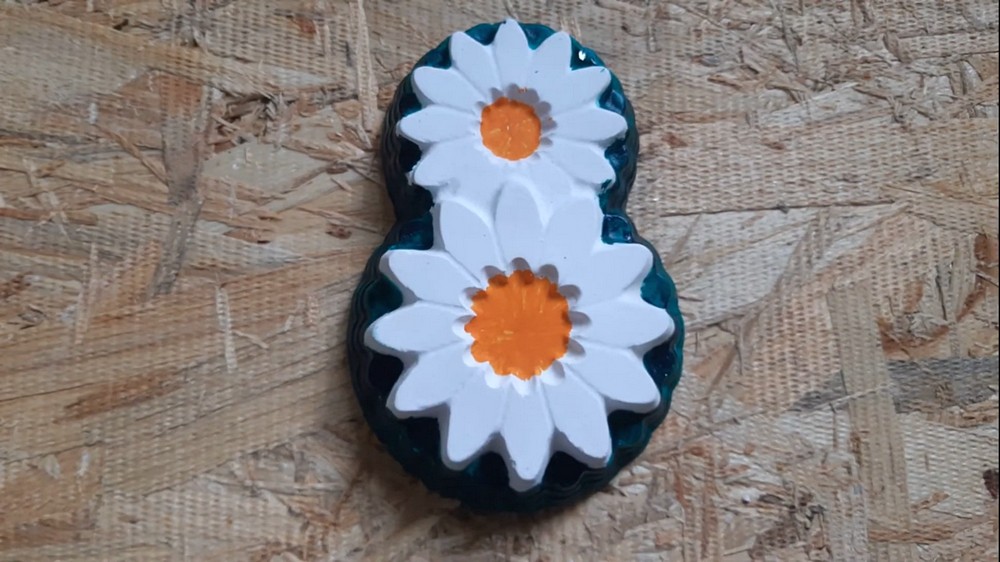
7. Finishing and Using Your Plaster Figurines
7.1 Drying and Display
- Allow the painted figurines to dry thoroughly before handling or displaying.
- Finished figures can be used as:
- Children’s art projects
- Home décor
- Ornaments for boxes or other crafts
- Gifts or tokens for friends and family
7.2 Additional Tips
- If you don’t have PVA glue for priming, use white paint mixed with water as a substitute.
- Always let each layer (primer or paint) dry fully before adding the next to achieve the best results.
Conclusion
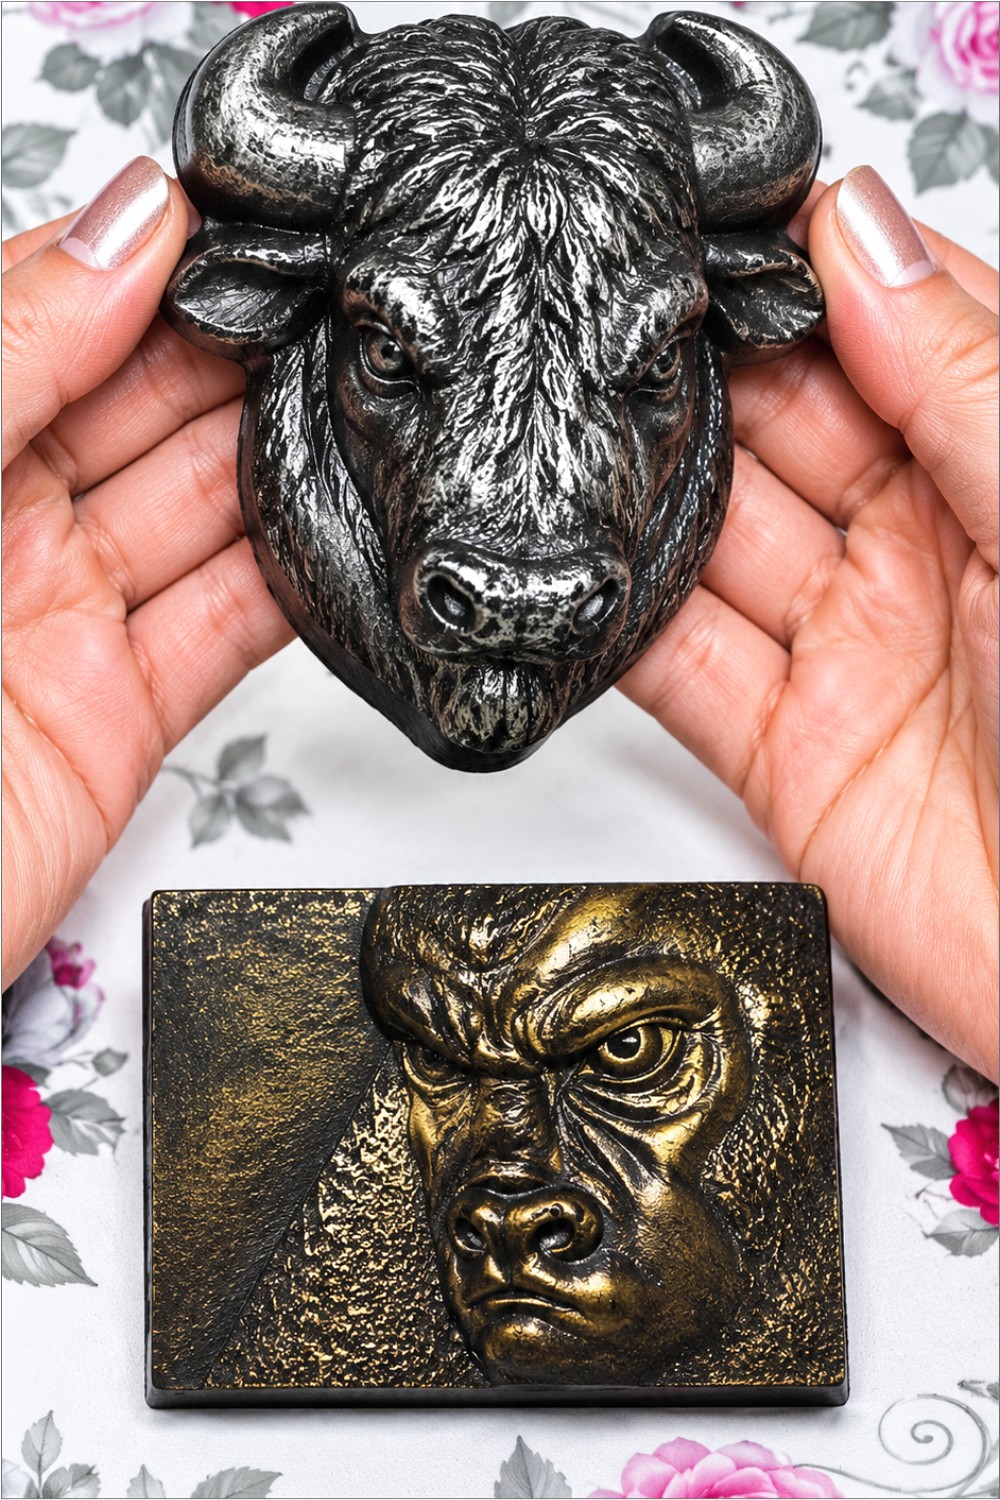
You’ve created your own custom plaster of Paris figurines from start to finish! This project is wonderfully flexible: you can experiment with flat, three-dimensional, or even hollow molds, and paint each creation in your own style. The steps—measuring, mixing, pouring, demolding, priming, and painting—are simple yet rewarding. With a little care and creativity, you’ll produce decorations, keepsakes, or unique handmade gifts that last for years.
Leave a Reply