
Learn how to craft an origami rose in bloom with this step-by-step guide by utilizing folding, preparing, and cutting paper techniques.
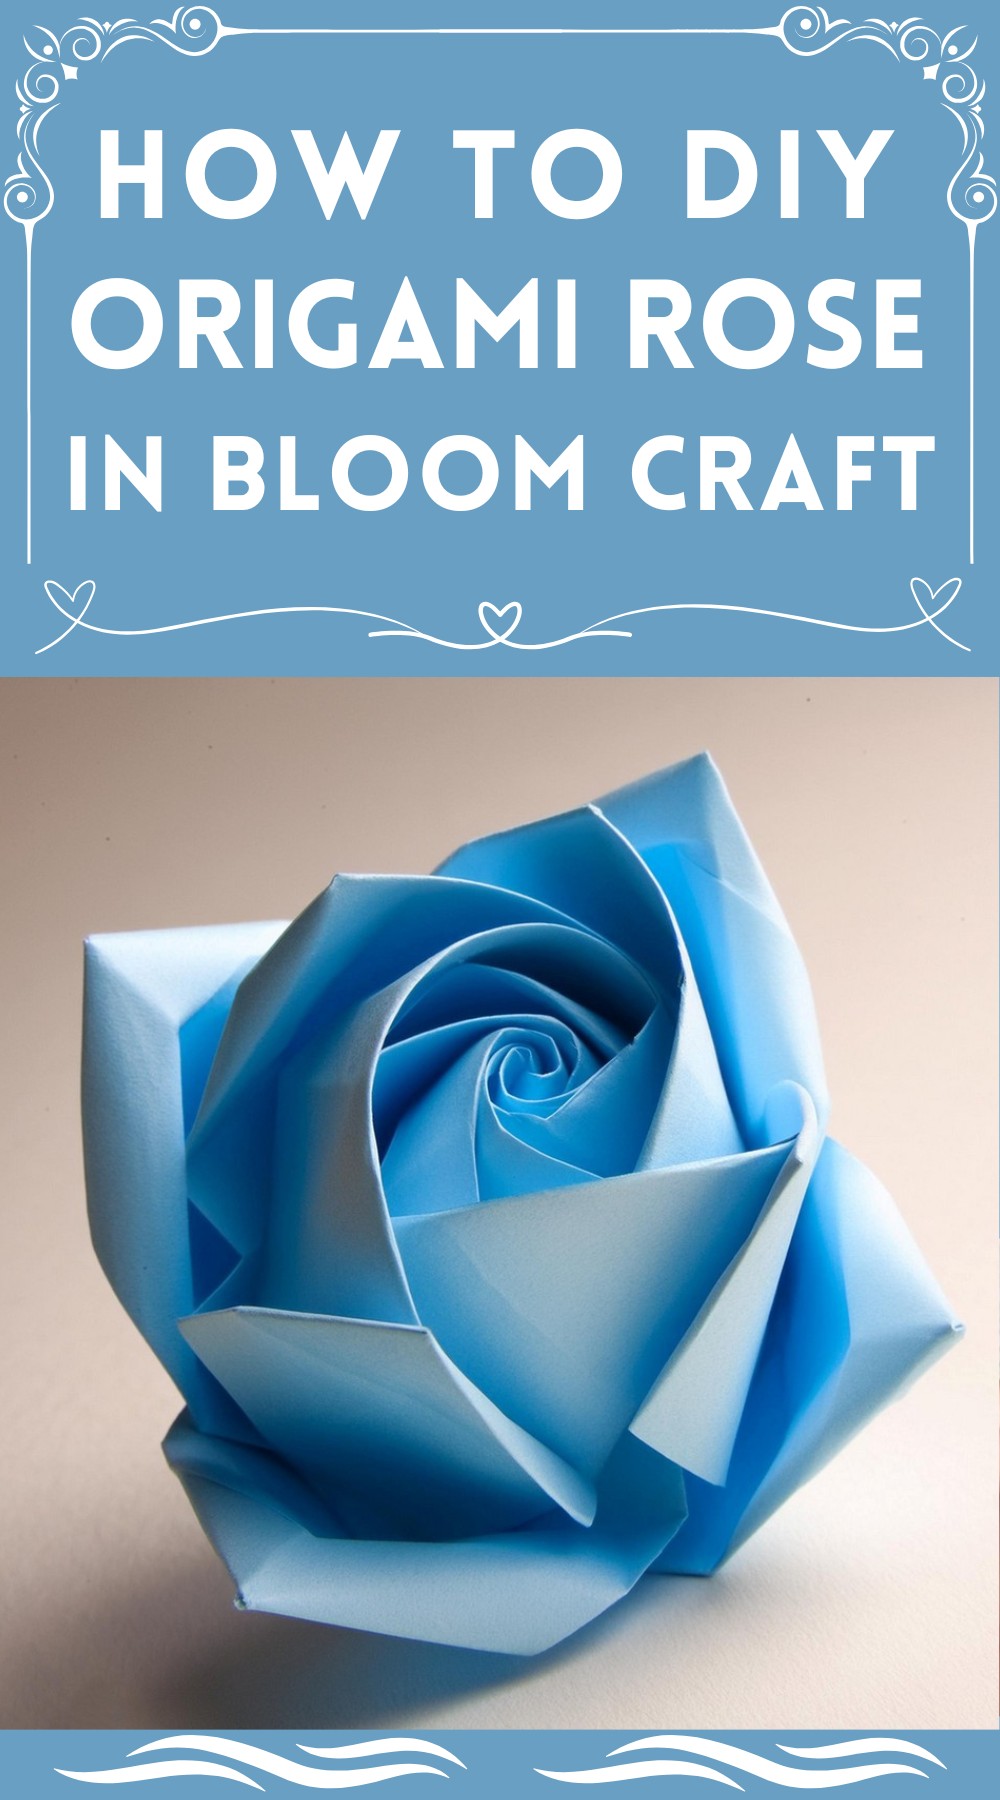
Origami Rose In Bloom
Make a special rose for someone you care about, one that won’t ever wilt or fade away, by crafting it yourself. We have a simple guide for you to follow below. As you carefully make each part of the flower, you’re not just working with paper; you’re showing how much you love and care about them. With each fold and crease, you’ll turn ordinary paper into a beautiful origami rose. This isn’t just a paper flower; it’s a lasting symbol of beauty and affection.
Materials and Tools:
- Square Paper: Your choice of color, ideally 20 cm x 20 cm.
- A pair of Tweezers.
- Pen or Pencil: This is needed for marking reference lines and curling petals
Rose Colors and their Meanings:
- Red: Love and Romance
- Deep Pink: Gratitude
- Regular Pink: Happiness
- Light Pink: Sympathy or Condolences
- White: Innocence and Purity
- Yellow: Friendship and Caring
- Lavender: Enchantment or Love at First Sight
- Orange: Desire or Passion
- Blue: Mystique and Achieving the Impossible
Step-by-Step Instructions:
Preparing the Base
You start by folding the paper in half and then unfolding it. Upon doing so, the edge of the paper must be folded to be in line with the crease from the previous step. This should be done on all sides to form a definitive square out of creases.
Further Folding
Align the paper with the outermost creases and fold along the lines. This process is to be repeated on all sides. The paper will look like a smaller square within the big square with four off-corner triangles hanging out.
Diagonal folding
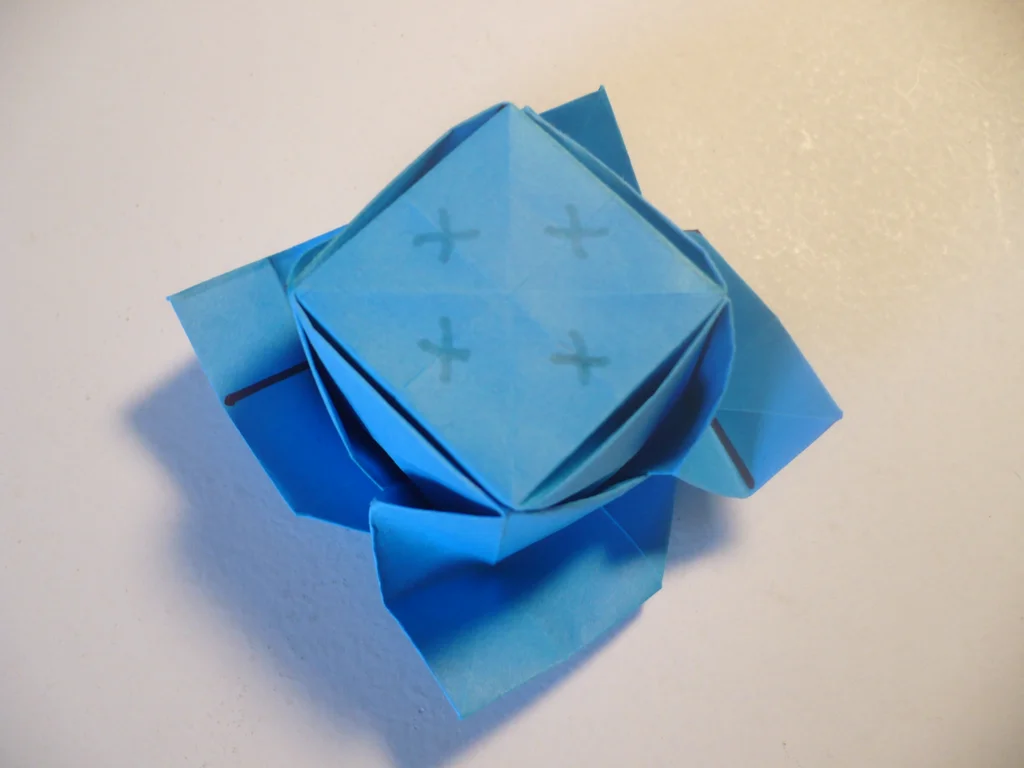
Fold the square diagonally into a smaller square with four triangles remaining on the outside of the square. Now, fold the remaining triangles and flip the shape over.
Twisting into Bloom!
Hold one corner and make a valley fold. Then, tweak the paper to make another valley fold nearby. Reverse the folds to start shaping the petals.
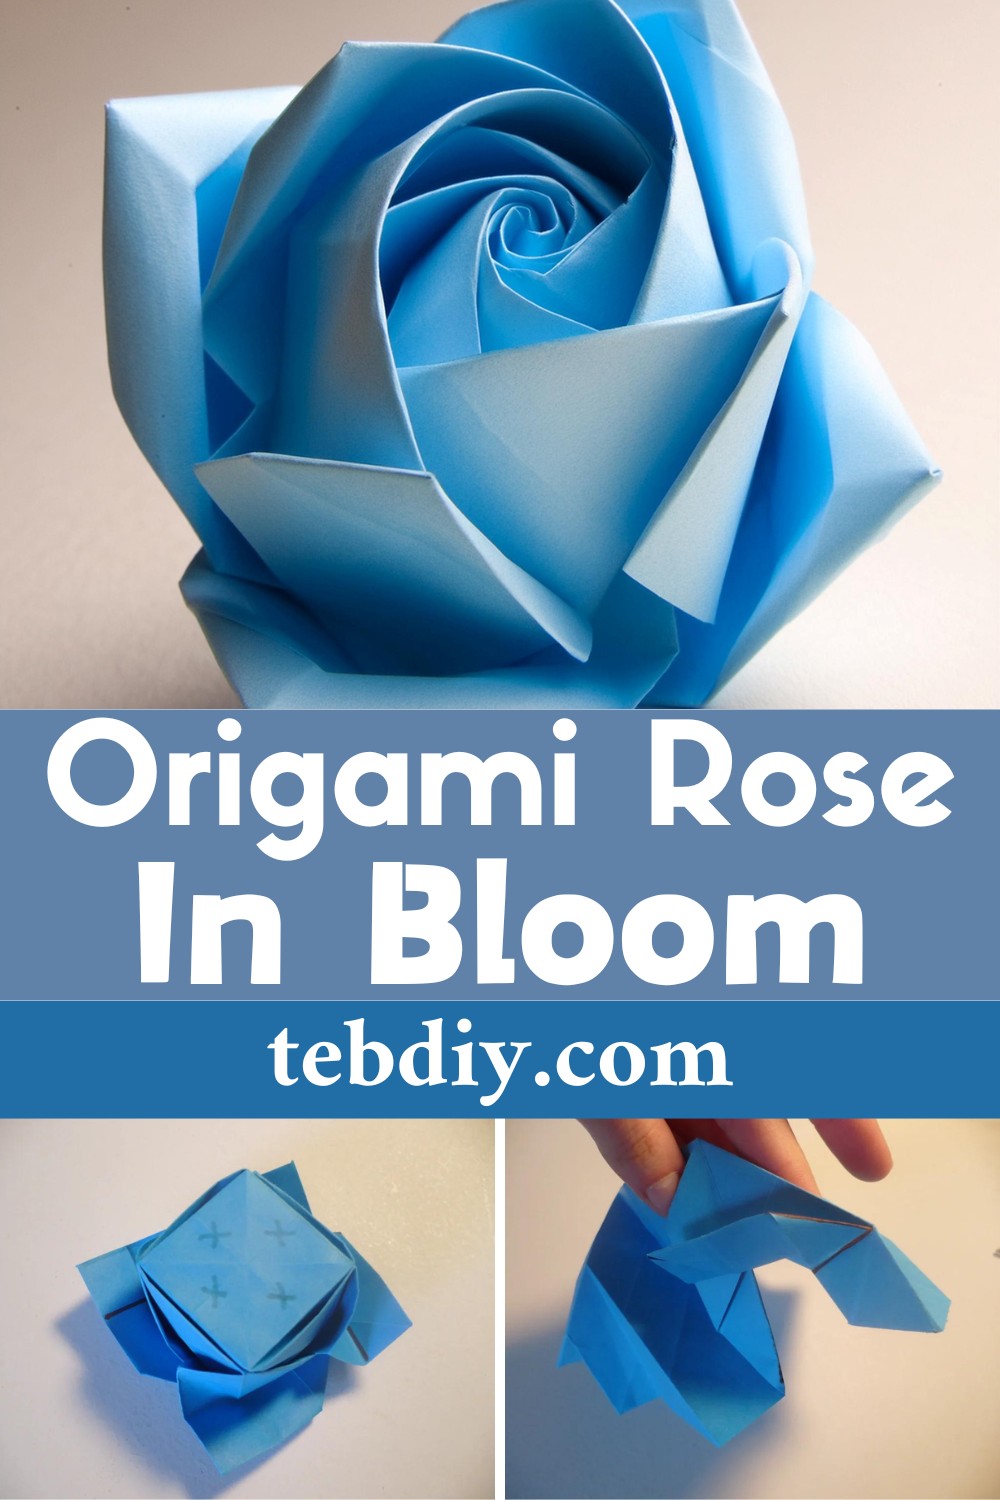
5. A Stylish Flip and More Petals
Here comes one of the key steps. With reference to a predefined line of demarcation, fold the paper upwards to form the petal. Repeat this process for 3 more times to create 4 petals in total.
Inner Petals
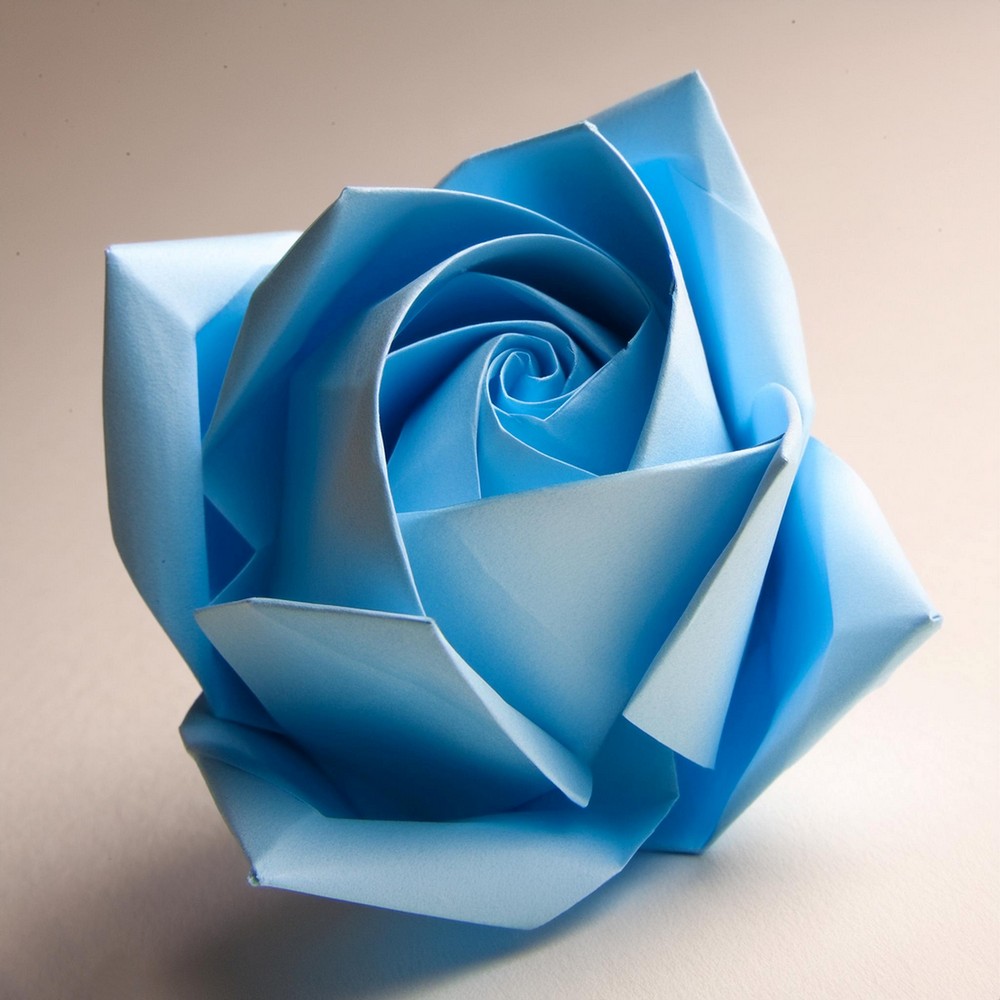
Now, it’s time to construct the inner petals. Gently press inwards and with the help of your fingers, twist the paper in a clockwise direction carefully. Maintain the gentle press hold and twist the center further to enhance the depth of the bloom.
Curling the Petals
With a pencil, wrap the petals around and hold them for about 30 seconds to get the curls. Continue to do the same for the inner petals as well. The end product should make your origami rose bloom beautifully!
Personalization Option:
For black roses and a mixture of white and red roses, tread cautiously due to their association with less joyful sentiments.
How Conditioning Can Help You In Paper Crafts Making?
Conditioning the paper is an essential yet often overlooked step in paper crafts, serving as a preparatory measure to ensure the material is more malleable and resilient against tears or creases that could mar the outcome. This process involves gently working the paper by massaging or flexing it to soften the fibers, making intricate folds more manageable and the overall crafting experience smoother.
Particularly in the project of creating an origami rose, where precision and delicacy in folding are paramount for achieving the bloom’s intricate beauty, conditioning can greatly enhance the ease of folding. By preparing the paper through conditioning, crafters will find it simpler to execute the nuanced folds and curves required, ultimately leading to a more refined and elegant rose, embodying the delicate balance between strength and grace in paper crafts.
Leave a Reply