
Glow with style by making a simple and beautiful white crochet clutch bag using this free pattern, perfect for daily essentials and elevating any outfit.
There is something timeless and elegant about a handmade white clutch bag. A Free Crochet White Clutch Bag Pattern gives you the chance to create a stunning accessory that is both stylish and practical. This delicate yet sturdy bag is perfect for carrying small essentials like your phone, keys, or makeup, making it ideal for special occasions, casual outings, or even as a gift for someone special. The beauty of its pure white color adds a sophisticated touch, easily matching any outfit, whether formal or casual.
Free Pattern for an Elegant Crochet White Clutch Bag
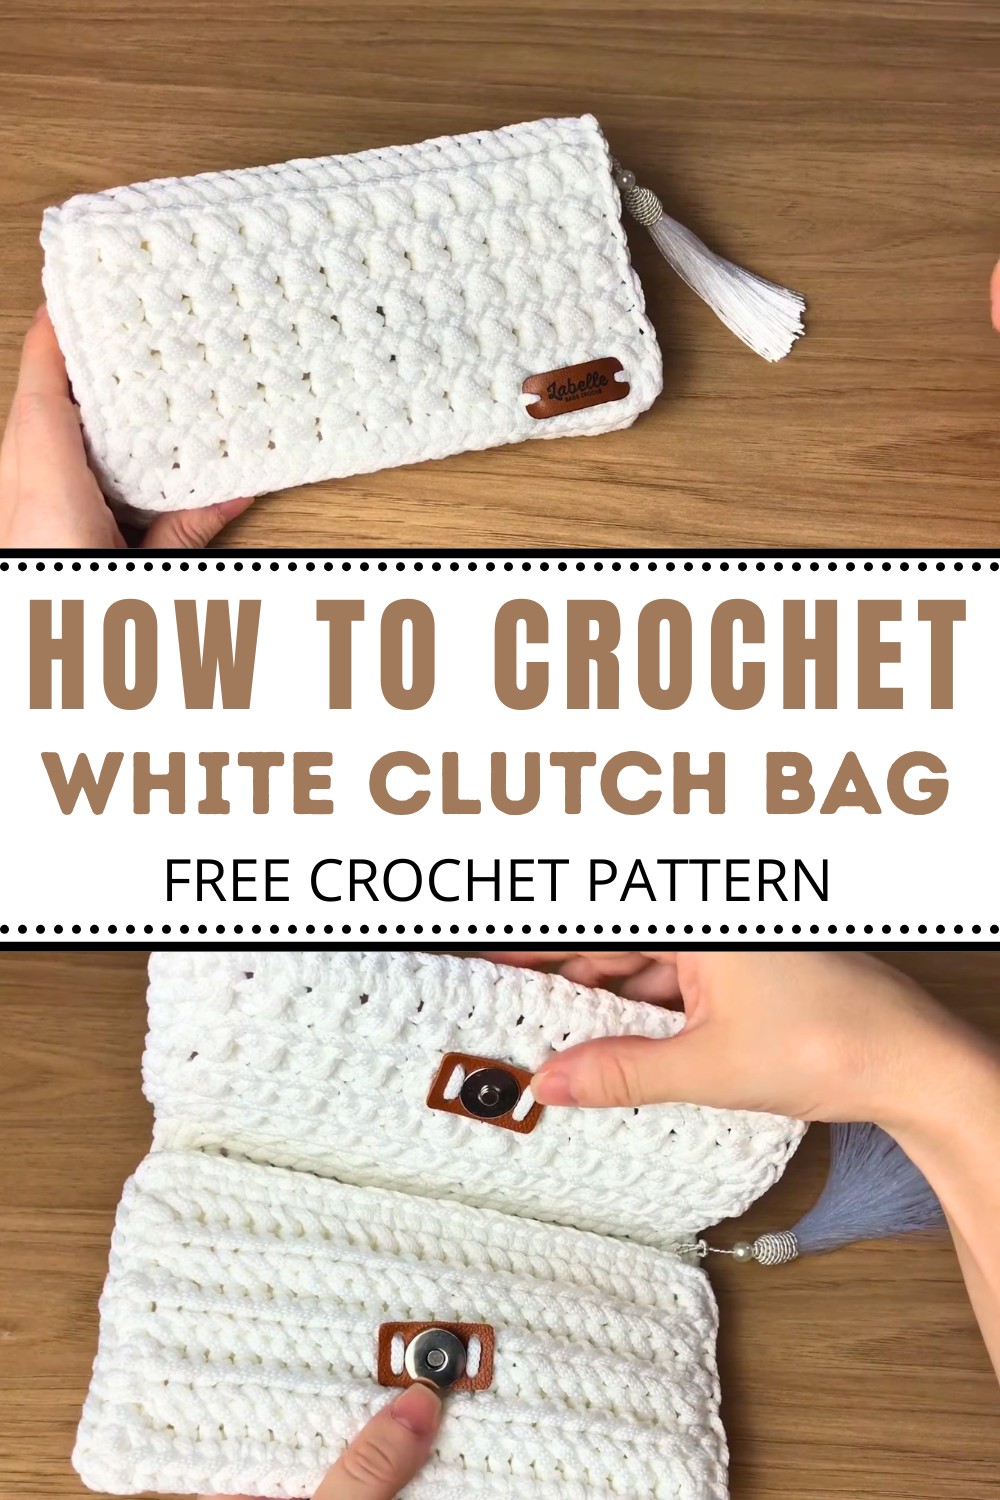
The delicate crochet design creates a textured look that feels modern yet classic. Its compact and lightweight design makes it easy to carry, while the intricate stitching adds a touch of artistry that stands out. Making this clutch involves simple crochet techniques, so it’s a great project for beginners as well as experienced crocheters. With just some yarn, a hook, and a little time, you can transform basic materials into a beautiful and functional accessory that’s truly one-of-a-kind.

Easy Textured Clutch Bag
Skill Level
Confident Beginner to Intermediate
Some experience with crochet construction and textured stitches suggested.
Materials
- Yarn:
- Polyester or Poly-blend Yarn, medium to bulky weight (sample uses Fisher’s Poly Yarn — soft and strong)
- Sample color: Off-white (~1 skein; <100g)
- Hook:
- 5.0 mm (US H-8)
- Notions:
- Scissors
- Yarn needle (for weaving ends)
- Stitch markers (helpful)
- Magnetic snap closure (optional)
- Bag label, thin chain (optional, for finishing touches)
Gauge
- Chain of 25 (foundation): ~17 cm / ~6.7 inches (adjust yarn/hook for similar width)
- Stitch gauge: Not critical (texture and fabric density matter more).
Finished Size
- Approx. 17 cm (6.7″) wide x 12–14 cm (5–5.5″) tall when folded
- Easily adjusted by varying foundation chain (width) or row count (height)
- Spacious enough for phone, small wallet, and essentials
Special Techniques
- Textured Single Crochet Variation: Insert hook through vertical loop of previous stitch for a raised, woven look.
- Slip Stitch & Crossed Stitch Flap: Alternating slip stitch rows with crossed half-double/single crochet.
- Side Seam with Single Crochet: Seam sides together for a firm structure.
- Optional magnetic snap: For a professional finish.
- Attaching chain strap: For a chic, cross-body or shoulder effect.
Pattern
1. Foundation & Base Rows
- Foundation Chain:
- Make a slipknot, ch 25 (or to 17 cm; adjust for desired width).
- Row 1:
- Work into back bump/loop of the chain for a neater bottom edge.
- Skip first ch, insert hook into next ch back loop, sc, but do not finish as normal.
- For each stitch:
- Insert hook through the vertical loop formed on the side of the previous stitch, then into the next chain’s back bump, yo, pull up a loop (3 loops on hook), yo, pull through all 3 loops.
- Repeat for entire row, ending with all stitches worked and a row of textured single crochet.
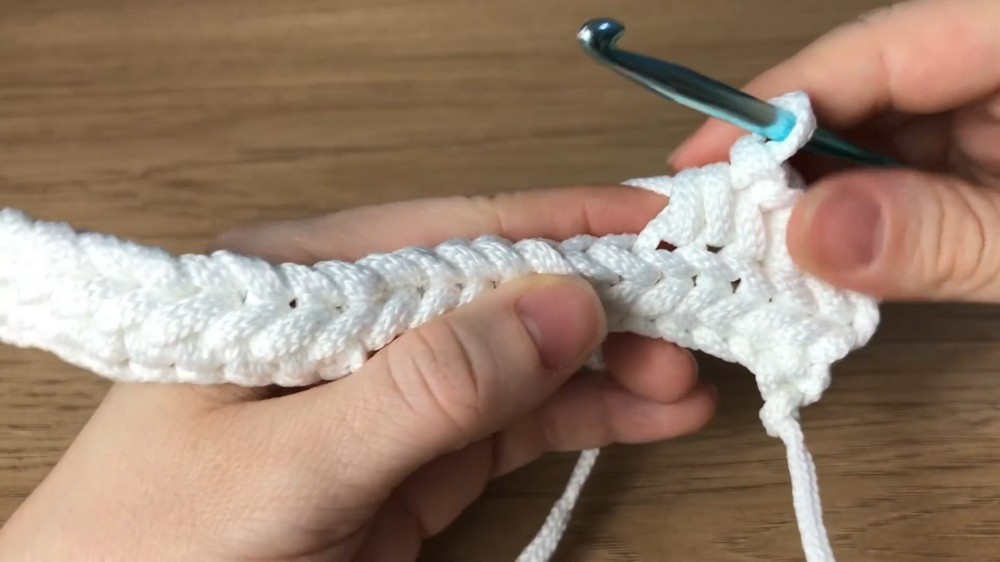
- Rows 2–19 (Bag Body):
- Ch 1, turn.
- Work textured sc as above:
- Insert hook through the “last loop formed” from previous stitch (vertical bar on work facing you), pick up only this front loop, yo, pull up a loop, (3 loops on hook), yo, pull through all 3.
- Continue for 19 rows (adjust if a different height is desired).
2. Bag Flap (Textured Flap with Slip Stitch Rows)
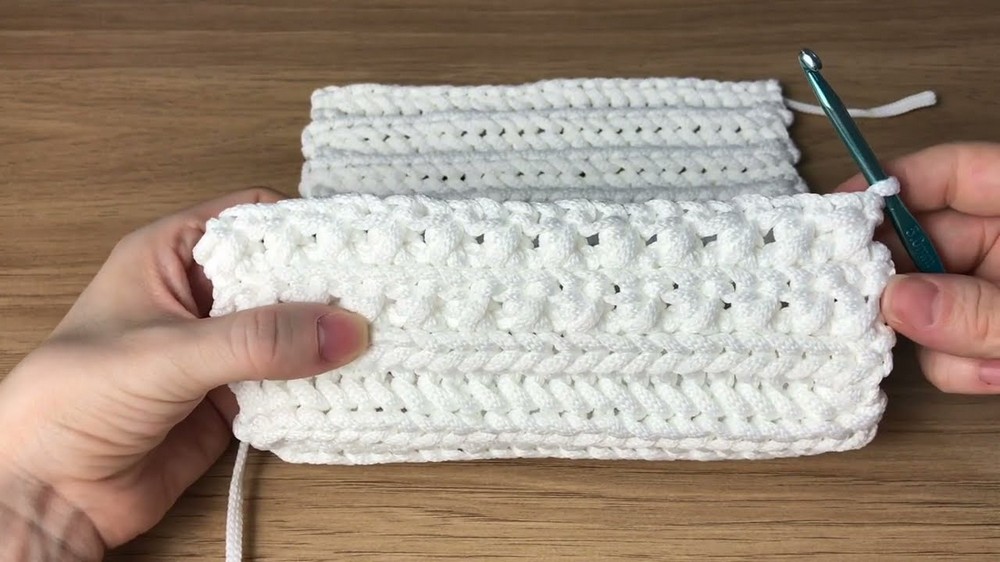
- Row 20 (Slip Stitch Row):
- Ch 1, turn.
- Into only the front loop of each stitch: Work a slip stitch (sl st) in every st across.
- Row 21 (Crossed Flap Row):
- Ch 2, turn.
- Skip first stitch, work in both loops:
- hdc (half double crochet) in next stitch.
- Go back to skipped stitch, work sc (single crochet) in both loops of the skipped stitch (creates a cross).
- Repeat: Skip 1, hdc in next, go back and sc in skipped st; to end of row.
- Row 22 (Slip Stitch Row):
- Ch 1, turn.
- Sl st in front loop only across.
- Row 23:
- Repeat crossed flap row as above.
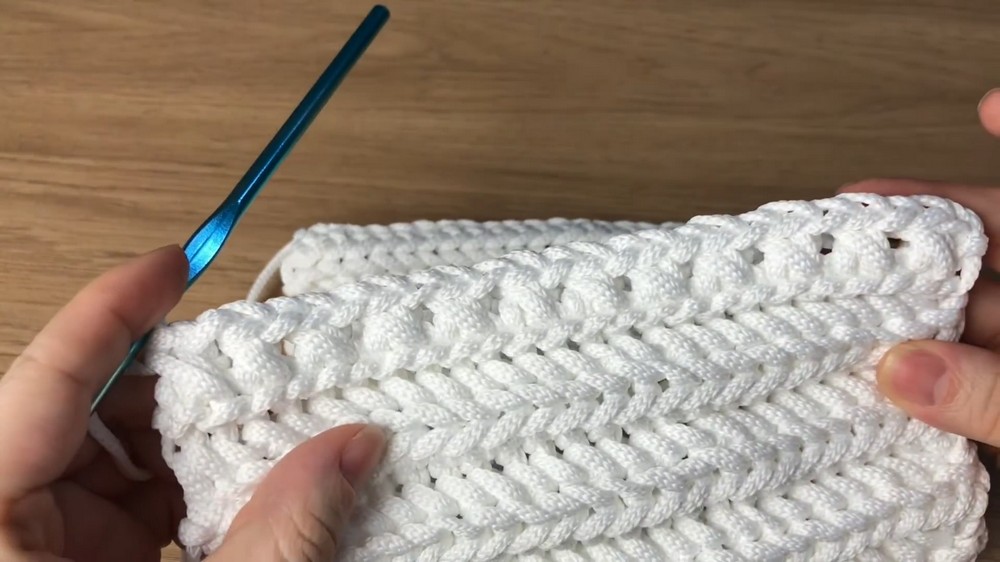
- Continue to alternate slip stitch and crossed-flap rows for a total of 5 rows each in flap section (10 rows total flap).
3. Edging
- Edging Around Entire Piece:
- Ch 1, begin working evenly around all four sides.
- On sides: Work 1 sc in the end of each row, and 2 sc in each corner.
- On top and bottom edges: 1 sc in each stitch.
- Work all the way around for a neat finish.
- Join with sl st; fasten off and weave in ends.
4. Bag Construction
- Fold Piece:
- Fold bottom up to desired clutch height, leaving flap section free at top.
- Turn Wrong Side Out:
- Seam sides on WS for an invisible seam.
- Single Crochet Seam:
- With new strand of yarn, insert hook in side edge.
- Starting at bottom, work single crochet through one loop of each side (front & back); continue evenly up sides, then finish off and weave in ends.
- Repeat for both sides.
- Turn Bag Right Side Out when seams are finished.

5. Finishing Touches
- Closure:
- Attach a magnetic snap to center of the front panel and flap, following manufacturer’s instructions.
- Weave in all loose ends
- Optional:
- Add a label or small tassel/ornament.
- Attach a thin metal chain or crochet strap to inside corners of flap for a crossbody or shoulder bag style.

Tips & Customizations
- Adjust size: Change the foundation chain and row count to make a larger or smaller clutch.
- Colors: Use contrasting yarn for the flap, stripes in the body, or a variegated yarn for extra interest.
- Fastener: You may use a button and loop, snap, or leave it open for a minimalist look.
- Fabric lining: For a luxury finish, sew a simple lining to the inner bag before joining sides.
- Stiffen: Use interfacing or cardboard inside before seaming for a more structured, boxy clutch.
Conclusion & Remarks
This clutch bag works up quickly with a unique, sophisticated texture. The special single crochet creates a subtle, woven look, while the alternating slip stitch and crossed rows give the flap a beautifully tailored finish. This piece is especially suitable for gifts, festive events, or as a versatile accessory for any season. Add a chain or leather strap, ornament your closure, and show off your creation.
Leave a Reply