
Fill your home with cheerful vibes by using this Free Crochet Sunflower With Pot Pattern that keeps your space sunny & bright all year long.
Bright petals sitting in a sturdy pot always light up any corner with sunny cheer. Made with easy steps, this Crochet Sunflower With Pot pattern adds a happy pop of yellow to shelves and tables, never needing water or sunlight to look its best. The sunflower stands tall and proud, becoming a wonderful choice for gifts or simply bringing joy into your own space.
Crochet Sunflower With Pot Pattern Free – Easy and Fun
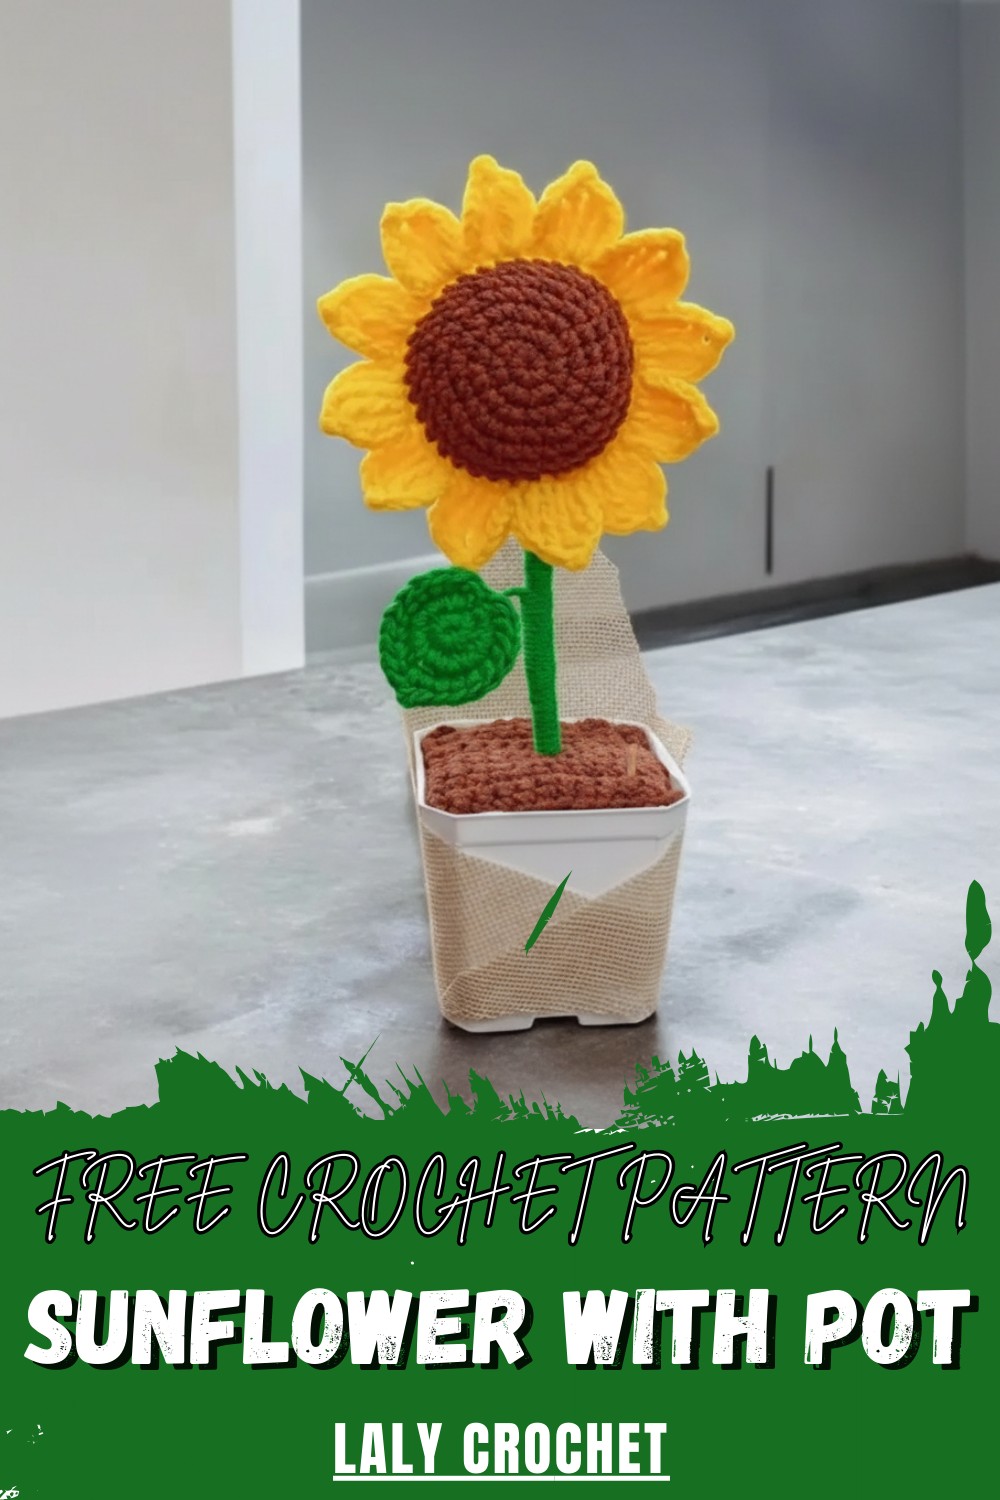
Even beginners enjoy how friendly and simple the pattern is, making it easy to follow along and finish with a smile. With a sunflower that stays forever fresh, every home feels warmer and more welcoming. This special flower, rooted in its little pot, shares brightness all year and brings friendly warmth each time you see its big golden face.

Crochet Sunflower in a Pot – Step-by-Step Pattern
Materials
- Yarn:
- Yellow (petals)
- Brown (center)
- Green (back, leaf, stem wrap)
- Hook: 2.5 mm crochet hook
- Tapestry needle
- Rod/stick: 15 cm (stem)
- Wire: 15 cm (for leaf structure)
- Styrofoam (Unicel): To anchor stem in pot
- Plastic flowerpot: Square or round
- Small pebbles or stones: For weight
- Hot or cold silicone glue
- Scissors
- Jute, card, mini toothpick, stickers (optional): For decoration
Key Abbreviations (US Terms)
- MR: Magic Ring
- sc: Single crochet
- inc: Increase (2 sc in same stitch)
- sl st: Slip stitch
- ch: Chain
- hdc: Half double crochet
- dc: Double crochet
- tr: Treble crochet
- picot: (see Special Notes)
Special Notes
- For petals: “double crochet” = dc (yarn over 2 times for “double treble,” yarn over 3 times for “triple treble”).
- Magic Ring (MR) is used to start rounds.
- The soil base is worked in rows; adjust size to fit your chosen pot.
- Take care when using hot glue; cold silicone is preferred for certain assembly steps.
Pattern Instructions
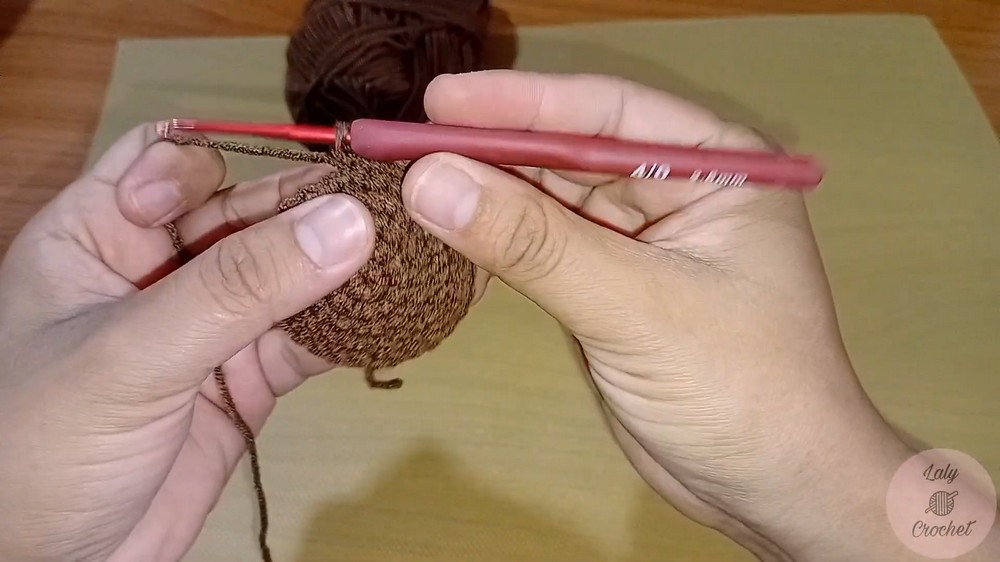
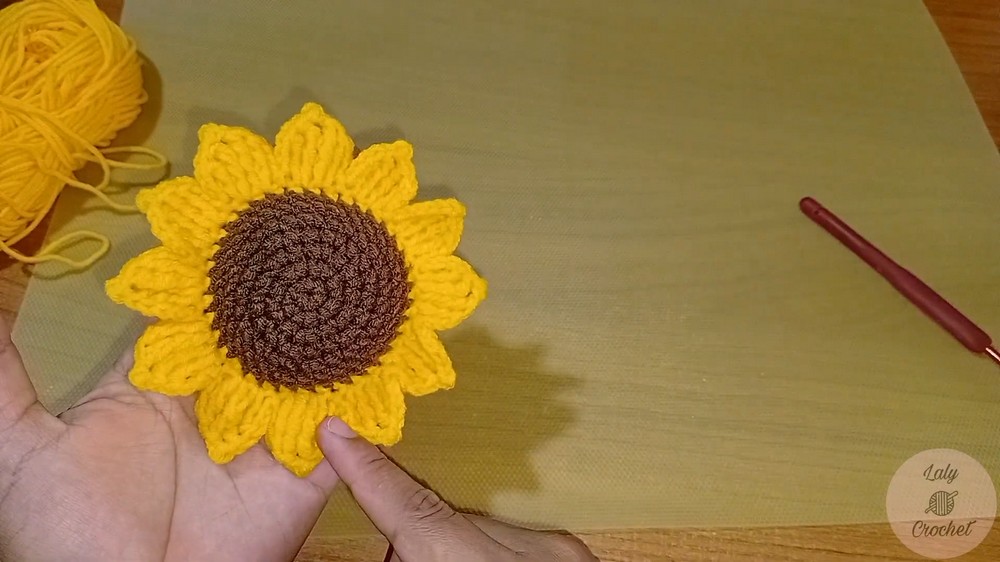
Sunflower Center (Brown)
With brown yarn:
- R1: MR, 6 sc in ring. [6]
- R2: 6 inc (2 sc in each st). [12]
- R3: (sc, inc) x6 [18]
- R4: (2 sc, inc) x5, sc in last. [24]
- R5: (3 sc, inc) x6 [30]
- R6: (4 sc, inc) x5, 2 sc in last. [36]
- Begin round with 2 sc, inc. Then (4 sc, inc) x5 and 2 sc.
- R7: 36 sc (work 1 sc in each st). [36]
- Fasten off.
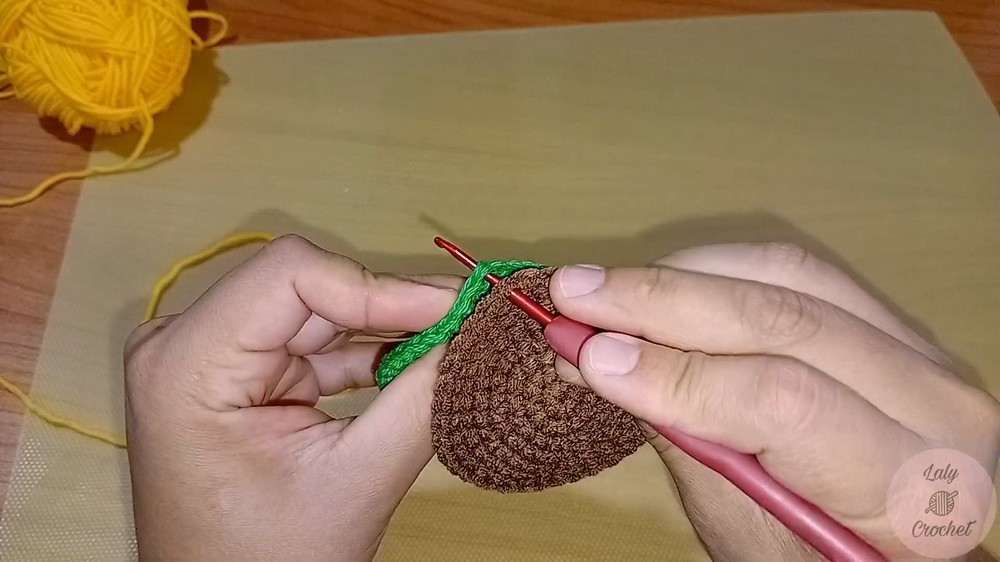
Sunflower Back (Green)
With green yarn:
- Repeat steps R1–R6 of the Brown Center.
- Do NOT work Round 7; simply finish after R6.
- Fasten off.
Join Center & Back
- Place the center and back together, aligning stitches.
- Use yellow yarn and sc through both layers to join, leaving a gap for the stem.
- Insert filling/stuffing as you go.
- Sew shut after inserting stem.
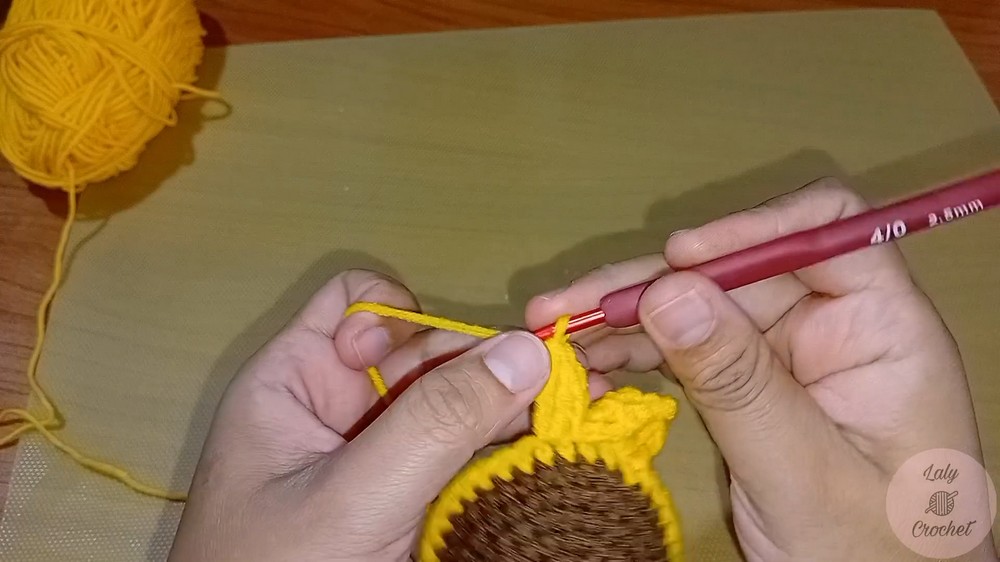
Sunflower Petals (Yellow – Around Center)
Work petals directly around joined center/back:
For each petal (total 12 petals):
- Ch 3.
- In next st, work:
- Double treble crochet (dtr): Yarn over 3 times, pull through as per treble.
- In same st, triple treble crochet (trtr): Yarn over 4 times, pull through.
- Picot stitch: Ch 2, sl st in first ch.
- Next st: Work trtr.
- Same st: dtr.
- Ch 3, sl st in next st to anchor petal.

Repeat for each petal around center.
Fasten off, weave in ends.
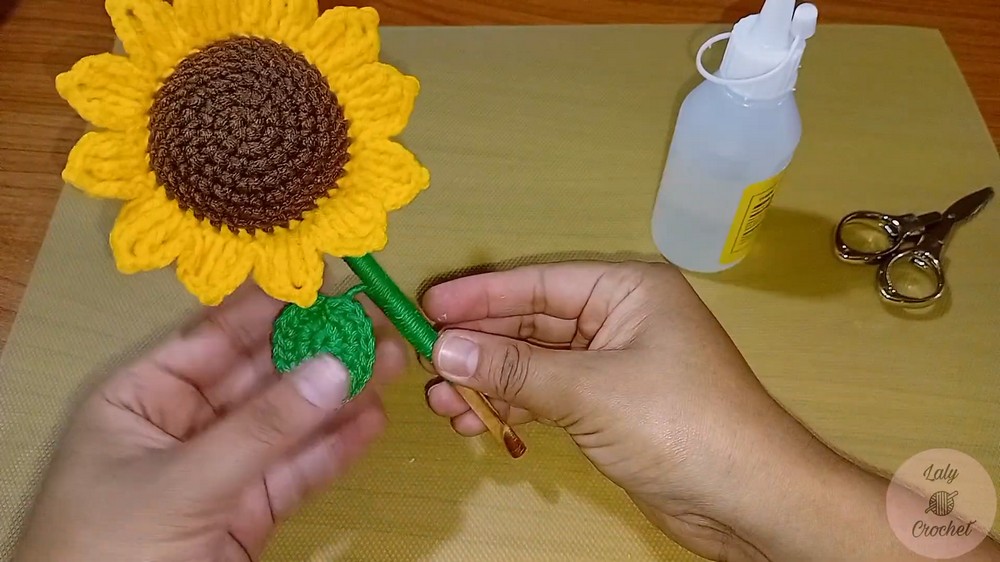
Sunflower Leaf (Green, with Wire)
With green yarn and wire:
- MR, 9 sc in ring. [9]
- Sl st to join.
- Place wire between hook and yarn.
- Ch 1.
- In same st, 2 sc (inc).
- Work 4 inc total, spread evenly.
- Hdc in next st, ch 1, hdc again in same st.
- Work 4 inc total, spread evenly on opposite side.
- Sl st to finish round.
- Ch 1; sc around (working over wire).
- Where you previously worked hdc, do another hdc and picot (ch 2, sl st in first ch).
- Continue sc around.
- Sl st to join.
- Fasten off, use yarn tail to wrap wire ends together.

Stem Assembly
- Wrap the 15 cm rod with green yarn.
- Attach leaf with wire to stem, secure with glue.
- Leave ~3 cm bare at bottom for inserting into pot.
Soil Base (Brown, For Pot)
Adjust to fit your pot (sample: square, 13 chains):
- Ch 13, turn.
- Row 1: Sc in 2nd ch from hook and each across. [12]
- Rows 2–12: Ch 1, turn, sc across. [12]
- Continue for number of rows to cover pot base.
- Fasten off, weave in ends.
Assembly
- Prepare Pot:
- Fill with stones for weight.
- Cut styrofoam to fit and place in pot.
- Add glue around the base.
- Insert Stem:
- Use scissors to pierce hole in soil base where stem will go.
- Apply cold silicone to stem.
- Insert stem through hole in soil and into styrofoam.
- Attach “Soil” Base:
- Position crocheted soil base over stones/styrofoam.
- Glue edges down securely.
- Use scissors to tuck edges neatly.
- Decorate:
- Add jute, card, or other decor as desired.
Pattern Correction
- When increasing, pay attention to placement to ensure a flat circle.
- When joining center and back, leave a gap for stem insertion.
- Wire for leaves should be worked in securely.
Tips
- For sharp petal points, keep picots tight.
- Adjust soil base size according to pot dimensions.
- Use cold silicone to avoid yarn sticking issues.
Conclusion
This crochet sunflower in a pot is a cheerful and practical project, ideal for gifting or brightening up any space. With detailed instructions for the flower, leaf, stem, and presentation, you can customize this sunflower with different colors, pot shapes, and accessories.
Leave a Reply