
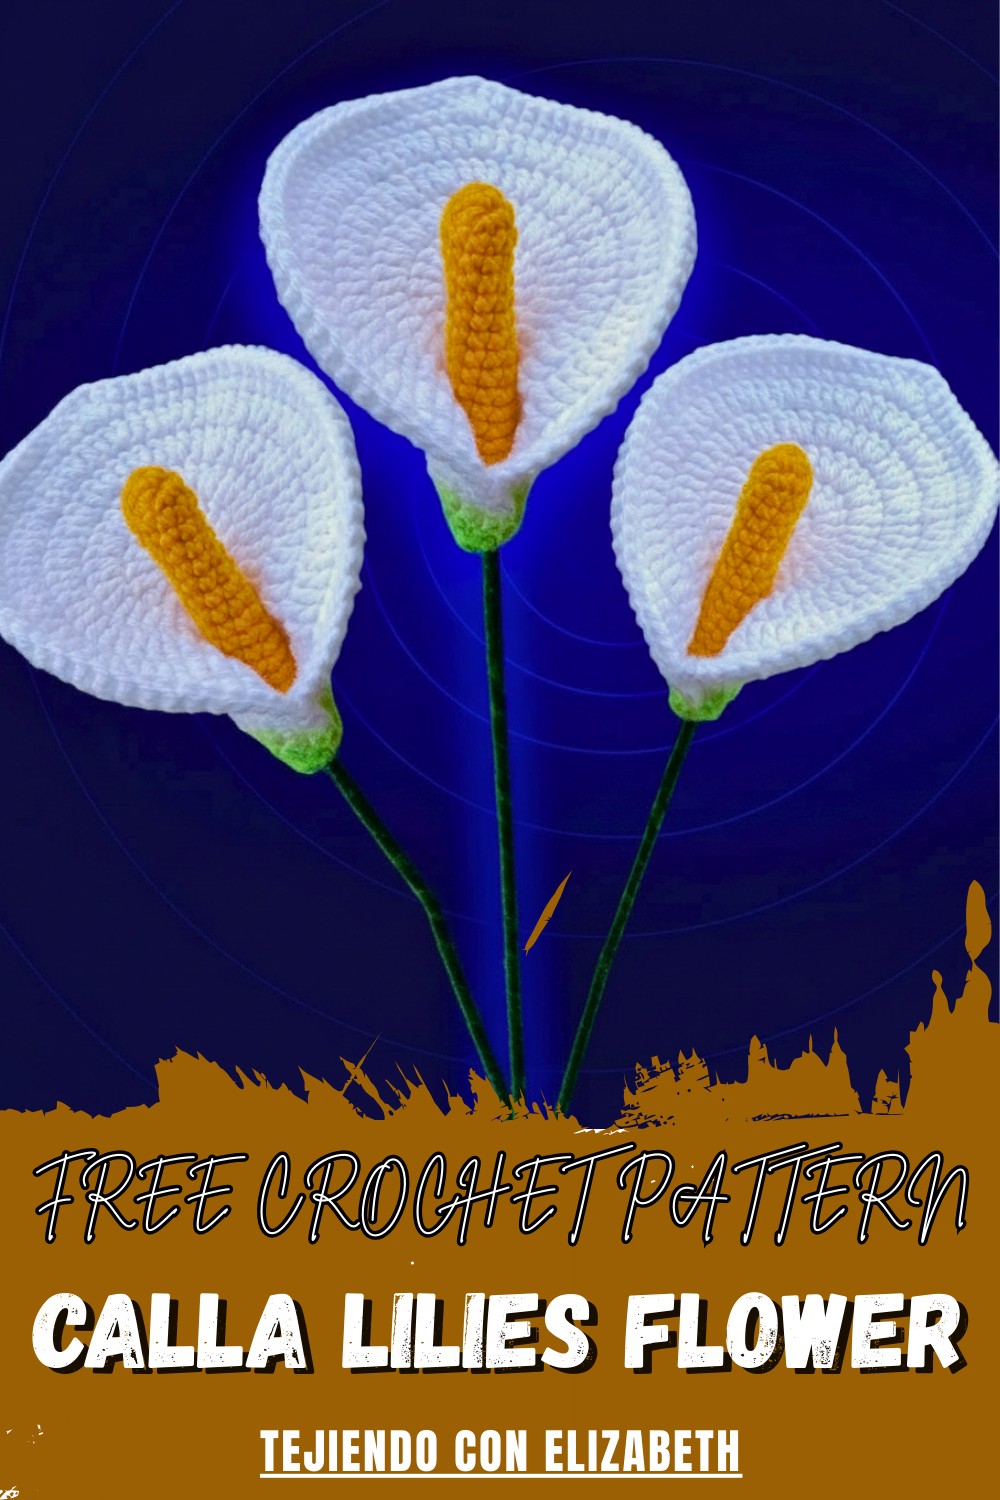
Add a soft touch of grace to any setting with Free Crochet Calla Lilies Flower Pattern that promises style and lovely beauty for all spaces.
Pure white bloom rises above a soft green stem standing tall and graceful like a little statue in any room. A big round flower catches every eye making people smile and feel calm. This pretty blossom can sit on a table in your home or become a bright decoration for a party and everyone will notice its gentle beauty. It stays fresh and clean year after year letting you enjoy a flower without worrying about water or sunlight.
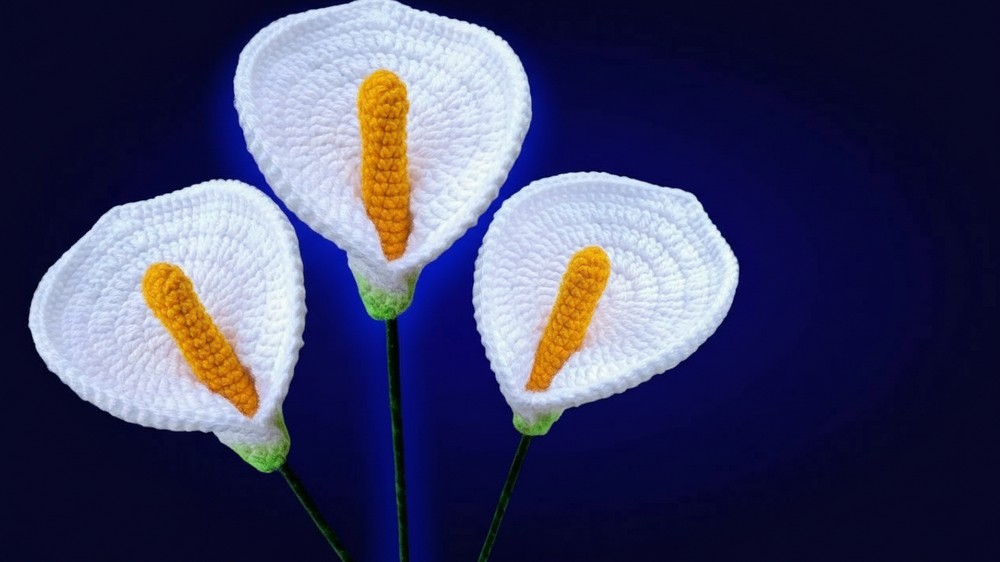
Stunning Calla Lily Free Crochet Pattern for Bouquets
The crochet calla lily flower pattern lets hands make each petal simple and beautiful so no special skill is needed. Place it in a vase for a gift or use it to decorate a wedding dress or hat because its style is always in fashion. People love this bloom because it reminds them of peace and happy days. Every single petal shows how much care went into the work making this flower special for you and your home.
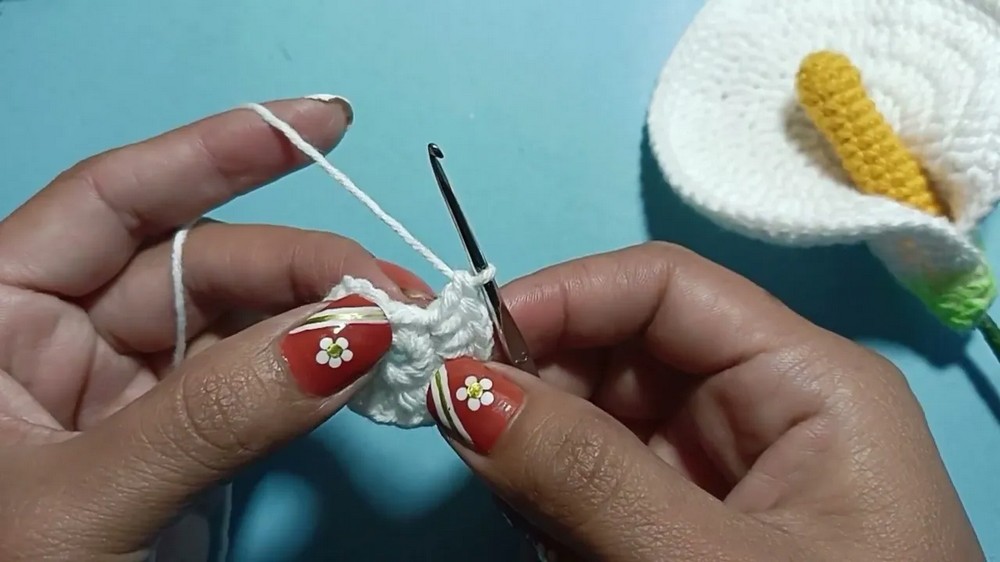
Crochet Calla Lily – Step-by-Step Pattern
Materials
- Yarn:
- White (main petal/flower)
- Yellow (spadix/center)
- Green (optional, for coloring or floral tape)
- Hook: 2.0 mm crochet hook
- Stick: Skewer stick, wire, or other slender stem (approx. 15 cm)
- Ribbon or floral tape: Green or color of your choice, for stem wrapping
- Crayon or fabric paint: Green, for petal shading (optional)
- Scissors
- Yarn needle
- Hot glue or cold silicone
Key Abbreviations (US Terms)
- ch: Chain
- sc: Single crochet
- inc: Increase (work 2 sc in same stitch)
- sl st: Slip stitch
- dc: Double crochet
- st(s): Stitch(es)
- MR: Magic ring
Special Notes
- Maintain a consistent, tight tension for a polished look.
- The flower is formed in the round and then manipulated/folded to shape.
- The spadix (center) is crocheted and glued onto the stick before final assembly.
Pattern Instructions
Flower (White)
Base
- Ch 5, sl st to first ch to form a ring.
- Ch 1, work 10 sc into the ring. [10]
- Sl st to first sc to join.
Round 1 (Increases)
- Ch 3 (counts as dc), dc in same st. (First dc inc)
- 2 dc in each st around. [20]
- Join with sl st to 3rd ch.
Round 2 (More Increases)
- Ch 3, dc in same st.
- 2 dc in each st around. [40]
- Join with sl st to 3rd ch.
Round 3 (Expanding Further)
- Ch 3, dc in same st (dc inc), dc in next st. Alternate around: (dc inc, dc) to end. [60]
- Join with sl st.
Round 4 (Shape Further)
- Ch 3, dc in same st (dc inc), dc in next 2 sts. Alternate: (dc inc, dc, dc) around. [80]
- Join with sl st.
Round 5 (Edge and Petal Tip)
- Ch 1, sc in next 40 sts. (Mark the 40th st: this is the base center for petal tip.)
- 3 dc in next st. (Creates petal point.)
- Sc in remaining 40 sts. [83: 80 sc, 3 dc at tip]
- Join with sl st.
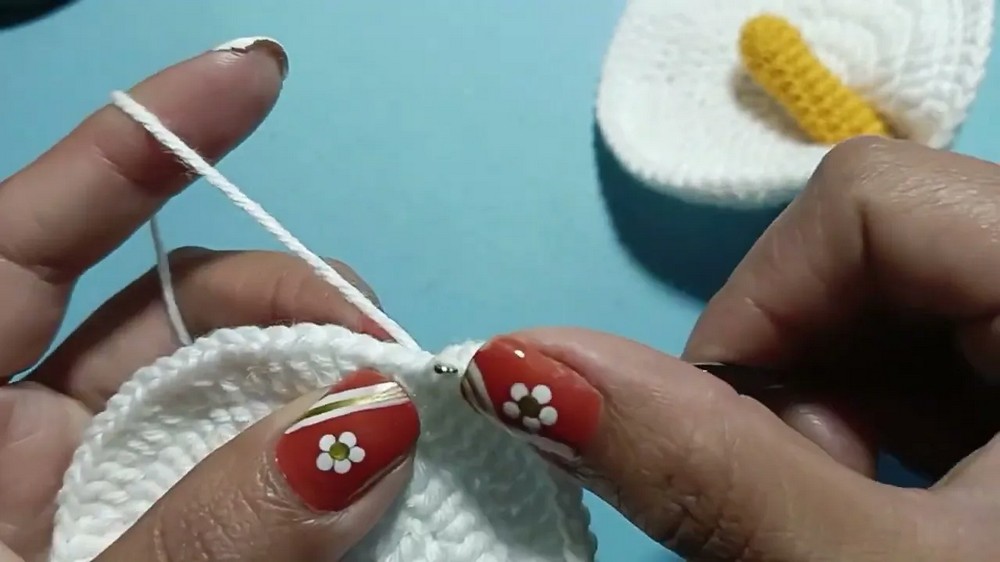
Round 6 (Final Edge)
- Sc in each st around (including over the 3 dc tip area). [83]
- Fasten off and weave in end.
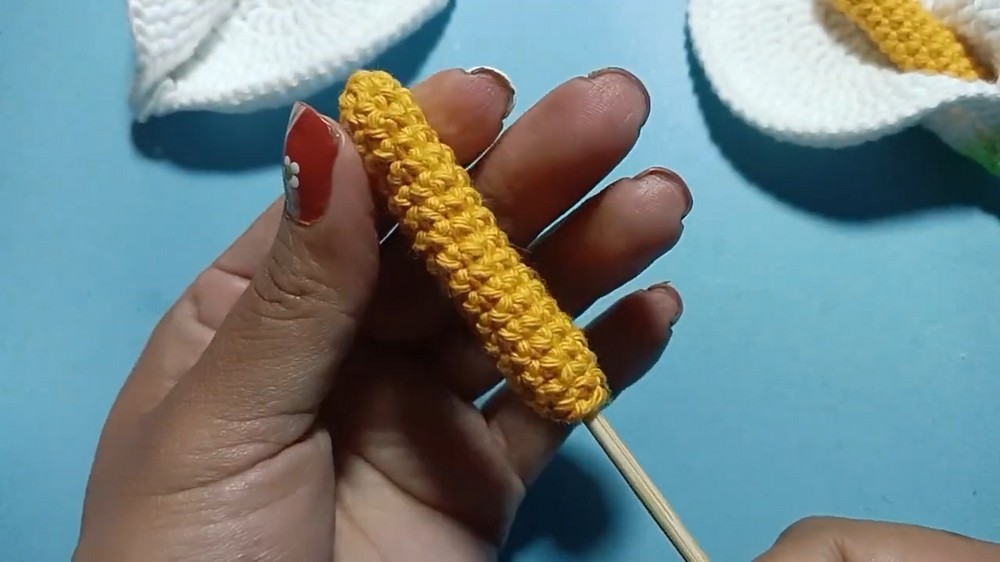
Spadix/Center (Yellow)
- MR, 6 sc into ring. [6]
- Do not join rounds. Begin spiral:
- Next round: (sc in st, inc in next st) around to end up with [9], add one extra sc if needed to reach 9.
- Sc in each st around for 13 more rounds (total 16 rounds including starter and increase).
- If needed, adjust to fit desired length (approx. 16 rounds, should match flower scale).
- Next round: (sc in next st, sc2tog) around until 6 sts remain.
- Final round: Sc in each st.
- Fasten off.
Assembly
Spadix on Stem
- Insert skewer stick or wire into spadix.
- Secure with hot/cold silicone glue; let set.
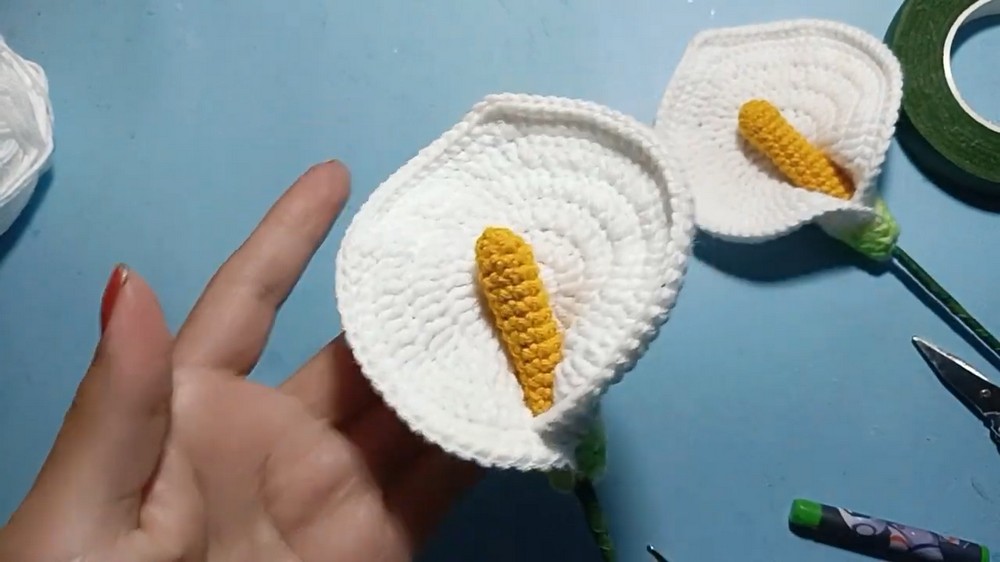
Shaping and Attaching Flower
- Add a bit more glue to top of spadix/stem and insert into flower base.
- Shape the flower by gently rolling/or wrapping around the spadix and stem—secure sides with hot glue as needed.
- Hold in place until glue sets.
Wrapping Stem
- Using green ribbon or floral tape, start at flower base and wrap down the length of the stick to the end.
- Secure with glue at both start and finish.
Coloring (Optional)
- Use a green crayon or fabric paint to shade lower inner edge of petal for realism.
Pattern Correction
- Counts between rounds should be 10 → 20 → 40 → 60 → 80 before shaping and final edging.
- Always align the petal tip (marked by 3 dc) centered with stem for authentic calyx shape.
Tips
- Use stitch markers for round counts and petal point placement.
- Adjust number of rounds or increases for a larger/smaller flower.
- Hide thread ends within the petal or along the stem during assembly for a neat finish.
Conclusion
This calla lily (calita) pattern provides a realistic and elegant crocheted flower, suitable for gift-making and decoration. With attention to detail in both shape and color, it’s both versatile and a delight to craft. The thoughtfully structured pattern ensures consistent and appealing results for crocheters of all skill levels.
Leave a Reply