
Jazz up your hairstyle with a free crochet scrunchies pattern that’s easy, versatile, and full of charm for creating stylish, handmade accessories.
Adding a pop of color to your hairstyle has never been so fun and simple. A free crochet scrunchie pattern is a fantastic way to create a stylish and practical accessory for everyday use. The scrunchie stands out with its soft, textured appearance that fits comfortably while giving your hair a trendy, polished look. From ponytails to buns, it holds your hair in place while adding a unique, personal touch to your style.
Free Crochet Scrunchie Pattern for a Cute Hair Tie
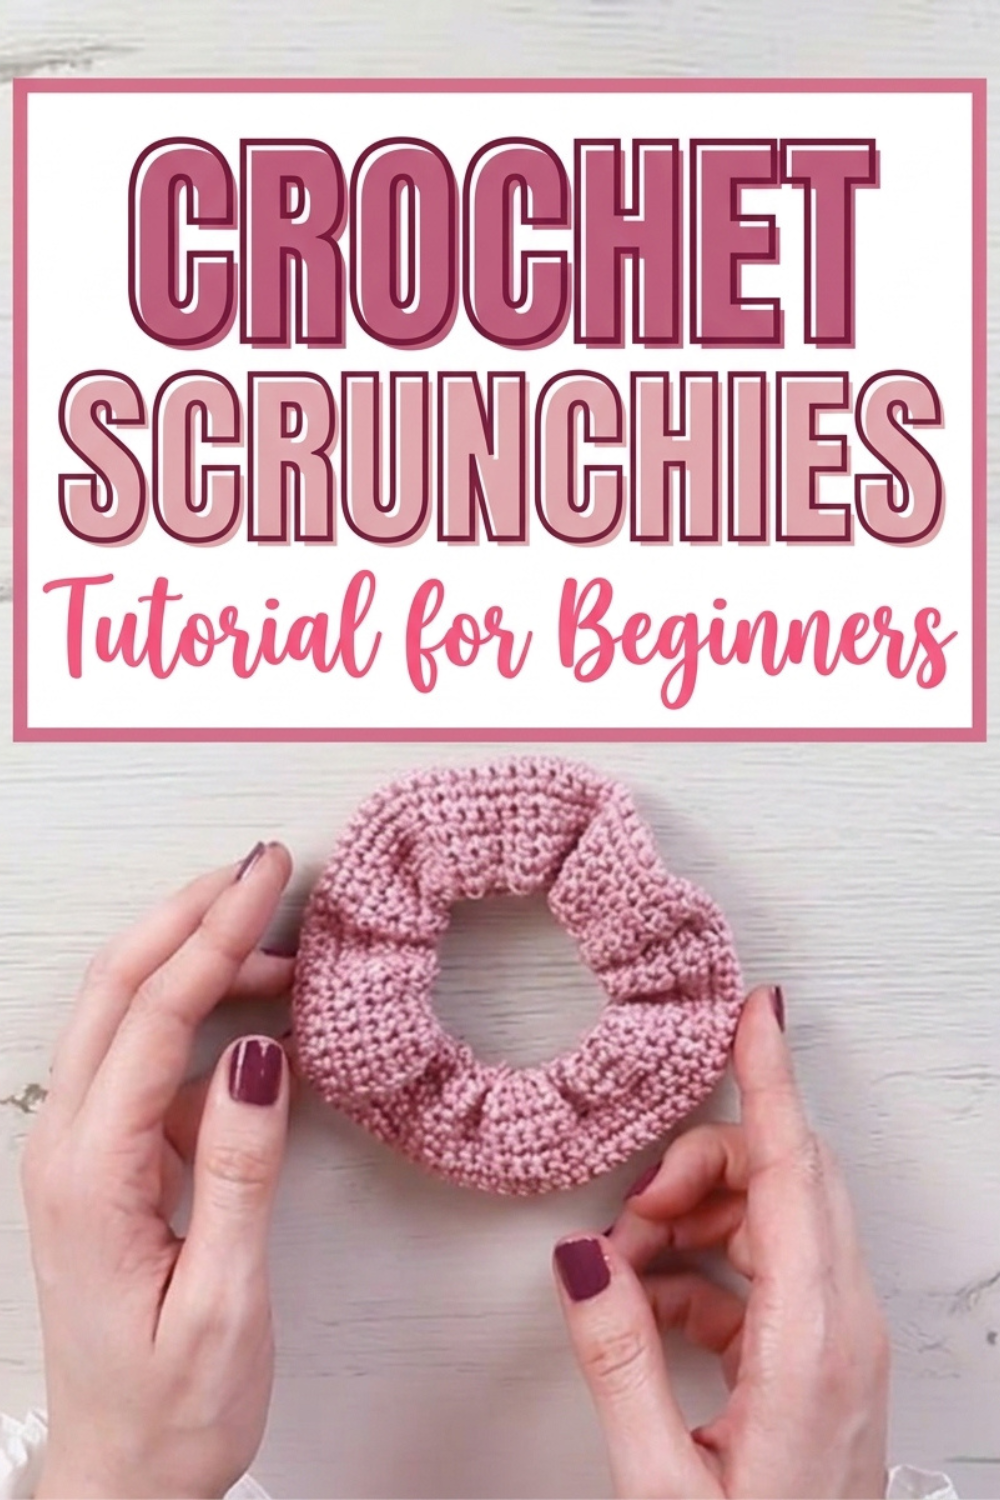
Crochet scrunchies can be made in endless colors and yarn types, making them perfect for matching any outfit or giving them as thoughtful, handmade gifts. Its lightweight design makes it gentle on your hair, preventing breakage or discomfort. Whether you’re dressing up or keeping it casual, this accessory adds charm and creativity to your look. With comforting textures and beautiful designs, it’s an easy project to try for a practical yet fashionable finish.
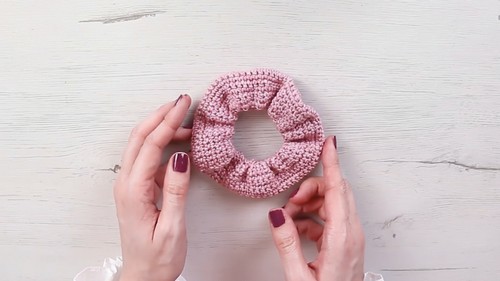
Crochet Scrunchie Pattern
Skill Level
Beginner – Basic knowledge of crochet stitches like chains and single crochets is required.
Finished Size
The scrunchie size will depend on the elasticity of the hair tie and the number of stitches. When laid flat, the scrunchie typically measures around 3–4 inches (8–10 cm) in diameter.
Materials
- Yarn:
- Muskat Yarn (recommended) in color 6 (Light Pink) or any other DK or 4-ply cotton yarn.
- Feel free to use soft acrylic yarn or similar cotton varieties for different textures.
- Hook: 4 mm crochet hook.
- Elastic Hair Tie: A standard-sized hair tie (smooth or covered hair ties work best).
- Scissors: For cutting the yarn.
- Yarn Needle: For weaving in ends.
Abbreviations (US Terminology)
- CH: Chain.
- SC: Single Crochet.
- HDC: Half Double Crochet.
- SL ST: Slip Stitch.
Special Techniques
- Crocheting Around an Elastic Hair Tie: This ensures the scrunchie is secure and elastic but can seem tricky at first. Gently stretch the hair tie as you crochet to evenly distribute the stitches.
- Creating Ruffles: Adding multiple stitches into a single loop (or stitch) helps achieve the gathered and ruffled effect.
Pattern Instructions
Step 1: Prepare Materials
- Get all materials ready: yarn, hook, scissors, yarn needle, and hair tie.
- Test the yarn’s compatibility with the hair tie by gently stretching the tie with the yarn wrapped around it.
Step 2: Crochet the Base Round
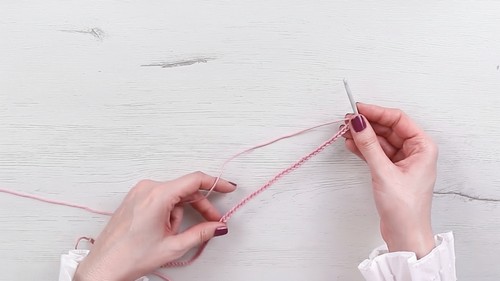
- Make a slip knot on your 4 mm hook.
- Insert the hook into the elastic hair tie and secure the slip knot around the hair tie.
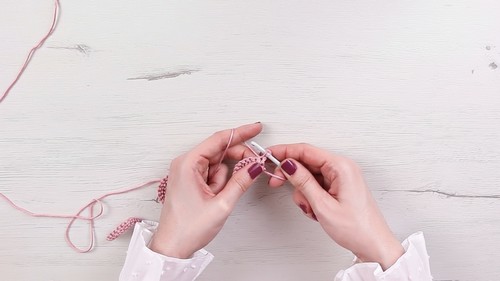
- Work single crochets (SC) around the elastic hair tie:
- Insert your hook under the hair tie, yarn over, pull the loop through, yarn over again, and pull through both loops on the hook.
- Repeat this process until the hair tie is completely covered with stitches. You may need to adjust the stitches and push them together to cover the full circumference. The number of stitches depends on the size of your hair tie, but a typical count is 30–40 SCs.
- Join the round with a SL ST into the first SC.
Step 3: Build the Ruffled Edge
- Round 2: CH 2 (does not count as a stitch). Work 2 HDC into each stitch around.
- At the end of this round, the stitches will start creating a slight ruffle.
- Join with a SL ST to the first HDC.
- Round 3: CH 2. Work 3 HDC into each stitch around.
- This round creates more pronounced ruffles.
- Join with a SL ST to the first HDC.
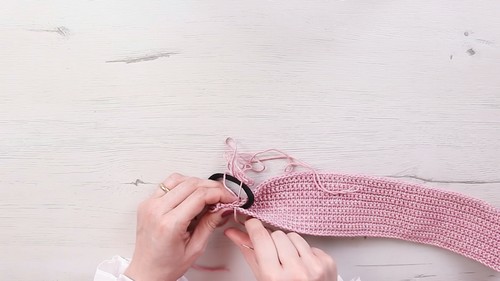
Step 4: Finishing
- Cut the Yarn: Leave a tail long enough to weave in securely (about 6 inches).
- Weave in Ends: Use your yarn needle to weave the yarn tail through the back of your stitches. Ensure the tail is secured tightly so the scrunchie holds firmly upon use.
- Check for Gaps: Ensure the stitches fully cover the hair tie. Adjust or tighten stitches if needed.
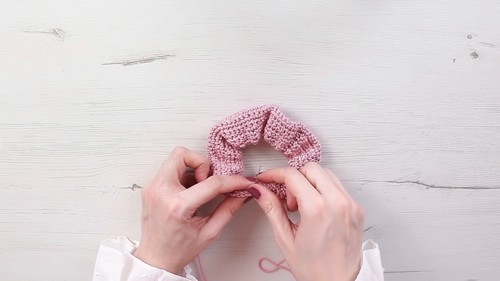
Customization Suggestions
- Change Yarn Weight: Experiment with finer or thicker yarn for varying textures and sizes.
- Add Colors: Use multicolor yarn or switch colors between rounds for a fun look.
- Try Decorative Edges: Replace the ruffles with picot or shell stitch rows for variation.
- Make Larger Scrunchies: Use jumbo elastic hair ties and increase the number of stitches proportionally.
- Add Beads: Thread small beads onto the yarn before crocheting for an embellished scrunchie.
Tips for Success
- Stretch the Hair Tie: As you work your SCs into the elastic, stretch it gently to ensure an even distribution of stitches around the tie.
- Avoid Twisting: Ensure the elastic stays untwisted while crocheting.
- Consistent Tension: Keep uniform tension while crocheting to create a neat and polished look.
- Wash and Wear: Since the scrunchie is made with cotton, it can be machine-washed gently if needed.
Conclusion
Congratulations! You have completed your crochet scrunchie. This quick and easy project is perfect for gifts, stash-busting, or adding a personal touch to your own hair accessories. With endless customization options, you can make scrunchies for all occasions.
Leave a Reply