
As winter approaches, many of us are pulling out the extra blankets and turning up the thermostat to keep cozy—but what about the animals in our neighborhood? Outdoor and feral cats, in particular, face harsh conditions as the temperature drops. By creating a simple winter cat shelter from everyday materials, you can provide these vulnerable animals with a vital refuge from the cold. This DIY Winter Cat Shelter Project not only offers a warm and secure place for cats to rest but also protects them from wind, snow, and predators. A small effort on your part creates a significant impact on their survival and well-being, making this project a fulfilling initiative for any animal lover.
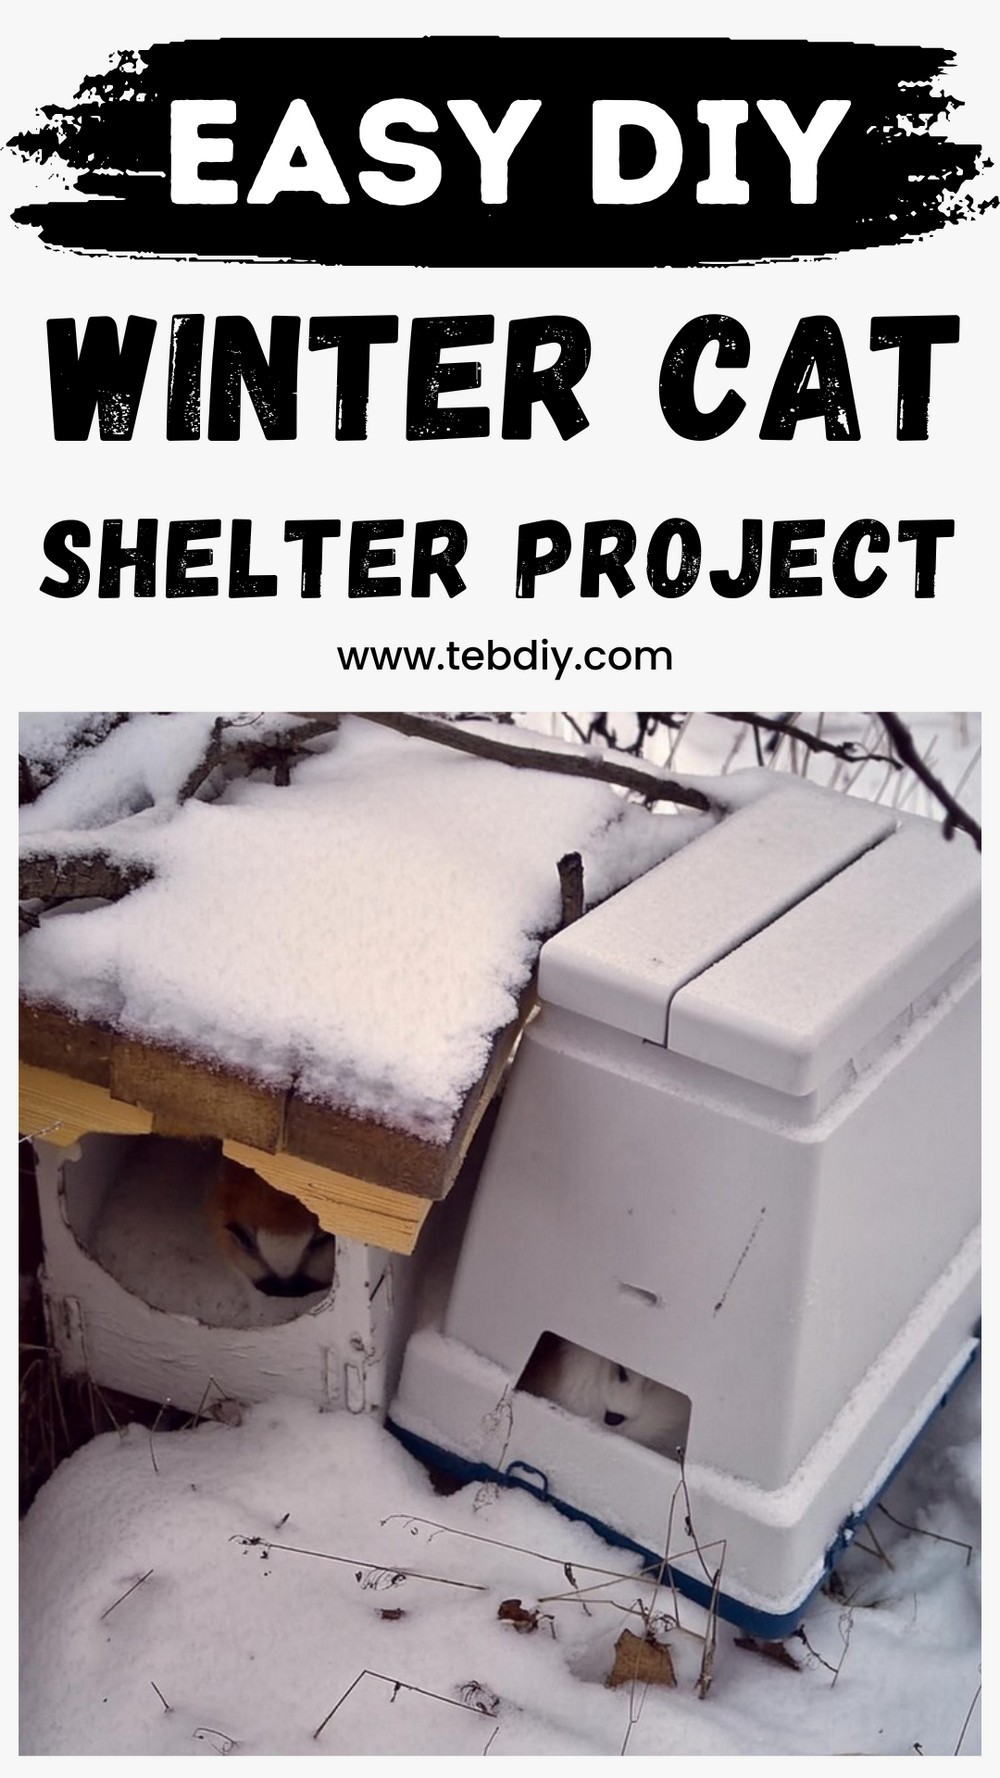
DIY Winter Cat Shelter Project

Materials:
- Styrofoam Cooler: Affordable and easily procured, a lightweight option for creating the shelter’s structure.
- Tape: Opt for durable varieties like duct or packaging tape, suited for withstanding outdoor conditions.
- Insulation: Choices can include batting, packaging peanuts, hay, or shredded newspaper. Select based on availability and the need for a comfortable, burrow-friendly bedding that’s not rigid.
- Plastic Bags: Utilized to encase insulation, ensuring it remains dry and free from mold.
- Scrap Fabric: Enhances the shelter’s warmth and comfort, providing soft materials for the cat to nestle into.
Tools:
- Box Cutter: For precise cutting of the styrofoam and creating an entrance.
- Sharpie: To mark the design and guiding lines for cuts.
- Adhesive (Optional): Should you choose to further secure the shelter, ensure it’s safe for use with styrofoam.
Step by Step Guide
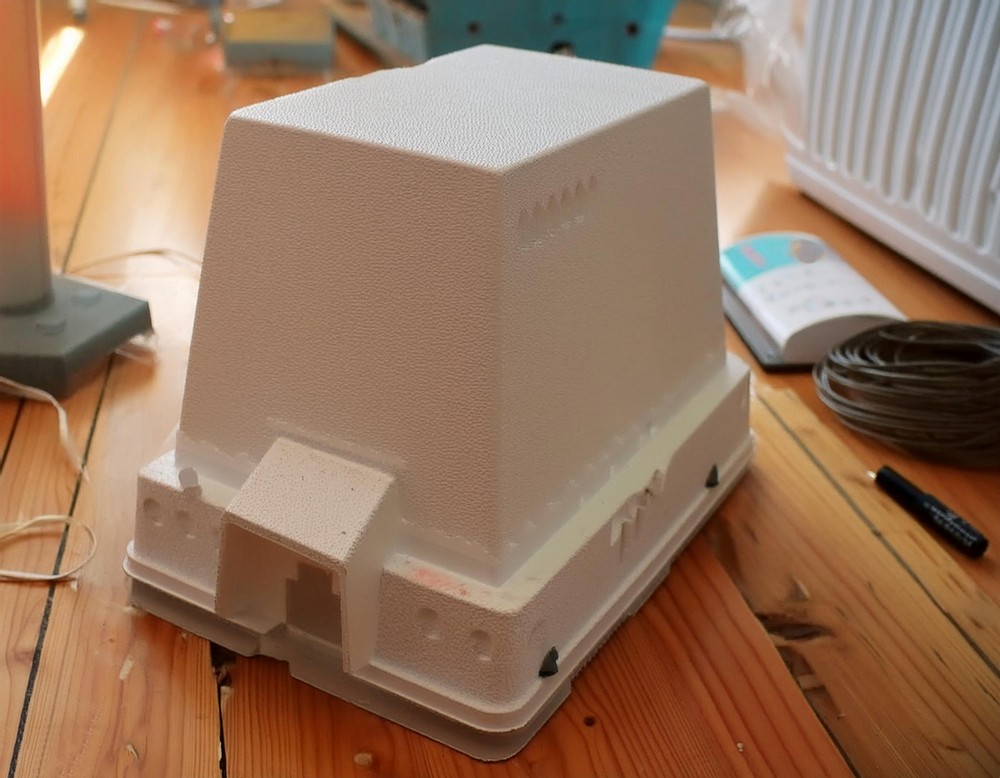
Crafting the Entrance
- Layout: On a smaller side of the cooler, use a Sharpie to draw the entrance. Aim for an opening that’s cat-sized, not too large to avoid a drafty interior—about 6×6 inches, adjustable to your judgment.
- Cutting: With a box cutter, follow the marked lines, carefully excising the styrofoam to create the opening. Ensure clean lines and remove any loose pieces for a neat entrance.
- Fitting: Match the lid to the cooler to verify the entrance allows easy access.
- Adjustments: If necessary, trim a bit more from the opening to ensure it’s not too snug, providing a welcoming entry for your feline guest.
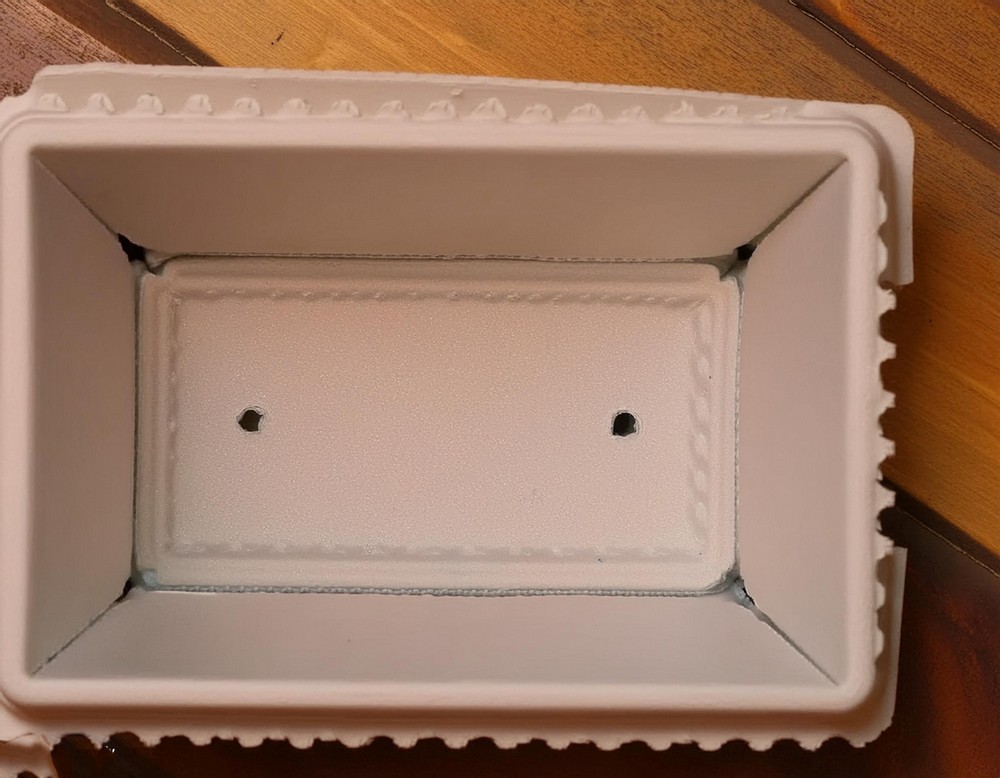
Integrating Drainage
- Marking: Identify the lowest part of the shelter, which will be the lid in this inverted design, and mark two spots for drainage.
- Creating Holes: Use a tool of choice (drill bit or a sharp object) to make holes about 1/2″ in diameter for water escape.
Assembling the Shelter
- (Optional) Gluing: For added durability, apply adhesive around the lid’s edge. Then place the lid onto the cooler body, pressing to secure.
- Securing with Tape: Strengthen the structure by taping across the lid and body intersection without obstructing the drainage holes, then around the edges to seal against drafts.
Preparing the Bedding
- Insulation Packs: Fill gallon-sized plastic bags with your choice of insulation material to create soft, pliable bedding. Two bags should suffice for a cozy fit inside the shelter.
- Adding Fabric: Cut scraps of fabric into varied sizes for layering inside, atop the plastic bag bedding. These pieces allow the cat to burrow and adjust for comfort and warmth.
Final Touches and Placement
- Stability: Depending on the shelter’s outdoor location, consider weighing it down with items like scrap wood to prevent it from tipping over or being carried off by the wind.
- Location: Identify a spot frequented by the cat(s), ensuring shelter from prevailing winds and safety from potential threats. Enhance appeal by leading with treats.

With the shelter complete, you’ve now provided a warm, safe refuge for a feral friend. Not only is this project quick and budget-friendly, but it also offers a wonderful opportunity to engage with your community and nature. Spreading warmth and caring with a simple yet impactful gesture.

Leave a Reply