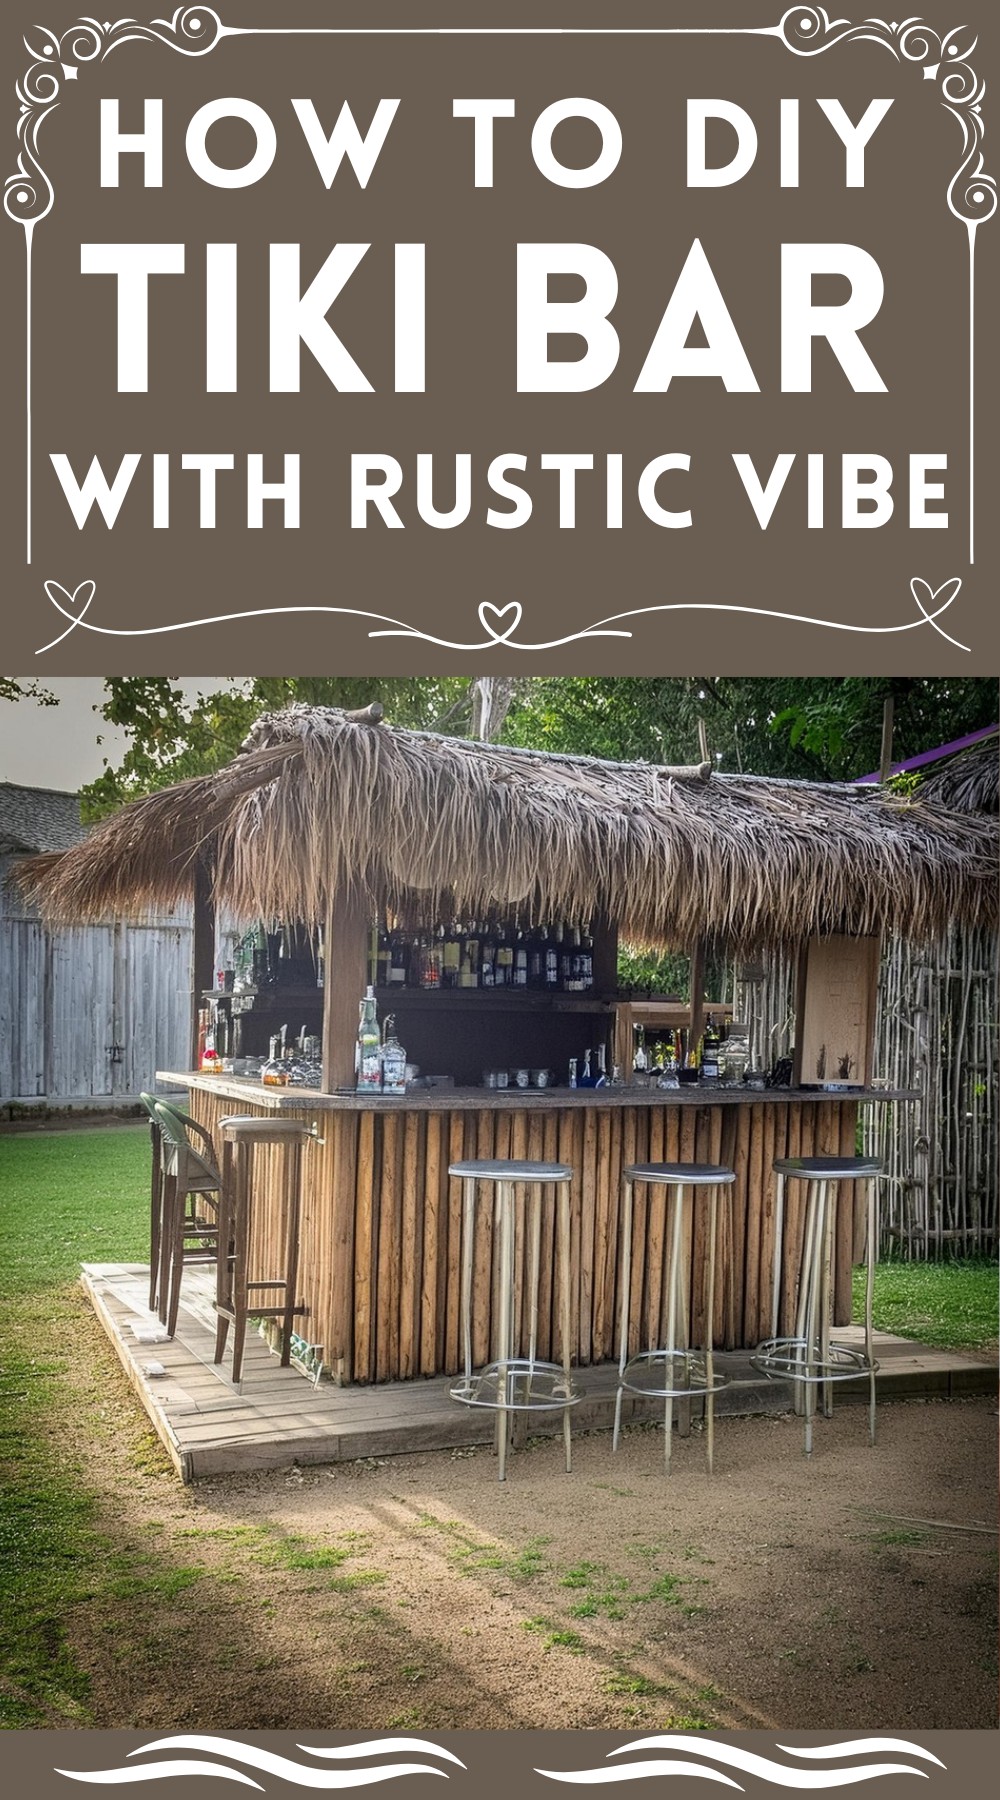
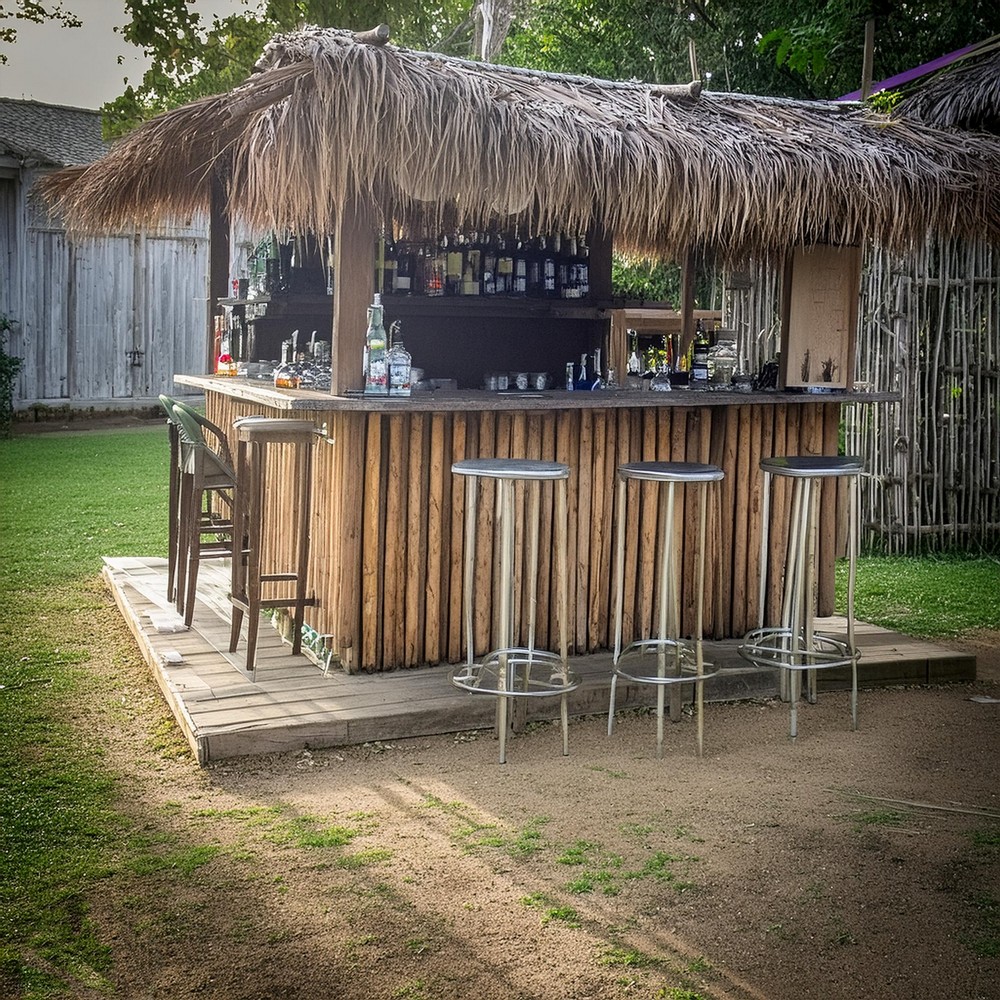
Enjoy the sweet smell of barbecue wafting through the air, a tasty drink in your hand, and you’re leaning against your homemade backyard tiki bar. You might be picturing a tropical beach getaway right now, but no, this oasis is right in your backyard. It’s an affordable DIY project that can transform your backyard into your family’s favorite hangout spot this summer.
Easy DIY Tiki Bar
Materials
- An assortment of screws ranging from 1/2 inch to 2 & 1/2 inches in length
- Fourteen 2x4x8’s
- One 2x2x8
- Four 4x4x8’s
- Eight 1x6x8’s
- Four 1x2x8’s
- One 1x6x10
- Scrap 2/4’s for angular supports (approximately 10 ft in length)
- An ample amount of 90-degree brackets for securing 2×4’s
- Stain and Clear Gloss finish
- 3/4x4x8 sheet of finished plywood
- Rope
- Bamboo fencing and thatch for the roof from a bamboo specialty store
Tools
- Mitre saw
- Drill
- Tape measure
- Pencil
- Level
- Hand/hack saw
- Additional useful tools (not mandatory): Ladder, a bandsaw, and clamps
Follow the given step-by-step process for building the perfect tiki bar.
Building the Frame
The first step is to build the frame for your bar. To ensure your bar is perfectly square, lay it out flat on the ground. Connect your 4x4s at the top and bottom. Attach an extra 2×4 in the middle, where your bar will be set at around 45 inches high. You can also attach supports for your roof at this point to make the assembly easier.
Crafting Angled Supports
Before assembling your frame, it’s crucial to build your angled supports. These 45-degree angles cut out of the 2x4s offer additional lateral support for your frame and counters.
Designing the Roof
The next step is to focus on the roof. Get the best quality thatch, as it hugely affects the appearance of your bar. Arrange the thatch around the roof support and secure it in place using screws. If it tends to sag too much, simply add additional wooden supports for added stability.
Installing Bamboo
The bamboo finish provides a realistic touch. You’ll want to line the outside of your bar with it. Ideal bamboo fencing can be purchased from a specialty store and it can be secured in place with additional wood support at the top.
Fabricating the Deck
The deck is simply made from cut-to-size boards that are mounted on top of vertical 2x4s. After attaching the boards in place, you have the option to stain the deck or leave it natural with a coat of waterproofing lacquer.
Crafting the Counter
For your counter, you’ll need a piece of 3/4 inch plywood with a “finished” surface. Remember to make cutouts for the 4×4’s. These boards should overhang by about 8 inches over the edge and be supported underneath with brackets and angled 2x4s for extra stability.
Finalizing the Counter
At this point, you can enhance the counter by filling any seams with wood epoxy. Then, stain the entire surface and let it dry. Afterward, apply several coats of a clear, protective, glossy finish to weatherproof the counter. For some extra flair, drill smaller pieces of bamboo onto the counter edges and wrap rope around the 4x4s.
Building the Inside Counter and Shelves
Next, create a counter inside the bar for the bartender to use. This can be constructed out of 2x4s and a piece of custom-cut plywood. Ensure it’s sanded well and lacquered to make it waterproof. You can also build shelves in the same way for storing supplies.
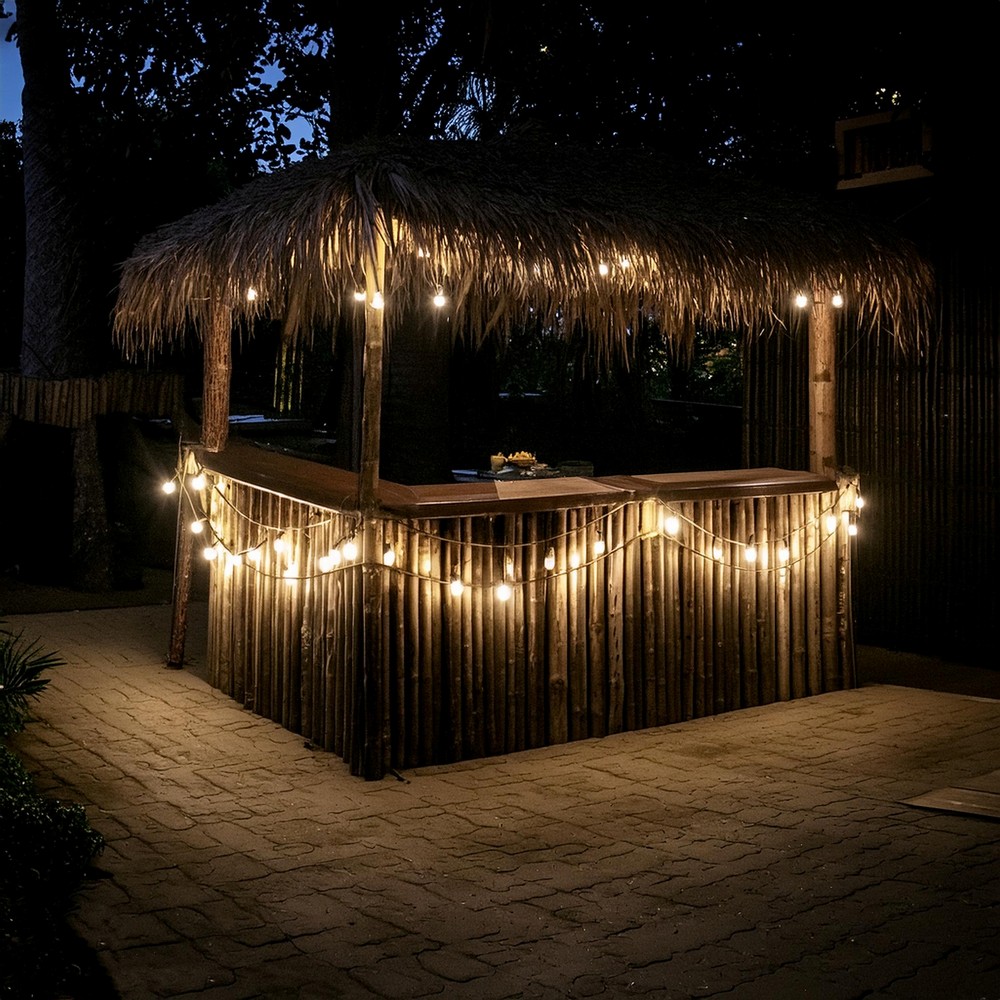
Finally, it’s time to add some finishing touches. Decorate your bar with Christmas lights, flags, signs, and tiki torches to create your perfect backyard escape. This tiki bar won’t just be the life of the party, but it’ll be the life of your backyard. Enjoy!
How To Select The Best Wood For DIY Tiki Bar?
Always choose varieties of wood that are resistant to decay and pests and suitable for outdoor use because of their exposure to various weather conditions. Opt for pressure-treated wood or naturally robust timbers such as cedar, redwood, or teak for the backbone of your structure. These woods inherently handle outdoor conditions well and add longevity to your construction.
For non-structural or decorative elements, conventional wood can be used if it is well-sealed with a high-grade wood preservative, stain, or paint intended for outdoor use. Always remember to handle treated wood cautiously due to the chemicals used in the process. Be sure to wear protective equipment like gloves and masks when cutting or sanding such wood.


Leave a Reply