
Teddy bears hold a special place in the hearts of both children and adults. These soft, cuddly creatures often become our first friends, offering comfort and security. The love people have for teddy bears has inspired the creation of teddy bear patterns. The step-by-step pattern we are providing is like a map, guiding crafters through making their very own teddy bears. By following a DIY toy pattern, you can select your favorite fabrics, customize the design, and stitch together a bear that’s uniquely yours, filled with love and personal touches.
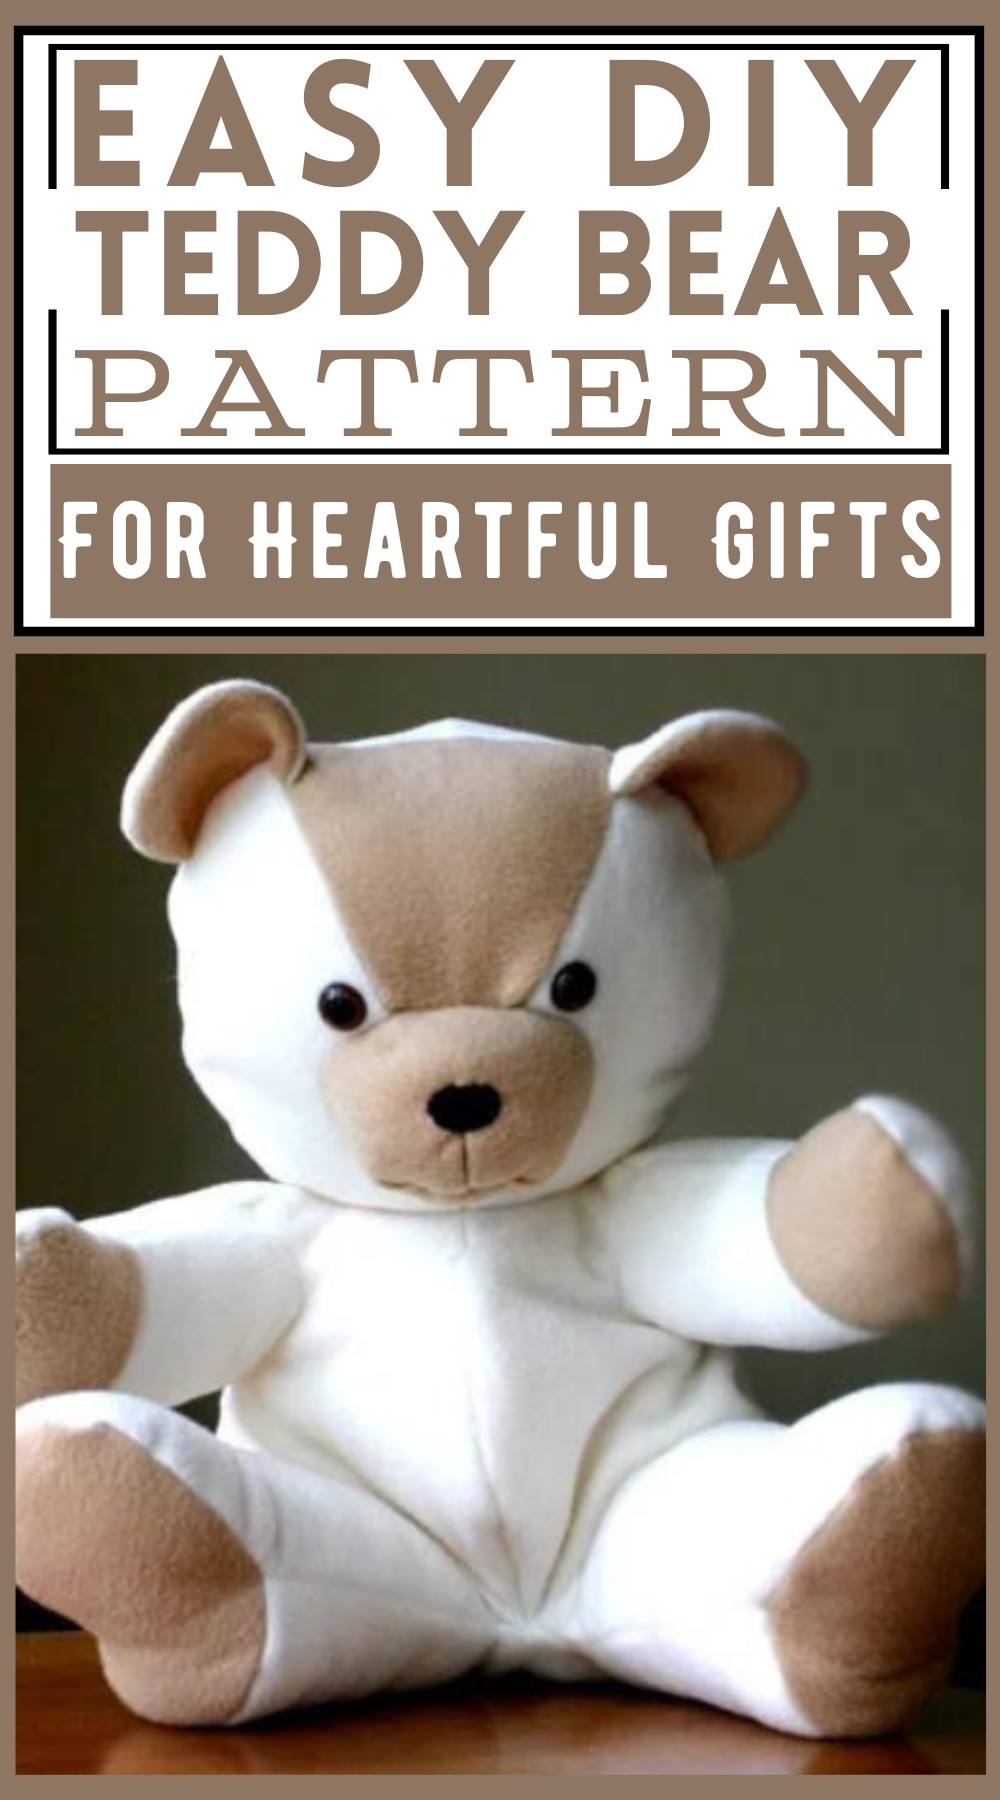
The crochet teddy bear pattern offers instructions for making a cozy, cute teddy bear from soft material like fleece. Its design includes thoughtful touches such as a stitched face and plastic eyes that give it a friendly look. You can personalize it with your choice of colors and textures. The DIY fabric craft idea is simple and perfect for anyone new to sewing, resulting in a sturdy toy. This handmade bear is excellent for teaching sewing, as a special present that shows care, for decorating spaces, or as a comforting toy for kids. The clear, easy-to-follow guide helps crafters create a lovable bear that’s both huggable and full of character.
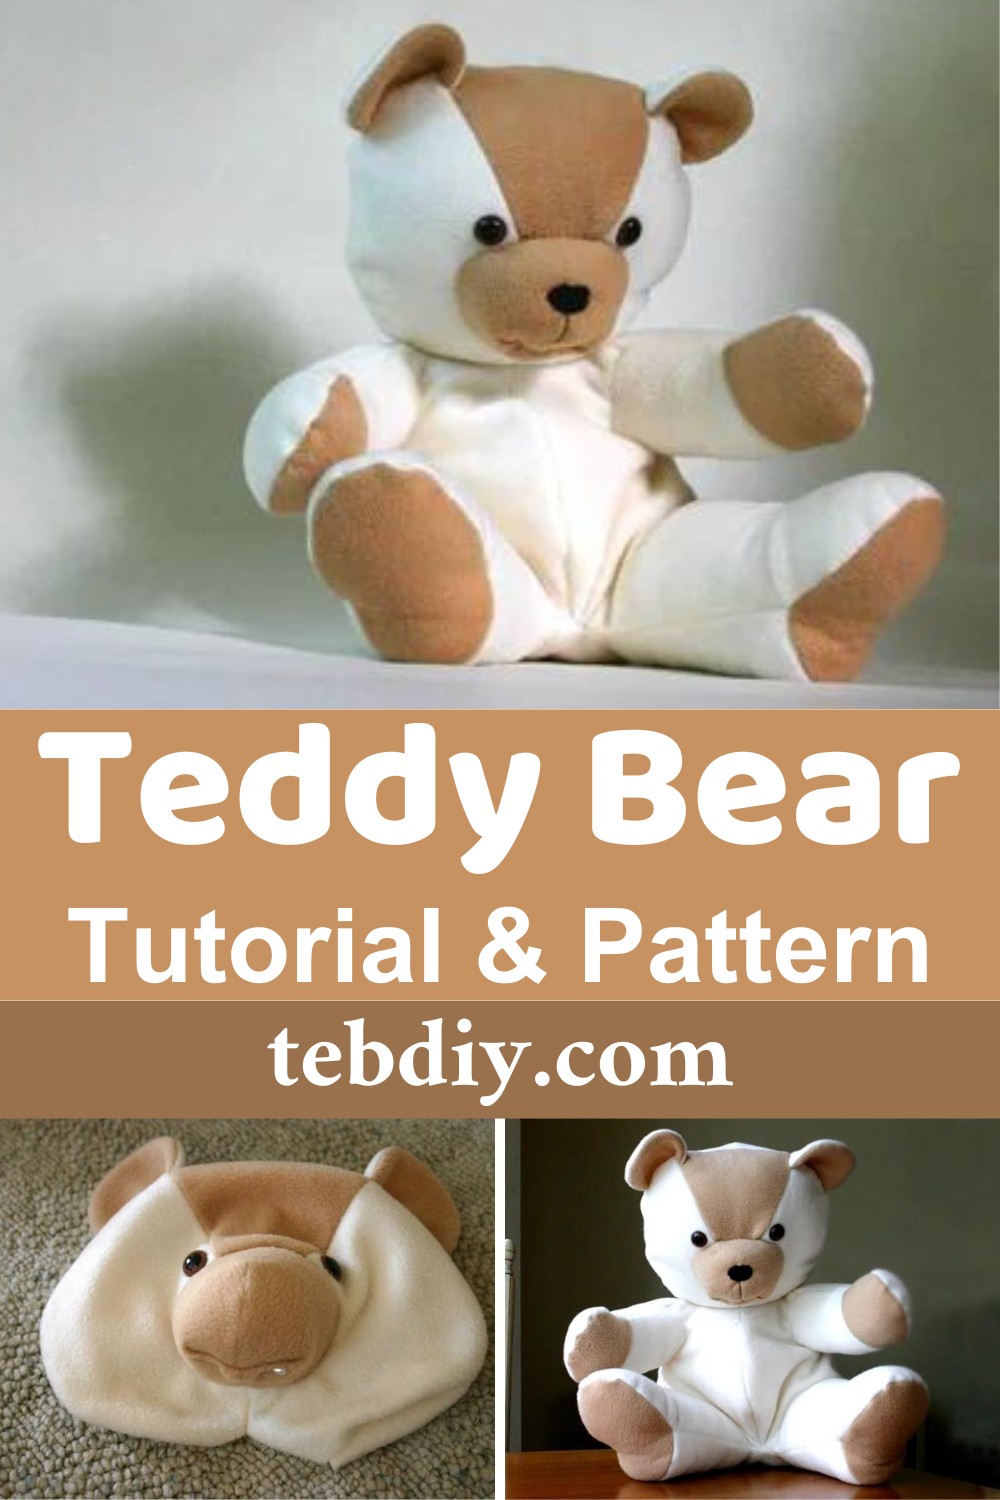
Making Your Teddy Bear Tutorial and Pattern
Materials Needed:
- 1 yard of fabric for the body: The tutorial suggests cream color fleece for its softness, but you can use any fabric you choose, including traditional animal fur fabric.
- 1/2 yard of fabric for the color details: Light brown is used in the example.
- 1 set of 18mm animal eyes.
- A small piece of felt for the nose.
- Stuffing material: Polyester filling is recommended.
- Sewing machine.
- Pattern: You’ll need to download and print this.
Step-by-step Process
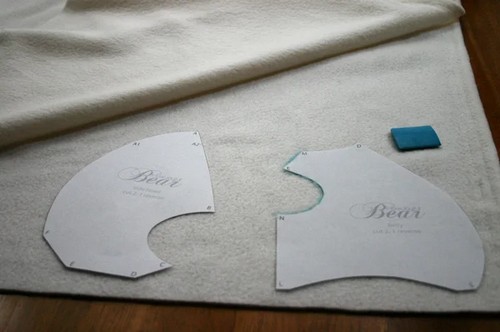
Step 1: Template
- Download and Print the Pattern: First, get the pattern, print it out, and cut each piece.
- Trace the Pieces on the Fabric: For pieces that require two copies, trace one, then flip the pattern to trace the second piece in reverse.
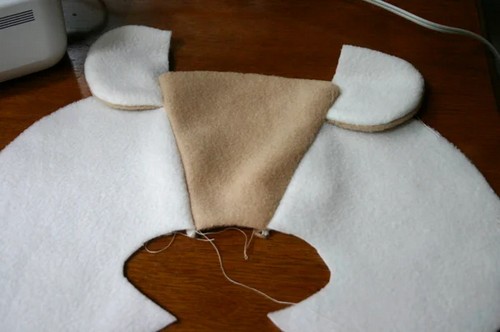
Step 2: Sewing the Head
- Start with the Ears: Construct the ears first and attach them to the front and side parts of the face, ensuring the color of the ears is on the inside.
- Attach the Back, Then the Mouth: After the ears, attach the back part of the head. Next, sew the mouth, starting with attaching it to the headpiece before sewing the front portion.
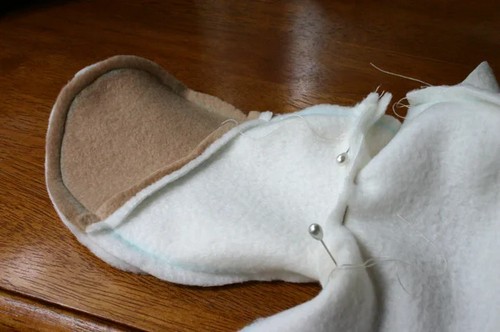
Step 3: Sewing the Body
- Cut the Body Pieces: Begin with the front part of the body, as shown in the tutorial’s first image.
- Sew the Arms and Attach: Sew the arms separately before attaching them to the front of the body. Pin parts together to ensure proper alignment.
- Feet Construction: Repeat the pinning and sewing process for the feet, noting that fabric overflow may occur depending on your fabric choice.
- Add the Tail: Construct the tail and attach it to the back before sealing.
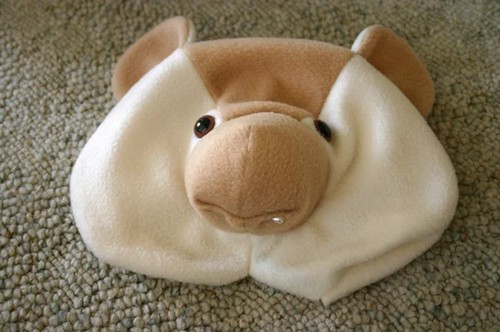
Step 4: Stuff the Body and Finish the Face
- Stuff the Body: Once the body is sewn, proceed to fill it with stuffing material.
- Attach the Eyes and Shape the Mouth: Attach the eyes and pin the mouth into place for sewing. Fold the bottom of the mouth to shape a lip and stitch at the designated points.
- Create and Attach the Nose: Using felt, shape the nose, sew it in place, and then finish any facial details.
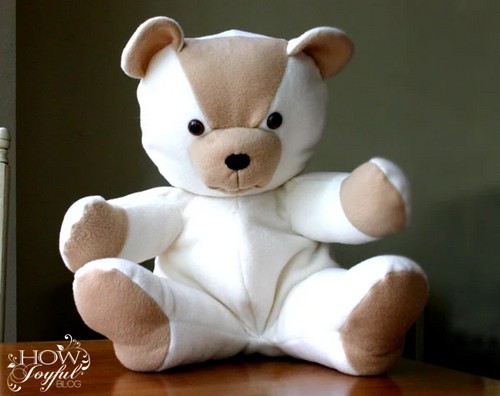
Step 5: Sew Together
- Stuff the Head and Attach to the Body: Fill the head with stuffing material and sew it onto the stuffed body.
- Final Touches: Add any decorative elements, like a bow or tie, to personalize your teddy bear.
Leave a Reply