
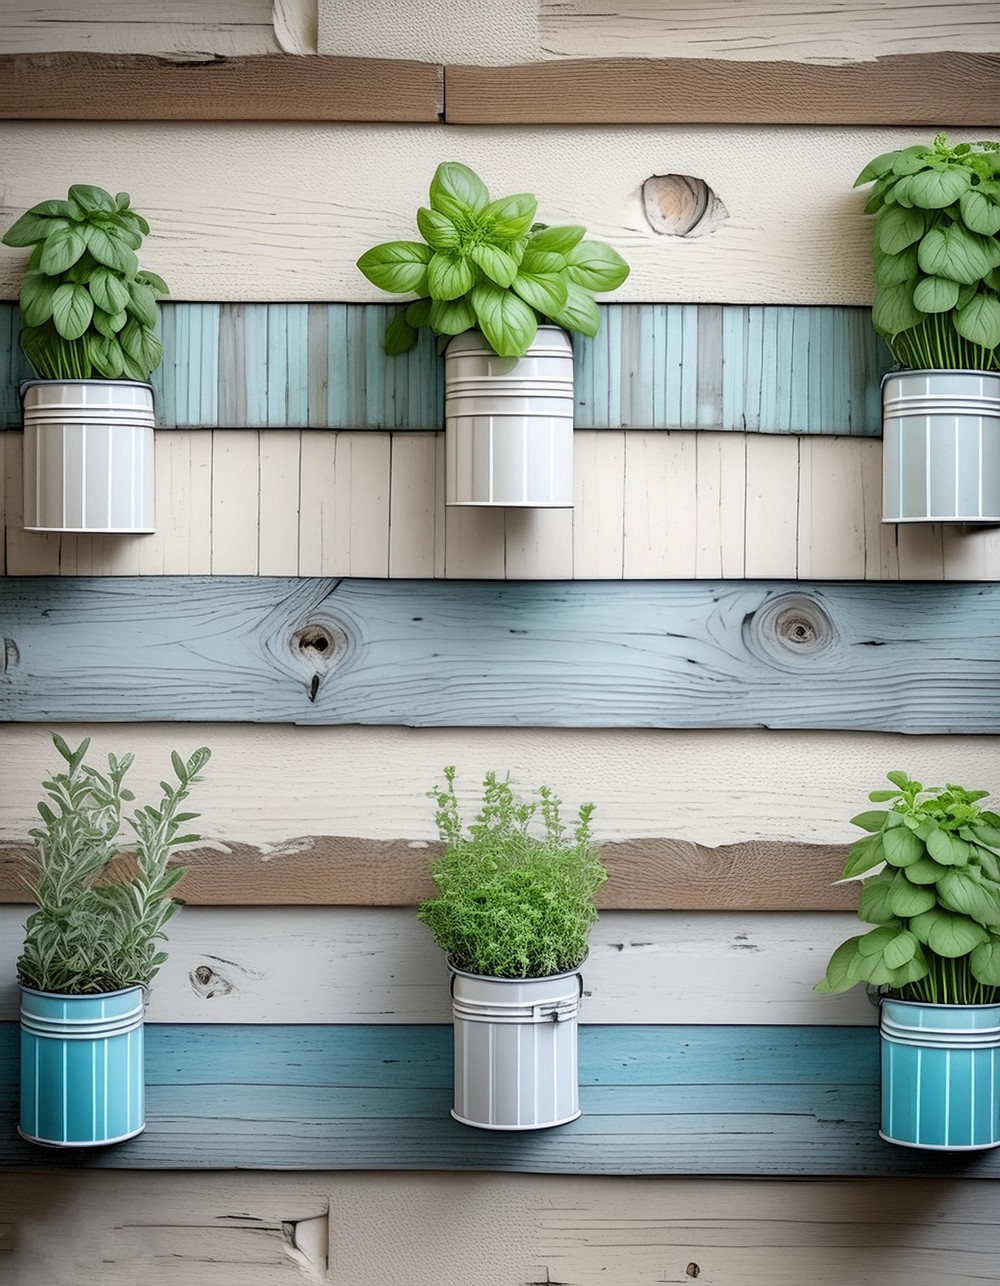
Let’s turn empty cans into a beautiful garden full of your favorite herbs! With our easy, step-by-step guide, you can create your own DIY Painted Can Herb Garden. It’s a fun project that not only recycles but also adds a touch of color and life to any space. Gather some old cans, choose your favorite paint colors, and decide on the herbs you’d love to grow. We’ll show you how to clean, paint, and plant, transforming the cans into a lovely mini-garden. This is a perfect way to enjoy gardening, even in small spaces.

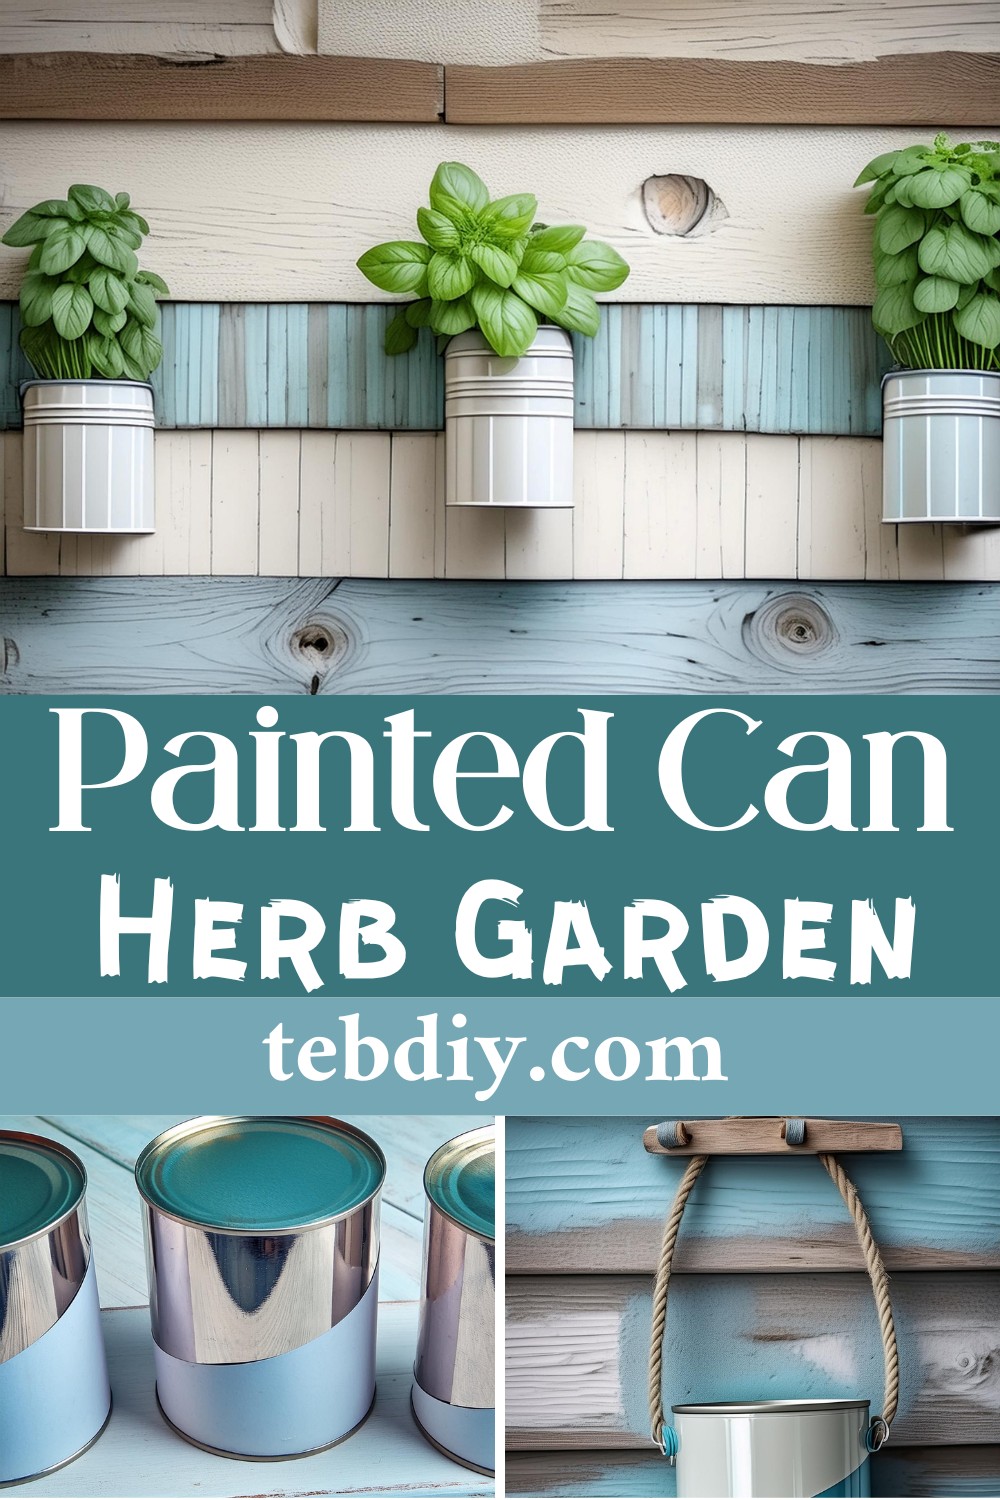
DIY Painted Can Herb Garden
Materials Needed:
- Quart-sized paint cans (cleaned and rinsed)
- Rope (suitable for outdoor use)
- Aqua outdoor spray paint (Valspar’s Outdoor Color in Koi Pond suggested)
- Frog Tape
- Dock cleats ($2.86 each)
- Herbs (lemon balm, parsley, basil, thyme, peppermint, cilantro)
- Pallet boards (or any board cut to the desired size)
- 1 1/4″ wood screws
- Exterior screws (for mounting)
Tools Required:
- Drill with bits suitable for wood or metal
- Sandpaper
- Screwdriver
Step-by-Step Guide:
1. Preparation of the Paint Cans:
Start by cleaning the quart-sized paint cans you’ve set aside. Drill holes on each side to thread the rope through and a small hole at the bottom for drainage.
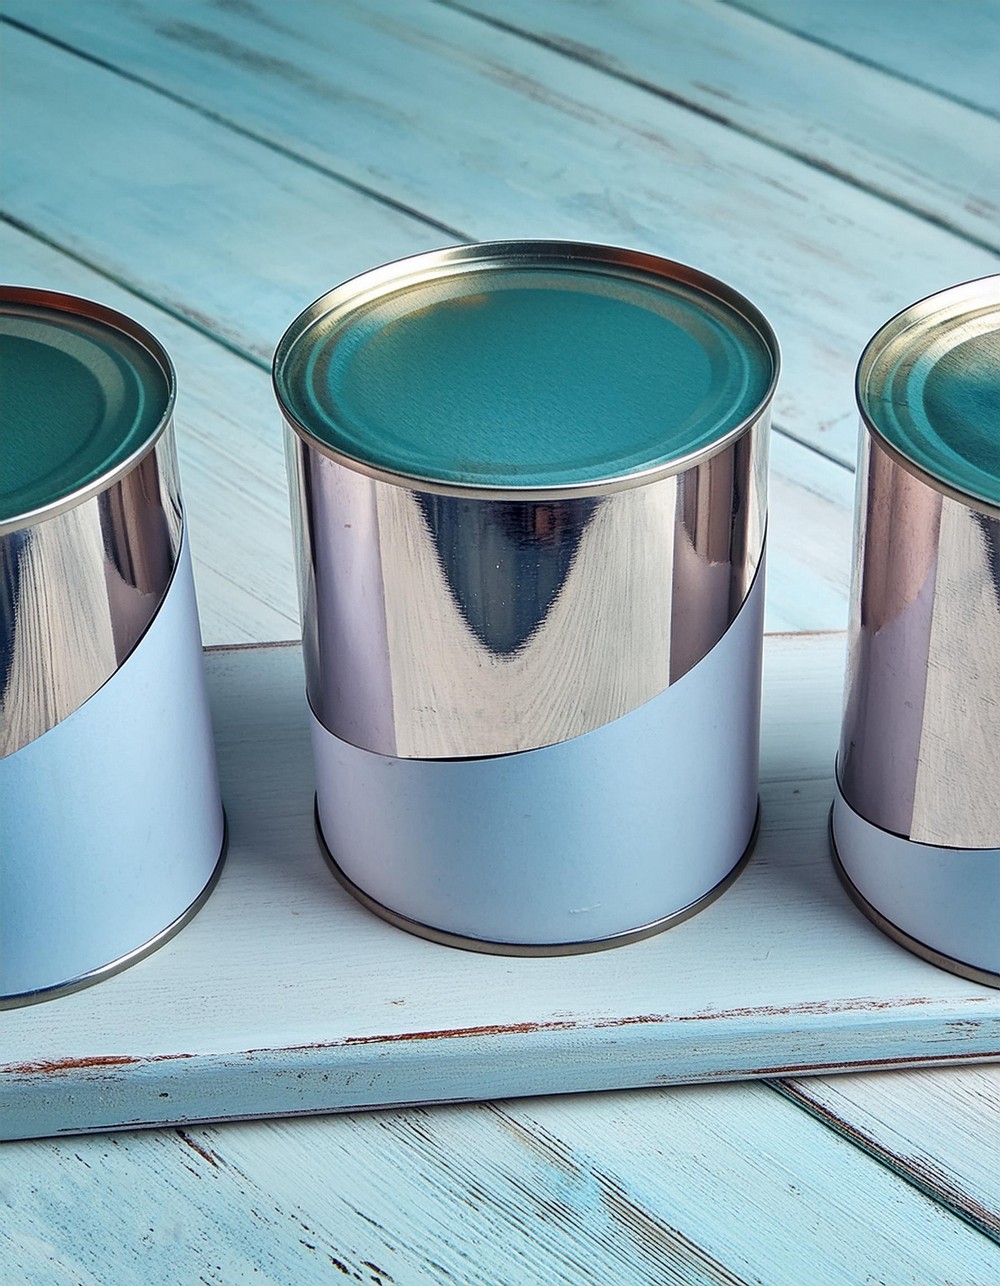
2. Adding a Splash of Color:
To ditch the mundane silver look, spray paint the cans diagonally with your chosen color. Valspar’s Outdoor Color in Koi Pond brings a refreshing vibe, but feel free to pick a shade that complements your space. Use Frog Tape to achieve crisp lines.
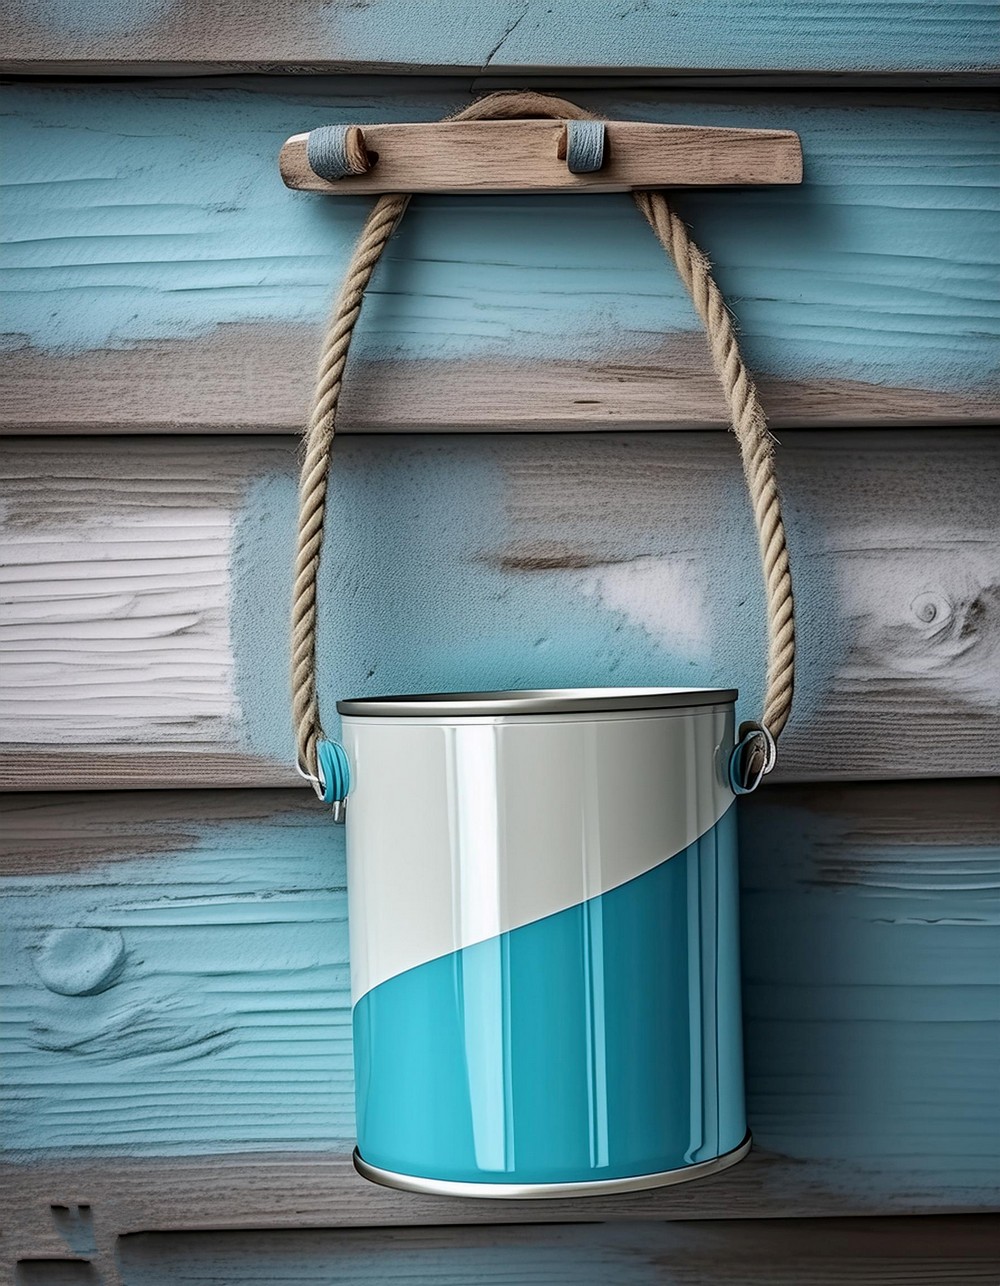
3. Setting Up the Support Structure:
Select a strong and visually appealing rope to support the hanging structure. Tie knots securely after threading the rope through each can’s side holes.
4. Creating the Mounting Boards:
Sanding down pallet boards gives them a smooth finish – these will serve as the mounting base for the cleats. Screw the dock cleats onto these boards at evenly spaced intervals. If pallet boards aren’t available, any sturdy board cut to size will do.
5. Mounting onto the Wall:
Decide on the placement of your herb garden on the wall. By pre-drilling holes in both the siding and the boards, you can easily screw the assembly into place, ensuring it’s securely affixed.
6. Planting the Herbs:
Once the cans are painted and dried and the ropes tied, plant your selection of herbs. From the aromatic zest of lemon balm to the refreshing burst of cilantro, pick herbs that you love.
7. Enjoy Your Herb Garden:
With the cleats affixed and the cans beautifully hanging, step back and admire your work. Your DIY paint can herb garden is not just a functional piece for your culinary needs but also a testament to your creativity and dedication to sustainability.
Perfect for people looking to add a bit of greenery without spending much, it’s a delightful weekend project that will continue to give back long after it’s completed.
Leave a Reply