
Creating miniature furniture pieces is an enchanting way to add personal touches to a dollhouse, offering both charm and a dash of realism. This particular DIY endeavor takes you on a journey to craft an essential household fixture: a miniature toilet for a Barbie dollhouse. Through careful construction and detailed finishing, we’re able to create a durable and aesthetically pleasing piece that can withstand the test of time.
Let’s transform simple, everyday materials into something magical for the miniature world of Barbie!
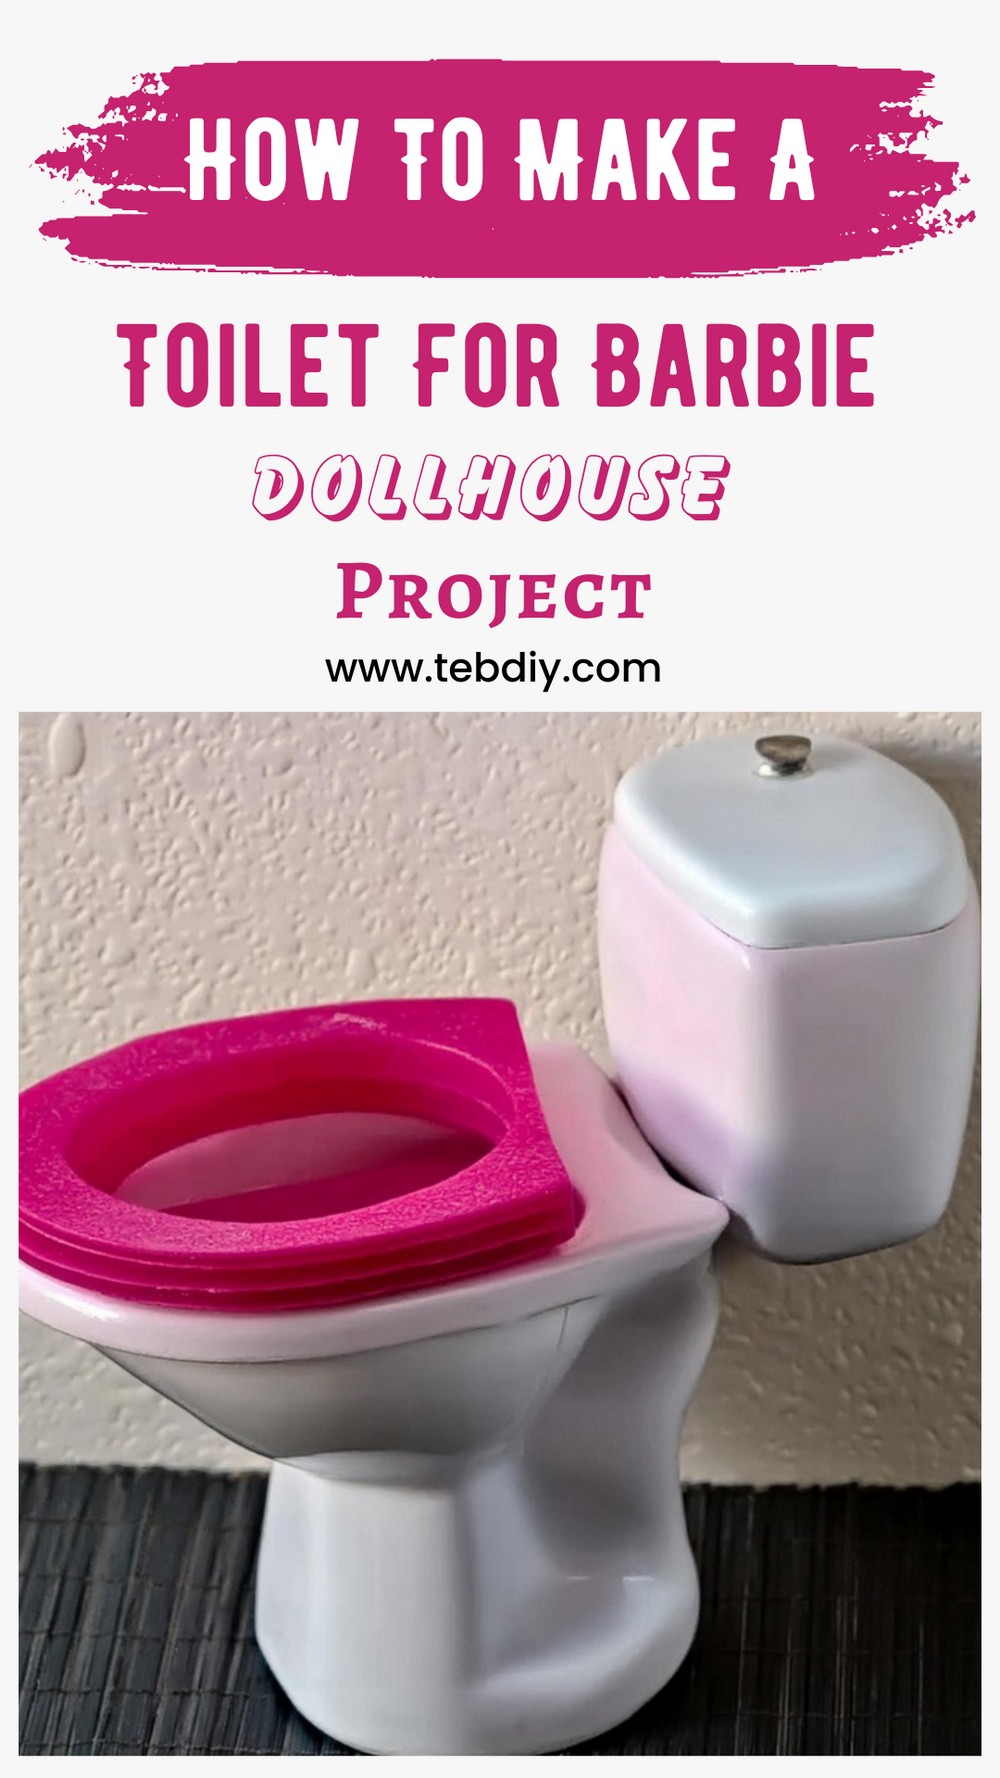
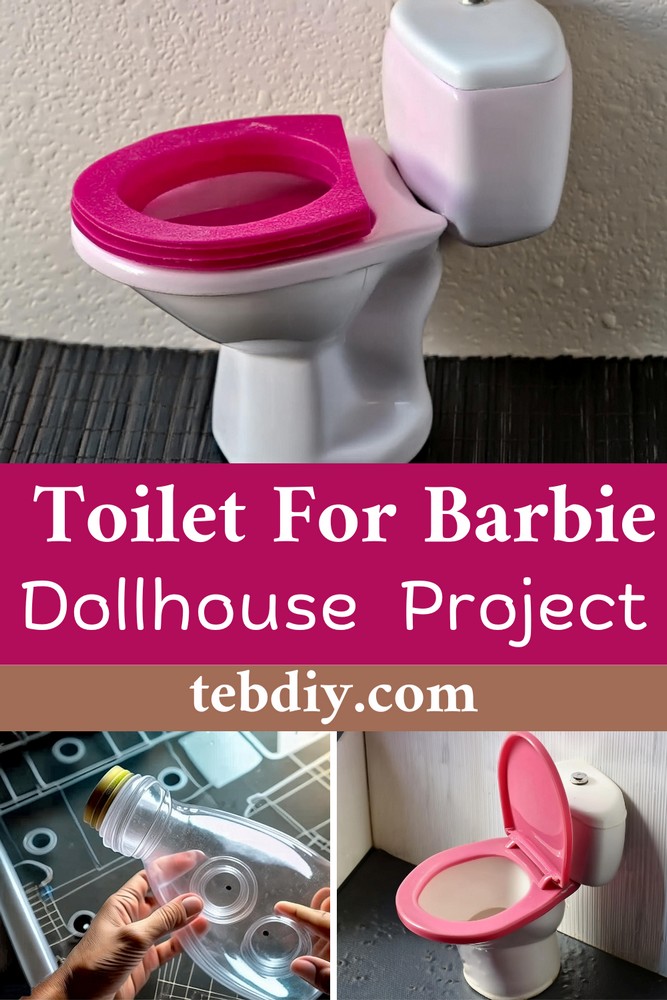
How To Make A Toilet For Barbie Dollhouse
Materials Needed:
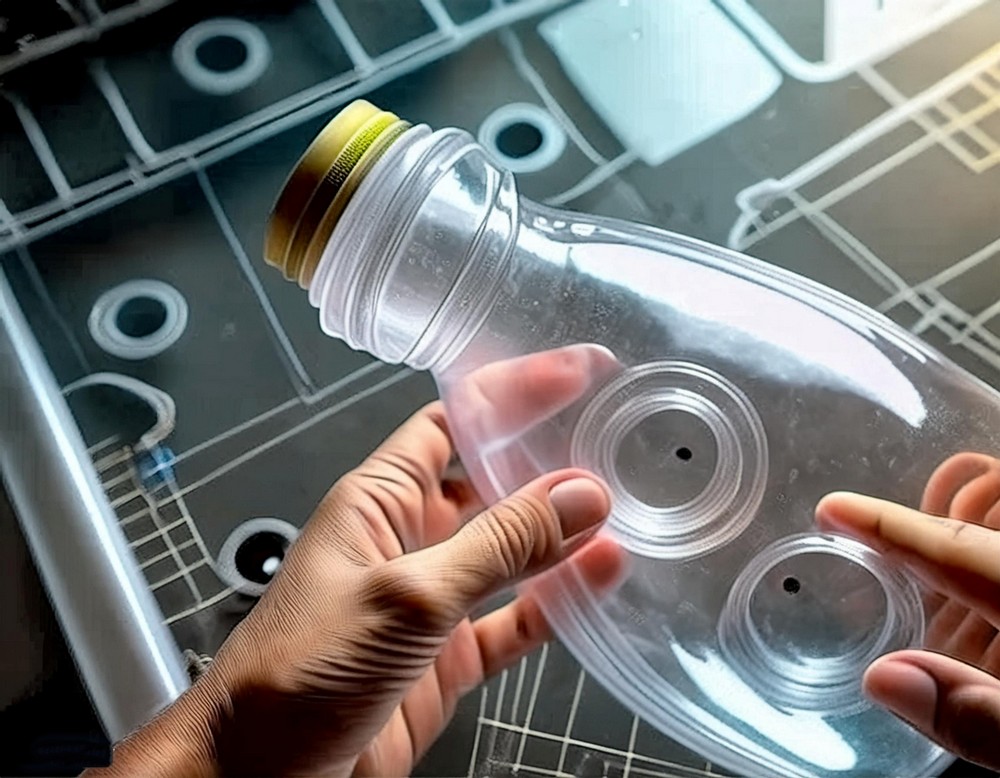
- Plastic detergent bottle (for the bowl)
- Cream bottle for baby (for the cistern)
- Medium-density fibreboard (MDF), 6 mm thickness (for the seat and lid)
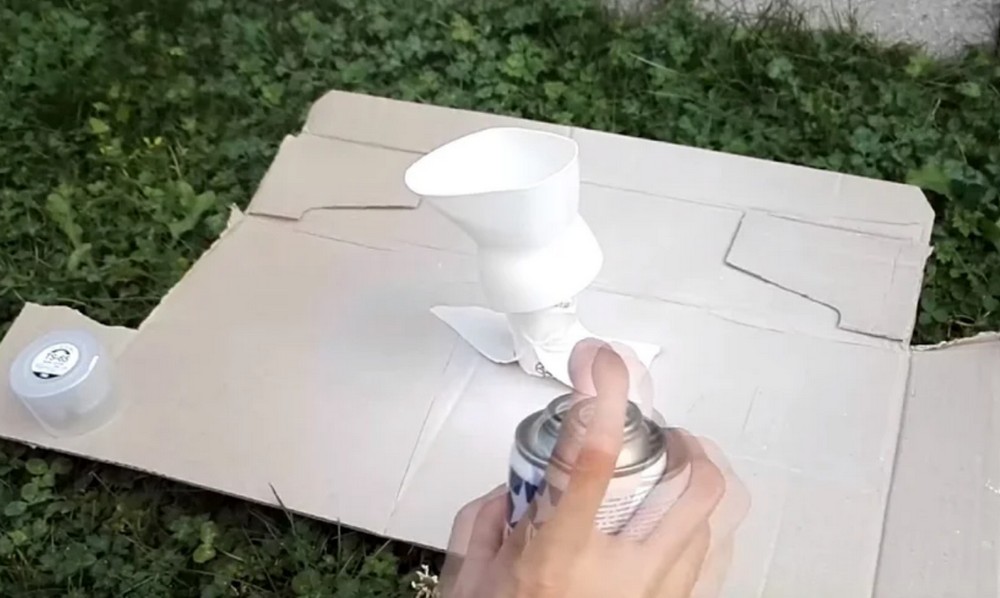
- White paint
- Varnish
- Pink “Barbie” paint
- Piece of plastic (from a water bottle cap)
- Hot glue sticks
Tools Required:
- Scroll saw
- Paintbrushes
- Hot glue gun
- Drill or screwdriver
- Small hinges
Creation Process:
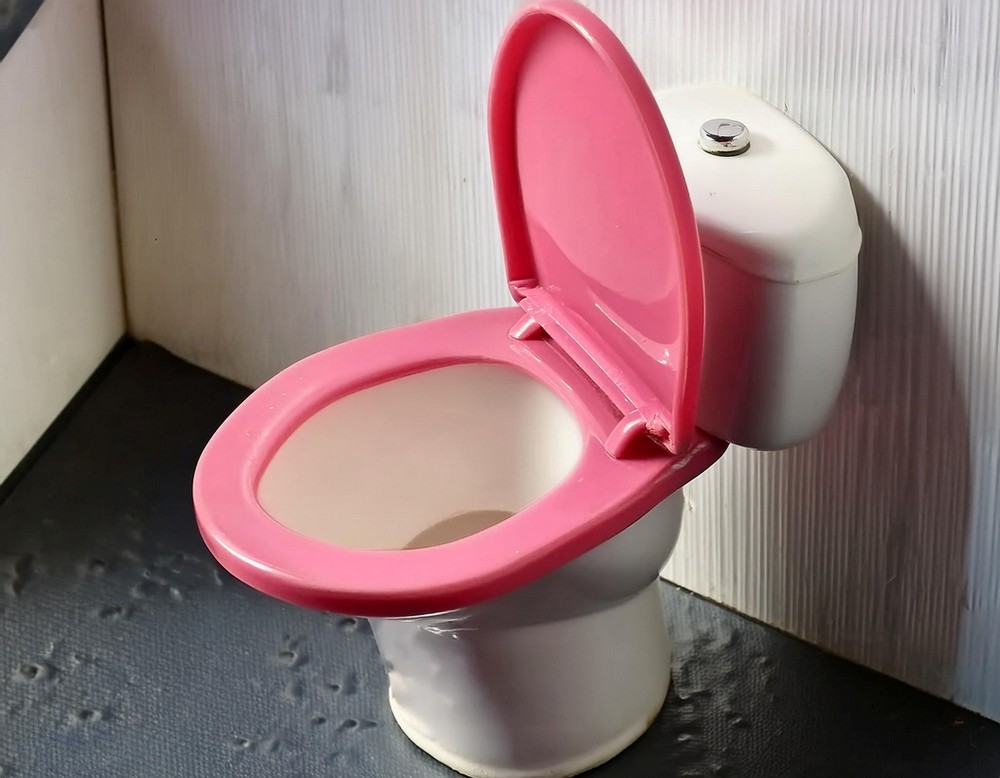
Crafting the Bowl
- Begin by cutting a section from a plastic laundry drum to form the bowl.
- For the cistern, repurpose a cream bottle intended for baby products.
Seat and Cover
- Utilize 6 mm thick MDF, shaping the pieces with a scroll saw to match the dimensions of a seat and cover for the toilet.
- Apply the iconic Barbie pink paint to both the seat and cover to give it a touch synonymous with Barbie branding.
Setting in Place and Simulating Water
- Fix the bowl to the ground securely using a screw.
- Conceal the screw head with a cap cut from a plastic water bottle to maintain a neat appearance.
- Mimic water inside the bowl using clear hot glue to give an illusion of permanence.
Assembling the Pieces
- Connect the seat and lid to the bowl structurally with the addition of small, well-placed hinges.
Installation into the Dollhouse
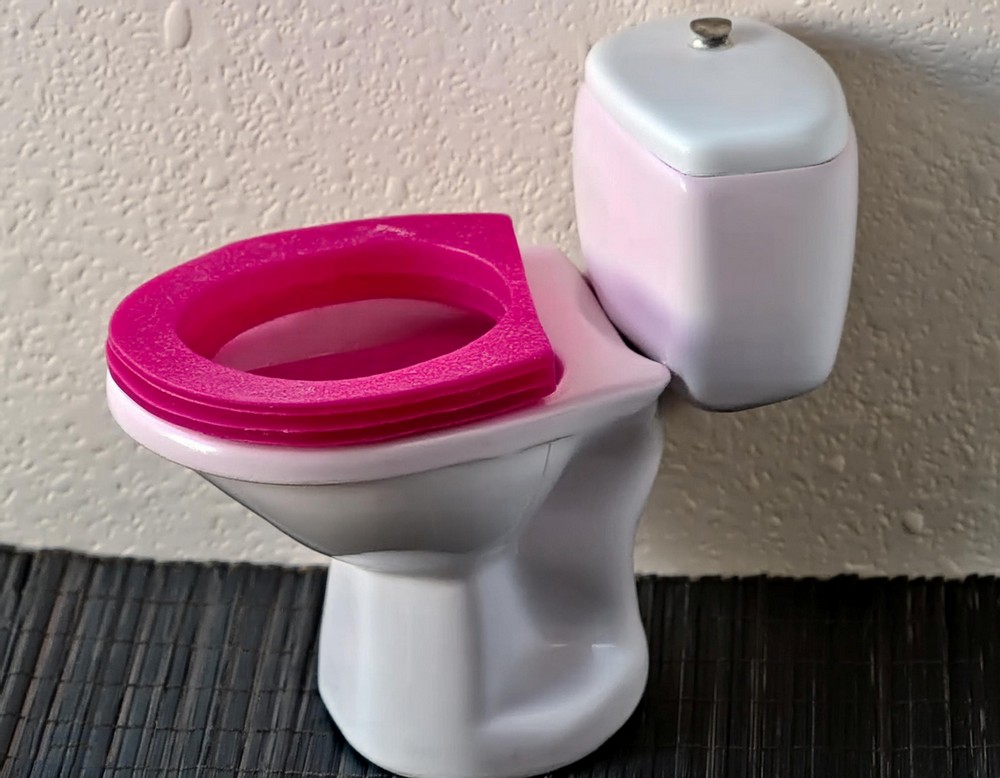
- With the assembly complete, the Barbie dollhouse toilet is now ready to be installed within the dollhouse, complementing the rest of the room’s ambiance.
This project is more than just about creating a dollhouse accessory—it’s about breathing life into a space where children’s imaginations can flourish. It requires precision and a touch of creativity but in the end, the satisfaction of adding a handmade piece to Barbie’s abode is unequalled. Happy crafting!
Leave a Reply