
Imagine you’re a chicken who’s spent nine years pecking the same backyard. It’s a place of safety and familiarity, but even a chicken deserves a little upgrade, a change of scenery without forsaking the comforts of home. Our backyard buddy needs a sanctuary, a personal retreat to enjoy the bright days while still being part of the family scene. Thus, embark on a gratifying venture to create a quaint, cozy DIY chicken house—a tent-like haven fit for a feathery friend seeking to bask in summer merriment, all within the familiar bounds of your backyard.
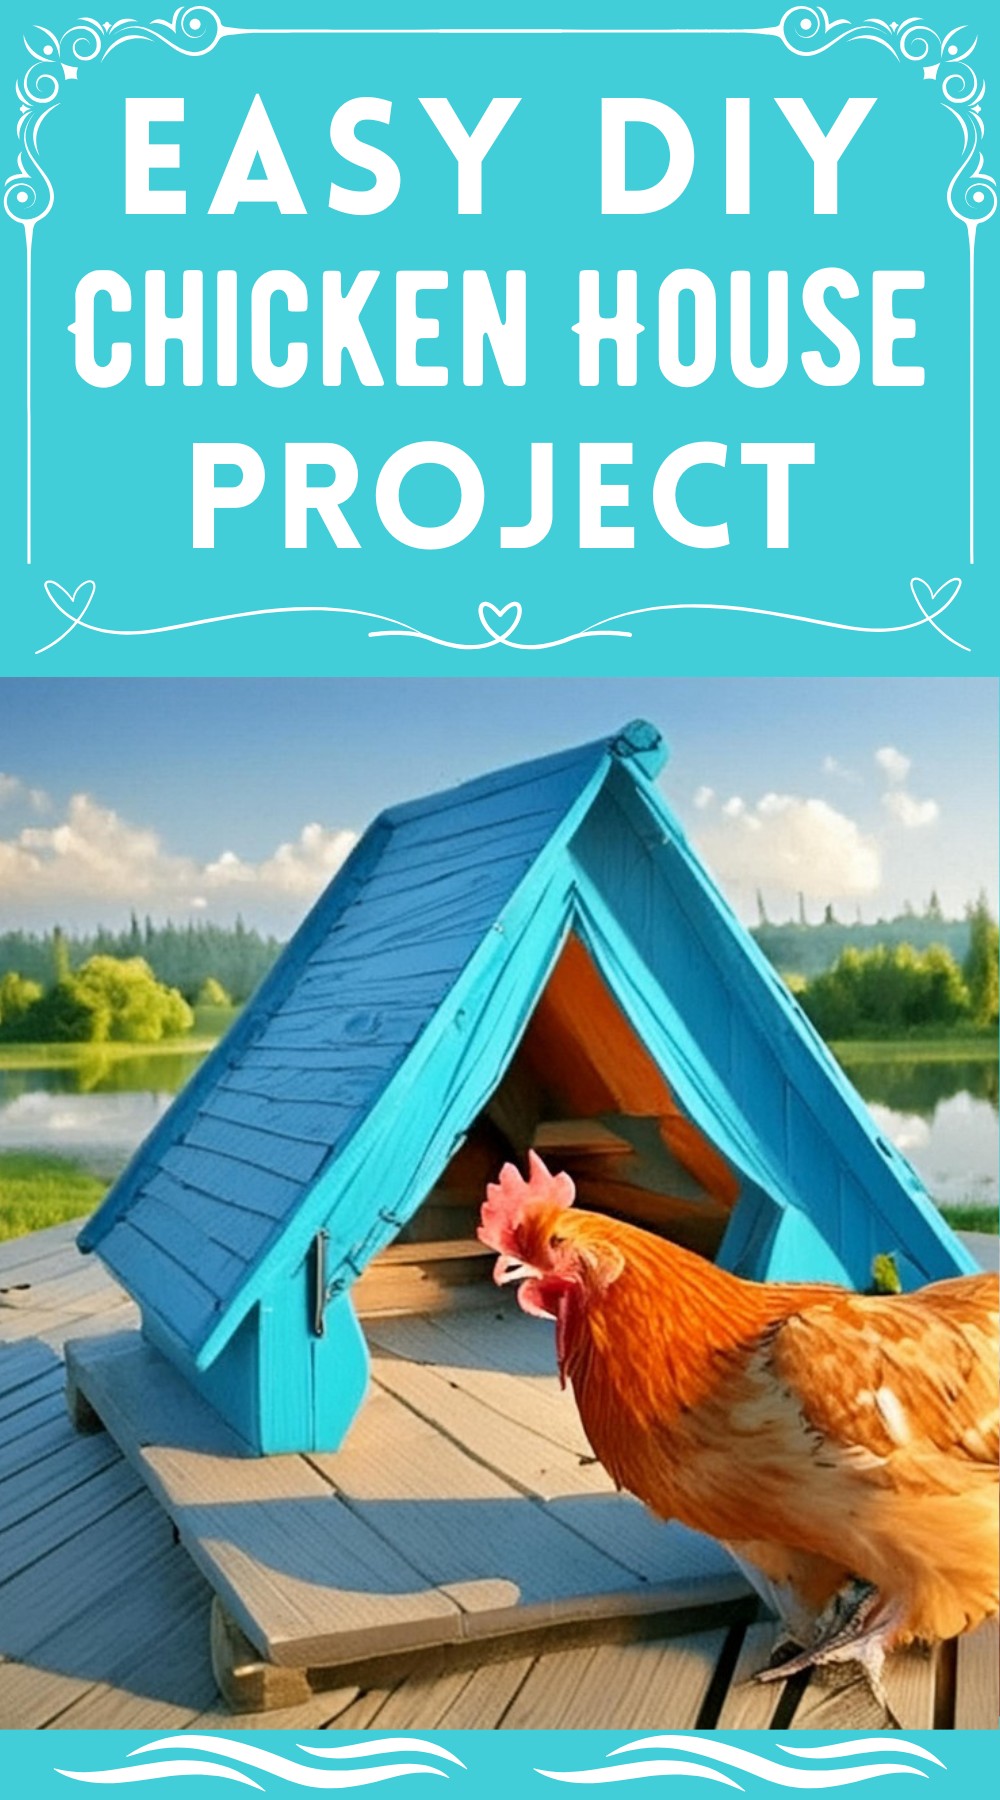
DIY Chicken House Project

Materials Used
- Old pallet pieces (for the floor)
- Leftover pieces of wood (various sizes for the frame)
- Old bed sheets (for the Poor Man’s Fibreglass)
- Wood glue
- Paint (green for the floor, other colors for decoration)
Tools Utilized
- Hammer
- Nails
- Circular saw (for straight cuts)
- Jig saw (for curved cuts)
- Workbench
- Drill with drilling and countersink bits
- Clamps
- Tape (for marking drill bit depth)
- Scissors
Step-by-Step Making Process
Constructing the Base
An old pallet can become the perfect starting point for your project. Fuse together six pallet wood pieces, each carrying the tales of time with their weathered surfaces. A quick scrub with a wet brush and these recycled planks are ready to serve anew. Joined with nails and swathed in the vibrant hue of green, this patch evolves into grass’s echo—an inviting foundation that can be detached and refreshed as needed.

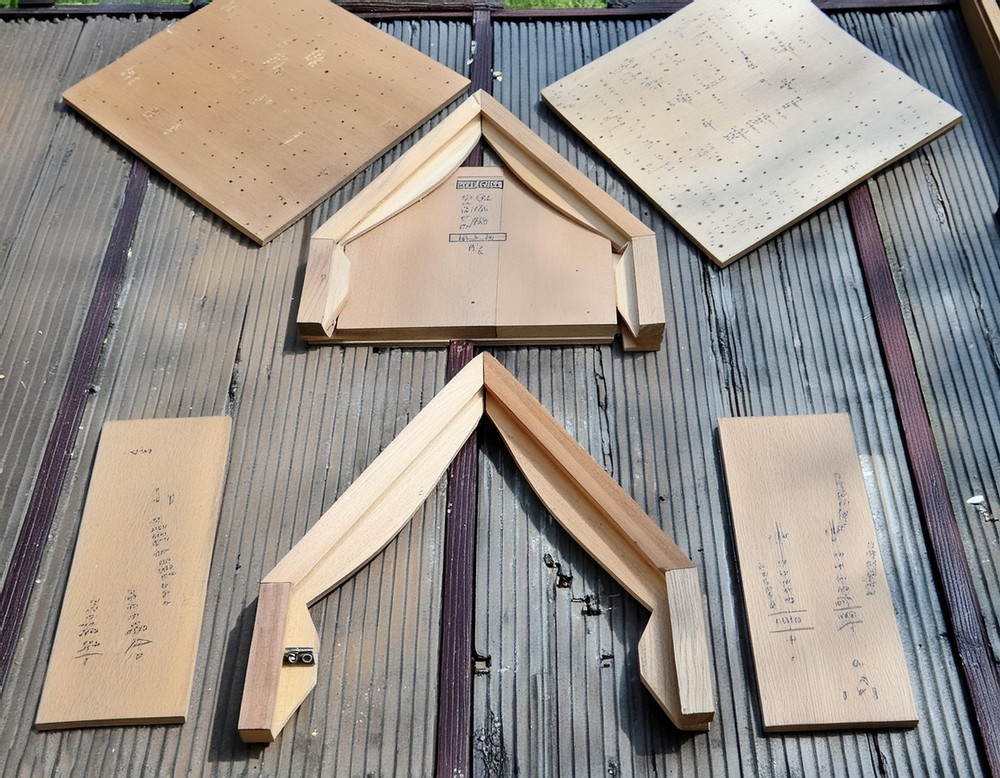
Blueprint and Measurements
Take inventory of the scrap wood at your disposal. Sketch out your plan directly on the wood, clearly inscribing the required measurements. Gather the five essential pieces that will shape the tent’s framework. Imperfections in supply—like smaller wood joining forces to form one side of the roof—don’t hinder the process; they enhance the story.
Fabricating to Fit
Embrace the simplicity of the task as your implements slice through wood effortlessly. The trusty saws transform rudimentary shapes into the bones of your retreat. Your homemade workbench—the unsung hero—stands steadfast, supporting your craft.
Crafting the Bevel (Optional)
Apply a touch of craftsmanship by using plywood with an existing 45-degree bevel. This subtle angular flair, a fortunate residue from past projects, isn’t vital yet adds an extra character.
Preparing the Slats
Lay the groundwork for a sturdy structure by cutting slats that will fortify the junctions of plywood. With calculated cuts, eight pieces of reclaimed wood are designated to strengthen the corners.
Affixing the Slats
Wood glue becomes an ally as it fuses slat to plywood. A little pressure with clamps, a patient pause, and the assembly grows more robust by the half-hour—first the back, then the front, always progressing.
Reinforcement with Screws
To imbue the bond with greater resilience, drills pierce precisely measured depths, cloaked with tape to prevent overzealous penetration. Screws follow, nestling snugly into the preformed cavities.
Erecting the Edifice
Assemble the now-prepared pieces into a coherent structure. Holes pre-drilled, glue applied, and screws tightened, each action is deliberate, ensuring slats and plywood wed in unity.
Midpoint Accentuation
An additional slat, sculpted and softened at the edges, takes its place atop, transforming the V apex into a shield against collected rainfall.
Proposition to the Resident
Introduce the nearly completed shelter to the chicken. Although her interest may momentarily align with the sprinkling of grain you provide, the real test is her stepping over the threshold into her new summer spot.
Adhering to the Poor Man’s Fibreglass
A linchpin in durability, this method entails enveloping the wood in fabric, glued firmly and trimmed to a neat finish. Once the glue has cured, the stage is set for painting.
Aesthetics and Protection
Internal features demand no weatherproofing and are brightened with white paint. Externally, two coats of blue paint embrace the fabric, creating a robust shield against rain.

Homage to Chicken’s New Latitude
In playful jest, consider the chicken’s jaunt to her new lookout as a flight to a vacation spot—a whimsical take on her routine saunters.

Final Revel
Easy to maneuver, the shelter rotates through scenic backyard venues, ready to delight for days to come, a testament to ingenuity, recycling, and care.
With this thorough guide and the camaraderie of a curious chicken, you’re set to craft an oasis that promises a summer of leisurely pecks and cozy shelters against the whims of weather, right outside your kitchen window.

Leave a Reply