
Have you ever wondered what to do with those old car parts that seem to just gather dust in the garage? Transforming unused items into a functional DIY Brake Rotor Fire Pit that not only challenges your creativity but also contributes to sustainable practices. Take, for example, an old brake rotor. A bit unconventional, perhaps, but with a touch of welding and some basic materials, you can convert a mundane item into a stylish fire pit perfect for intimate outdoor gatherings.
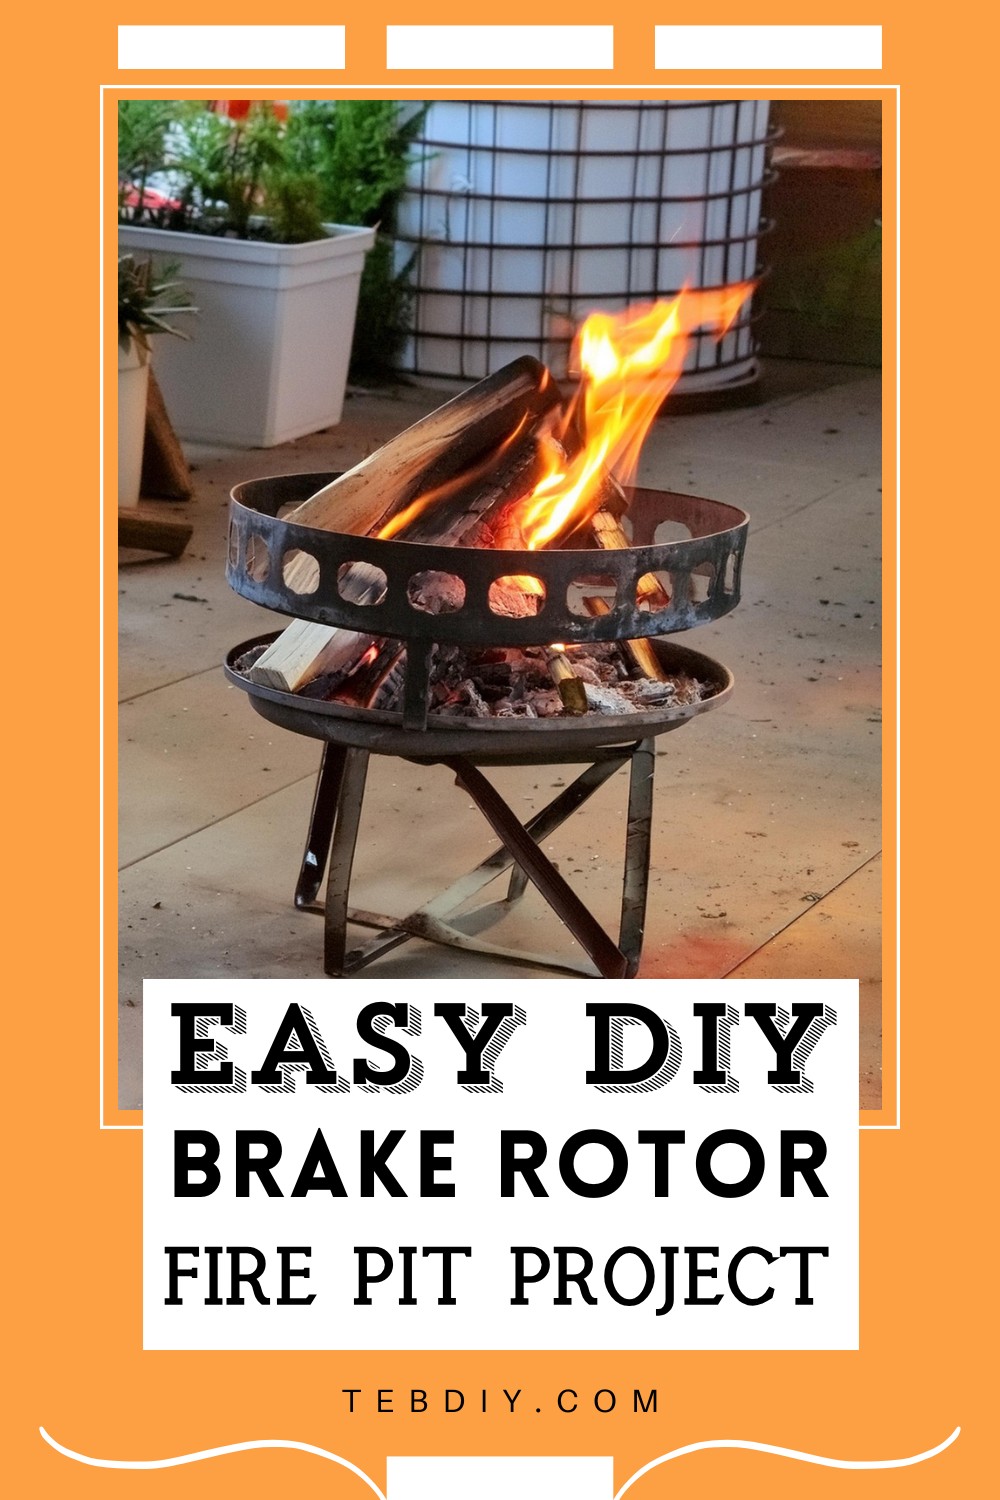
DIY Brake Rotor Fire Pit Project

Materials Needed:
- Brake rotor
- Steel mesh (preferably stainless or galvanized)
- 1/2” steel rod
- 1/4” steel rod
Tools Required:
- Tin snips
- Welder
- Angle Grinder with flap disc
- Welding magnet
Step-by-Step Process:

Lining the Rotor with Steel Mesh
First, tailor a piece of the steel mesh to fit the bottom of the brake rotor. This mesh circle will act as a barrier to prevent the escape of ashes while still permitting airflow — crucial for a healthy, crackling fire. Snip the metal to size so it neatly fits inside the rotor’s base.
Crafting the Legs
Measure and cut three segments, each 12 inches in length, from the 1/2” steel rod. These rods will serve as the supporting legs for your fire pit.
Shaping the Legs
Try bending the legs to achieve a 45-degree angle. If they snap, don’t worry—this is where your welder comes into play. Weld the pieces back together, securing them firmly at the intended angle using the welding magnet for precision.
Attaching the Legs
Weld the shaped legs onto the underside of the rotor. Position them equidistantly for stability, ensuring that each leg flares outward at the same angle to create a sturdy base.
Constructing the Cage Vertical Pieces
Cut six pieces, each measuring 3.5 inches, from the 1/2” rod to construct a hexagonal cage atop the rotor. This cage will help contain the flames and logs. The vertical rods are evenly spaced, linking directly above where the legs meet the rotor and between each leg pair.
Adding Cage Horizontal Pieces
Here, cut eighteen segments from the 1/4” rod. Initially, cut them to 5.5 inches in length, but be prepared to adjust this to achieve a snug fit within the structure. Weld these horizontally across the cage, using a spacer block to maintain a consistent level. Aim for neat rows, yet a little variability can add character.

Final Adjustments and Assembly
Reintroduce the mesh circle into the rotor. It should fit snugly through pressure alone without needing additional securing.
Testing Your Creation
Now it’s time for the exciting part—test your new fire pit with a small fire to ensure everything holds up and the airflow is conducive to a steady burn.
This fire pit project not only recycles old automotive parts but also sparks a creative flair in your outdoor decor. Whether it’s a cozy evening with a loved one or a solo night under the stars, this fire pit is destined to be the centerpiece of many memorable moments.

Leave a Reply