
Bed platforms are simple, elevated bases where you can place your mattress without needing a traditional box spring or bed frame. They’re a popular choice because they can make your sleeping area look modern and minimalist and provide sturdy support for your mattress. A great thing about bed platforms is that you can easily make one yourself following our DIY wooden project. This is not only cost-effective but also allows you to customize the size, height, and style of your bed to fit your space and taste perfectly. Whether you have a small bedroom or prefer a sleek look, a DIY bed platform can be an affordable and satisfying solution.
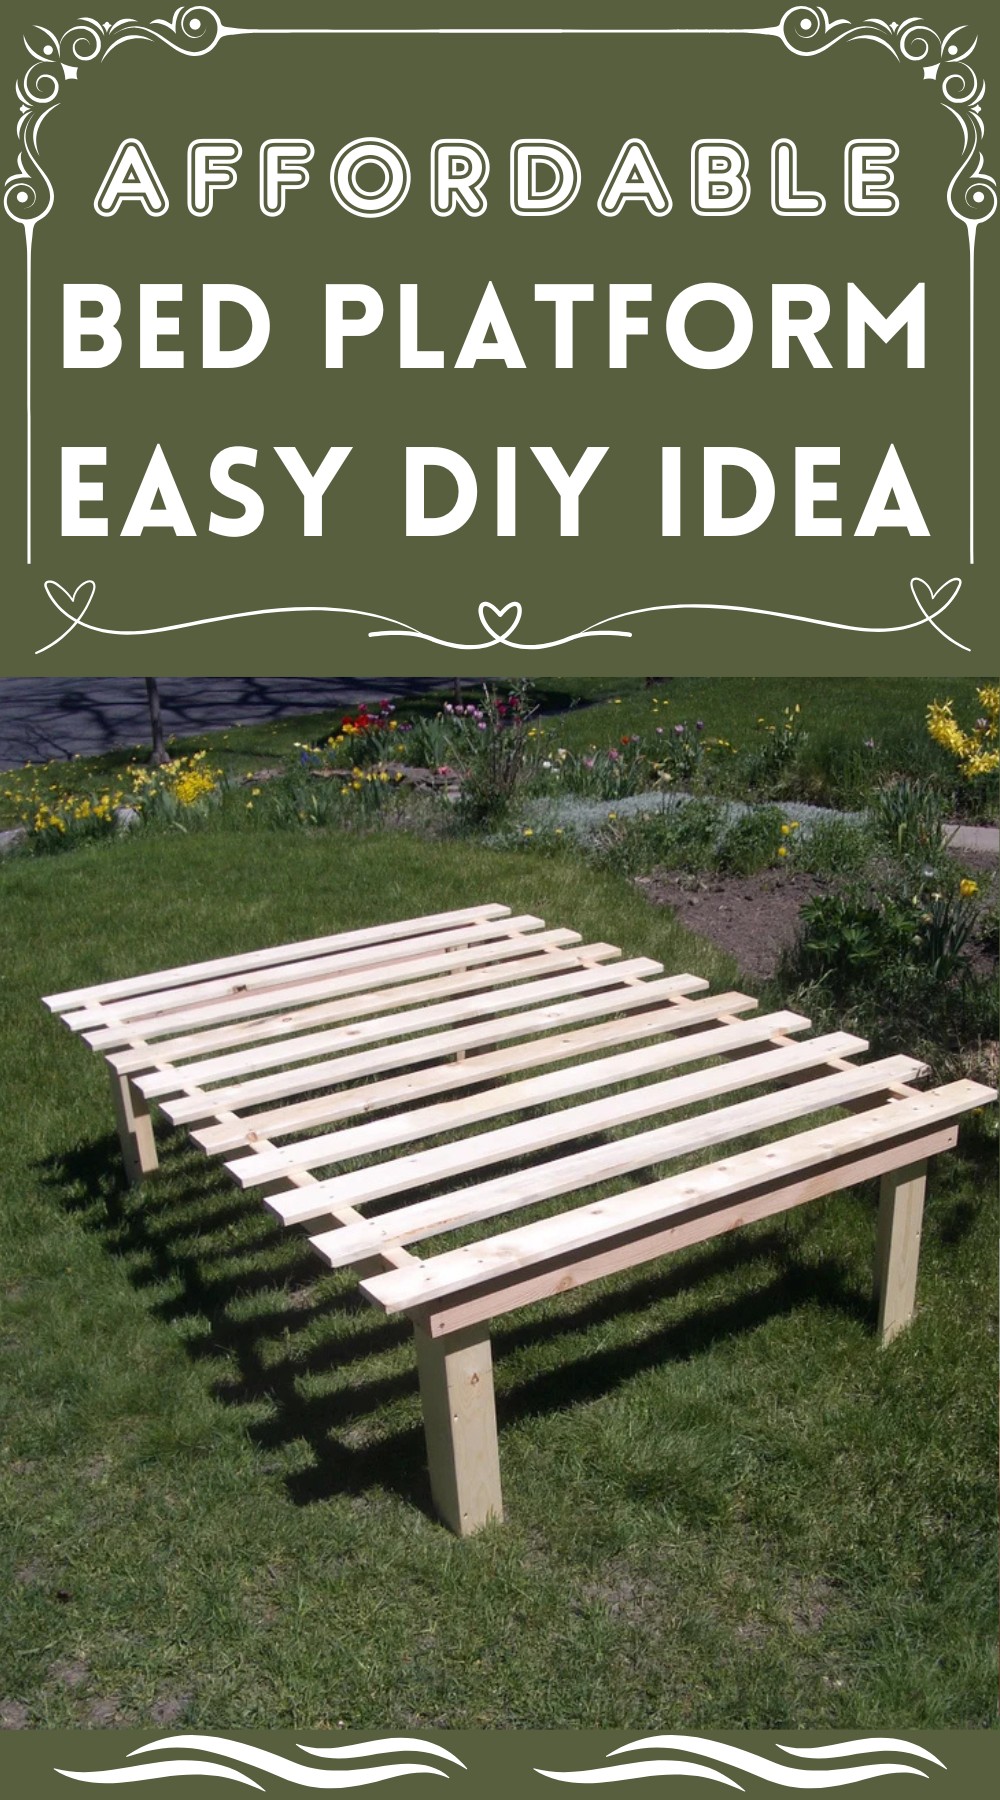
Affordable Bed Platform Easy DIY Idea
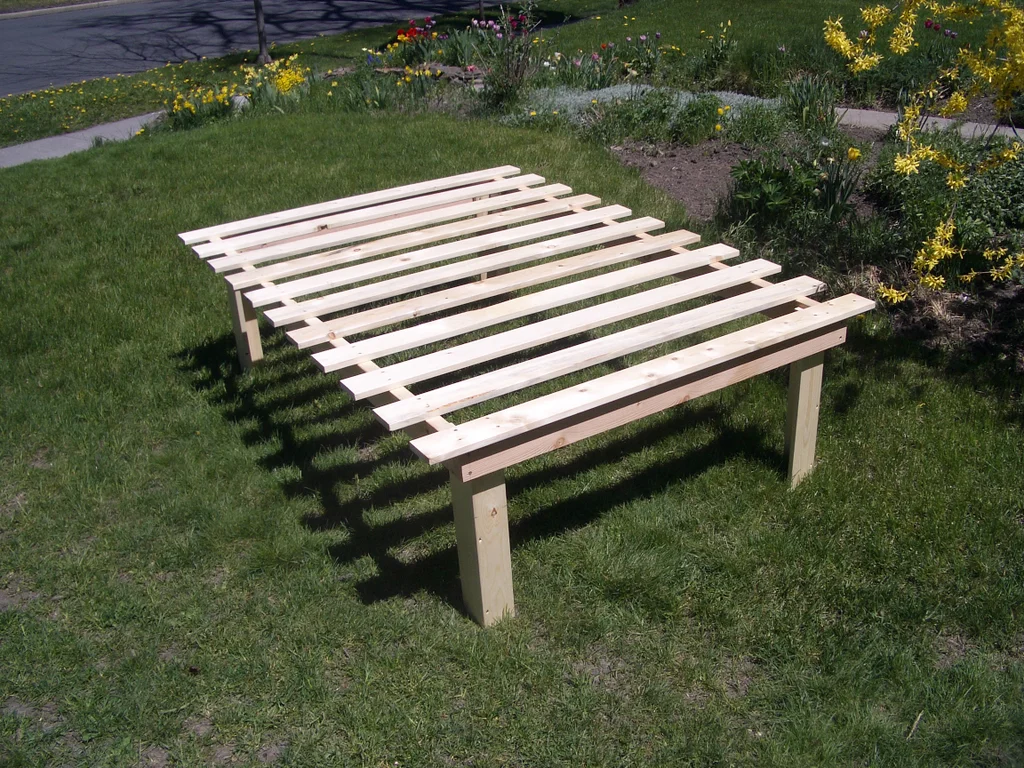
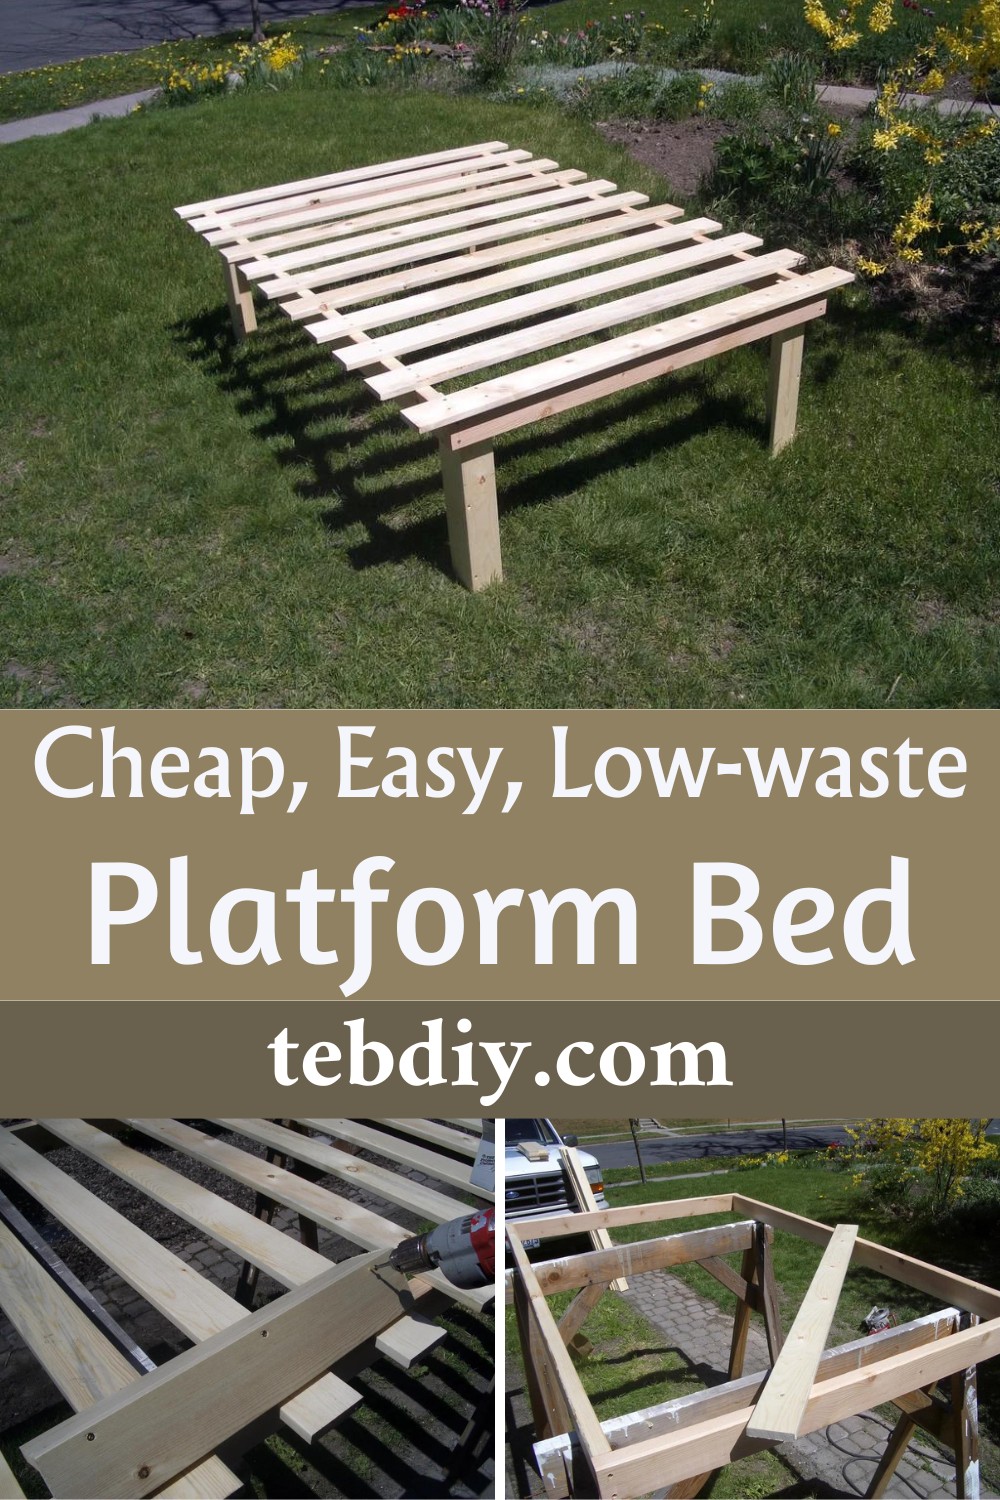
The DIY Platform Bed design is cost-effective, environmentally conscious and easy to build. It’s specifically made to reduce waste, utilizing under $30 worth of materials effectively. Its minimalistic design offers ample storage space and good ventilation without needing a box spring. Its construction, requiring only basic carpentry skills, results in a sturdy, practical bed that comfortably supports two adults. This multifunctional and simple design makes it ideal for any budget-conscious DIY enthusiast.
Making Your Cheap Bed Platform
Material:
- (4) 14′ 1×4 #3 and better pine
- (1) 10′ 1×4 #3&btr pine
- (2) 10′ 2×4 Std&btr fir larch
- (8) 3″ #10 wood screws
- (72) 2″ #10 wood screws
Tools:
- Saw (Skil, hand, jig, or mitre. Shown is a Skil)
- Square (Speed, framing, or try. Shown is a speed square)
- Pencil
- Tape measure
- Drill (Cordless or corded)
- Appropriate driver bit for your screws
- #10 pilot bit/countersink
Step-by-Step Guide
Step 1: Measure Twice, Cut Once
Accuracy is key; thus, double-check your measurements before cutting. Pay special attention to ensure all boards’ ends are square. If they aren’t, make them so. You’ll cut:
- Nine pieces at 4′-7″ from three of the 14′ 1x4s
- One piece at 4′-7″ and five pieces at 1′-9″ from the fourth 14′ 1×4
- One piece at 4′-7″ and three pieces at 1′-9″ from the 10′ 1×4
- One piece at 4′-0″ and one piece at 5′-11″ from each 10′ 2×4
Step 2: Precise Preparation
On the shorter 2x4s, mark and drill pilot holes for screws. Measure 3/4″ from the edges and ends, predrilling with a #10 bit for precision. This attention to detail will ensure a sturdy frame.
Step 3: Frame Assembly
Use the 3″ wood screws to attach the short 2x4s to the long ones, assembling your frame. Achieving perfect squareness isn’t necessary; just ensure it’s securely assembled. To square the frame, measure diagonally across each corner, adjusting until both measurements are identical. Secure one of the 4′-7″ 1×4 slats diagonally across a corner with two 2″ screws to temporarily maintain the square frame.
Step 4: Slat Placement
Flip the frame; it’s now slat-attachment time. With precision, mark the frame for slat placement. Starting from one side, measure and mark for each slat, ensuring you understand how to align them correctly. Secure each slat with four 2″ screws, spacing them evenly across the frame. Remember, the ends of the frame will have a 1″ overhang from the slats to prevent uncomfortable encounters.
Step 5: Leg Construction
Pair the 1′-9″ pieces at a 90-degree angle to form legs, securing them with three 2″ screws. Attach these legs inside the corners of the frame, using a scrap piece of 1×4 as a spacer to avoid squeaks. This simple yet effective method ensures stability and symmetry.
Step 6: Mission Accomplished
Congratulations! Flip the bed frame to its rightful position, place your mattress atop it, and bask in the glory of your craftsmanship. Whether for personal use or as a generous offering to friends impressed by your skill, this platform bed is a testament to sustainable, smart design in home furnishing.
Conclusion
Building a platform bed from scratch is a rewarding endeavour that combines the joy of creation with practical, aesthetic, and environmental benefits. Roll up your sleeves, respect the wood and tools, and prepare to transform your bedroom with a piece of furniture that’s truly your own. Welcome to the world of hands-on, sustainable living!
Leave a Reply