
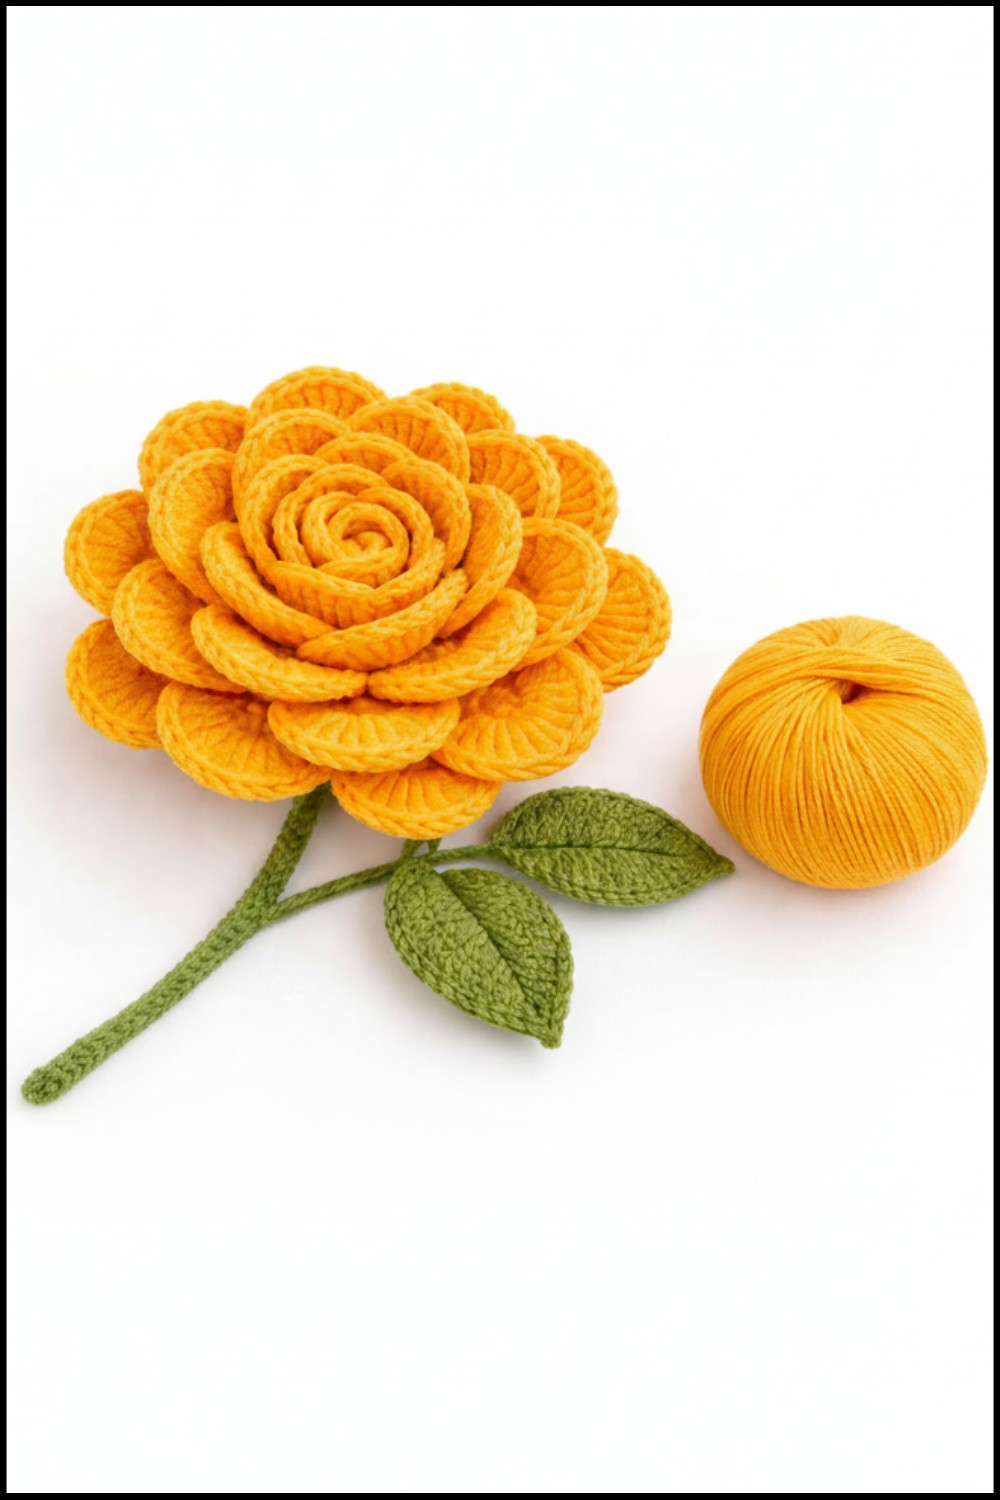
Style your space beautifully with this Crochet Rose Pattern that shape a cute floral accent for gifts decor and soft romantic touch anywhere.
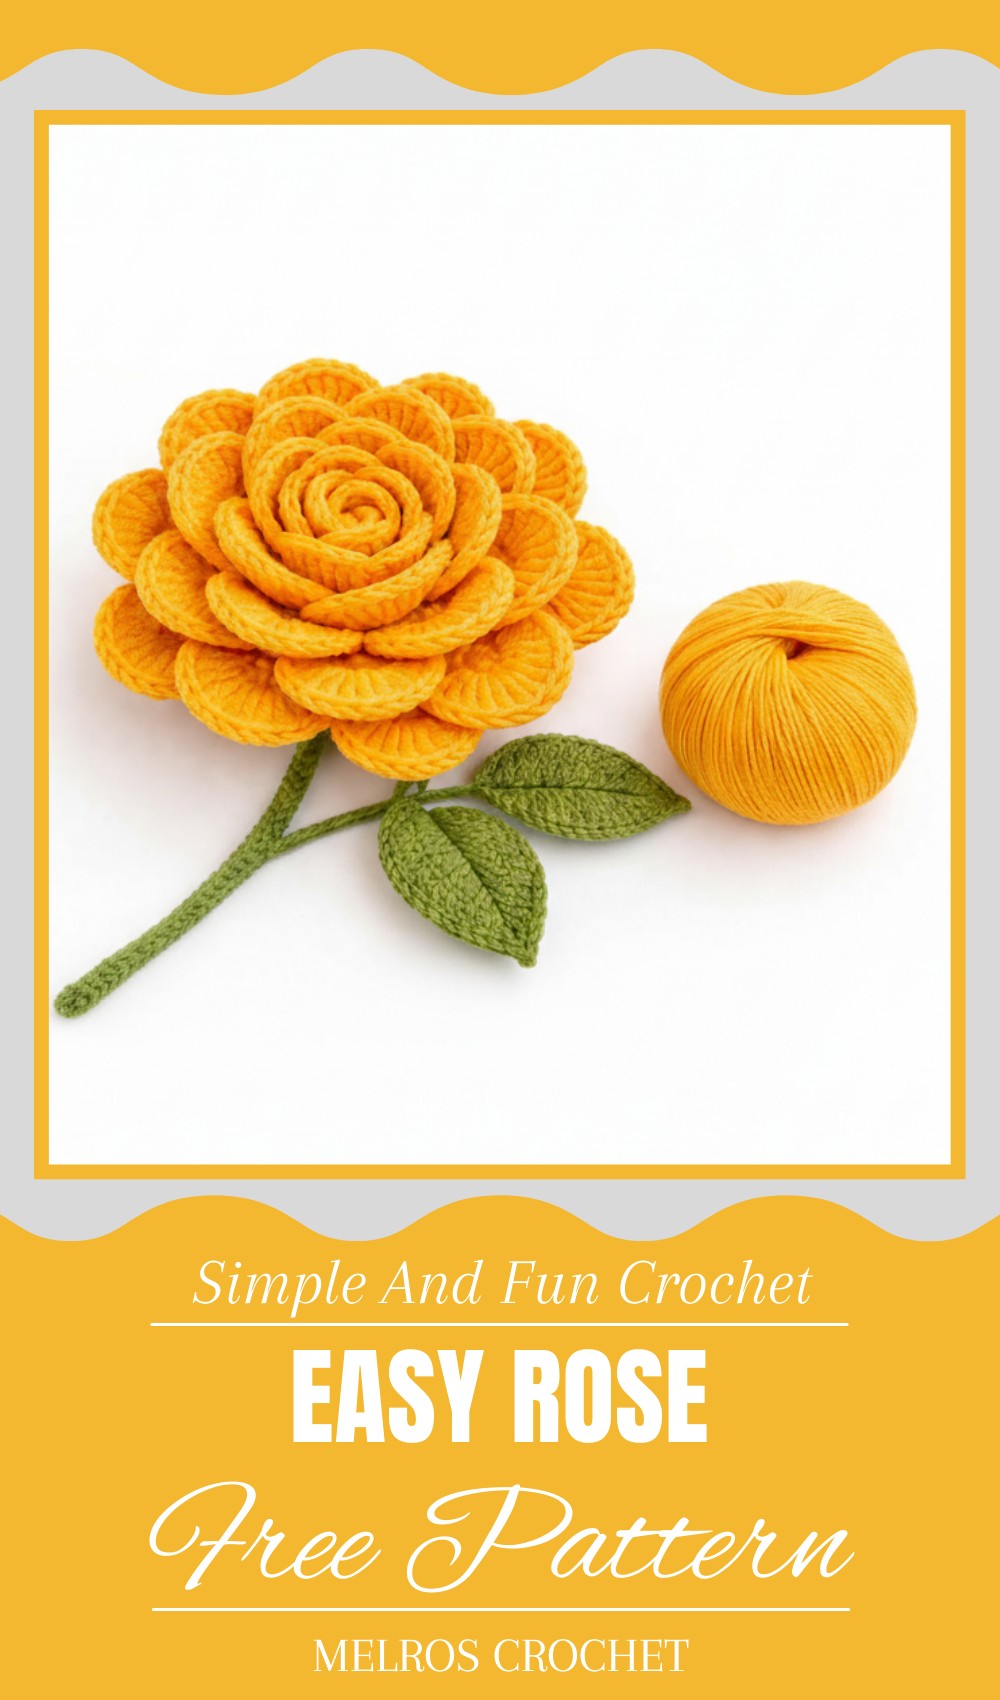
Graceful Crochet Rose Pattern Perfect for Flower Lovers
A rose made with yarn and a hook holds endless beauty and charm. Crochet rose are delicate creations that mimic the elegance of real flower, perfect for adding a touch of handmade magic to everyday items. You can use them to decorate hats, scarves, bags, or even create floral arrangements for tables or gifts. Their vibrant colors and textures bring life to any project, making them ideal for personalizing spaces or adding extra detail to clothing.
This rose aren’t just pretty; they’re versatile too. Imagine them as brooches, hair clips, or even wall art! The process to create them is simple and relaxing, allowing anyone from beginners to experts to enjoy crocheting something beautiful. Whether gifting someone or keeping them for yourself, these yarn roses carry the timeless appeal of nature, mixed with the warmth of handmade love.
Materials Needed
Yarn
- Rose Petals (Main Color): Lightweight acrylic or cotton yarn in mango (yellow/orange) or the color of your choice.
- Calyx and Leaves: Contrasting yarn in green for the calyx and leaves around the rose.
Hook
- 2.5 mm Crochet Hook (size suitable for precision work and maintaining tight petal shapes).
Additional Items
- Wire:
- 10 mm thick wire for the stem.
- Thinner wire for shaping and supporting the leaves.
- Hot Glue Gun: To securely assemble the rose.
- Scissors: For cutting yarn and wires.
Key Abbreviations (U.S. Crochet Terminology)
- ch: Chain
- sc: Single Crochet
- sl st: Slip Stitch
- dc: Double Crochet
- tr: Treble Crochet (yarn over twice and pull through two loops at a time).
- picot: A small loop stitch made by chaining and slip stitching back into the same stitch.
Customization Ideas
- Colors: Experiment with rose colors (e.g., red, pink, or ombre yarns) for varied aesthetics.
- Sizes: To make larger roses, increase the chain count in multiples of four during the foundation chain.
- Finishing Touches: Add hints of metallic yarn for a shimmer effect or beads in the flower center.
Special Notes
- Consistency: Maintain even tension to create uniform petals for a realistic shape.
- Forming the Rose: Be gentle when rolling and shaping the petals to avoid flattening or distortion.
- Wire Handling: Ensure wire edges are cut smoothly and covered securely during assembly to avoid sharpness.
Step-By-Step Pattern
Step 1: Foundation Chain for the Petals
- Using Mango Yarn (Main Color):
- Make a slip knot and chain 94 chains (or multiples of 4, depending on rose size desired).
- You can add more chains for larger roses.
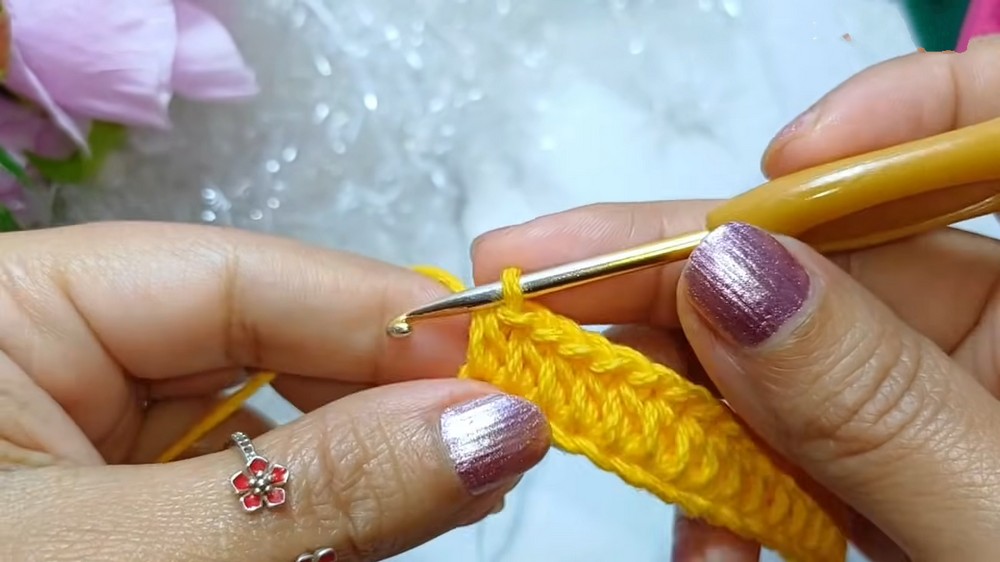
Step 2: First Row – Single Crochet
- Skip the first 3 chains from the hook.
- Into the 4th chain, work 1 sc.
- Continue working 1 sc into each chain across the row.
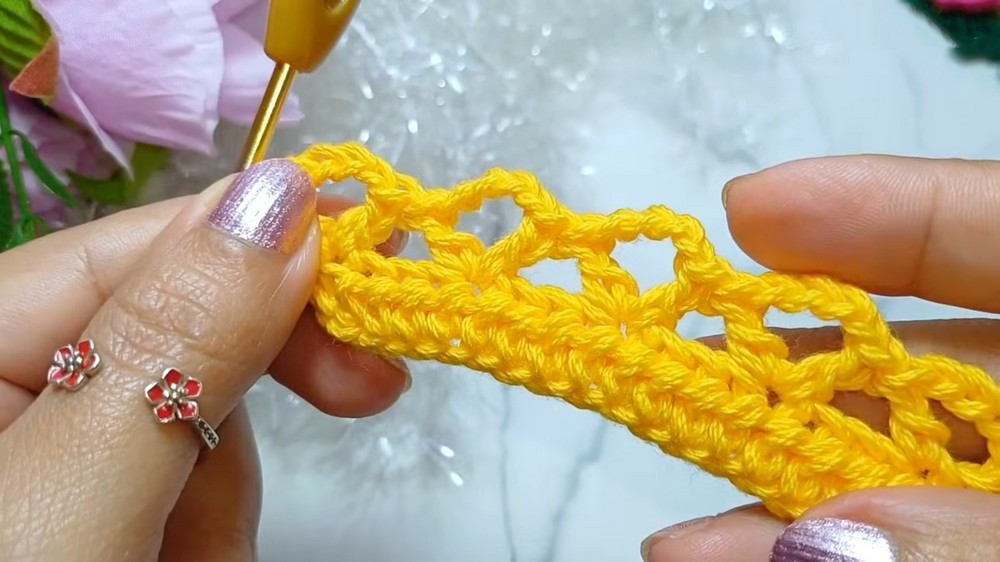
Step 3: Second Row – Petal Spaces
- Ch 2 (counts as first dc of this row) and turn your work.
- Work 4 ch as a separation.
- Insert hook into the first stitch after the starting chains and make 1 dc, creating a V-shaped space.
- Moving forward:
- Skip 3 stitches at the base, and into the 4th stitch work (dc, ch 4, dc) to create the next space.
- Repeat this sequence across the entire row to form a total of 24 petal spaces.
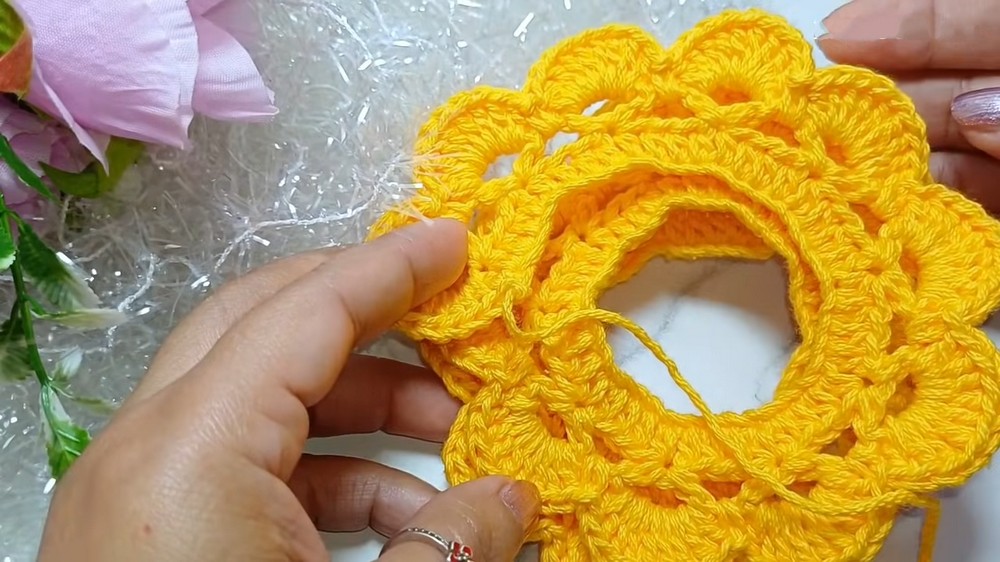
Step 4: Creating the Petals
- Work into the first space:
- Crochet 9 dc into the space formed by the V-stitch.
- Secure the petal with 1 sc into the small gap between spaces.
- Repeat this process in every space:
- 9 dc into each space followed by 1 sc between spaces.
- For the final petal, increase the count to 12 dc for a slightly larger finishing petal.
Step 5: Finishing the Rose
- Once all petals are complete, work a sl st into the starting chain to close the round.
- Fasten off with a chain and cut the yarn, leaving a long tail for assembly.
- Weave in any loose ends on the back of your work.
Step 6: Crochet the Leaves
Foundation for Leaf:
- With Green Yarn:
- Make a base chain of 11 chains.
Shaping the Leaf:
- Work the following stitches into each chain:
- 1 sc into the 2nd chain from the hook.
- 1 hdc into the next chain.
- Work 7 dc over the next 7 stitches.
- 1 hdc into the next stitch.
- 1 sc into the last chain.
- Turn the leaf around and mirror the stitches into the unused loops on the other side of the chain:
- 1 sc, 1 hdc, 7 dc, 1 hdc, 1 sc.
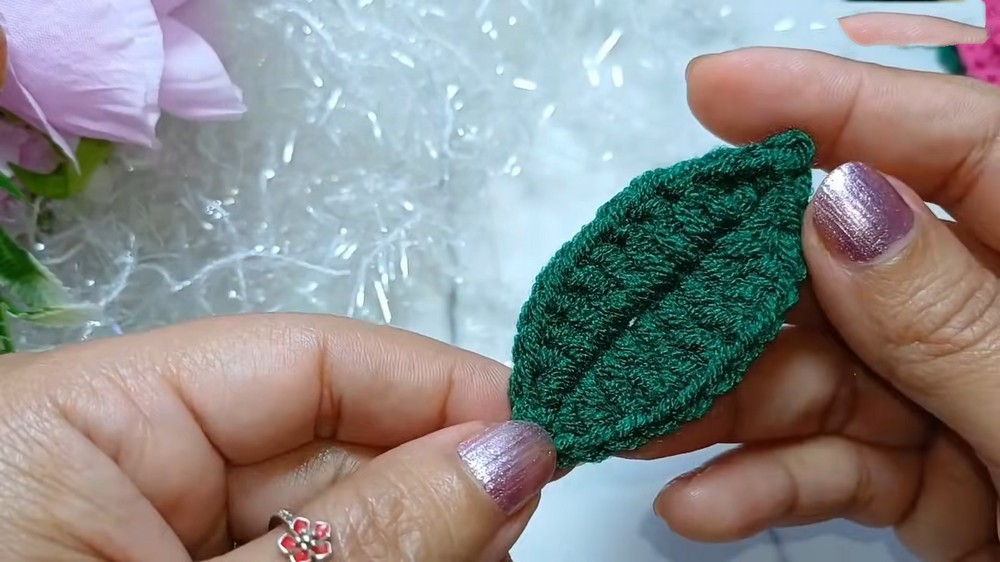
Create a Picot Tip:
- After forming the tip of the leaf, work 1 picot as follows:
- Ch 1 and sl st back into the base of the chain to form a point on the tip of the leaf.
- Finish: Secure with a sl st into the base, fasten off, and weave in ends.
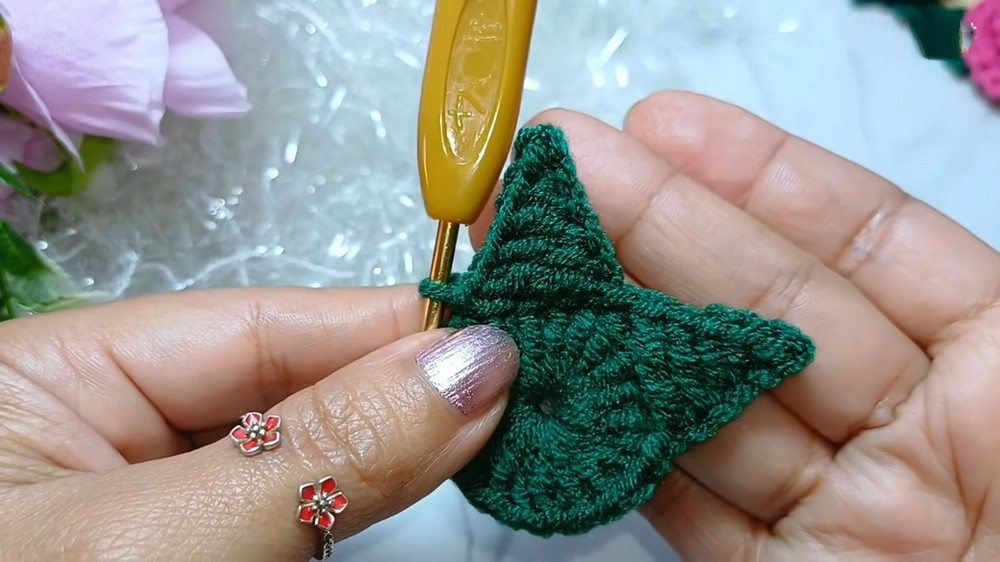
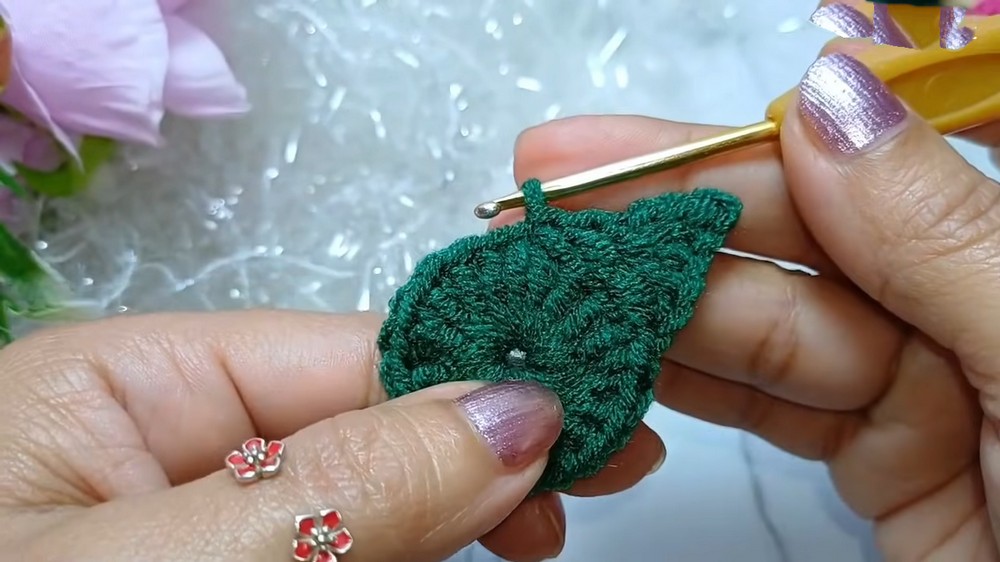
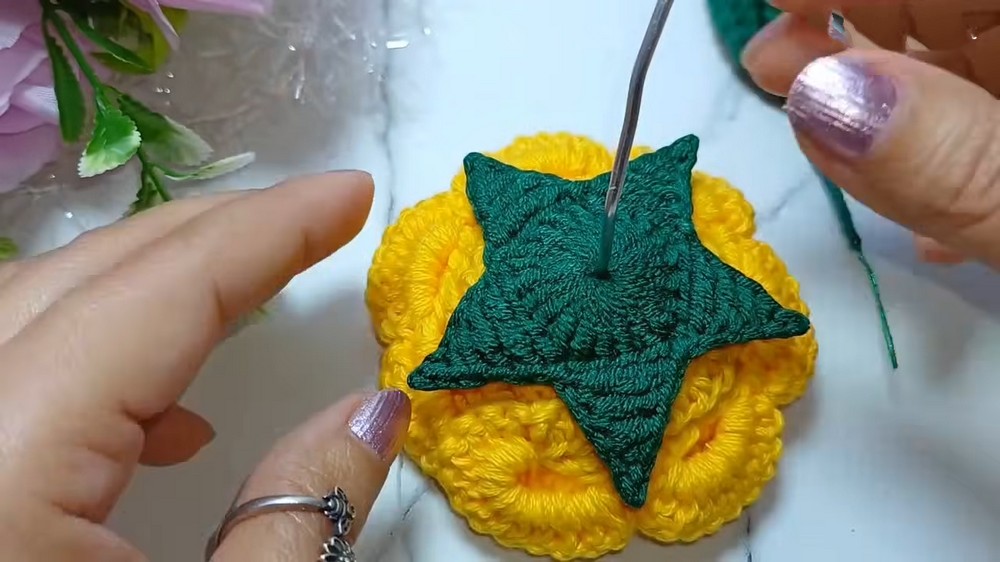
Step 7: Crochet the Calyx
Foundation for Calyx:
- Create a Magic Ring and work as follows:
- Ch 2 (does not count as a st).
- Work 20 dc into the magic ring.
- Pull the ring closed, leaving a small center opening.
Form Leaves for the Calyx:
- Work each calyx point using 6 chains as follows:
- In the 2nd chain from the hook, make a sl st.
- 1 sc in the next chain.
- 1 hdc in the next chain.
- 1 dc in the next chain.
- 1 tr in the last chain.
- Secure the point with a sl st into the base stitch.
- Repeat for a total of 5 calyx points evenly spaced around the row.
Step 8: Assembly
Shaping the Rose:
- Roll the petals into a concentric rose shape starting with the smallest petal.
- Secure the rose gently with clips or fasteners to maintain its shape.

Attach Calyx:
- Slide the calyx over the back of the rose, positioning the points evenly between the petals.
- Secure the calyx using hot glue or stitch it in place with green yarn.
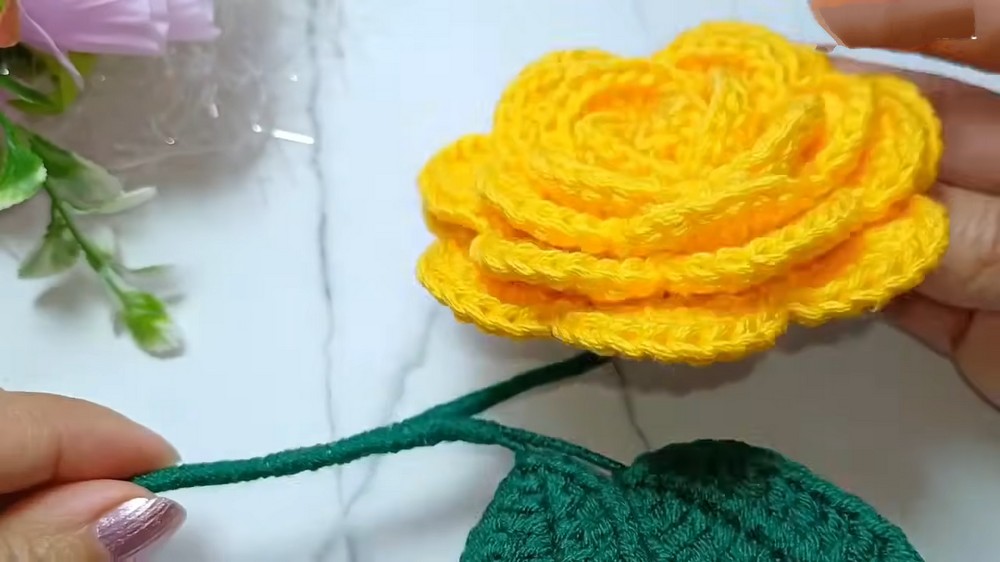
Attach Leaves and Stem:
- Wrap the wire with green yarn to create a bound stem effect.
- Attach the leaves to the stem wires with glue or by wrapping additional green yarn around the base of the leaf and stem.
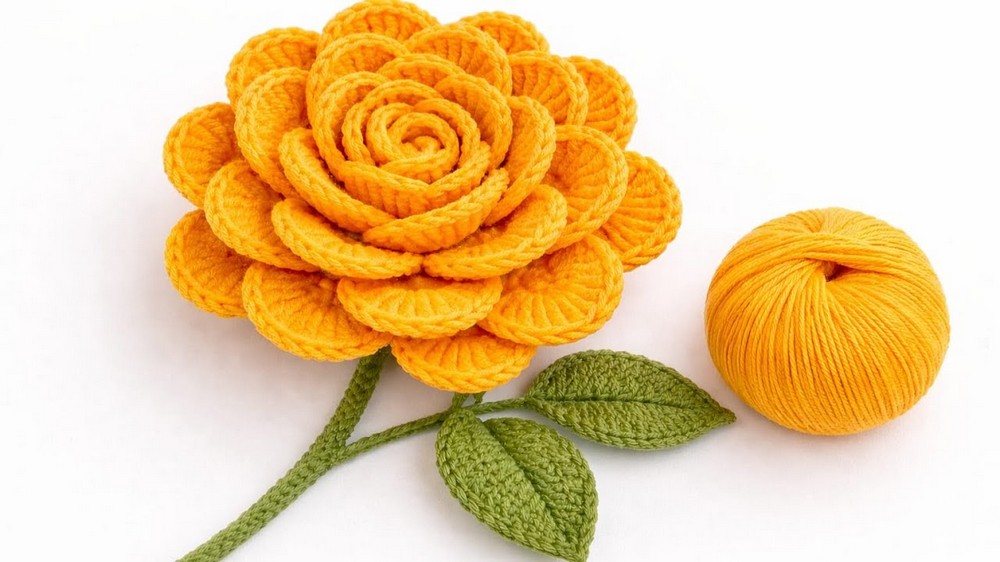
Conclusion
Your 3D Crochet Rose is complete, pairing realistic petals with a beautifully detailed calyx and leaves. Perfect as a decoration for vases, bouquets, or brooches, this rose combines elegance and personal touch into one project.
Corrections and Tips
Corrections:
- Petal Counts: Ensure to adjust petal counts in the beginning chain to maintain even numbers and spacing.
- Wire Placement: Secure wires tightly during assembly to avoid loosening.
Tips:
- Petal Shaping: For a more realistic rose, gently curve petals outward after completion.
- Finishing Touches: Spray a light mist of fabric stiffener on the petals to help hold their shape over time.
Leave a Reply