
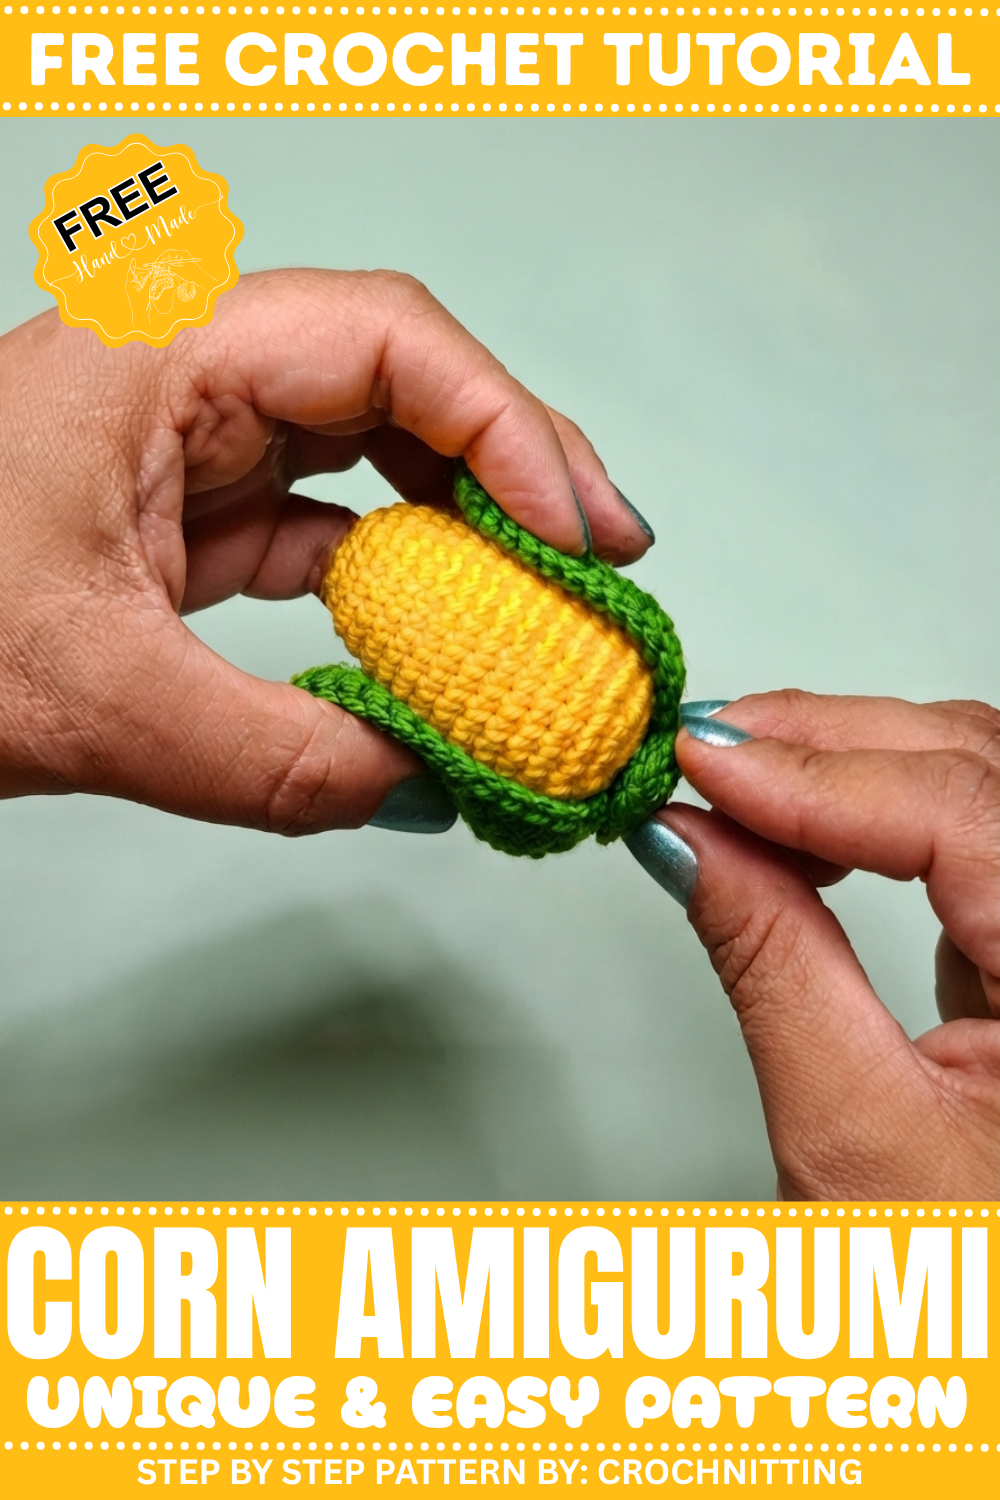
Cheerful stitches turn yarn into a playful veggie using the Free crochet Corn Amigurumi Pattern with simple steps and cute results for gift ideas.
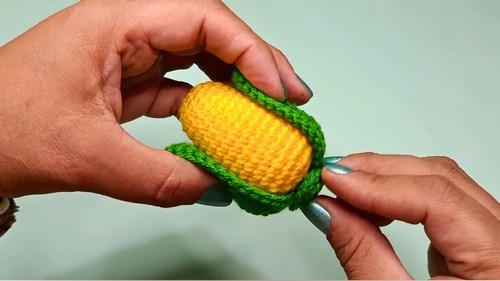
Adding a splash of handmade charm to your everyday accessories can be so rewarding, and nothing beats the joy of creating a cute little corn keychain with your own hands. This adorable project is built with the single crochet stitch, a simple but sturdy stitch that makes the amigurumi feel plush yet firm. From the tight rounds shaping the corn’s body to the neat little leaves and stem crocheted with half double crochets, this pattern showcases how basic stitches can come together beautifully to form something truly delightful. Its bright, cheerful look makes it a perfect accent for bags, keys, or even as a playful gift.
Must-Save Crochet Corn Amigurumi Pattern with Happy Feels
Create More Fun Projects Using These Techniques
Once comfortable with this corn amigurumi, you can try your hand at making other vegetables, fruits, or tiny creatures using the same stitches and shaping techniques. Patterns like mini pumpkins, strawberries, or even small animals follow similar principles of rounds and stitch increases/decreases. You could also experiment with different yarn colors to make a whole colorful collection of cute, handmade charms to brighten up your everyday life or gift to loved ones.
Crochet Pattern: Corn Keychain
Skill Level & Terminology
- Skill Level: Advanced Beginner / Confident Beginner
- Terminology: US Crochet Terms
Materials & Tools
- Yarn:
- Light worsted or DK weight yarn (Category 3) in:
- Yellow – for the corn
- Green – for the stem base and leaves
- Light worsted or DK weight yarn (Category 3) in:
- Hook:
- 3.0–3.5 mm crochet hook (or size suitable for your yarn to get a tight fabric)
- Other Tools:
- Yarn needle (tapestry needle)
- Scissors
- Polyester fiberfill stuffing
- Craft glue (or hot glue) for attaching parts
- Optional: Keychain ring or lobster clasp, small jump ring
Gauge
Exact gauge is not critical for this small amigurumi-style project, but you should aim for tight stitches so the stuffing does not show.
Suggested gauge (with DK yarn and 3.0–3.5 mm hook):
- Approximately 5–6 sc = 2 cm (¾”) and 5–6 rows = 2 cm (¾”).
If your stitches are loose and gaps appear, move to a smaller hook.
Abbreviations
- MR – Magic Ring
- ch – Chain
- sl st – Slip Stitch
- sc – Single Crochet
- hdc – Half Double Crochet
- inc – Increase (2 sc or 2 hdc in the same stitch)
- dec – Decrease (single crochet two stitches together; here worked in front loops only on the corn body)
- st(s) – Stitch(es)
- BLO – Back Loop Only
Special Stitch Instructions
Magic Ring (MR)
- Wrap yarn around your finger to form a loop.
- Insert hook under the loop, yarn over, pull through, ch 1 to secure.
- Work the given number of stitches into the ring.
- Pull the tail to close the ring tightly.
Single Crochet Increase (sc inc)
- Work 2 sc into the same stitch.
Single Crochet Decrease (sc dec, front loops only as used in corn)
- Insert hook into front loop only of the next stitch.
- Insert hook into front loop only of the following stitch (two front loops on hook).
- Yarn over, pull through both loops, yarn over again, pull through both loops on hook.
Half Double Crochet (hdc)
- Yarn over, insert hook into stitch, yarn over, pull up a loop (3 loops on hook).
- Yarn over, pull through all 3 loops.
Finished Size
- Corn length (without stem): Approximately 6–8 cm (2½–3 inches)
- Leaf length: Approximately 5–7 cm (2–2¾ inches)
- Size will vary slightly depending on yarn and hook.
How You Start & Stitches Used
You begin with a magic ring to form the bottom of the corn and then work in rounds using single crochet. Increases shape the wider middle portion, and later rounds of decreases taper the corn to the top. The stem base is another small circle. The leaves are worked from a chain foundation, using single crochet and half double crochet, plus increases at the tip to create a leaf shape.
Stitches used throughout the pattern:
- Single crochet (sc) – main stitch for body, stem, and leaf edges
- Half double crochet (hdc) – used for the fuller body of the leaves
- Slip stitch (sl st) – for joining rounds and edging
- Increases and decreases – for shaping
The Pattern
Part 1 – Corn Body
Round 1:
- Make a MR, ch 1.
- Work 8 sc into MR. (8 sts)
- Pull tail to close ring tightly.
- Join with sl st to first sc.
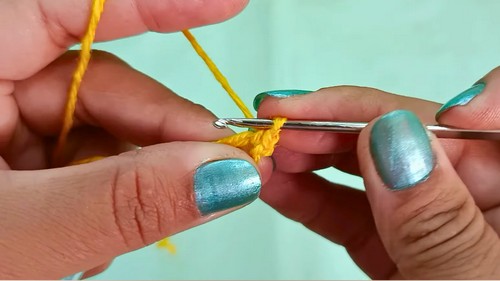
You start by making a small circle (magic ring) and crochet 8 single crochet stitches into it. Close this round with a slip stitch so you have a neat little base circle.
Round 2:
- Ch 1 (does not count as a stitch).
- 1 sc in same st as ch 1, place stitch marker in this sc.
- Next st: inc (2 sc in next st).
- Repeat: 1 sc, 1 inc around a total of 4 times. (12 sts)
- Join with sl st to first sc.
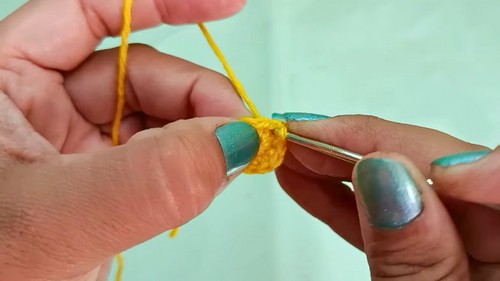
For non-pattern readers: In this round you’re widening the base. You alternate between one single crochet in a stitch and two single crochets in the next stitch. By the end, you will have 12 stitches.
Round 3:
- Ch 1, 1 sc in same st, mark this stitch.
- Inc in next st (2 sc in same st).
- 1 sc in next st.
- This set: (1 sc, 1 inc, 1 sc) is repeated 4 times around. (16 sts)
- Join with sl st to first sc.
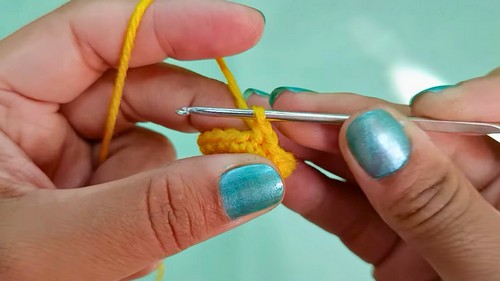
For non-pattern readers: Here the circle gets a bit bigger. You do single crochet, then increase, then single crochet again, and repeat that pattern. This adds 4 new stitches.
Round 4:
- Ch 1, 1 sc in same st, mark stitch.
- 1 sc in each st around. (16 sts)
- Join with sl st.
This round doesn’t add or remove any stitches. Just place one single crochet into every stitch from the previous round to build height.
Round 5:
- Ch 1, 1 sc in same st, mark stitch.
- 1 sc in next 2 sts.
- Inc in next st (2 sc in same st).
- Repeat set: (3 sc, 1 inc) a total of 4 times. (20 sts)
- Join with sl st.
For non-pattern readers: You now add more width. Work three single crochets in three stitches, then two single crochets in one stitch. Keep repeating this all the way around to reach 20 stitches.
Round 6:
- Ch 1, 1 sc in same st, mark stitch.
- 1 sc in each st around. (20 sts)
- Join with sl st.
Round 7:
- Ch 1, 1 sc in same st, mark stitch.
- 1 sc in next st.
- Inc in next st.
- 1 sc in next 2 sts.
- Set: (2 sc, 1 inc, 2 sc) repeated around 4 times. (24 sts)
- Join with sl st.
R- 8:
- Ch 1, 1 sc in same st, mark stitch.
- 1 sc in each st around. (24 sts)
- Join with sl st.
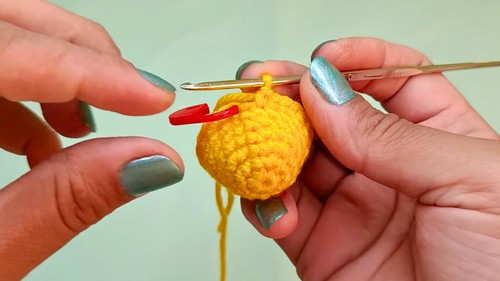
Rounds 9–15:
- For each round: Ch 1, 1 sc in same st, mark stitch.
- 1 sc in each st around. (24 sts)
- Join each round with sl st.
You are now working 8 rounds with 24 sc in each round (Rounds 8–15).
These rounds simply elongate the corn. You keep working one single crochet into every stitch for several rounds to form the tall body of the cob.
Rnd 16 (Decrease Round – 1):
- Ch 1.
- 1 sc in first st, mark stitch.
- 1 sc in second st.
- dec over next 2 sts (front loops only).
- Repeat the set: (2 sc, 1 dec) a total of 6 times. (18 sts)
- Join with sl st.
Round 17 (Decrease Round – 2):
- Ch 1.
- 1 sc in first st, mark stitch.
- dec over next 2 sts.
- Repeat the set: (1 sc, 1 dec) 6 times. (12 sts)
- Join with sl st.
- Pull up a long loop but do not cut yet.
- Stuff the corn firmly with polyester filling.
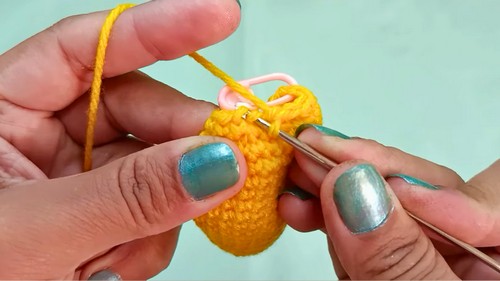
These two rounds narrow the top of the corn. You alternate between single crochet stitches and decreases, and then fill the piece with stuffing before closing.
Rnd 18 (Decrease Round – 3):
- With 12 sts available, work dec in every pair of stitches around using front loops only: 6 dec total. (6 sts)
- Join with sl st.
- Cut yarn, leaving a tail.
- Use a yarn needle to pass through the last 6 sts to close any remaining hole, pulling tight. Secure the yarn and weave in.
Corn body is complete.
Part 2 – Stem Base
Round 1:
- With green yarn, MR, ch 1.
- Work 6 sc into MR. (6 sts)
- Pull ring tight.
- Join with sl st to first sc.
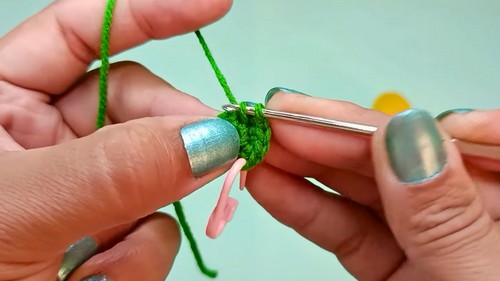
Rnd 2:
- Ch 1.
- 2 sc in each st around (inc in each st). (12 sts)
- Join with sl st.
Round 3:
- Ch 1.
- Working in BLO only, 1 sc in each st around. (12 sts)
- Join with sl st into both loops of first st.
- Ch 1, cut yarn, secure.
For non-pattern readers: The stem base is a small flat circle with one round worked in back loops only to create a tiny edge (like a cap). This will sit under the corn and help the leaves attach neatly.
Part 3 – Leaves (Make 2)
Foundation:
- With green yarn, ch 10.
Round 1 (Leaf Outline):
- Skip first ch from hook.
- 1 sc in 2nd ch from hook.
- 1 sc in each of next 7 ch (8 sc total).
- In last ch: 3 sc in same ch to form the leaf tip.
- Turn to work along the other side of the chain:
- 1 sc in next 7 sts (other side).
- In the final base stitch (where 1 sc already exists), 2 more sc in same st to mirror the other end (3 sc total in this base).
- Join with sl st to first sc.
Rnd 2 (Add HDC Texture):
- Ch 2.
- In same st: hdc inc (2 hdc in same st).
- 1 hdc in each of next 5 sts.
- 1 sc in each of next 3 sts.
- At top stitch (leaf tip): 3 sc in same st.
- Other side:
- 1 sc in each of next 3 sts.
- 1 hdc in each of next 6 sts.
- hdc inc (2 hdc in same st) in next st.
- Join with sl st to first hdc.
Rnd 3 (Final Shaping):
- Ch 2.
- hdc inc in same st (2 hdc).
- hdc inc in next st (2 hdc).
- 1 hdc in each of next 4 sts.
- 1 sc in each of next 5 sts.
- At top stitch: 3 sc in same st.
- Other side:
- 1 sc in each of next 5 sts.
- 1 hdc in each of next 5 sts.
- hdc inc in next st.
- hdc inc in next st (last inc).
- Join with sl st to first st.
Round 4 (Edge Round):
- Ch 1.
- 1 sc in each st around (approximately 30 sc).
- Join with sl st.
- Ch 1, cut yarn, and secure.
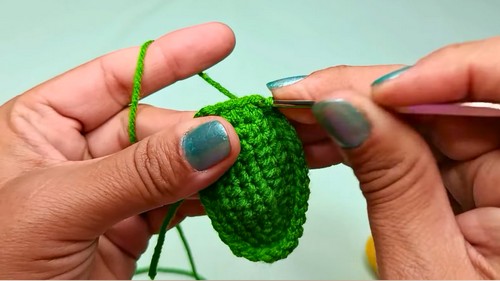
Repeat to make a second leaf.
The leaves start as a chain and are worked around both sides to form a long oval. You shape them by adding extra stitches at the tip and using half double crochet for thickness. The final round of single crochet gives a neat edge.
Assembly & Finishing
- Attach Leaves to Corn:
- Position one leaf on each side of the corn body near the top.
- Use glue or sew with yarn and needle to secure the edges of the leaves to the corn.
- Attach Stem Base:
- Place the round stem base at the bottom of the corn.
- Glue or sew it in place; this will cover the bottom closing and provide a flat base.
- Add Keychain Hardware:
- Attach a small jump ring and keychain ring through the top of the corn or sew a small yarn loop at the top and connect the ring.
- Final Touches:
- Check all parts are firmly attached.
- Weave in any remaining yarn ends and trim.
Why I Love This Pattern
This corn keychain pattern is compact yet rich in techniques, making it rewarding and fun. It combines simple stitches with clever shaping, and the final result is both cute and practical. It’s an excellent stash-buster and a great gift project, especially for those who love quirky, handmade accessories.
Leave a Reply